Spring / Summer 2012

This year I arrived by myself on the 2nd of April. I intend to get it done and moved up to a new home in Anacortes area by the fall.
The boat was in great shape. The tarp did the trick and she stayed warm and dry inside. It was just like the day we left it.
As we progress through the summer I will put green checkmarks next to the completed items.
   

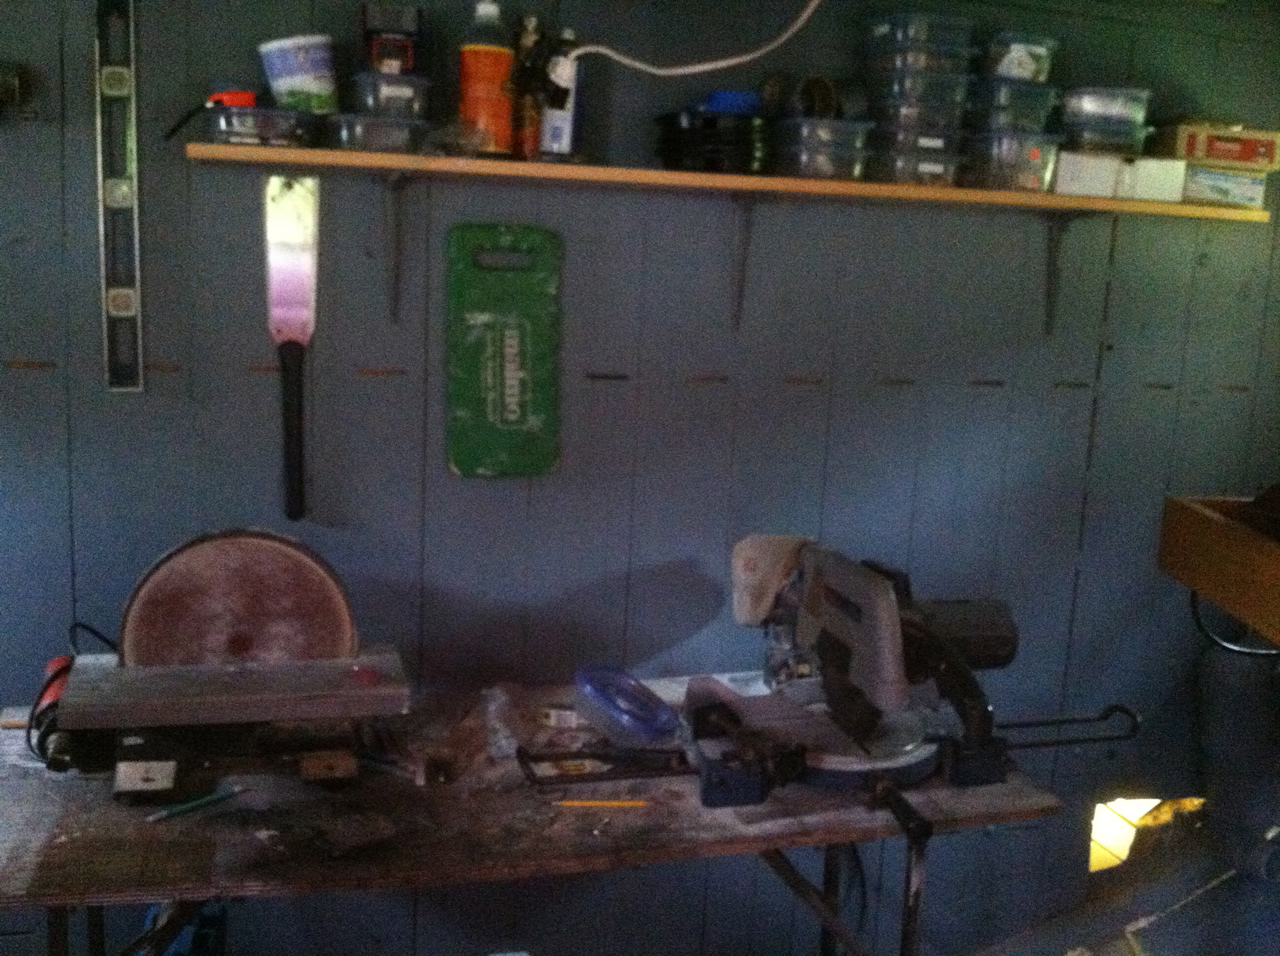
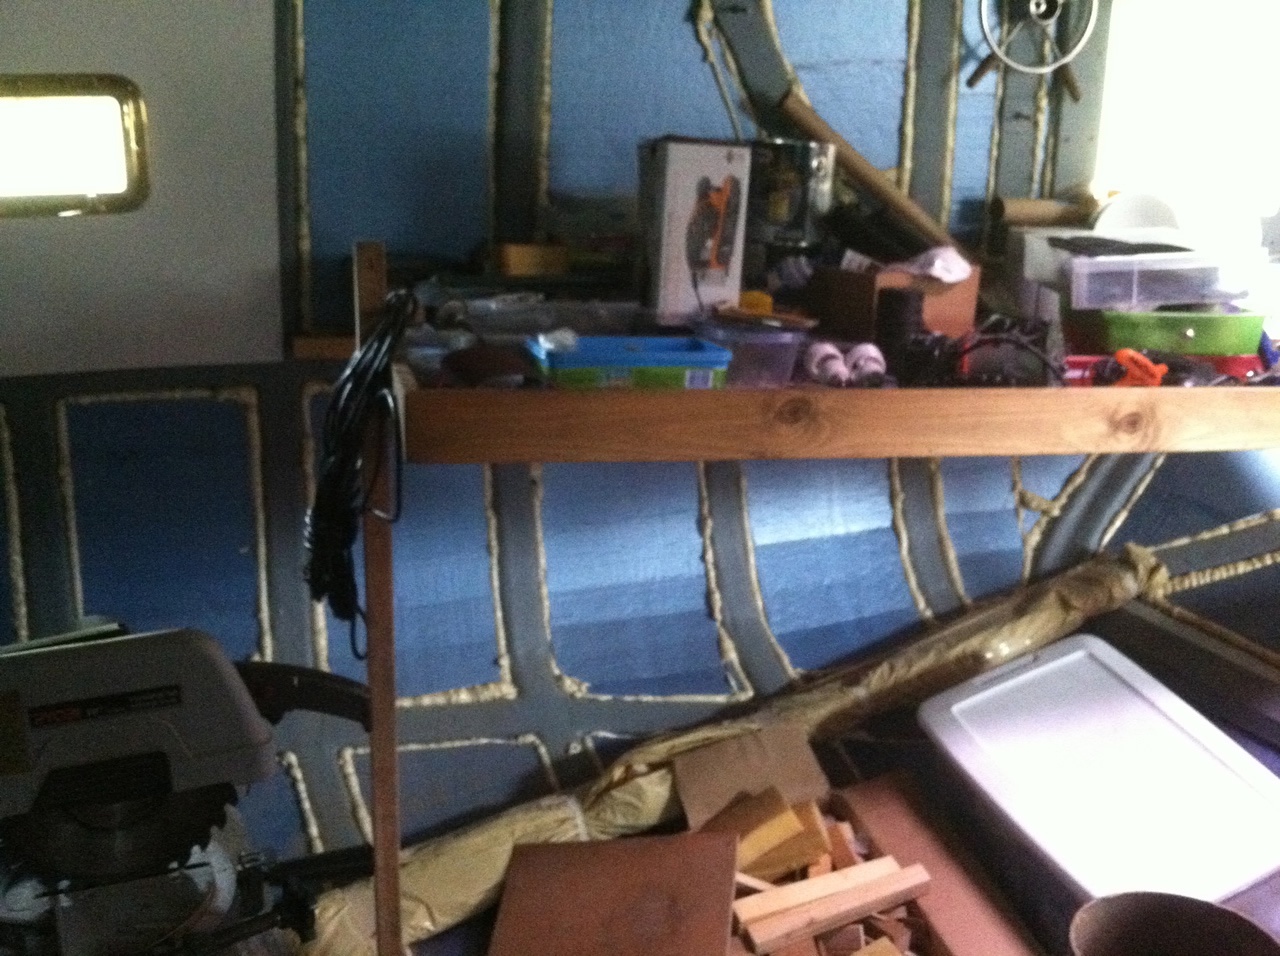
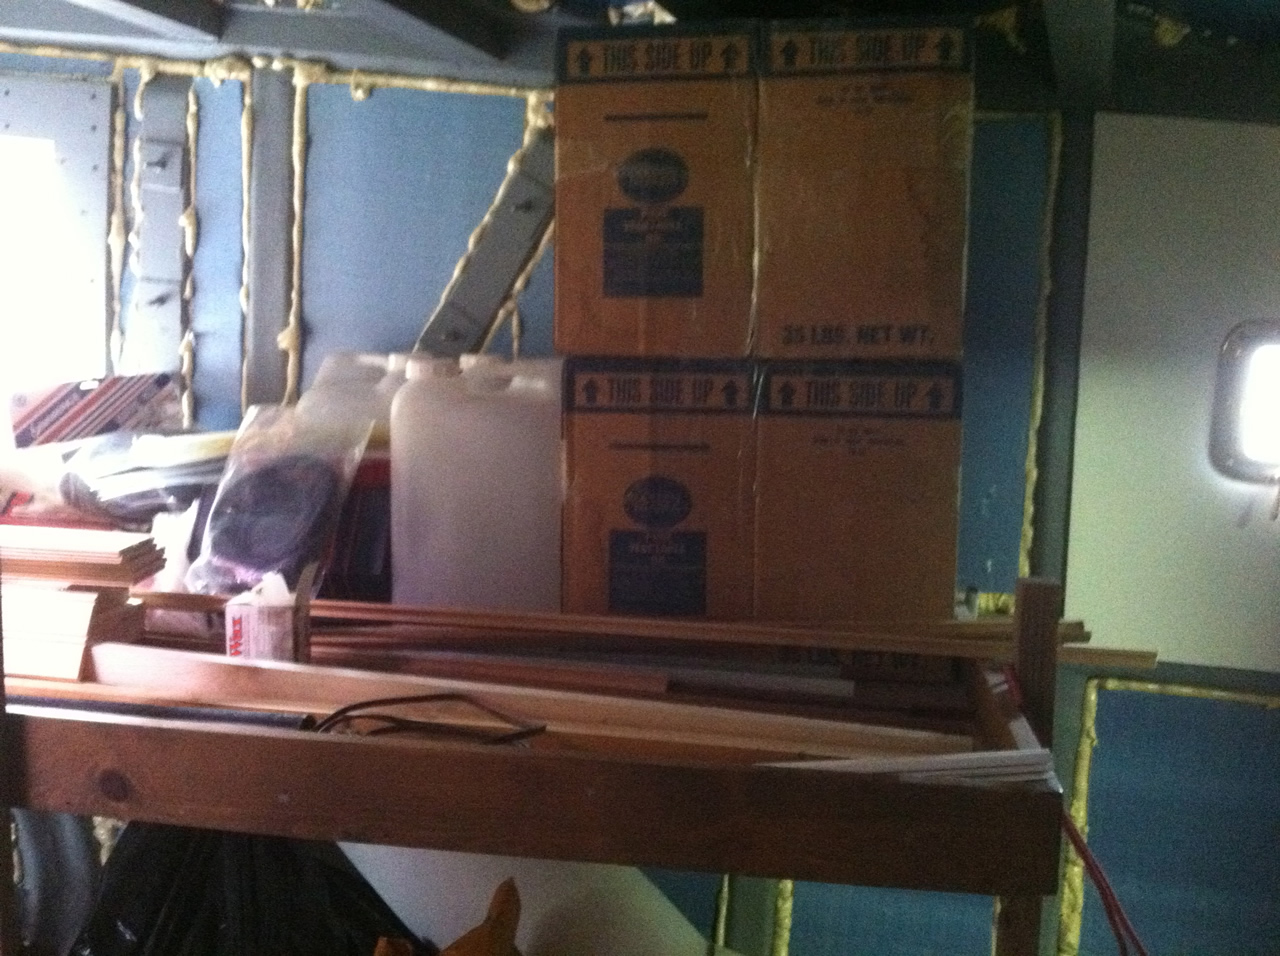
I decided, because it rains a lot, that I need to make very few trips to the work shop. So I decided to build a workshop in the aft cabin to hold all my tools and supplies.
1: Aft deck.
  1. Build steering post.
  2. Re-Install the railing.
2: Steering gear.
  1. Install Helm Hydraulic Cylinder
  2. Finish Fiber glassing the rudder and paint it.
  3. Install Outside Steering Station.
3: Mount and wire the anchor windlass.
4: Sand and refinish all the wood that has been affected by the weather.
5: Re-caulk around all the windows.
6: Figure out the latch system for the boom kin hatch.
7. Head.
  1. Complete the flooring and raised area for toilet.
  2. Thru-hull and plumbing for toilet.
  3. Mount the toilet. (alias the throne)
  4. Install shower and taps for the tub.
  5. Build cabinets, and shelving with sliding doors.
  6. Build the counter top.
  7. Install the pine wainscotting around the portlight.
  8. Install the side walls.
8. V Berth
  1. Build the berth itself.
  2. Build a clothes closet and seat
  3. Build the anchor windlass control system and install.
9. Galley
  1. Finish the cold locker next to the fridge.
  2. Build a pantry for food storage.
  3. Complete the propane stove hookup.
  4. Mount and wire the propane leak sensor and shut off control system.
10. Pilot House
  1. Varathane the oak trim around the ceramic heater platform.
  2. Install a coat rack for wet gear beside the diesel heater.
11. Aft Cabin
12. Connect engine and controls.
13. Install the last 2 port lights in the hull for the aft cabin.
14. Install the starboard side vent tube.
15. Electrical System
  1. Built a shelf to hold the Charger/Inverter
  2. Install and wire it to the electrical service panel.
  3. Separate all the outlets for Shore Power and Inverter outlets.
  4. Run a direct wire for the 120 VAC to the fridge so it's on its own circuit.
  5. Complete the wiring of the service panel.
  6. Run DC wiring to starboard side.
  7. Run AC wiring to the starboard side.
  8. Run cable to charge the anchor windlass battery.
16. Pilot House starboard side under deck work.
  1. Run the hoses for the diesel heater nurse tank.
  2. Insulate under the starboard deck that was replaced due to rot.
  3. Re-install the fuel inlet port.
  4. Sand and stain the ceilings.
  5. Clean it up ready for storage.
  6. Hook up the diesel filler to the tank.
  7. Repair the vent line for the fuel tank.
  8. Install new nurse tank pump and water separator/filter.
  9. Install thru-hull connection for the forward bilge pump.
17. Port side fuel filler reinstall.
18. Helm
  1. Complete the panel behind the ship's wheel.
  2. Install and finish the floor.
  3. Build the Captain's seat and storage cabinet.
  4. Install doors to cover up the electrical and plumbing.
  5. Engine Instrument panel.
  6. Install deck plates for access to the fuel tank inhelm floor.
19. Pilot House - Trim
  1. Complete the railing between pilot house and galley, both sides.
  2. Molding around all the floor sections.
  3. Small stairs leading to Aft Cabin.
20. Work Shop
  1. Cover in the ceilings
  2. Install drawers .
  3. Install sliding cabinet doors.
  4. Mount vise