First thing I needed to do was figure where to mount the inverter/charger.
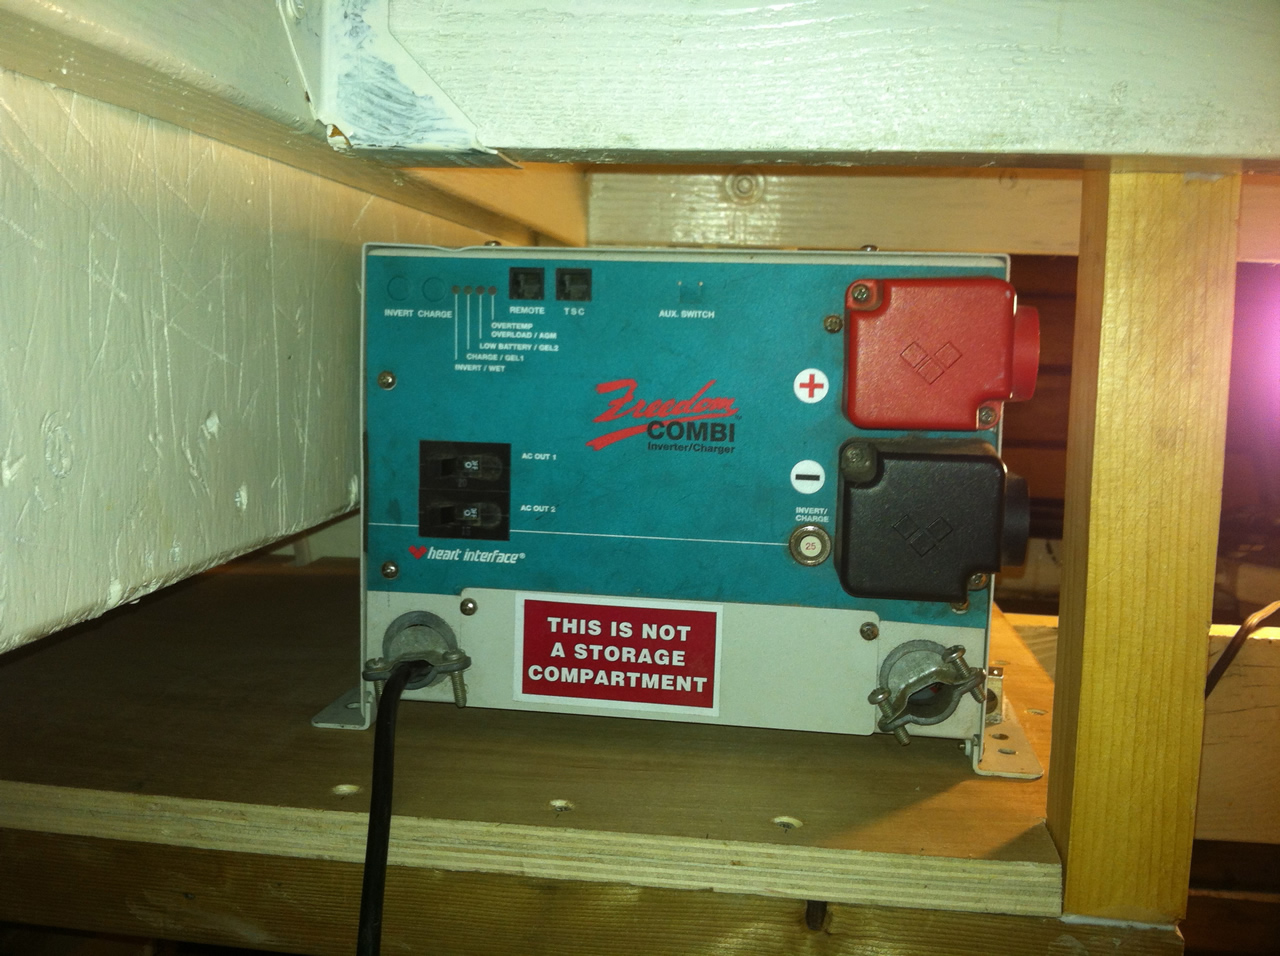
I need to be able to get to is if a breaker trips, so I decided to mount it under the seatee where I can get at it through the hatch.
|
 |
 |
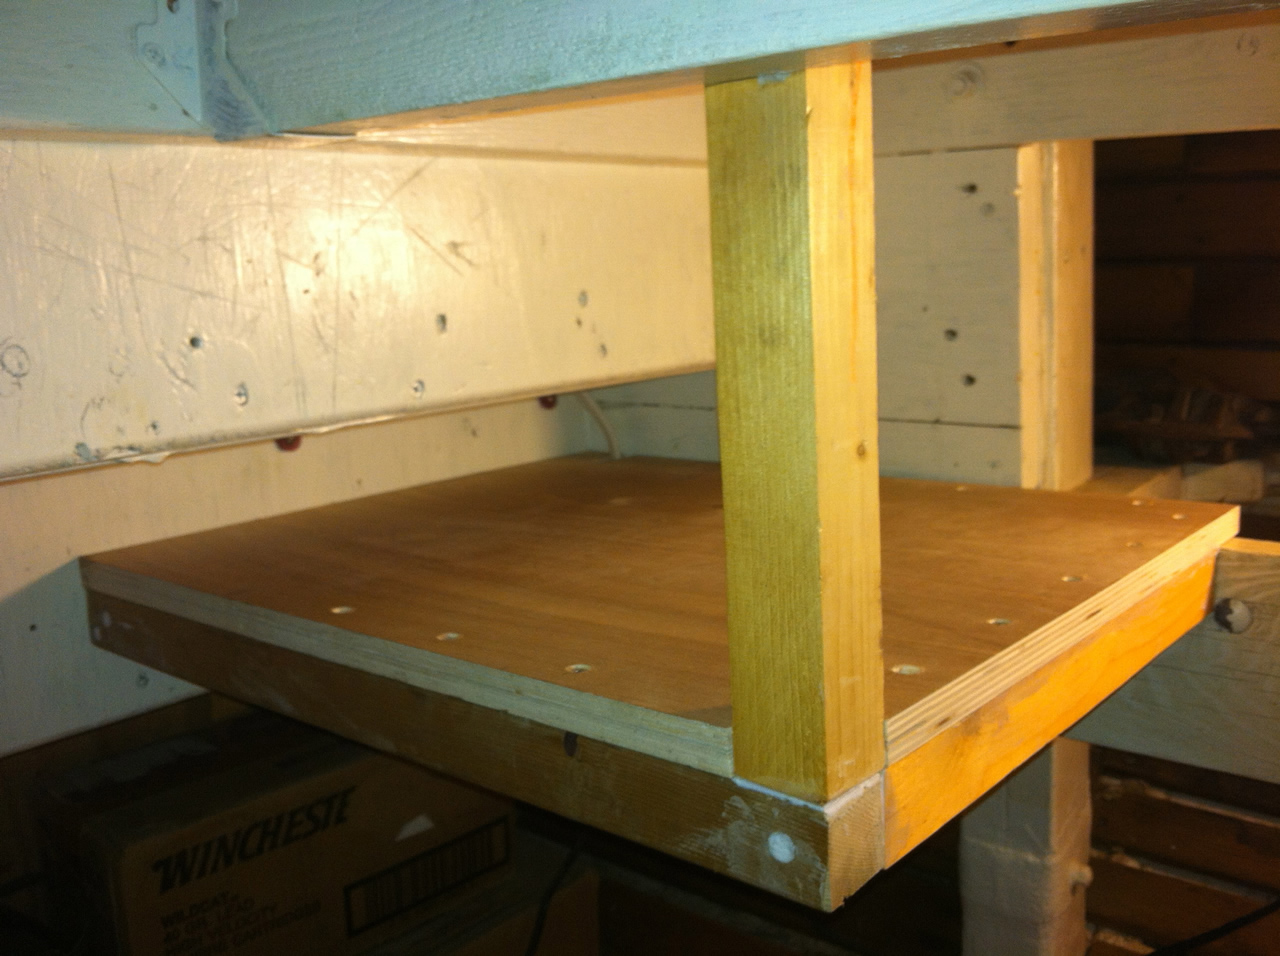
| Here is the beginning. Build a shelf where there was nothing but air before. |
Set it in place to make sure it fits. Now for the paint and wiring. |
| |
|
 |
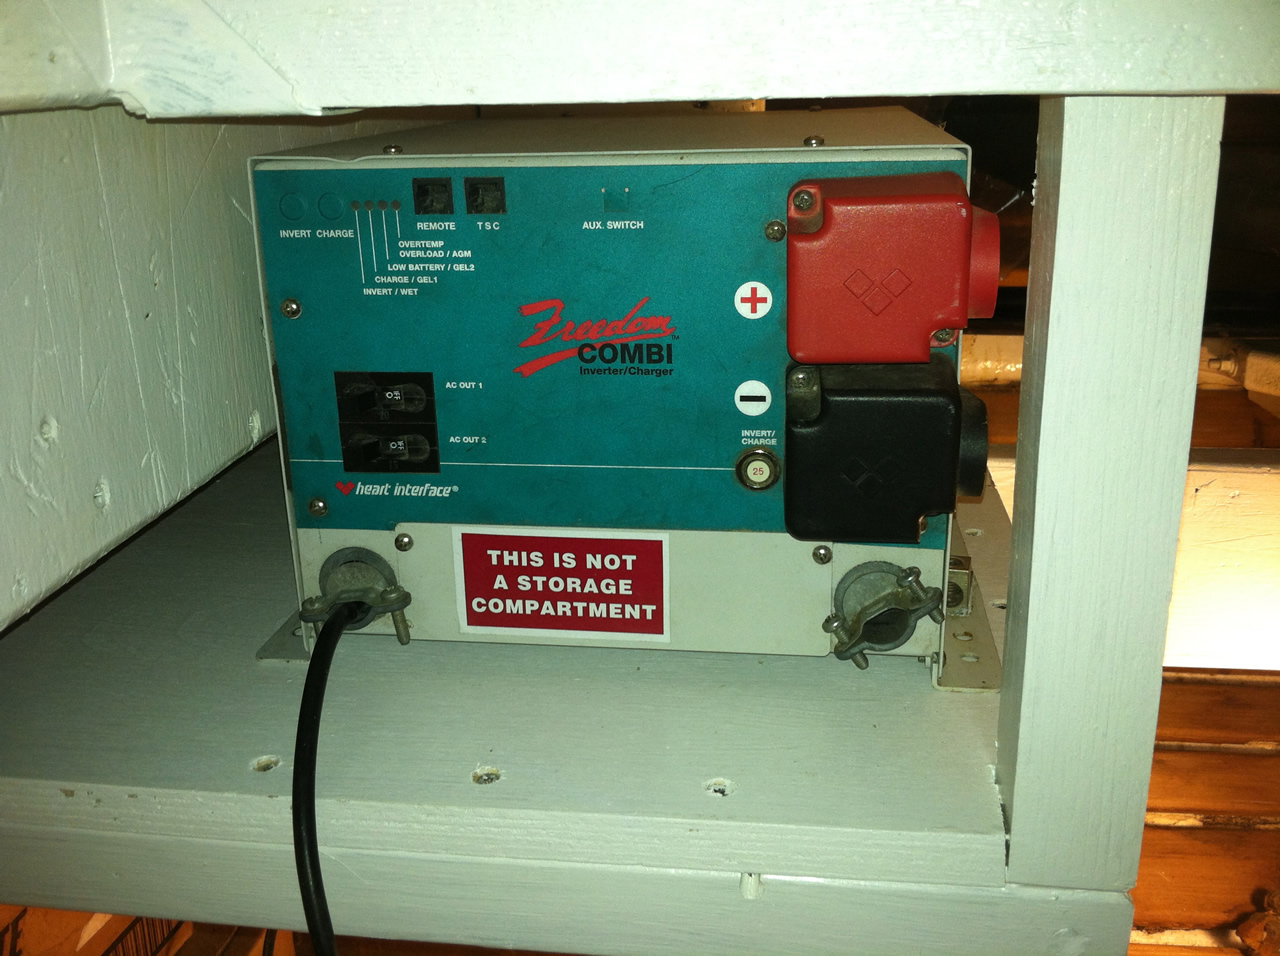 |
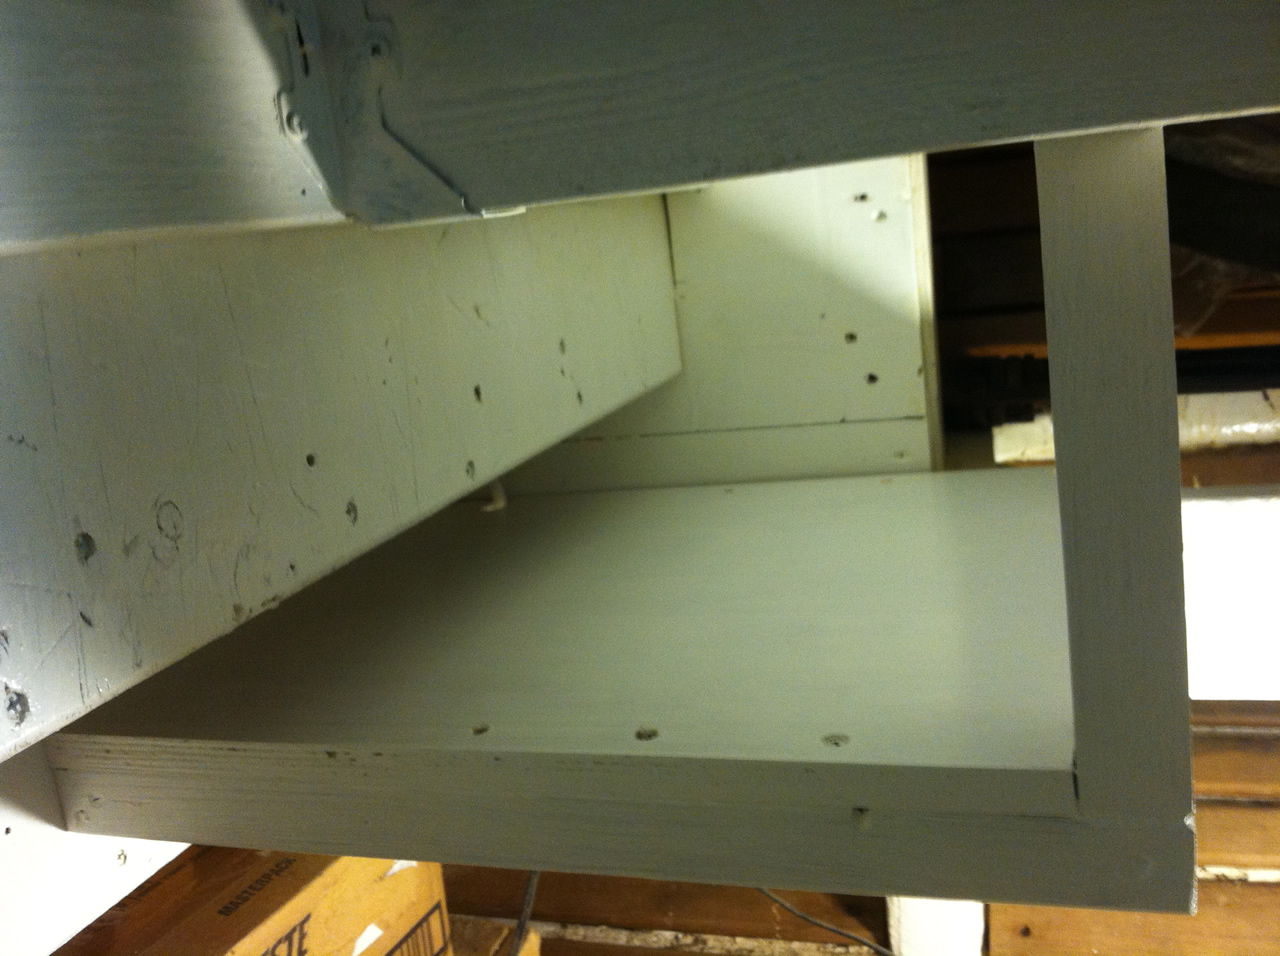
| Painted and ready to mount the inverter/charger. |
Back again, it still fits, now for the fun part. |
| |
|
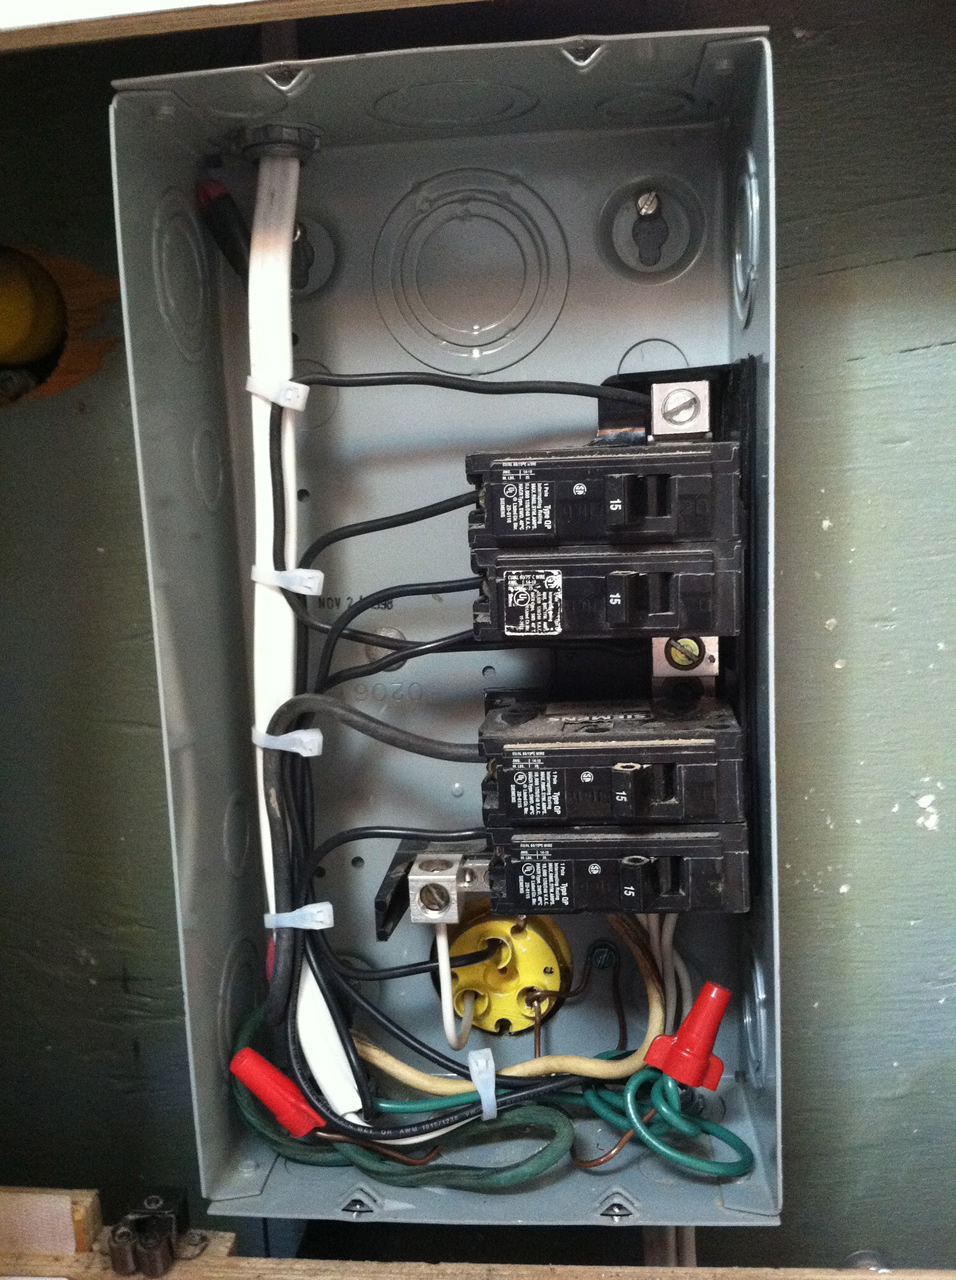 |
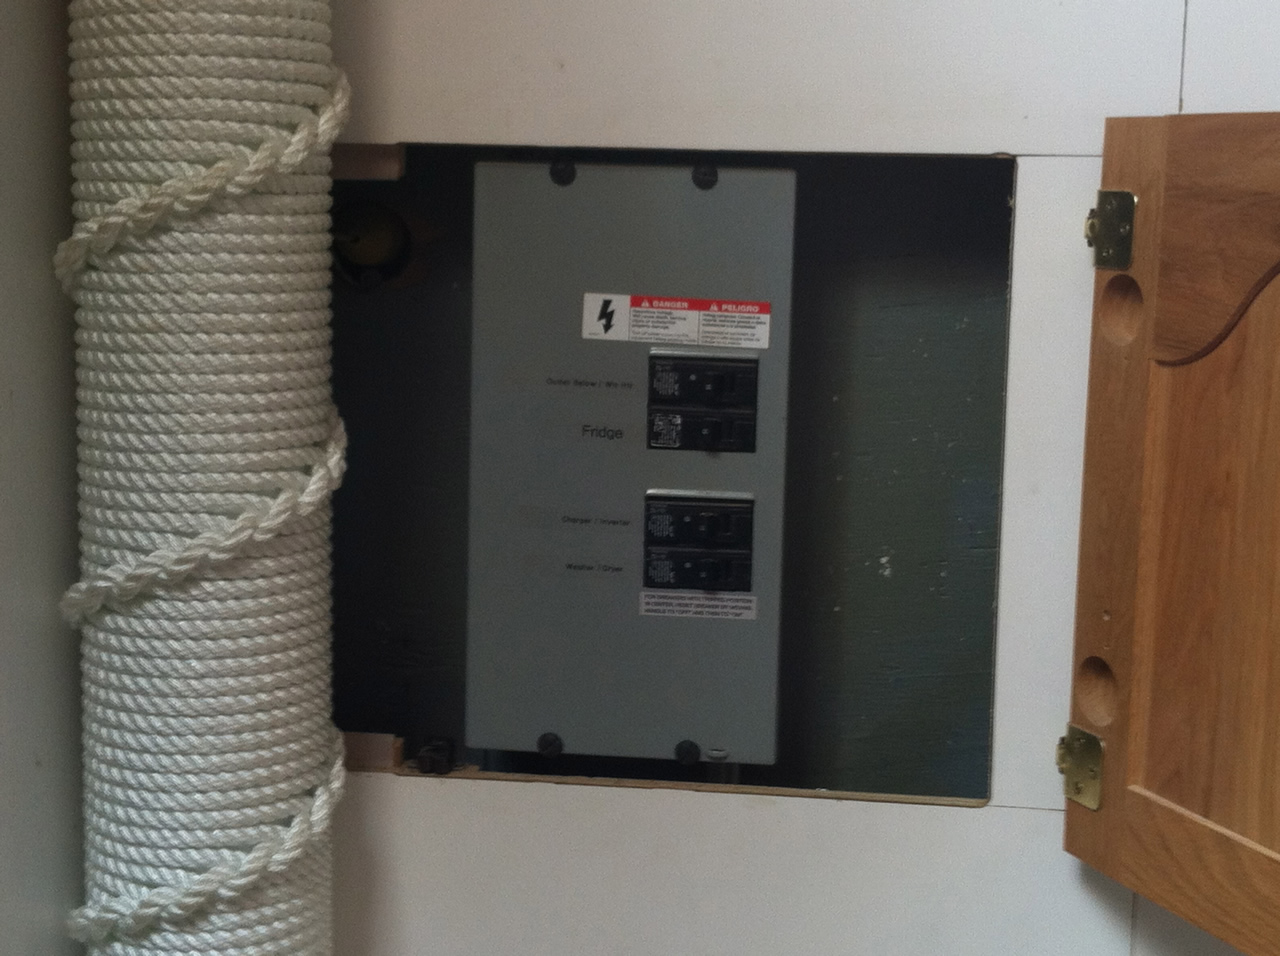 |
| Service panel completed. |
Labeled and closed in, a major milestone. |
| |
|
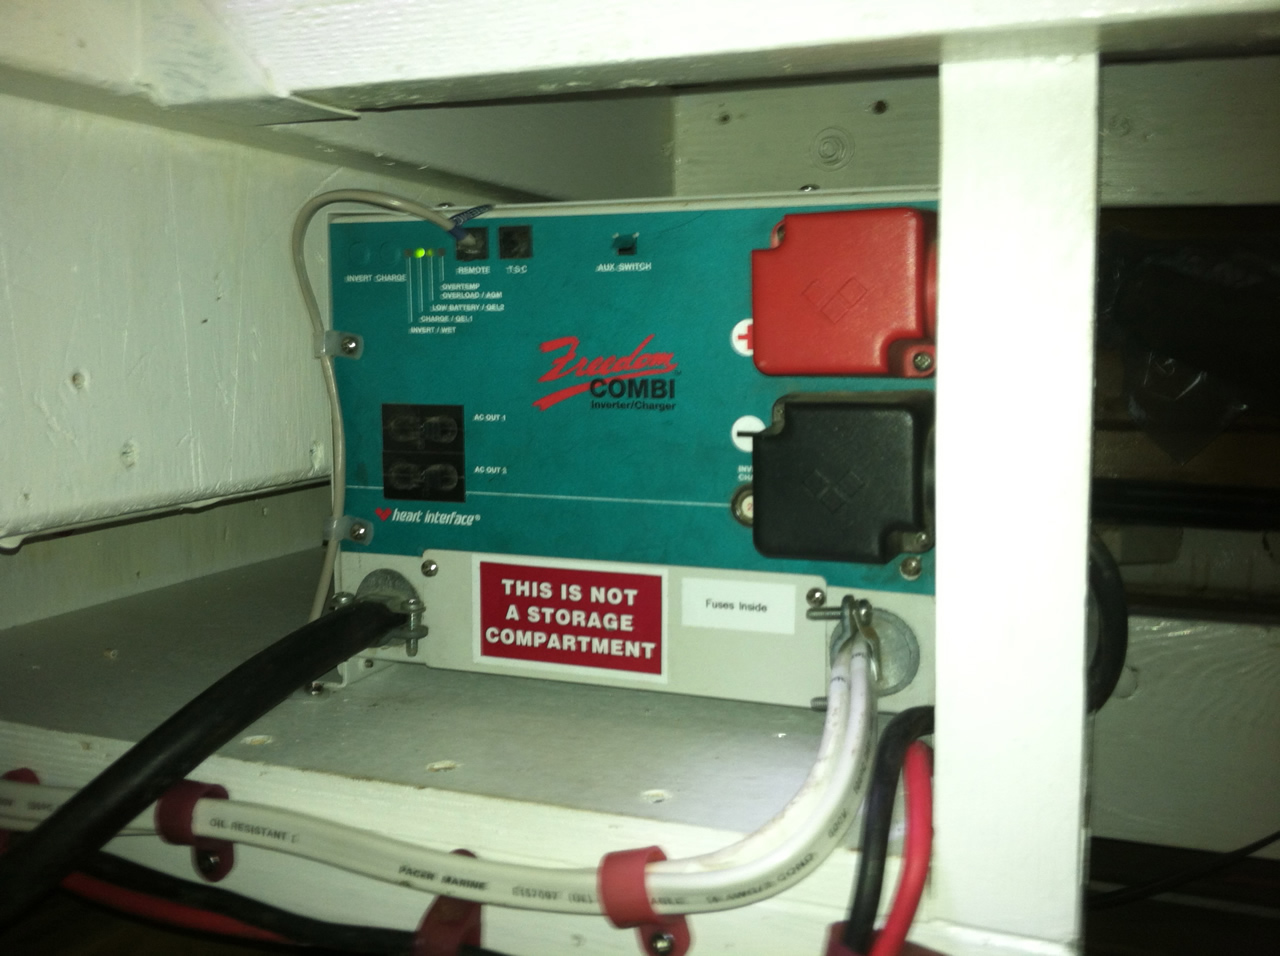 |
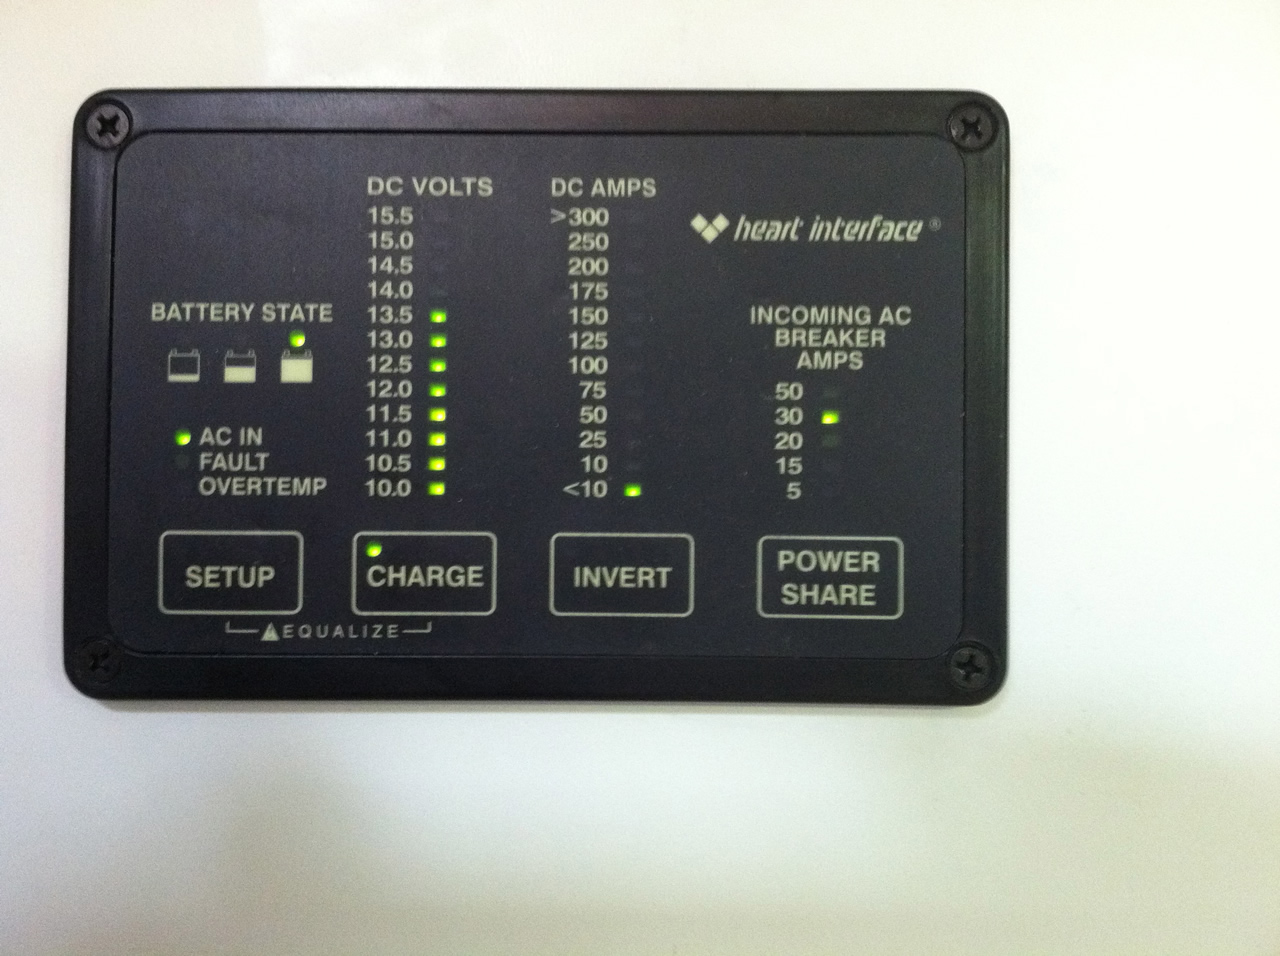 |
| Inverter/charger in its new home. |
Inverter/Charger remote control mounted and working. |
| |
|
 |
 |
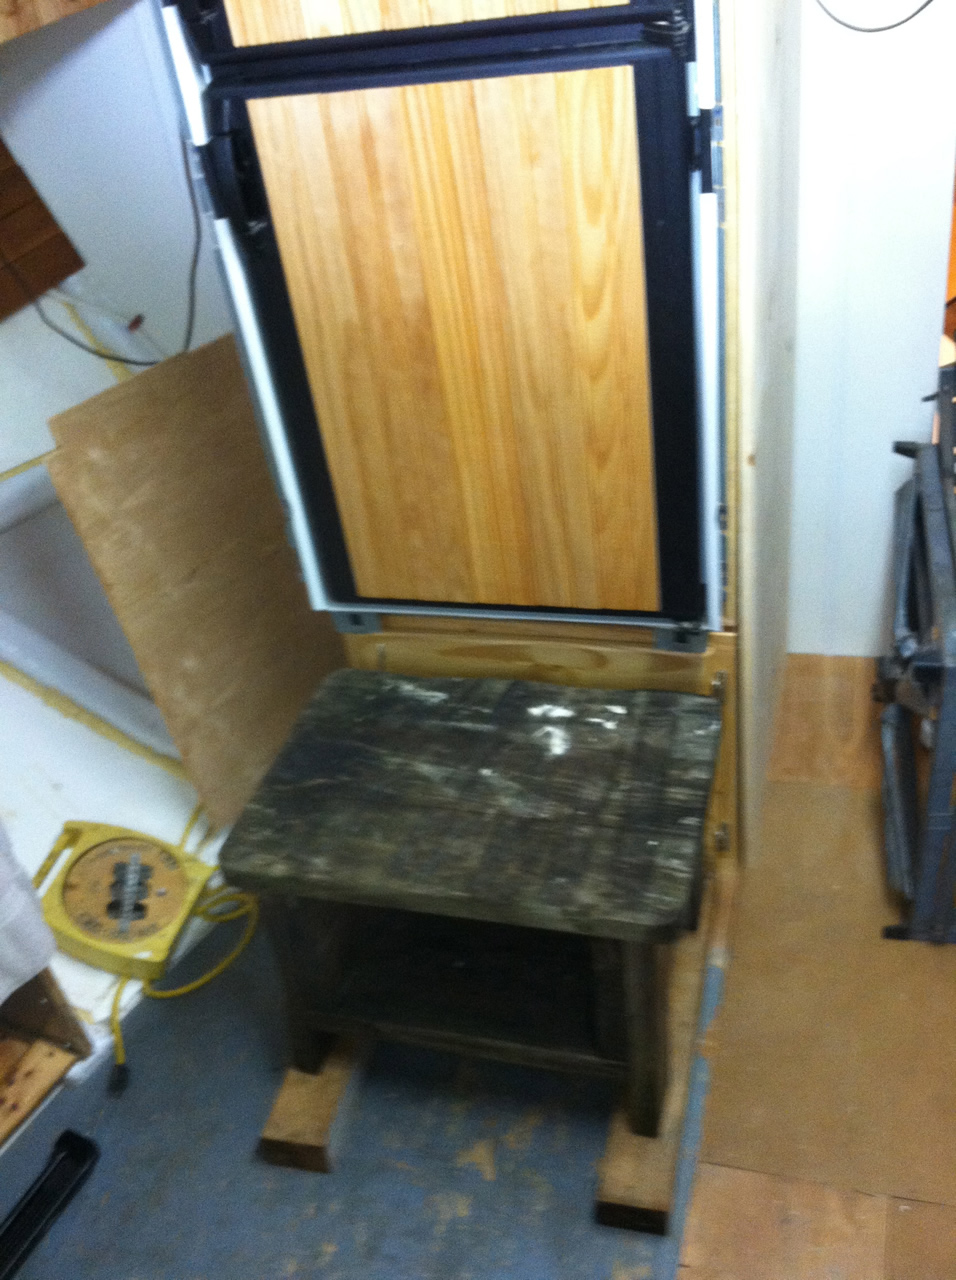
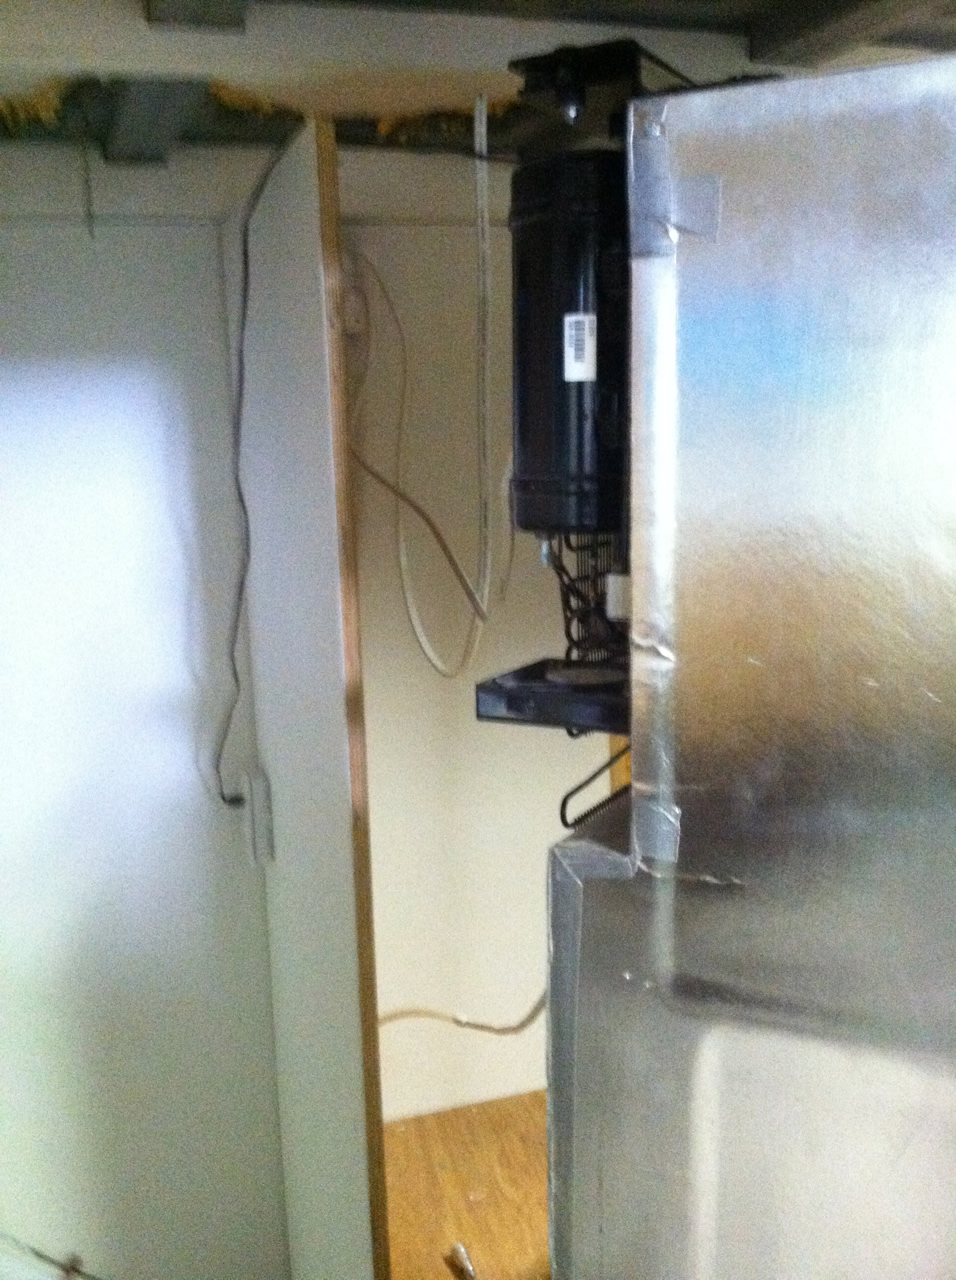
In order to run a sperate wire for the 120 VAC for the fridge I had to get at the back of it. So I figured if I had something the same height I could slide it on, and make it easy to work with.
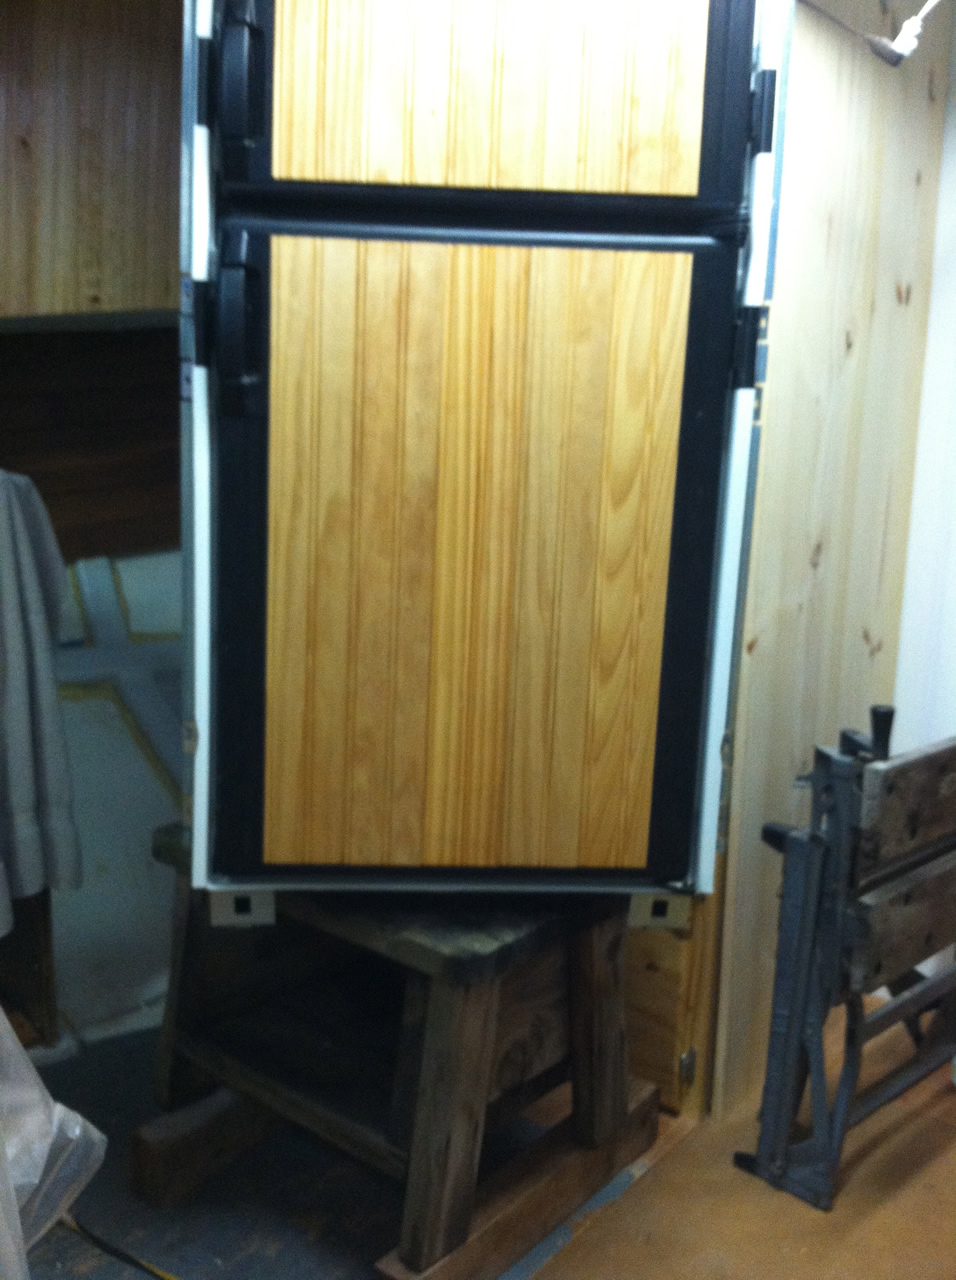
This beats lifting it in and out. So here is a stool I found and with 2, 4 by 4's it will work just fine. |
Pull it out, sit it on the stool and now I can work in behind. |
| |
|
 |
 |
| Pulled the old wire from the box on the left and hooked up a new wire running across the pilot house ceiling. |
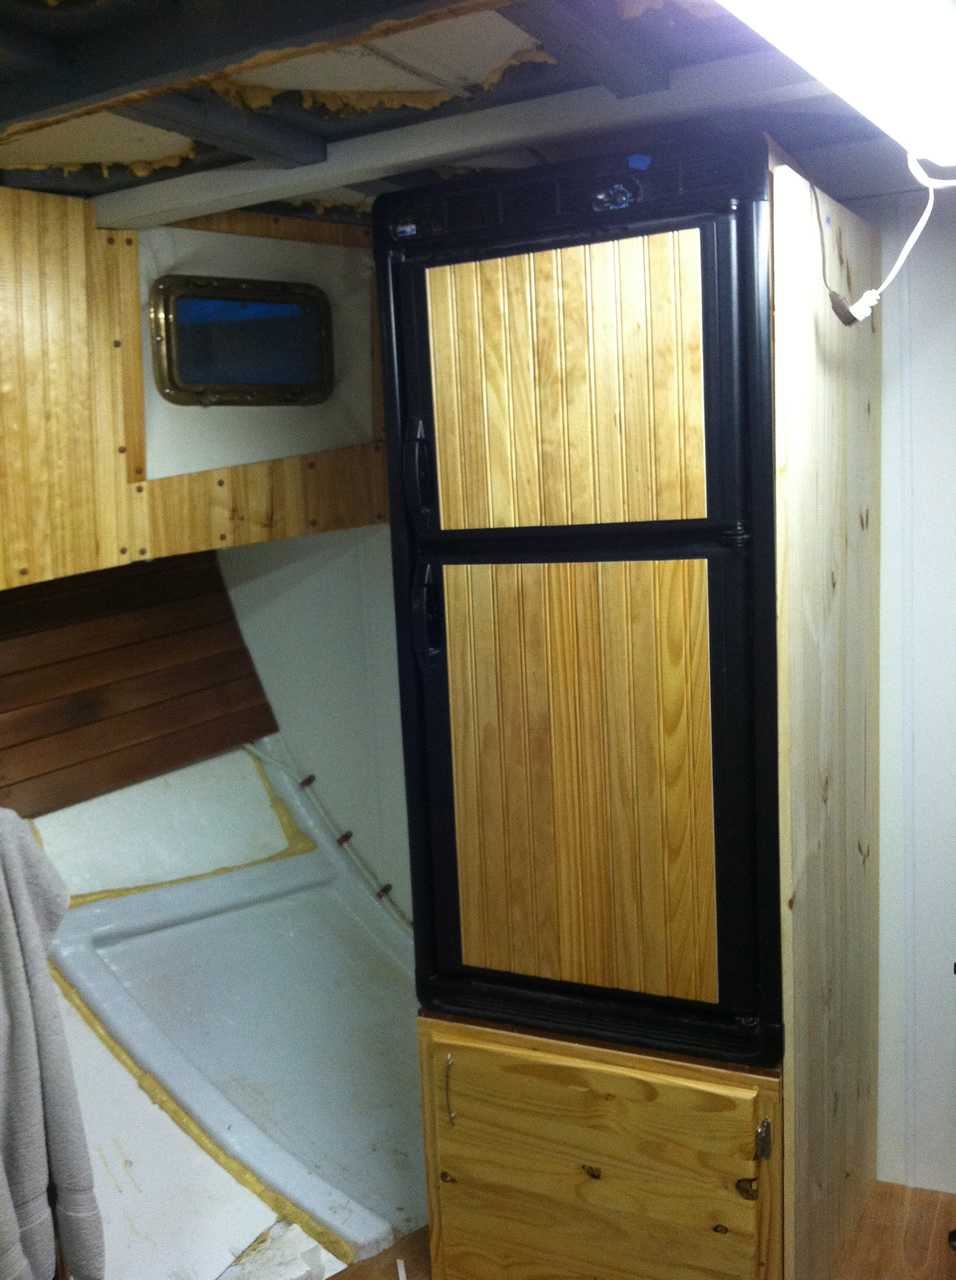
Back in place like nothing happened. It seems you can work for days and see nothing has changed. |
| |
|
 |
|
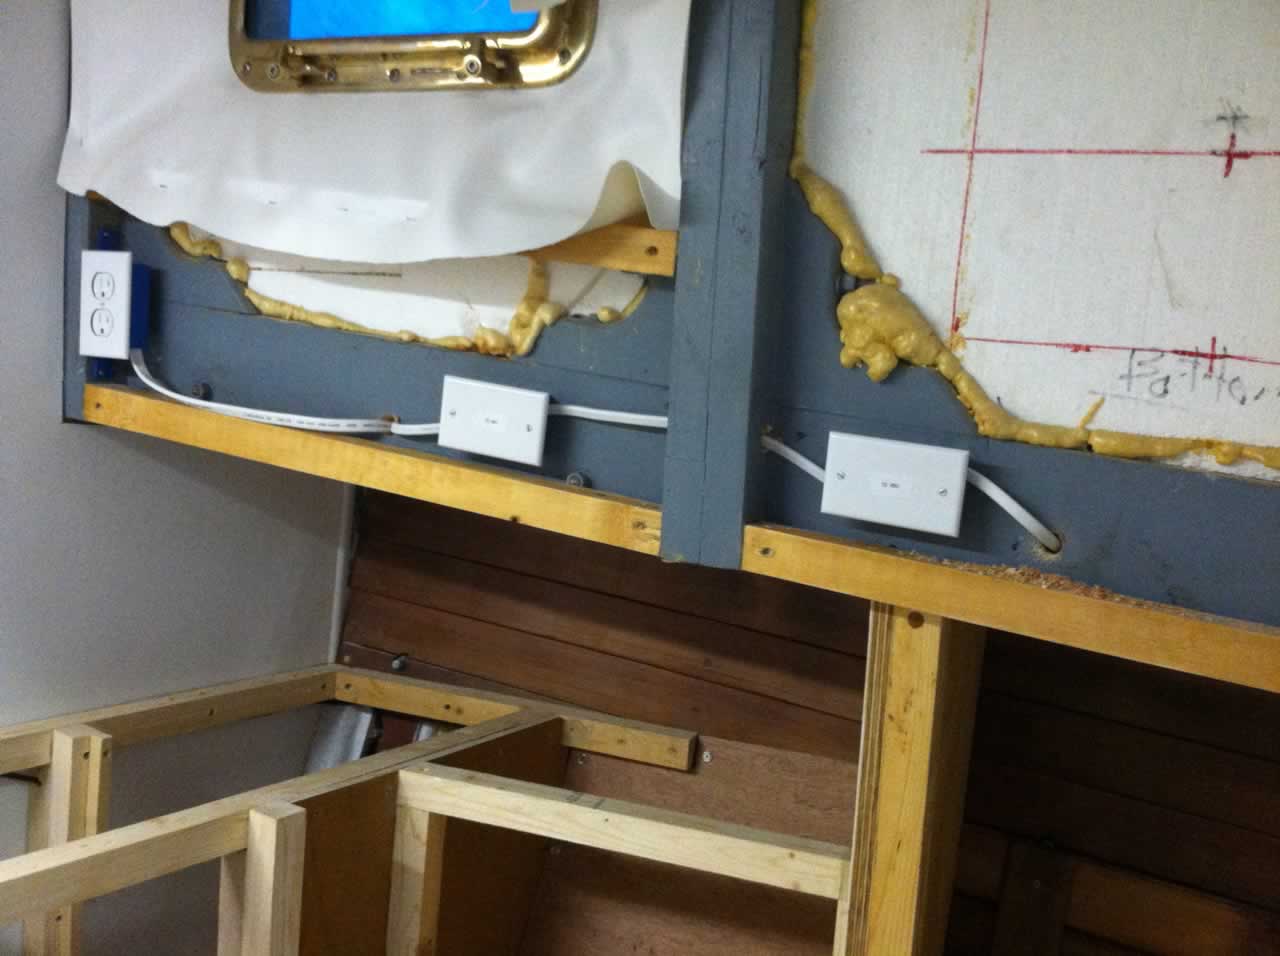
| All done. You can see the 120 VAC outlet and the 2 feeds for the 12 volt stuff in the head. I ran # 12 wire to these junction boxes. From these we will attach the 12 volts lights. |
|
| |
|