The Head. What can I say, only the most important place on the boat, except for the galley. In computer speak, the galley is for "Input" and the head is for "Output"
|
 |
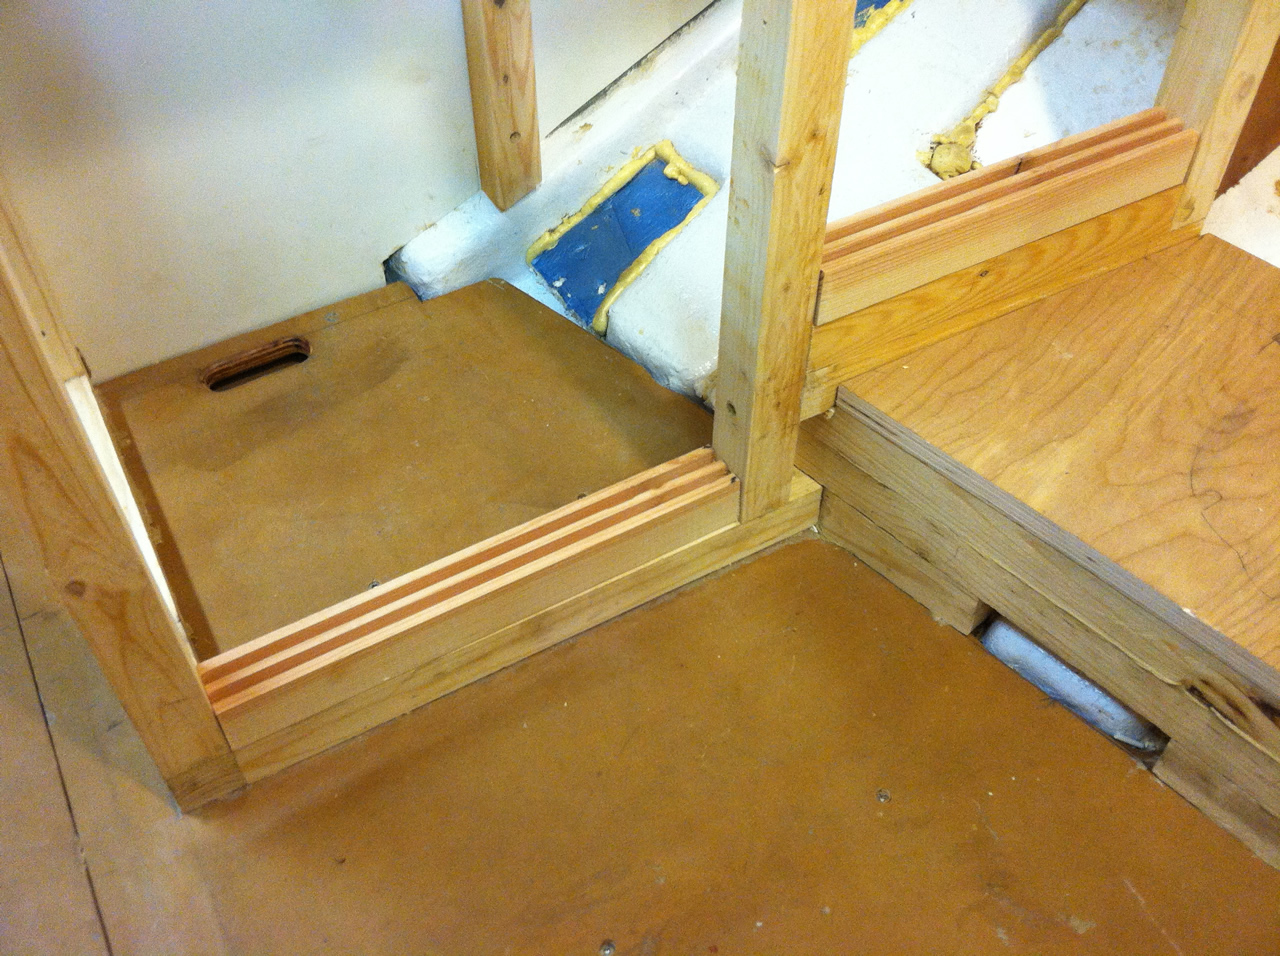 |
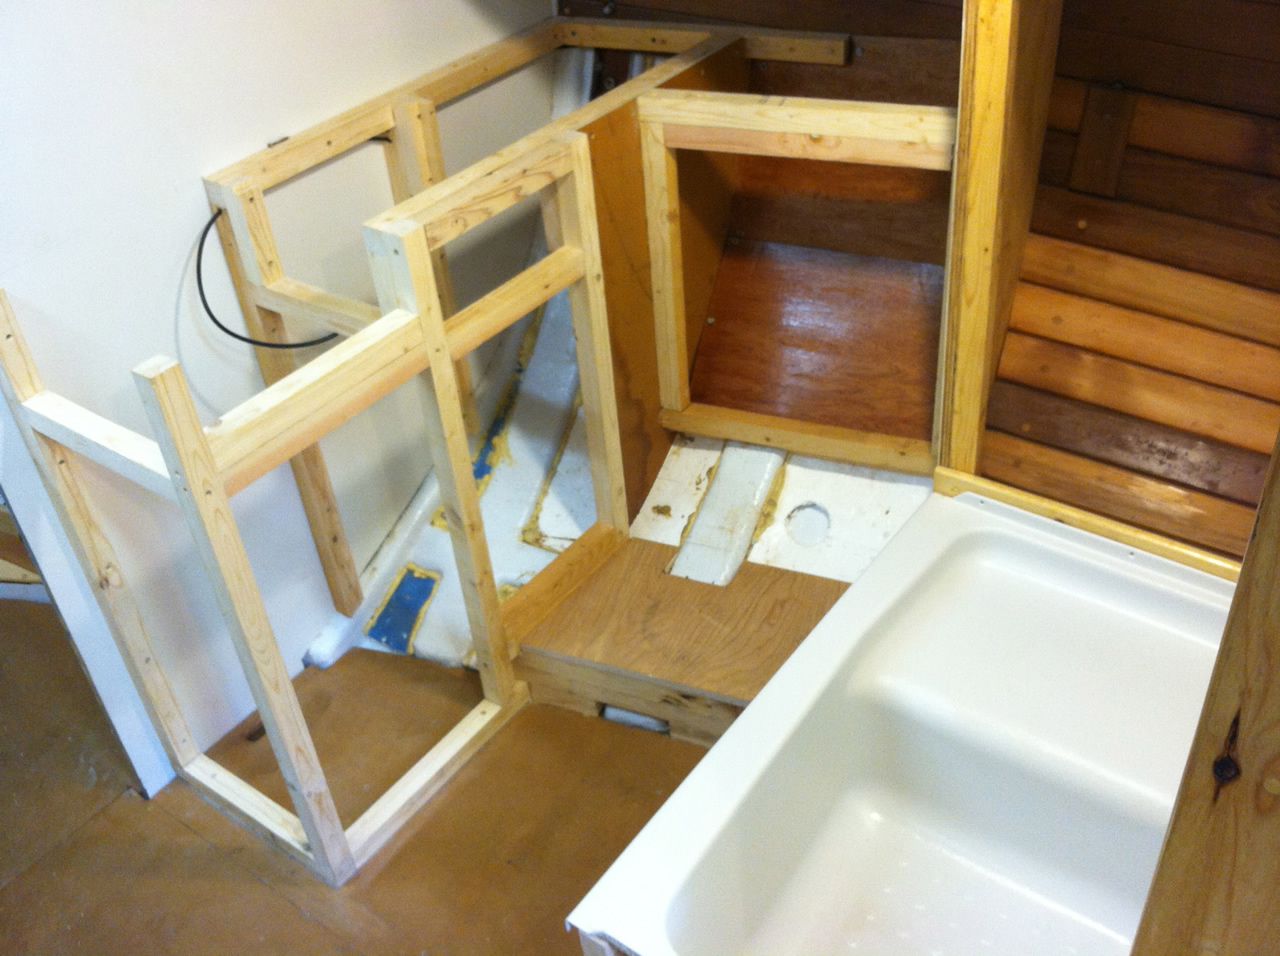
| Here is the beginning for this year. This has more angles in small places that you can image. |
The first thing I did was cut and fit the 2 bottom pieces for the sliding doors in the forward area. Once we decided to do the sliding door thing throughout the boat the design got a lot easier. |
| |
|
 |
 |
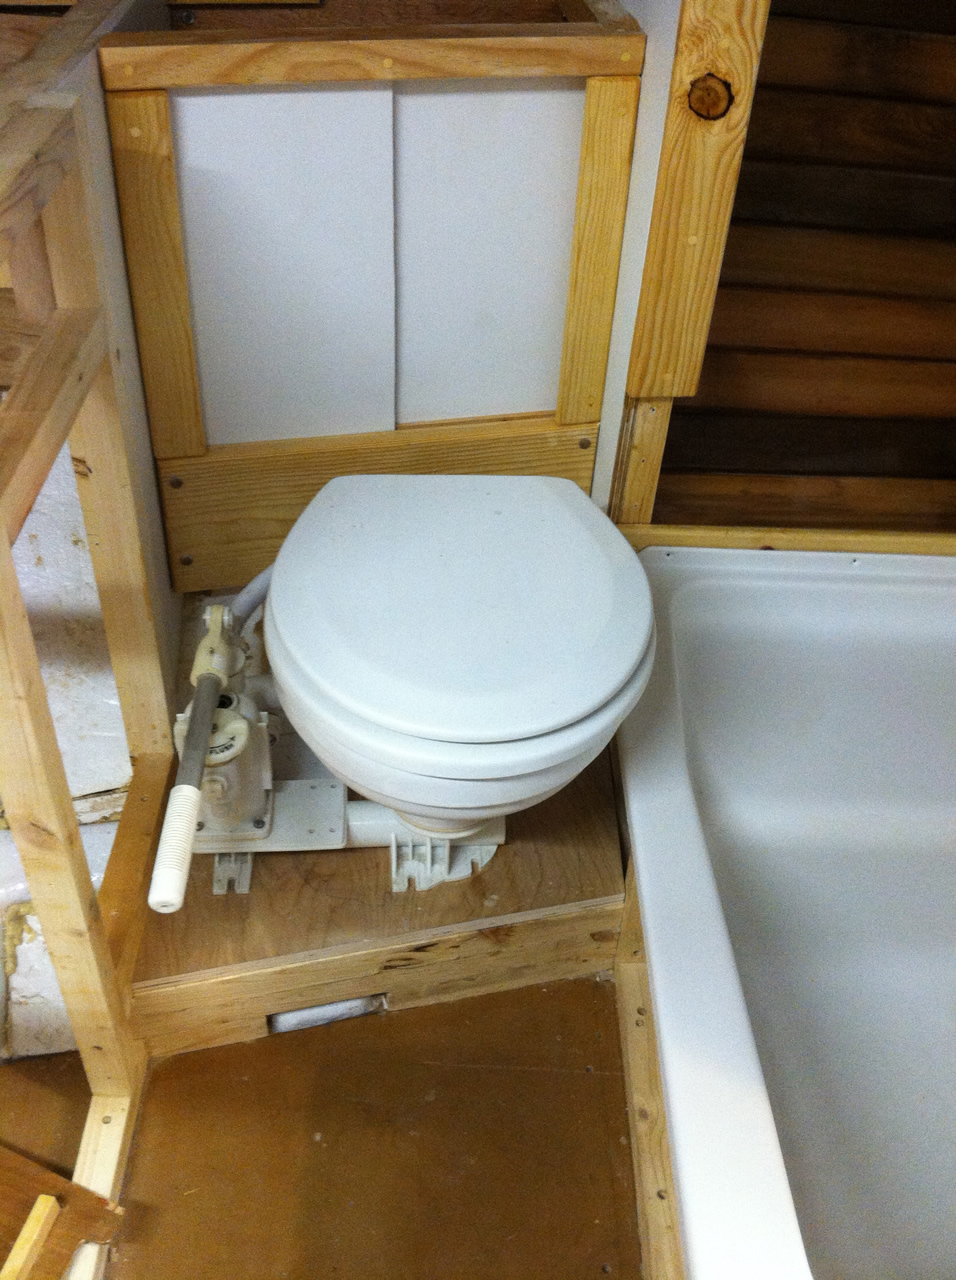
| I also found out that I could switch the toilet pot around so it is on the other side. The pump handle is now on the cabinet side and my ass can now hang over into the tub area, which gives it a lot more room. |
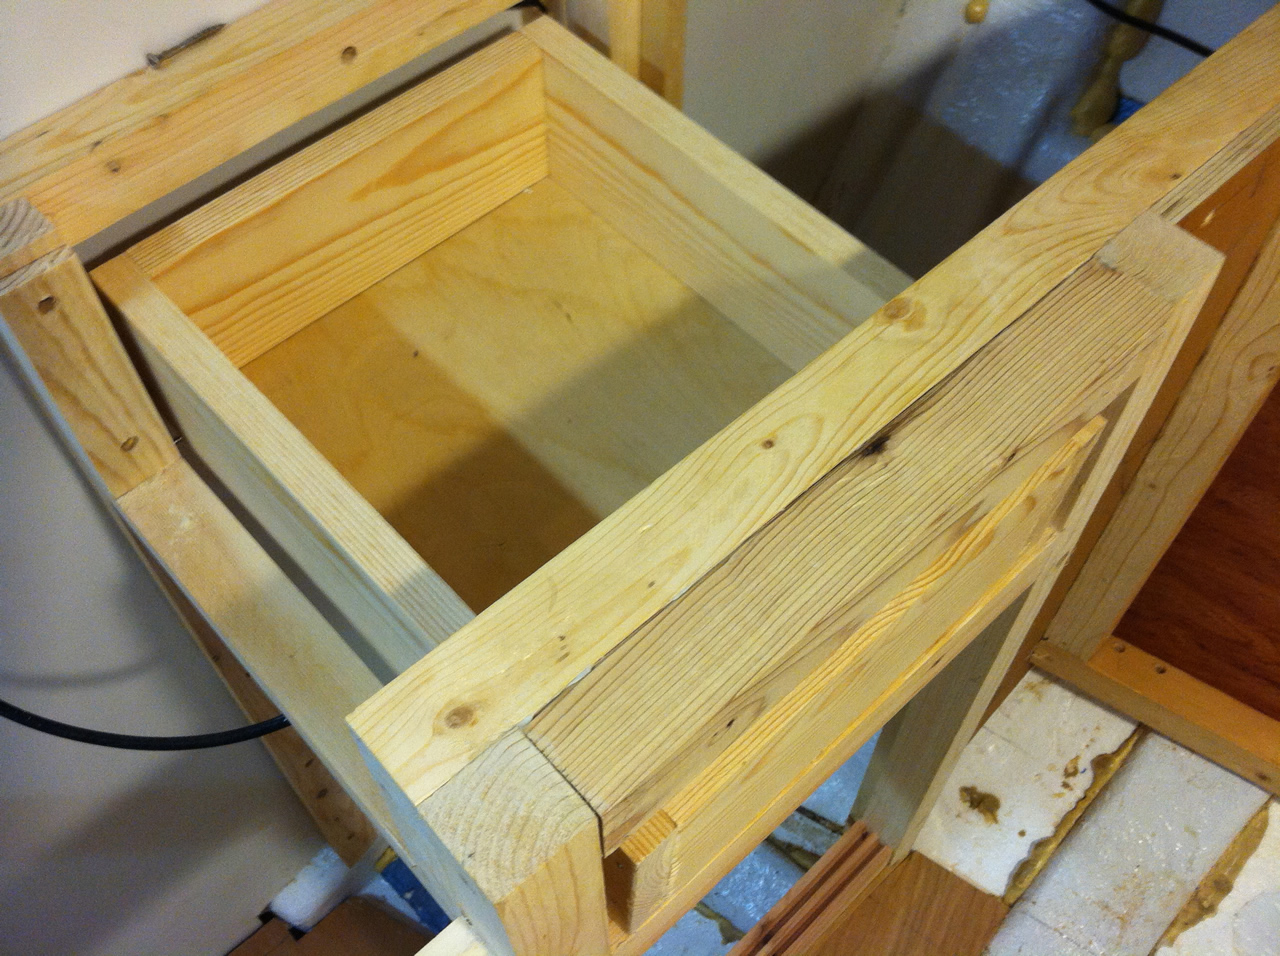
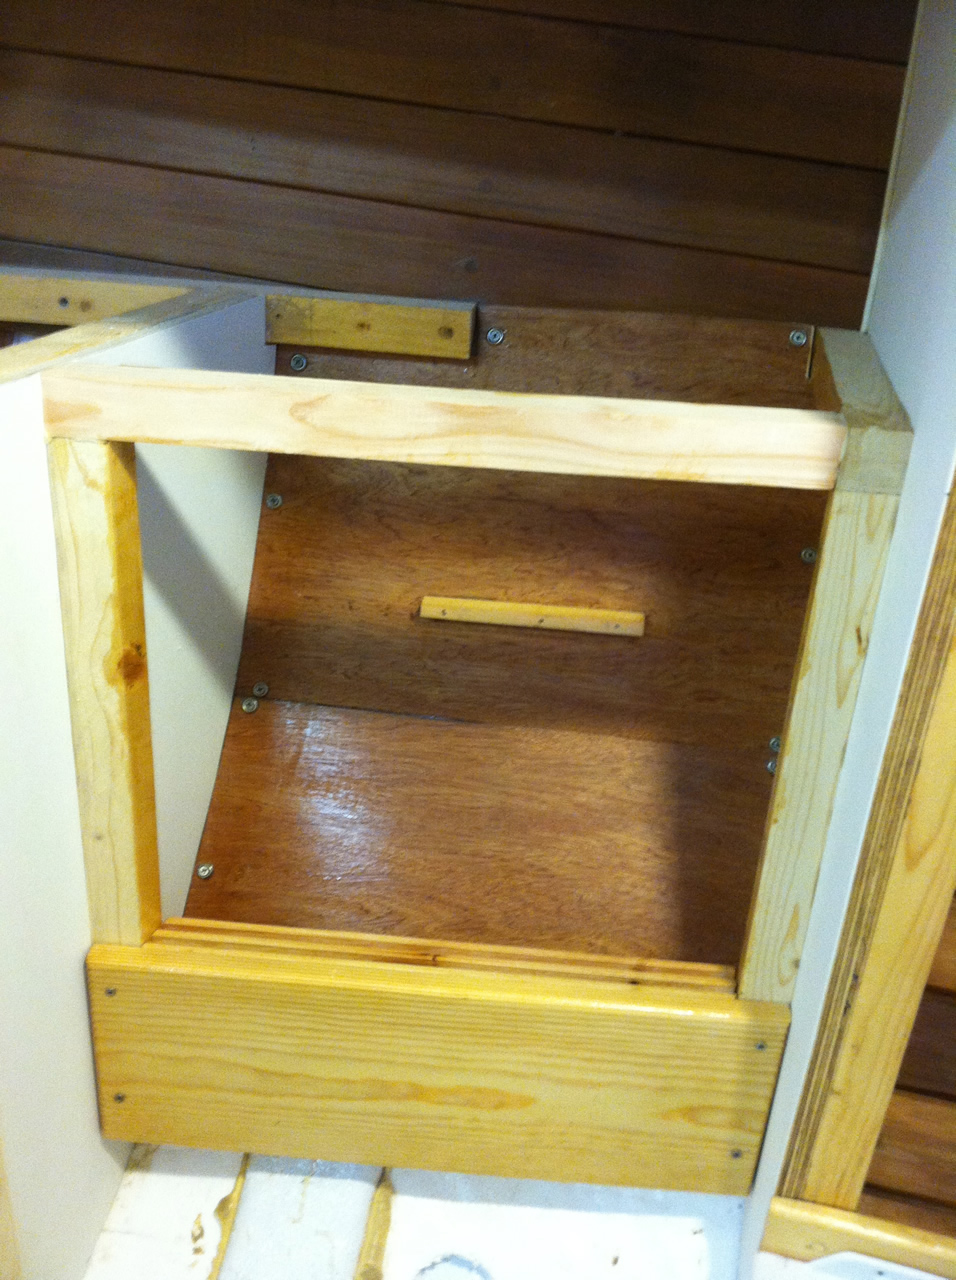
Now that I don't need to indent the side of the cabinet I can put in a drawer. Here is a new drawer roughed in. |
| |
|
 |
 |
| Here is the bottom of the middle shelf all done. This has to be able to be removed so the sliding doors can be installed. |
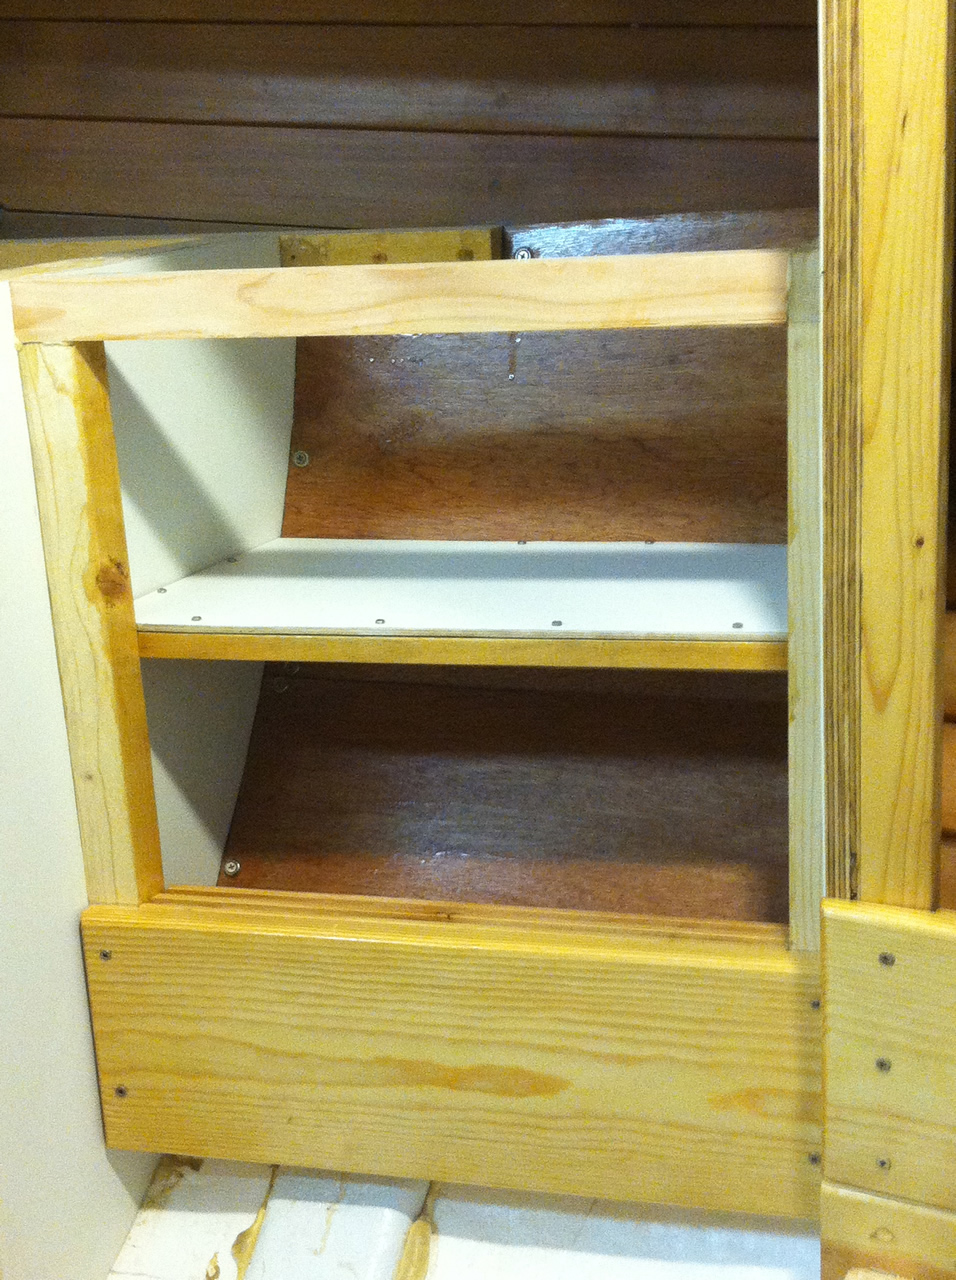
The shelf is now in place. |
| |
|
 |
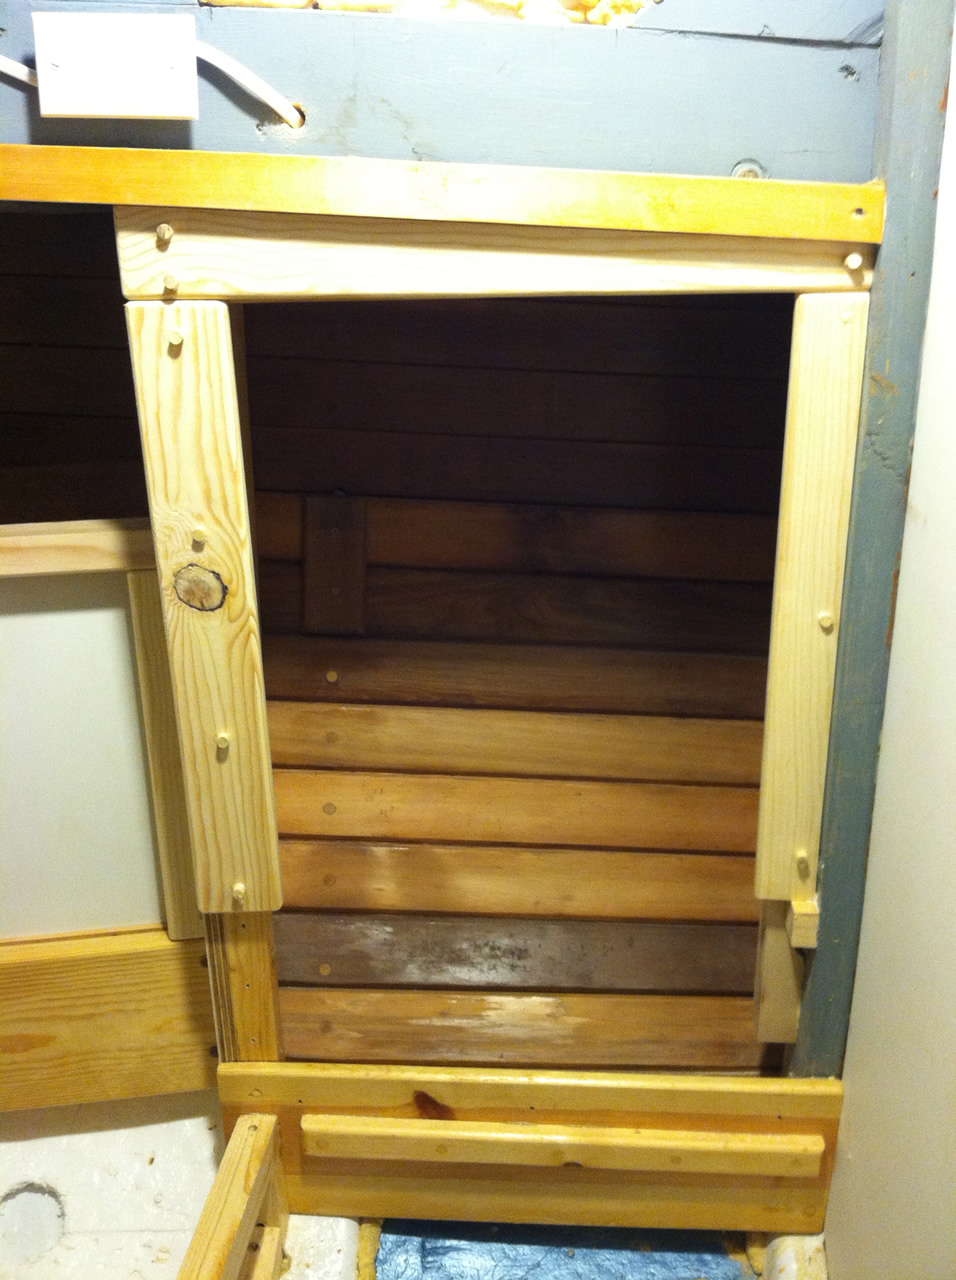 |
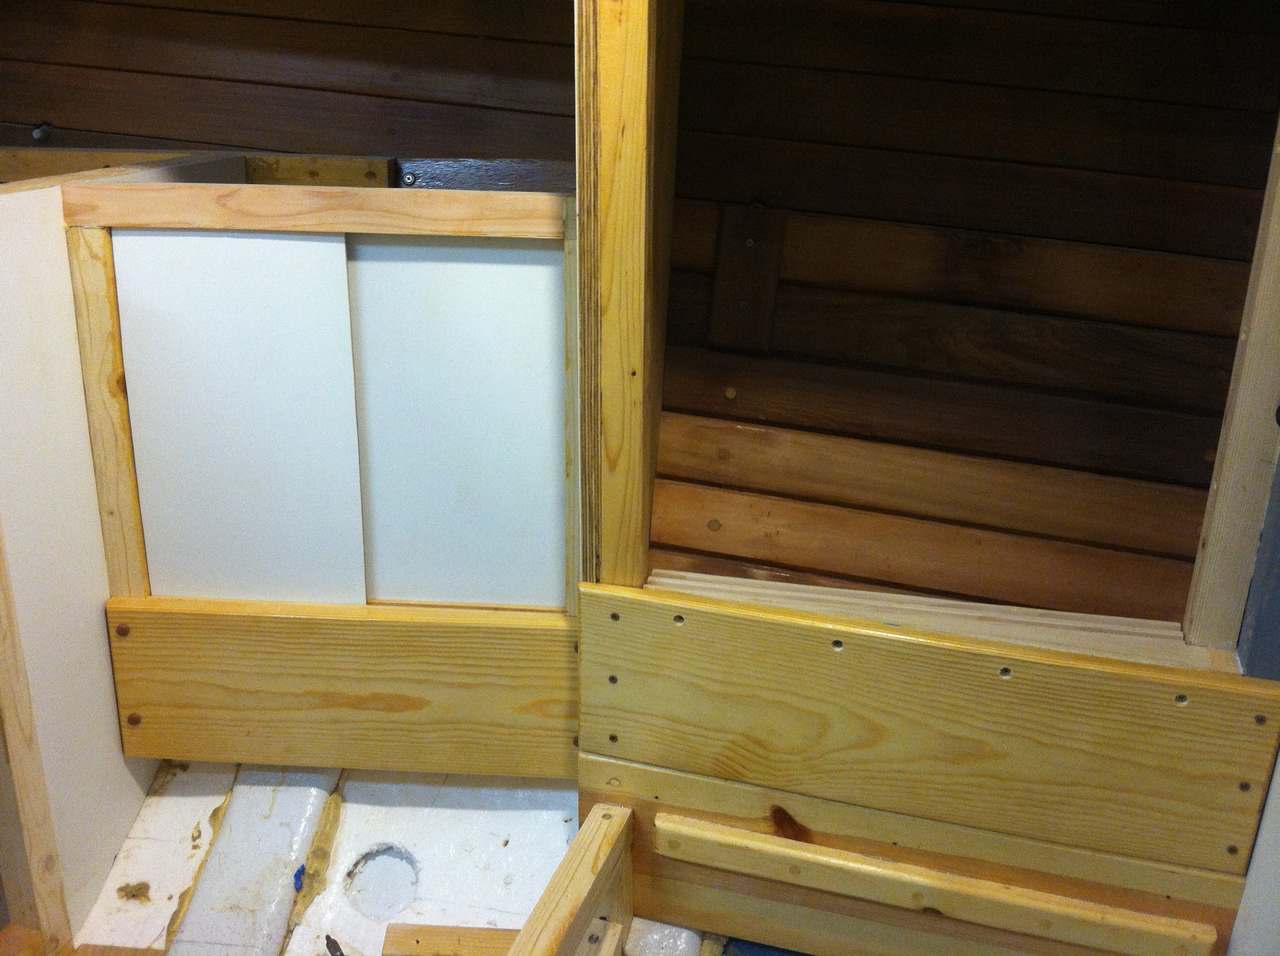
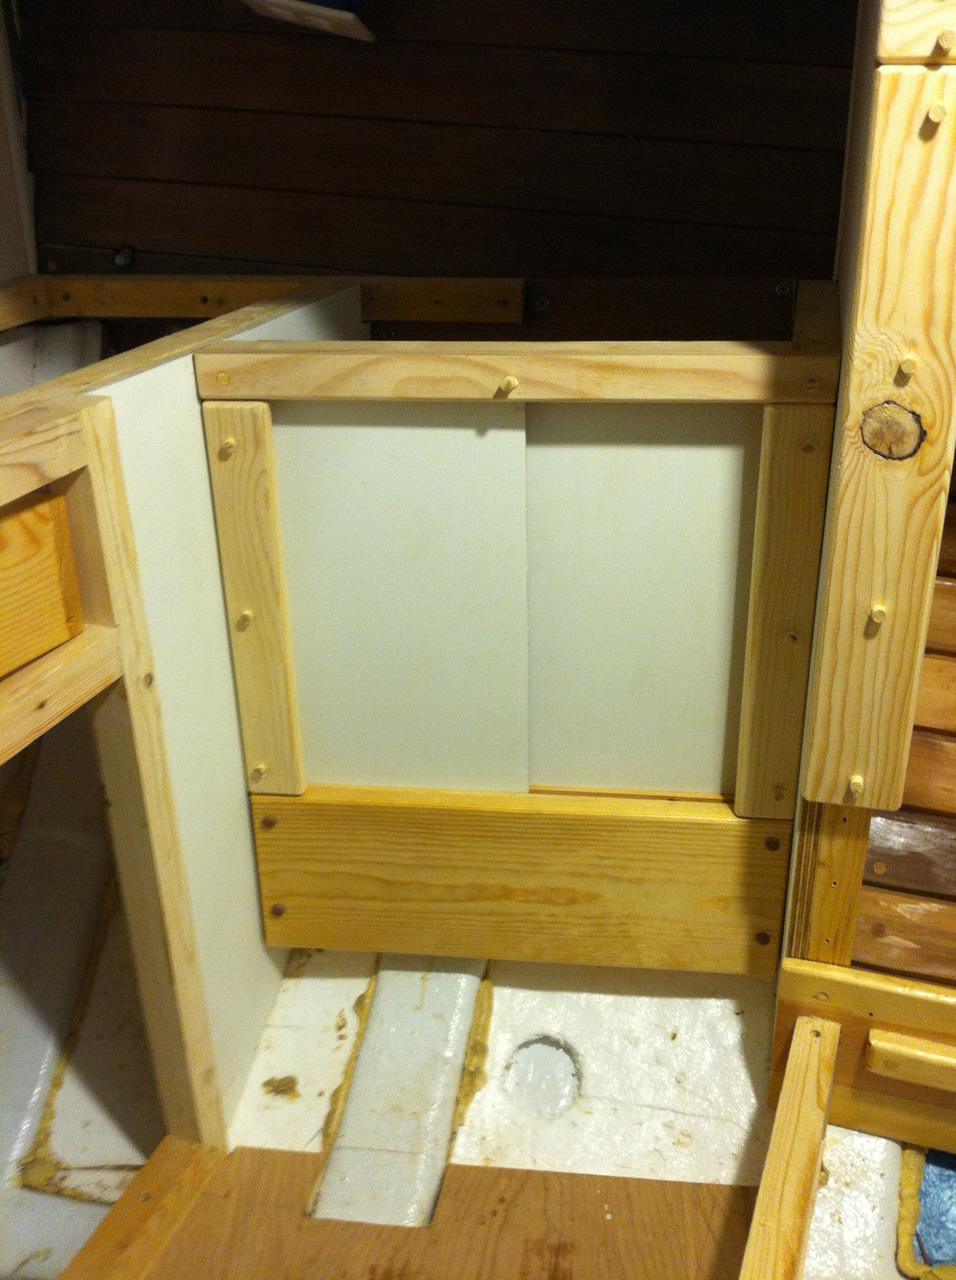
| Here you can see the doors in place and the bottom section for the shelf behind the tub. The angles here were simply insane as you can see. |
Trim is installed with the plugs ready to sand off. I removed the bottom piece so it won't accidently get glued in. It too needs to be removable. |
| |
|
 |
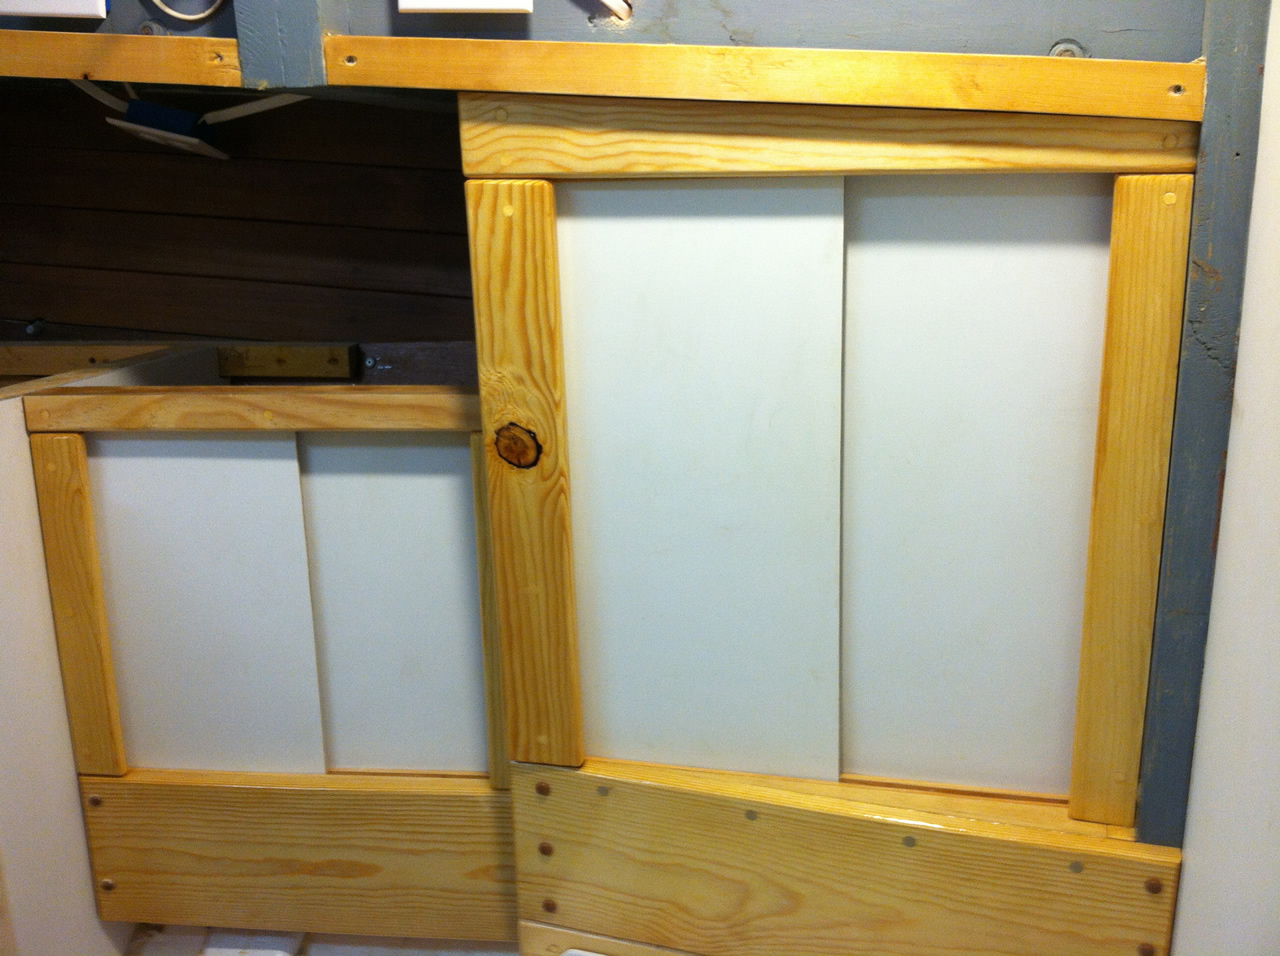 |
| Trim installed and plugged for this shelf. As you can see it is slowly coming together. |
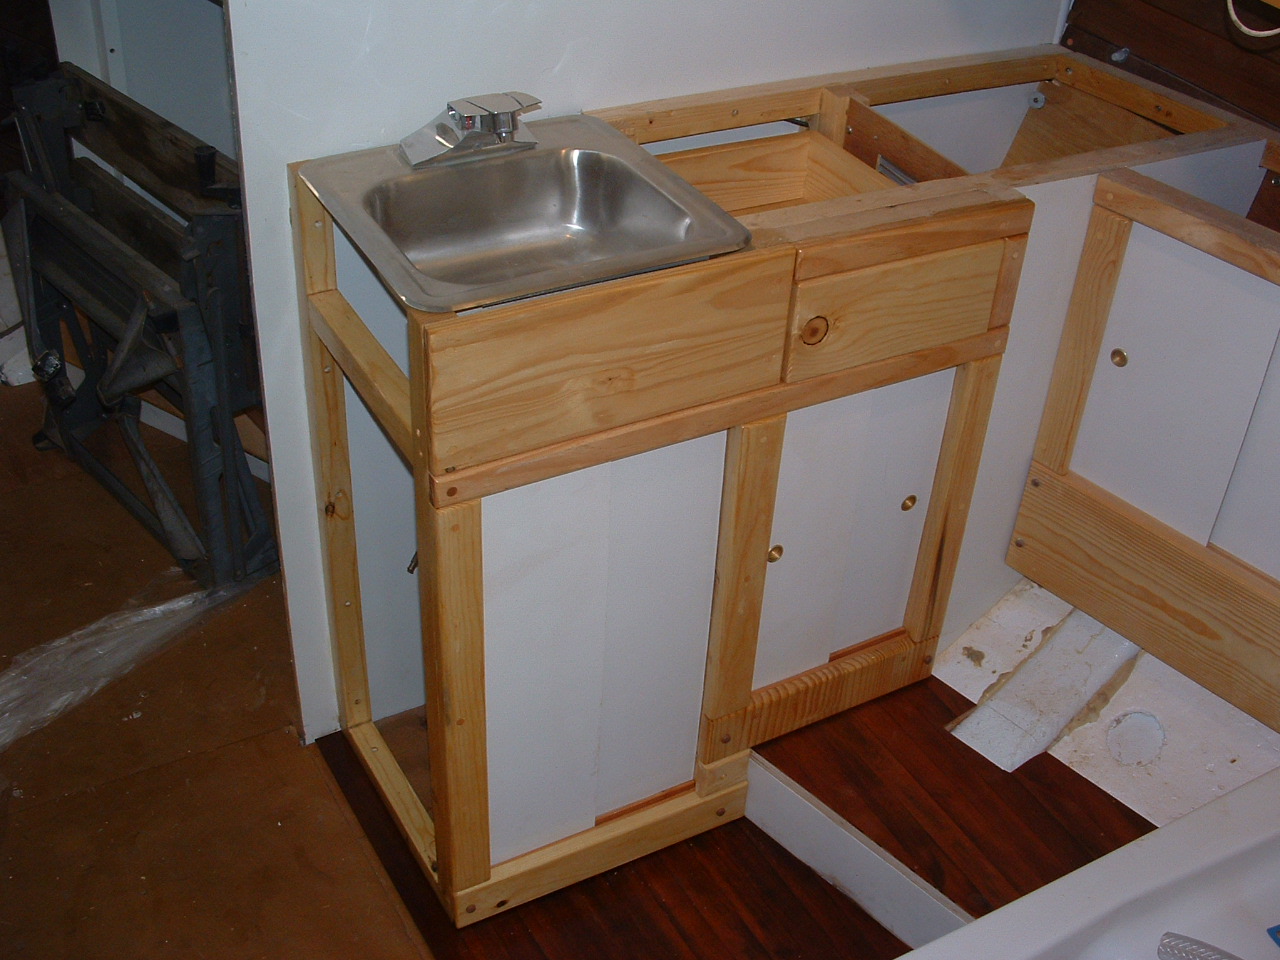
Here they are, both done and looking good. Still need to pick the shelf height for the cabinet on the right. This is Gnettie's area of expertise. |
| |
|
 |
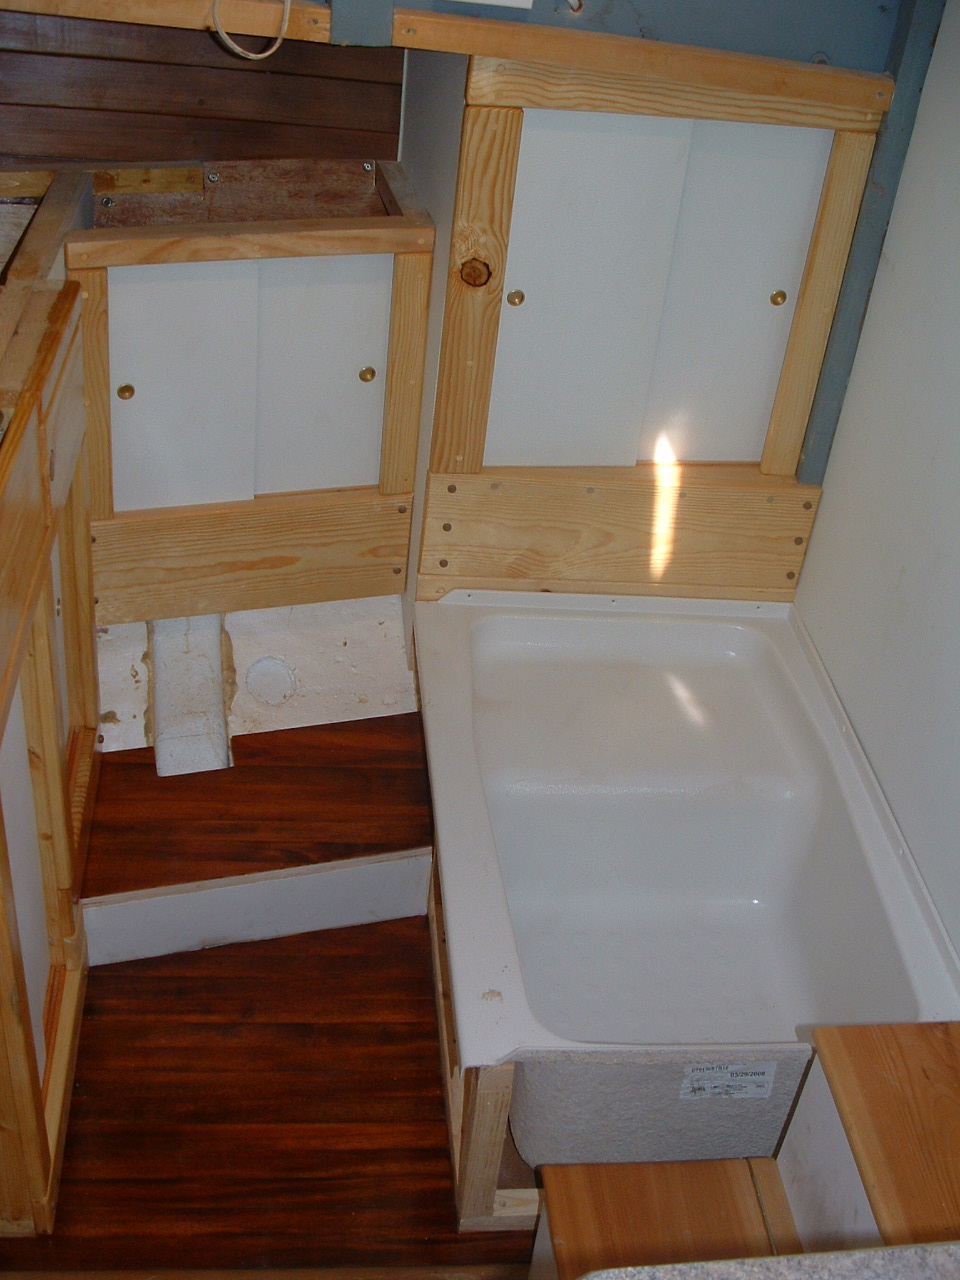 |
| Cabinets with one drawer and lots of shelving all done. |
Here is a better view of the flooring. Now to get the thru hull installed so we can plumb and mount the toilet.
See the white space above the toilet floor, and notice the circle. This is where the thru-hull will go to let water into the toilet. |
| |
|
 |
 |
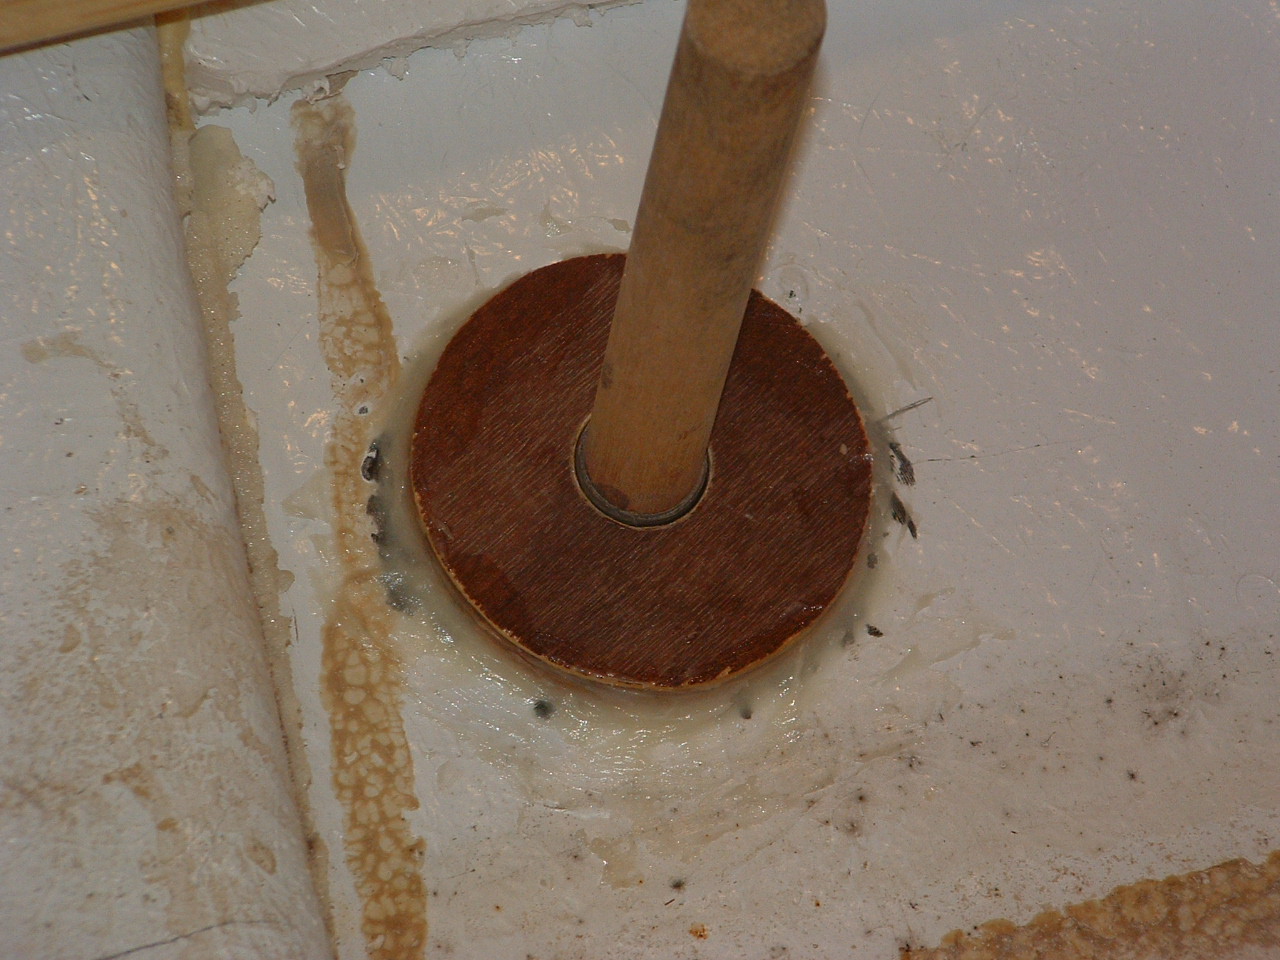
I drilled an underwater hole in the hull !!!
The seacock has a 1 1/8" thru hull and needs to be bedded into the hull with a good piece of plywood. The dowl is wrapped with duct tape and inserted in the hole to align it with the hull until the expoxy bedding sets. |
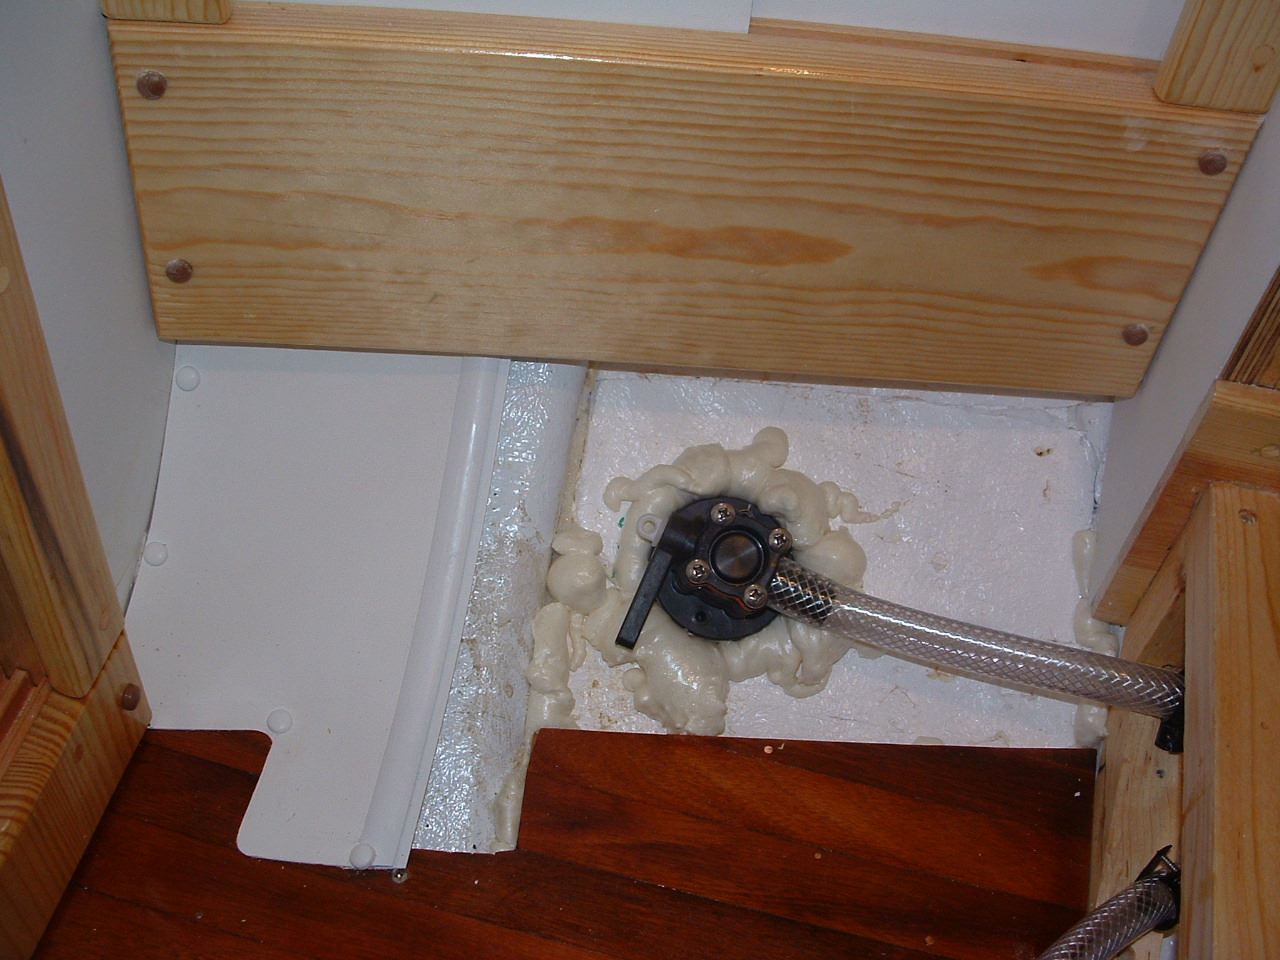
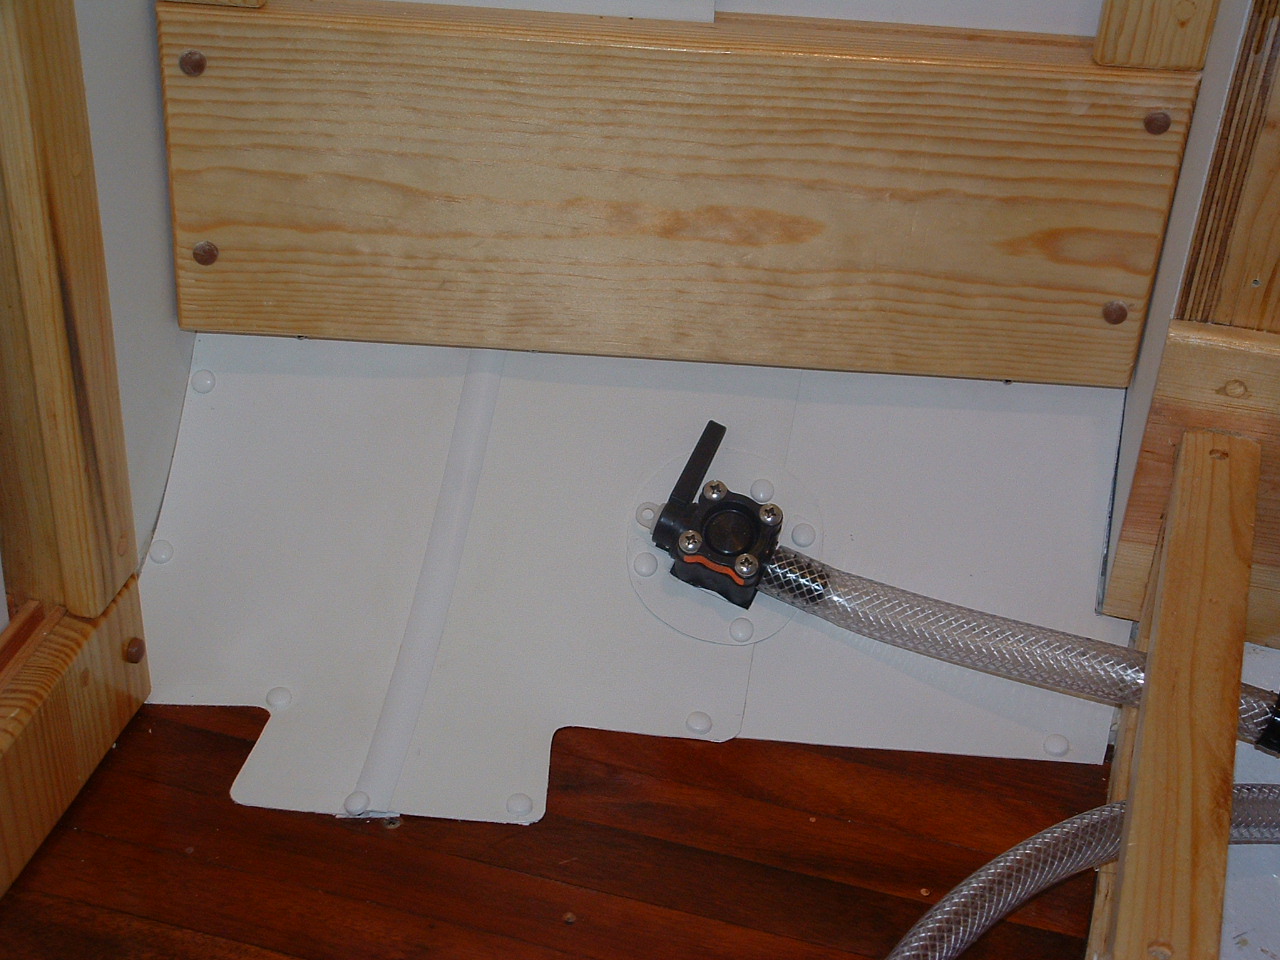
Well here it is mounted and sealed around with spray in foam. I also started to cover in this area behind the toilet. It has to be waterproof so any liquid will not go into the insulation and smell. |
| |
|
 |
 |
Would you believe this is a whole days work to get this all covered in.
Will caulk the sides next and call it done ! |
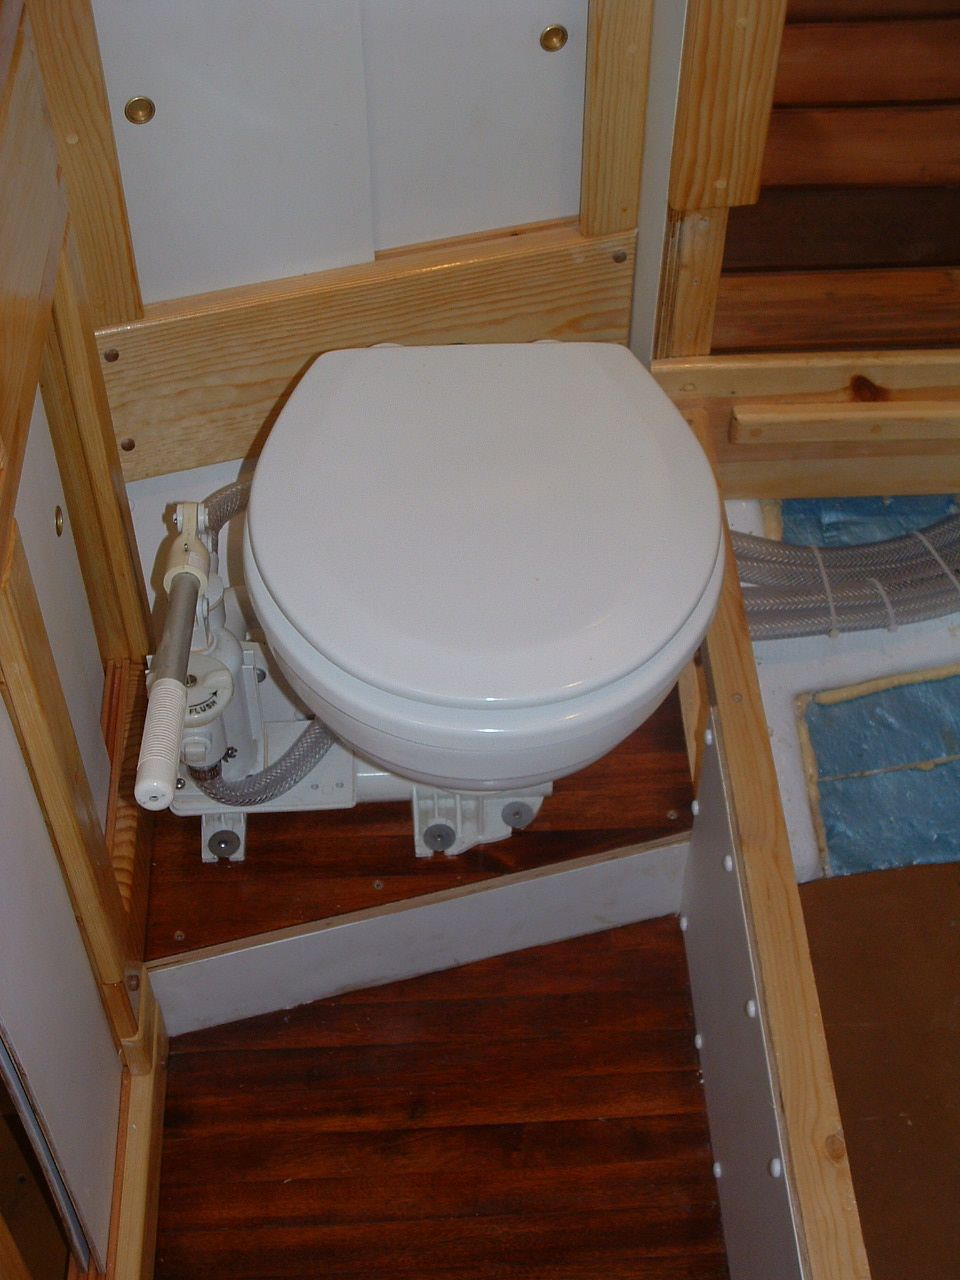
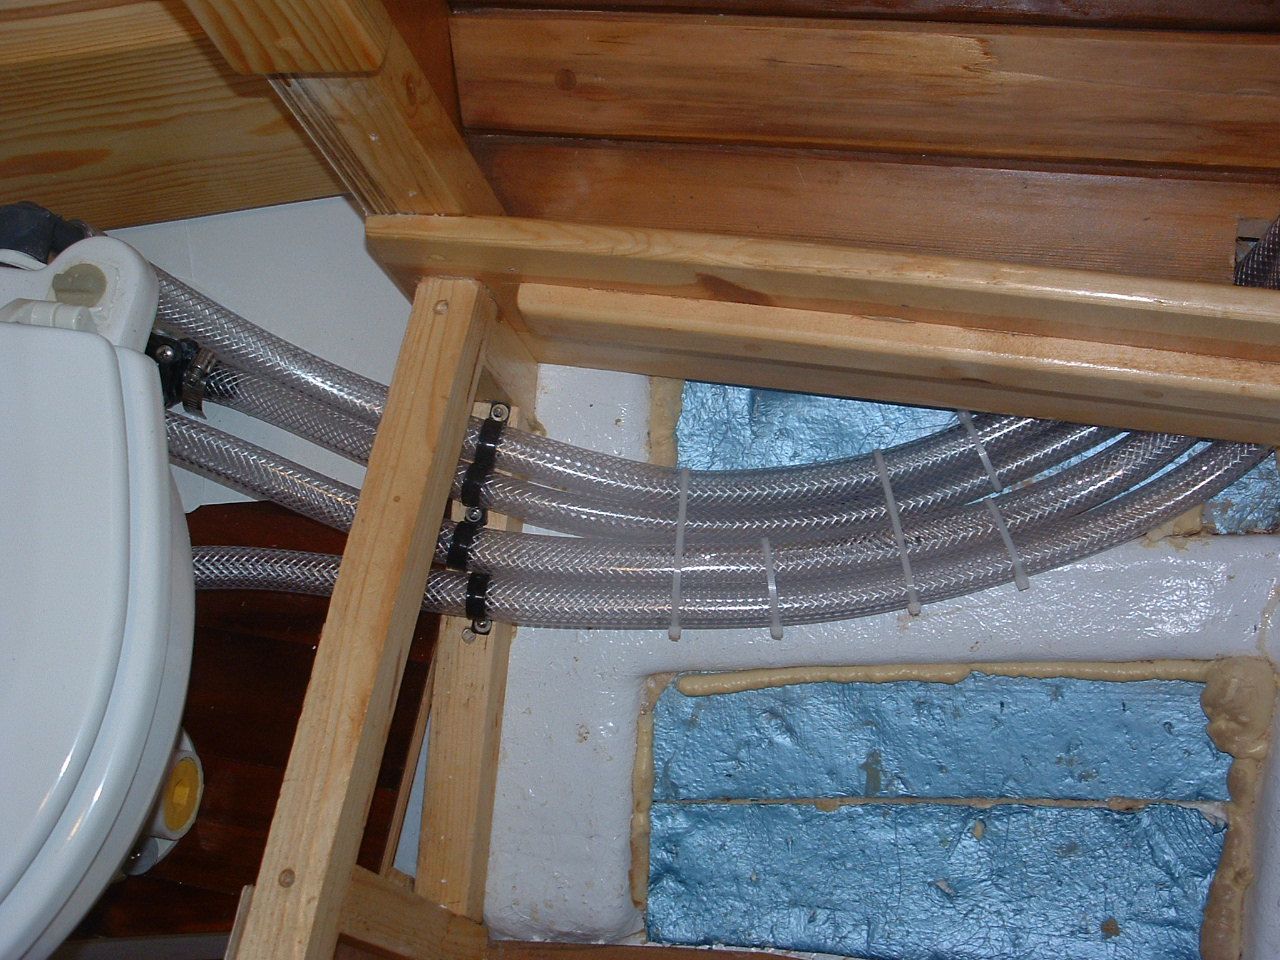
Toilet mounted in place and hoses hooked up. |
| |
|
 |
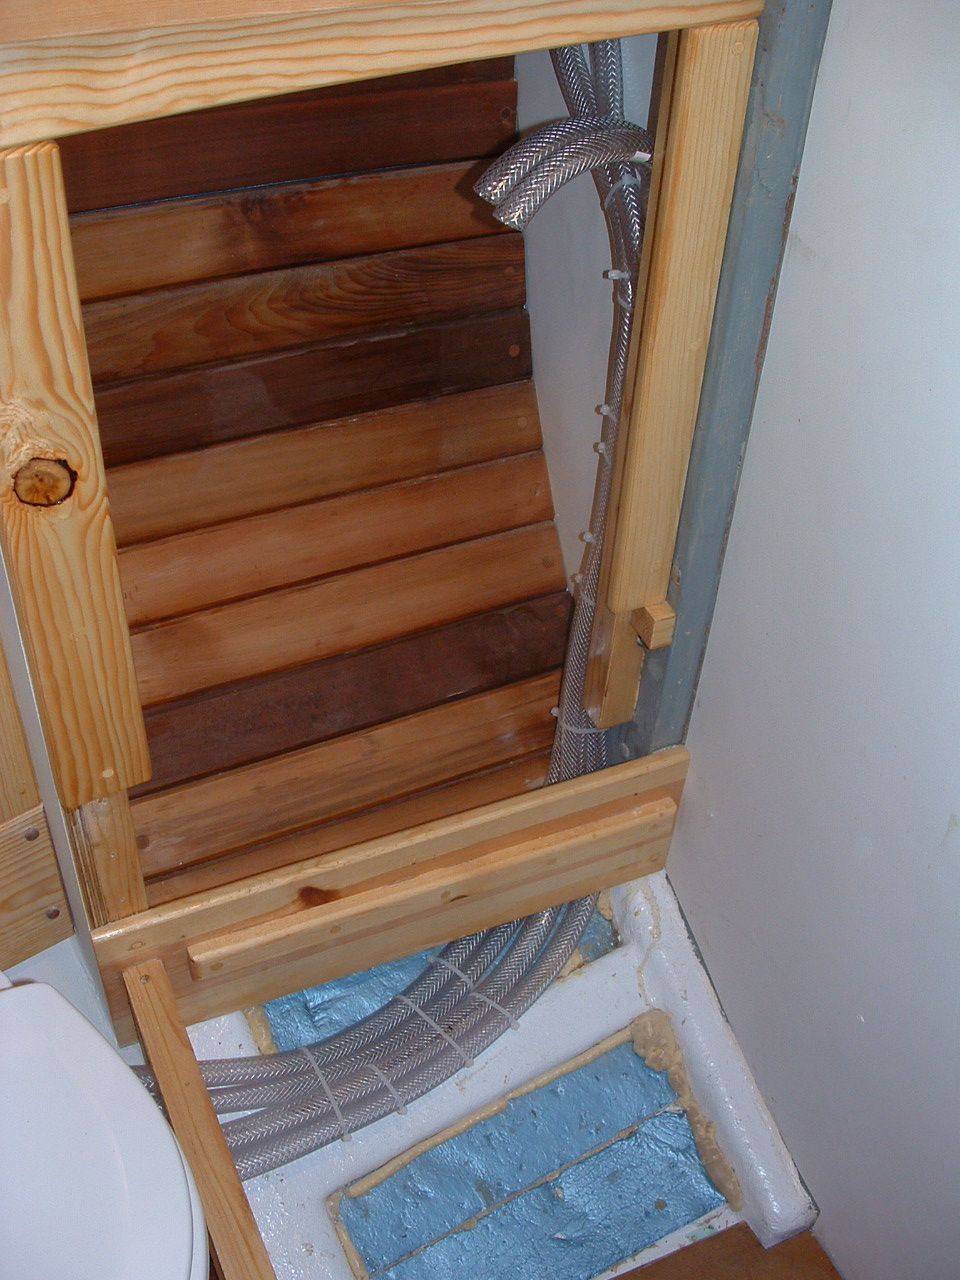 |
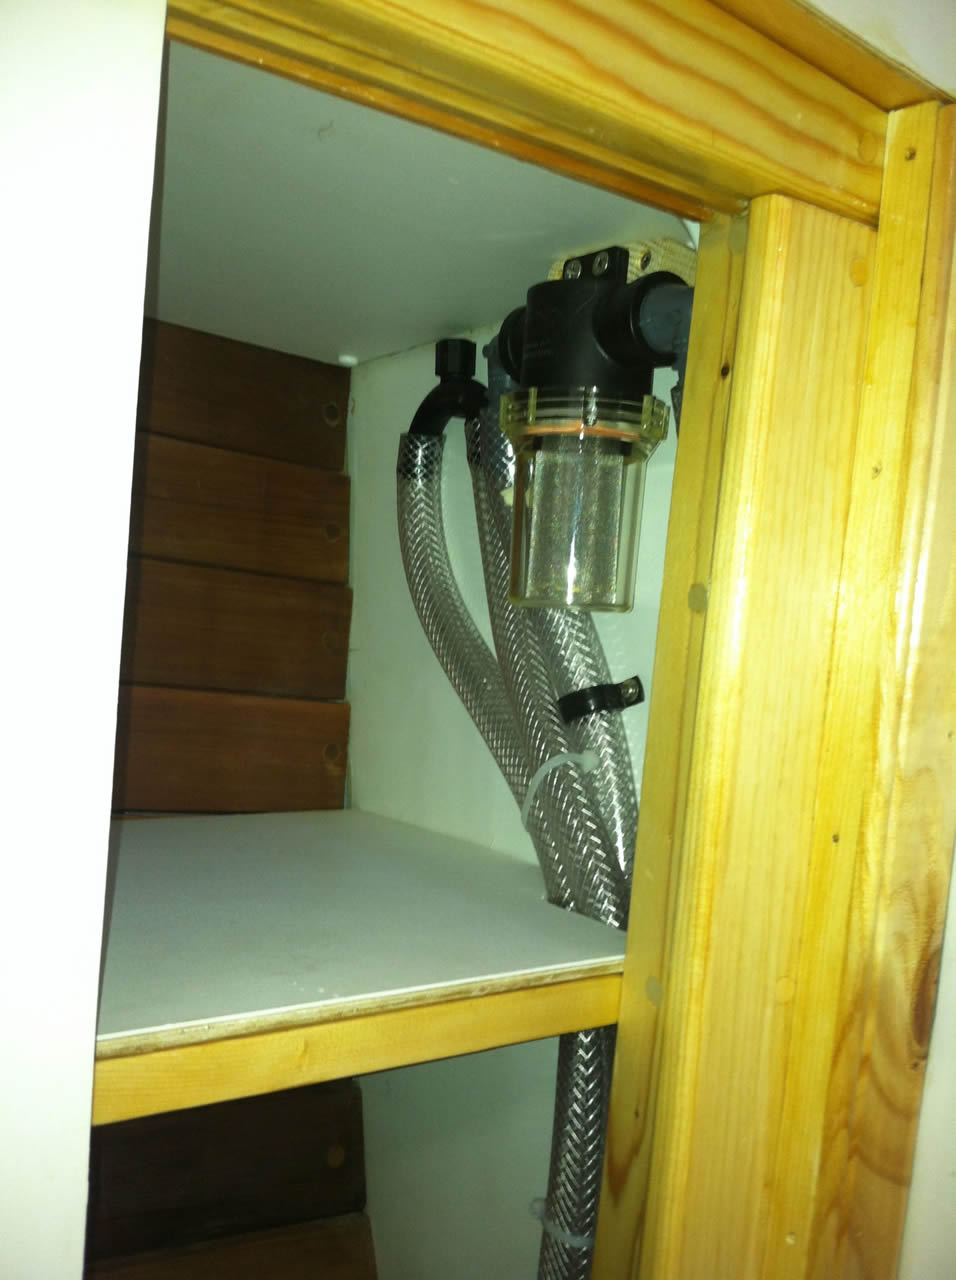
| Hoses go under the tub, then up into the cabinet to a strainer and an anti-siphon to get them above the waterline. The water from the seacock goes to a strainer then down to the intake on the toilet. The water from the toilet valve to the bowl runs up to an anti-siphon device. Hence the 4 hoses. The anti-siphon prevents sea water from over flowing the bowl and sinking the ship, and the strainer prevents seaweed or debris from clogging the toilet flush valve. |
Here you see the hoses run up to the devices mounted above the waterline.
Two of them are hanging loose until the strainer arrives. |
| |
|
 |
 |
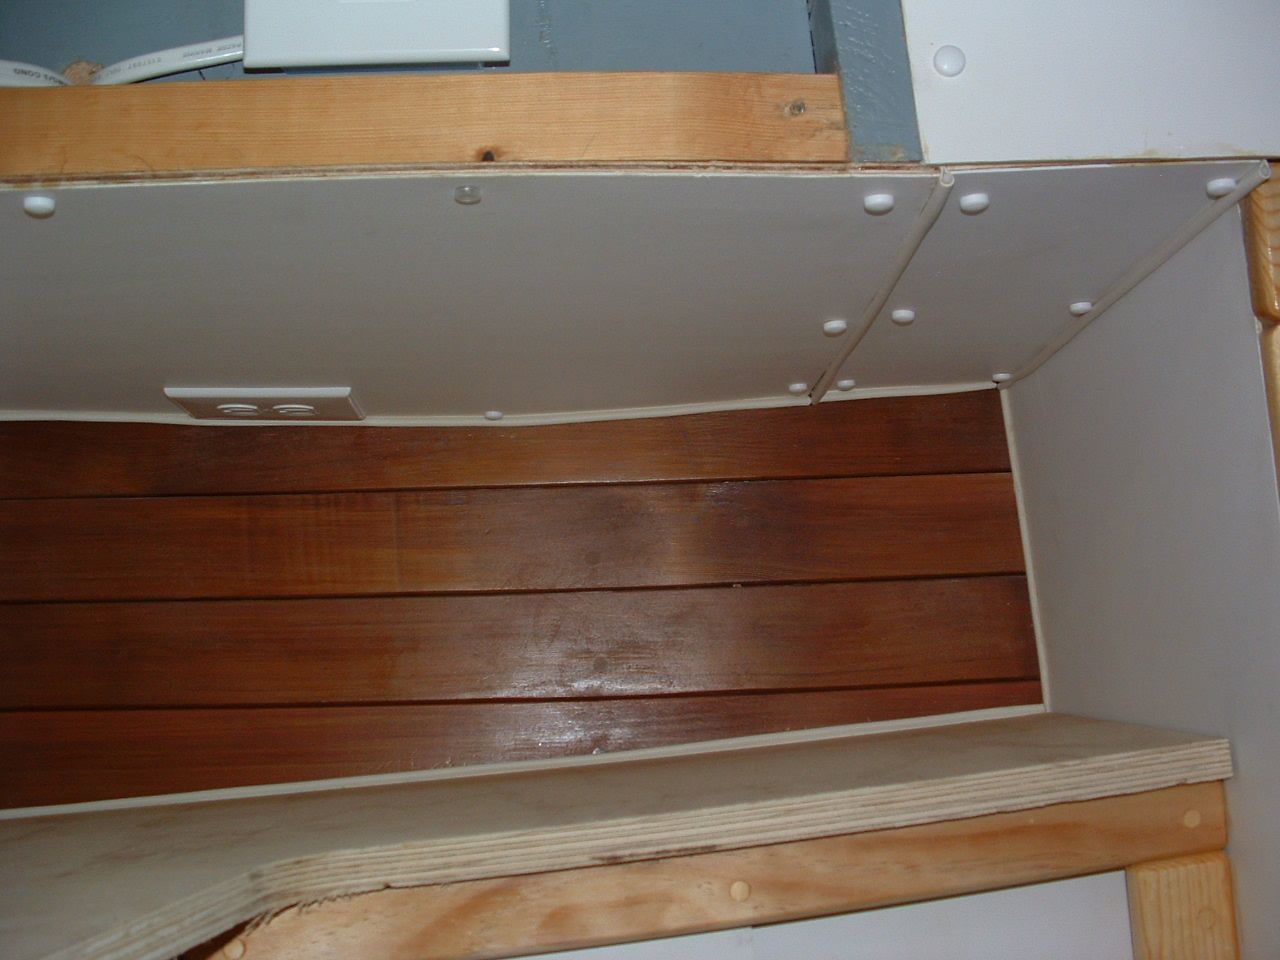
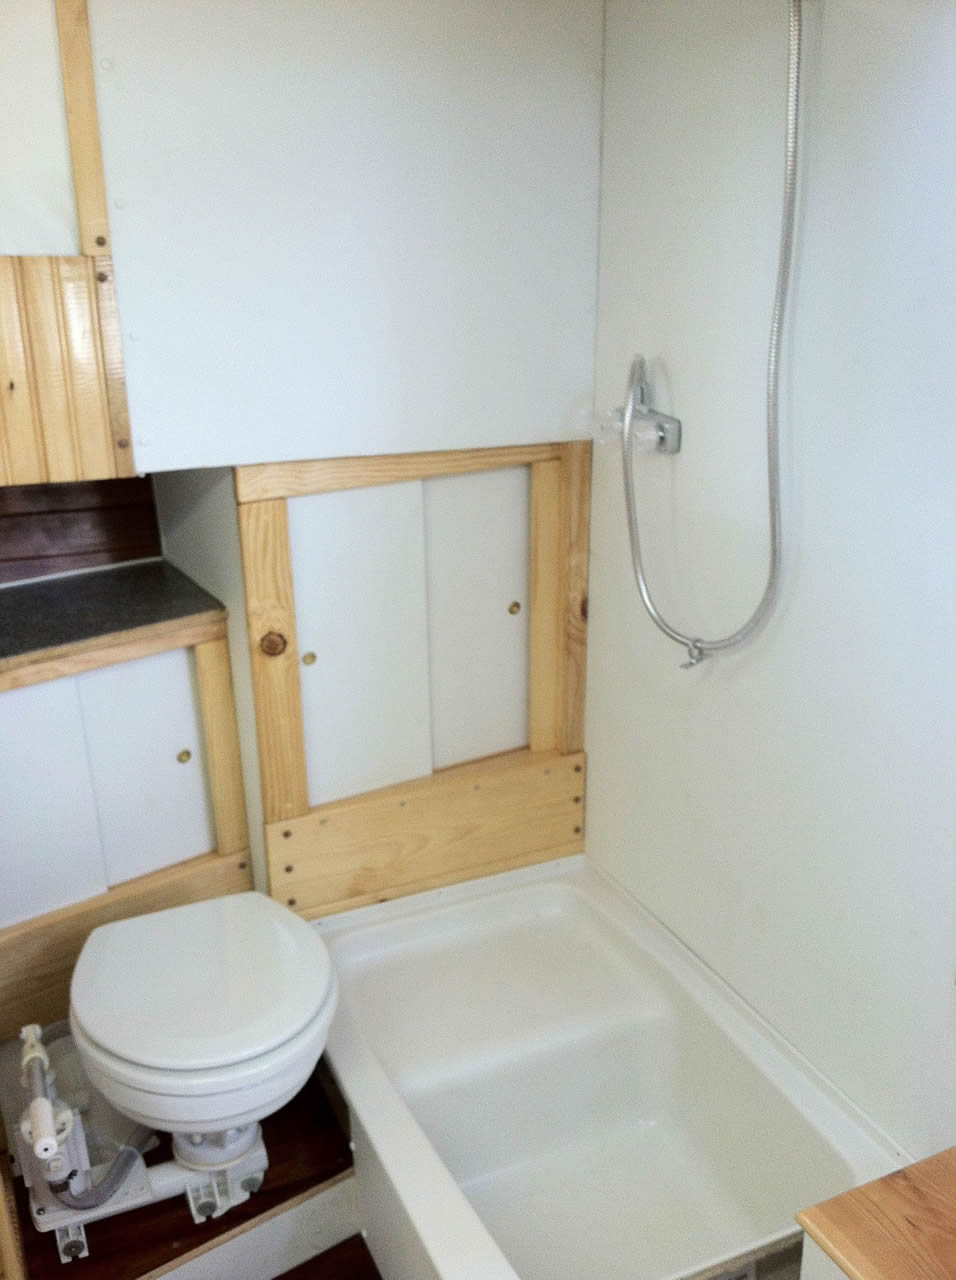
| The trim under the deck is complete. |
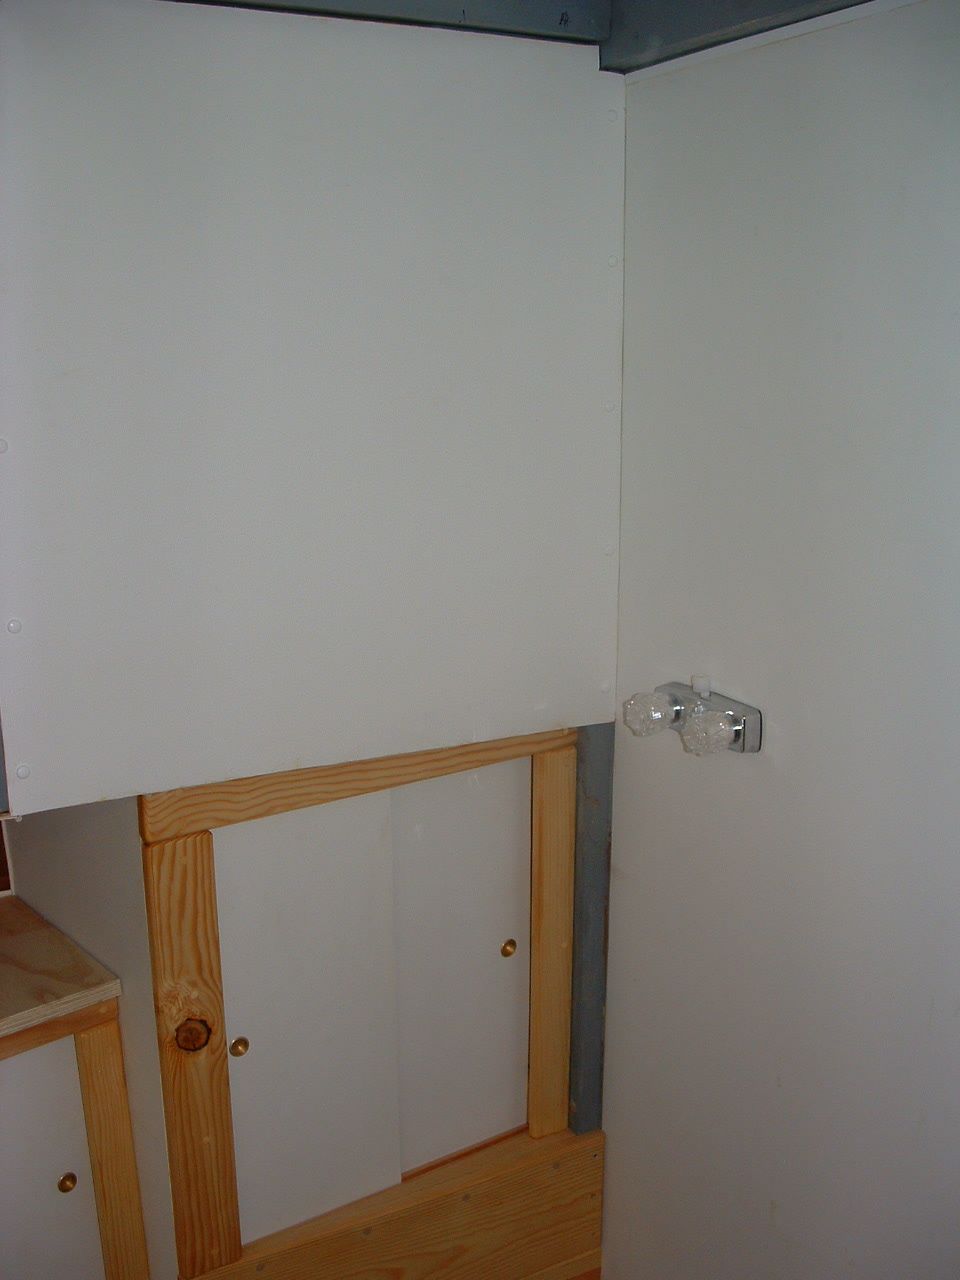
I was going to put the pine paneling in the area, but decided against it because it could get wet during a shower.
Notice the shower faucet installed. |
| |
|
 |
 |
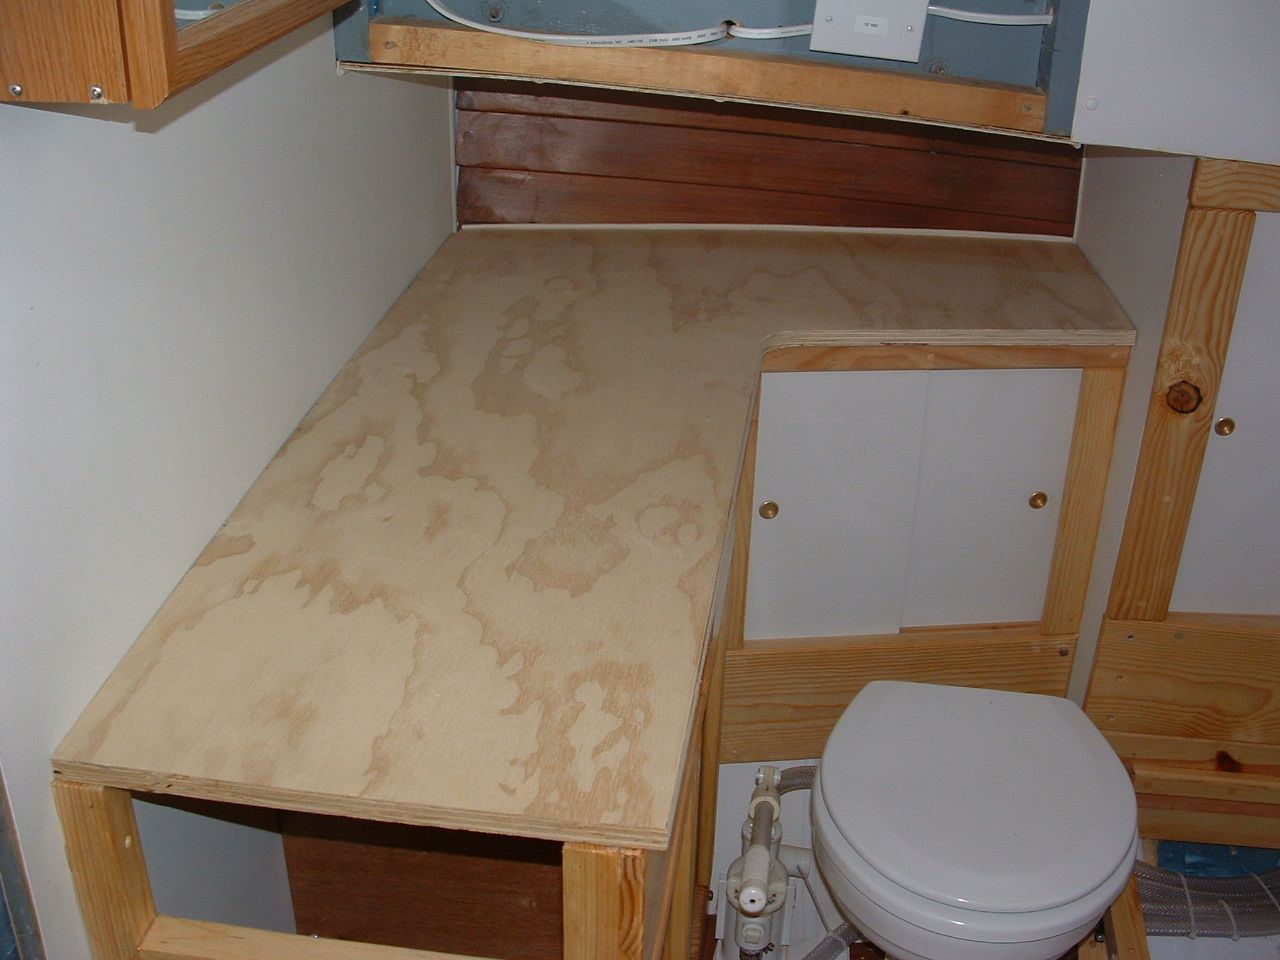
Counter top roughed in. Had to fit it first, then remove 1 / 8" on back and sides to allow for the welting to go in.
Next is to cut out for the sink and trap door. |
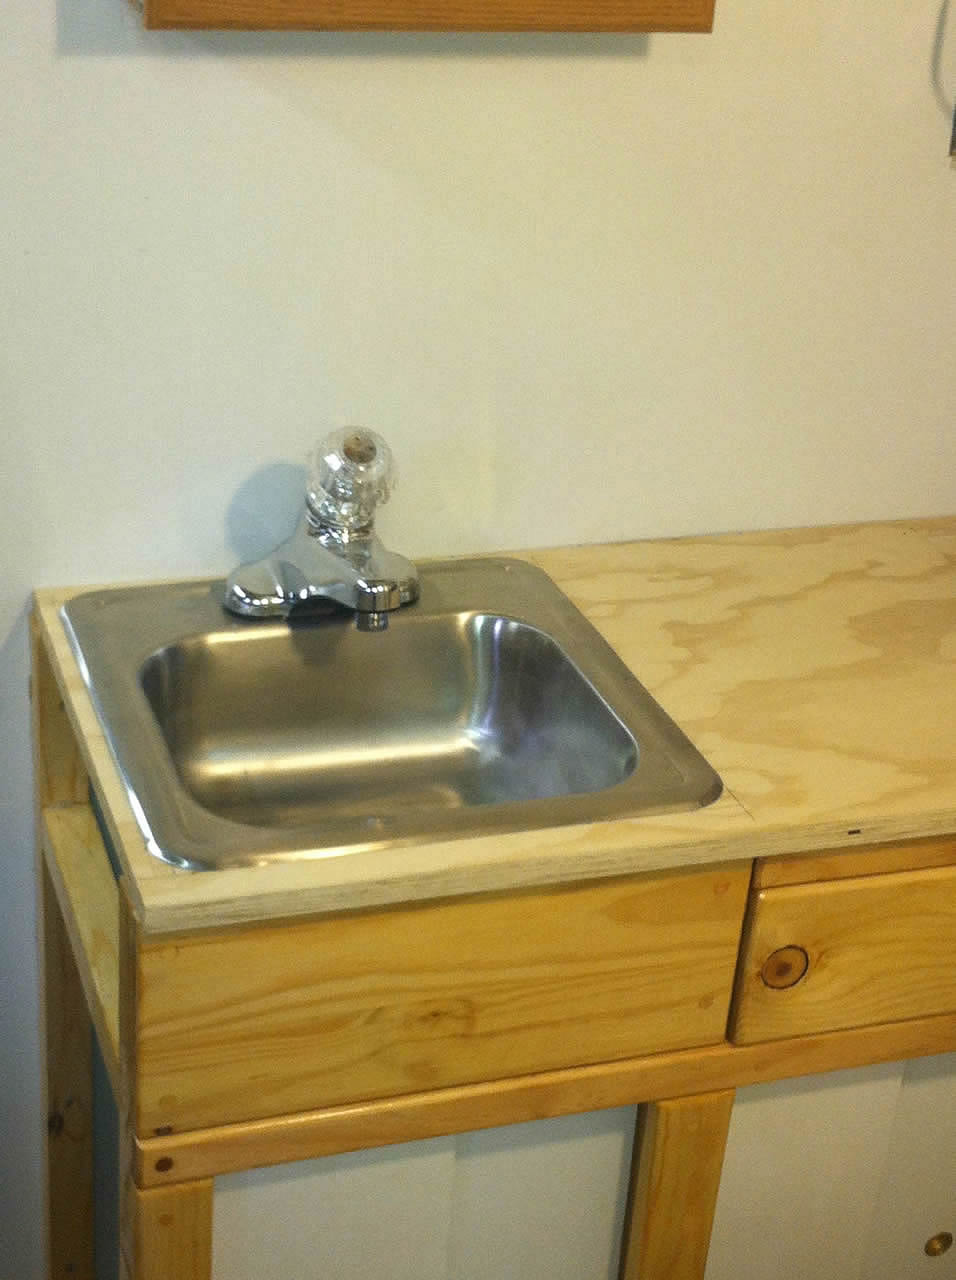
First thing to do is cut out the counter top for the sink. Notice new washerless faucet. |
| |
|
 |
 |
Strainer has arrived and installed!
|
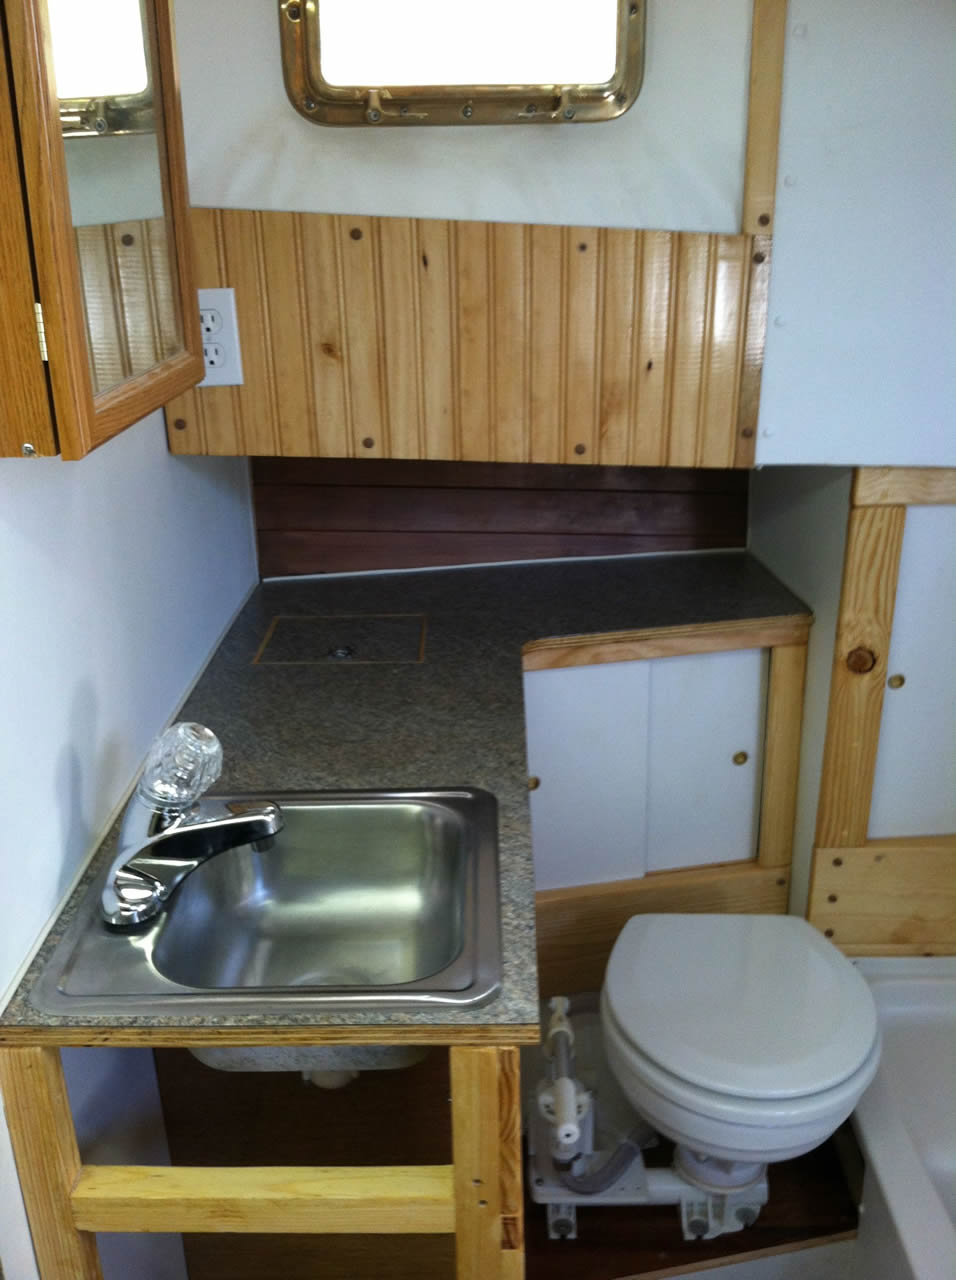
After 6 weeks of work, here it is, done! Except for hooking up the plumbing for the sink and shower.
The head is all plumbed in except for the hook up to the black water tank. |
| |
|
 |
|
| Here is the right side all done. |
|
| |
|