Spring / Summer 2019

This year we arrived together on the 3d of June. We were later this year due to bad weather between Arizona and WA. This was the third winter the boat was left out in the open without a tarp.
As we progress through the spring/summer I will put green check marks next to the completed items.
I am working on so many things at once, depending on the weather that I am adding a Work in progressnext to each work in progress item.
First on the list is to inspect for any weather damage. Washington State experienced severe weather this winter. There was over a foot of snow sitting on the decks.
The exposed surface of the oiled wood is very dirty, but underneath it is as good as when we applied it.
So we'll need to do a lot of cleaning before continuing the project.
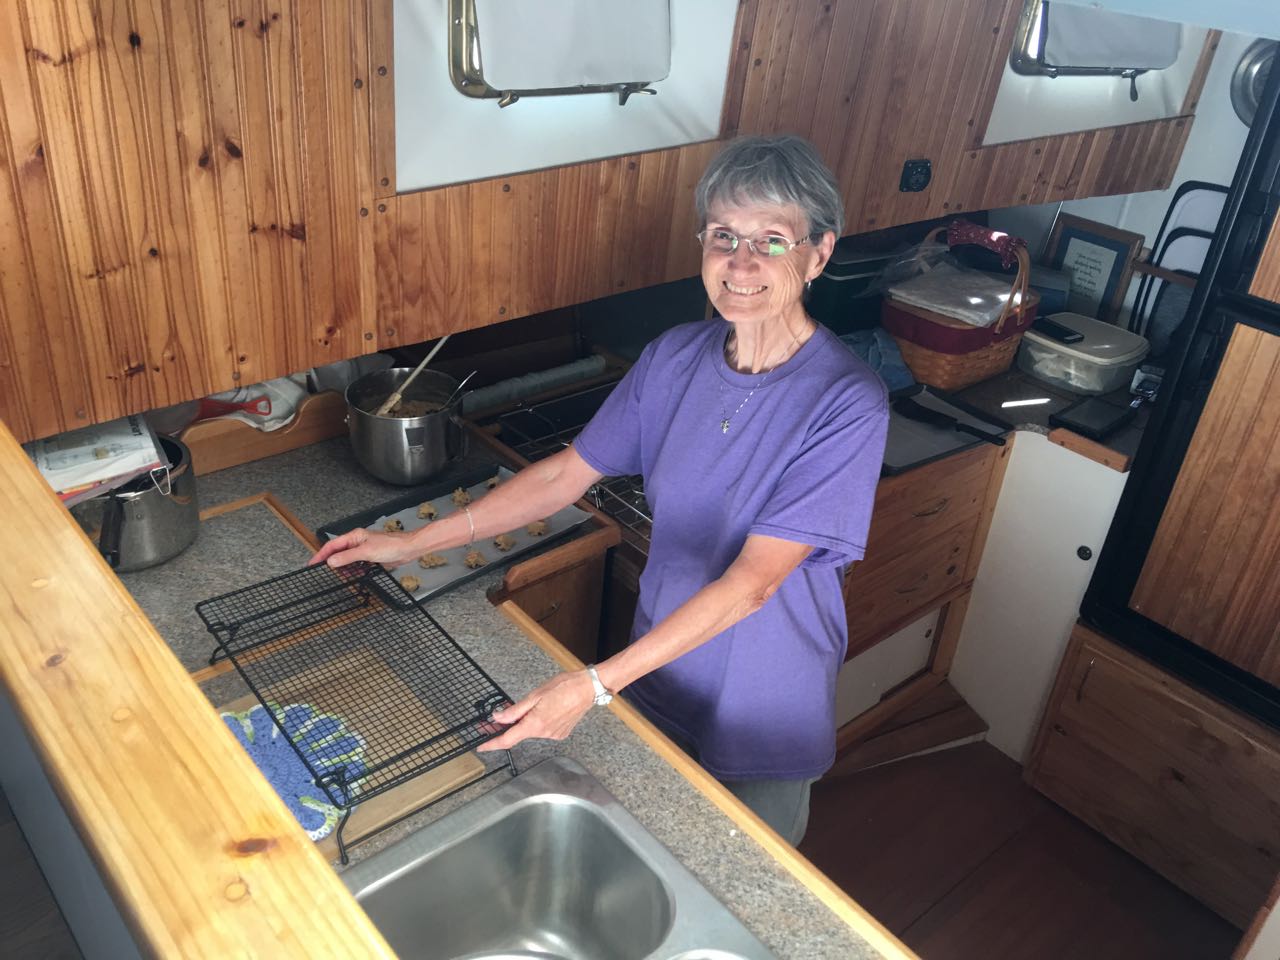
First time baking in the boat. It's cookie time !

1. Aft deck.

  1. Repair damaged wood.
  2. Sand & refinish the aft cabin hatch.
  3. Clean & re-oil Boom kin.
  4. Handrail bases, repair, sand and Bristol Finish, ready for new handrail.
  5. Redesign/Rebuild the handrail using PVC pipe as stanchions.
  6. Re-finish port stairs,
  7. Re-finish starboard stairs.
  8. Refinish port and starboard aft cabin window frames.
2. Steering system
  1. Fill with AW-32 hydraulic fluid and test.
  1. Install the mid ship hawse pipes.
  2. Clean, fair and re-paint the hull.
  3. Sand port side rub rail, then Bristol Finish.
  4. Lightly sand starboard rub rail and then a new coat of Bristol Finish.
  5. Sand and refinish the bowsprit
  6. Sand and refinish the Sampson post.
  7. Clean & re-oil the pilot house brow.
  8. Clean & re-oil main hatch.
  9. Fix leak in Main Hatch.
  10. Sand the brass rails on sliding hatch, then Bristol Finish them.
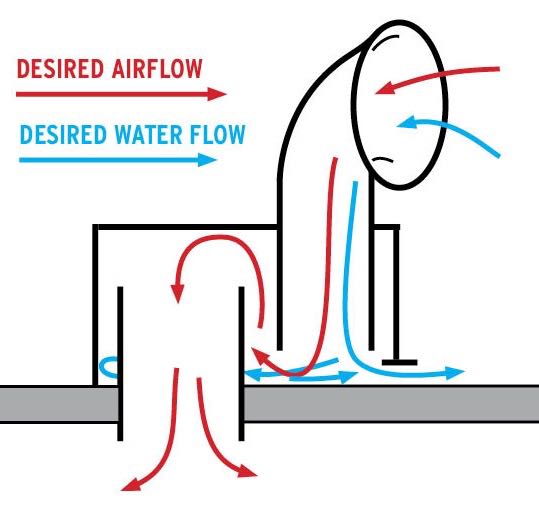
  11. Install Dorade boxes for the air vents.

    A cutaway diagram of a Dorade Box. The red arrows show the desired airflow (into the cabin) and the blue arrows show the desired water flow (out the scupper onto the deck). The grey area indicates the deck of the boat.

  12. Re-caulk forward port lights with butyl rubber tape.
  13. Remove wood trim from forward deck and pilot house.
  14. Install new canvas where wood trim was removed.
  15. Rebuild windshield framework.
  16. Inspect/Repair Propane lockers.
  17. Replace / Repair teak wood panels on port and starboard side.
  18. Re-mount the VHF Antenna
  1. Laundry hamper
  2. Gnettie had an idea to use fish netting for storage under washer/dryer and freezer.
  3. 26" X 26" Screen for hatch.
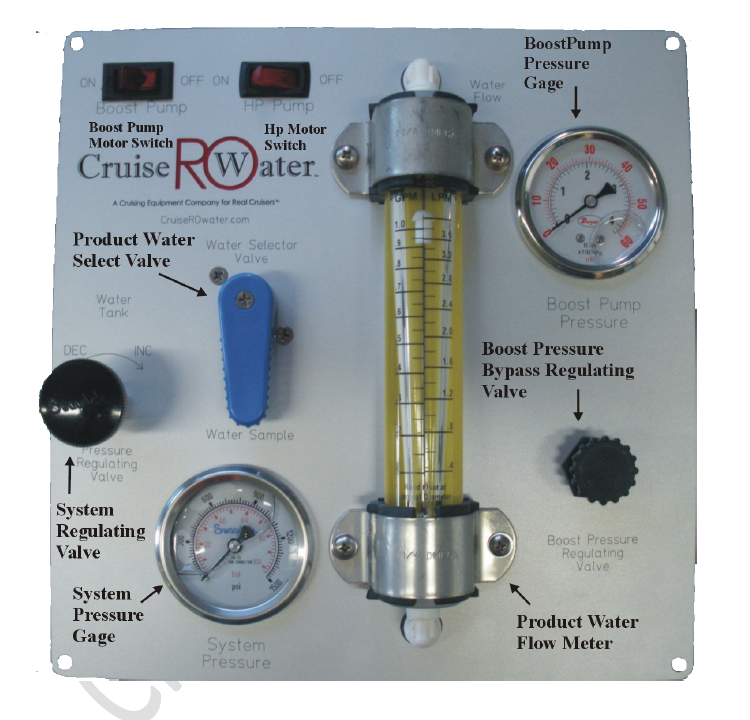
  1. Install a SM-20 a 20 GPH water maker. It's on the way ! Work in progress
6. Charger/Inverter System OFFICIALLY COMPLETED
  1. Purchase and install 4 more house batteries.
  2. Build cables and hook all 5 batteries together.
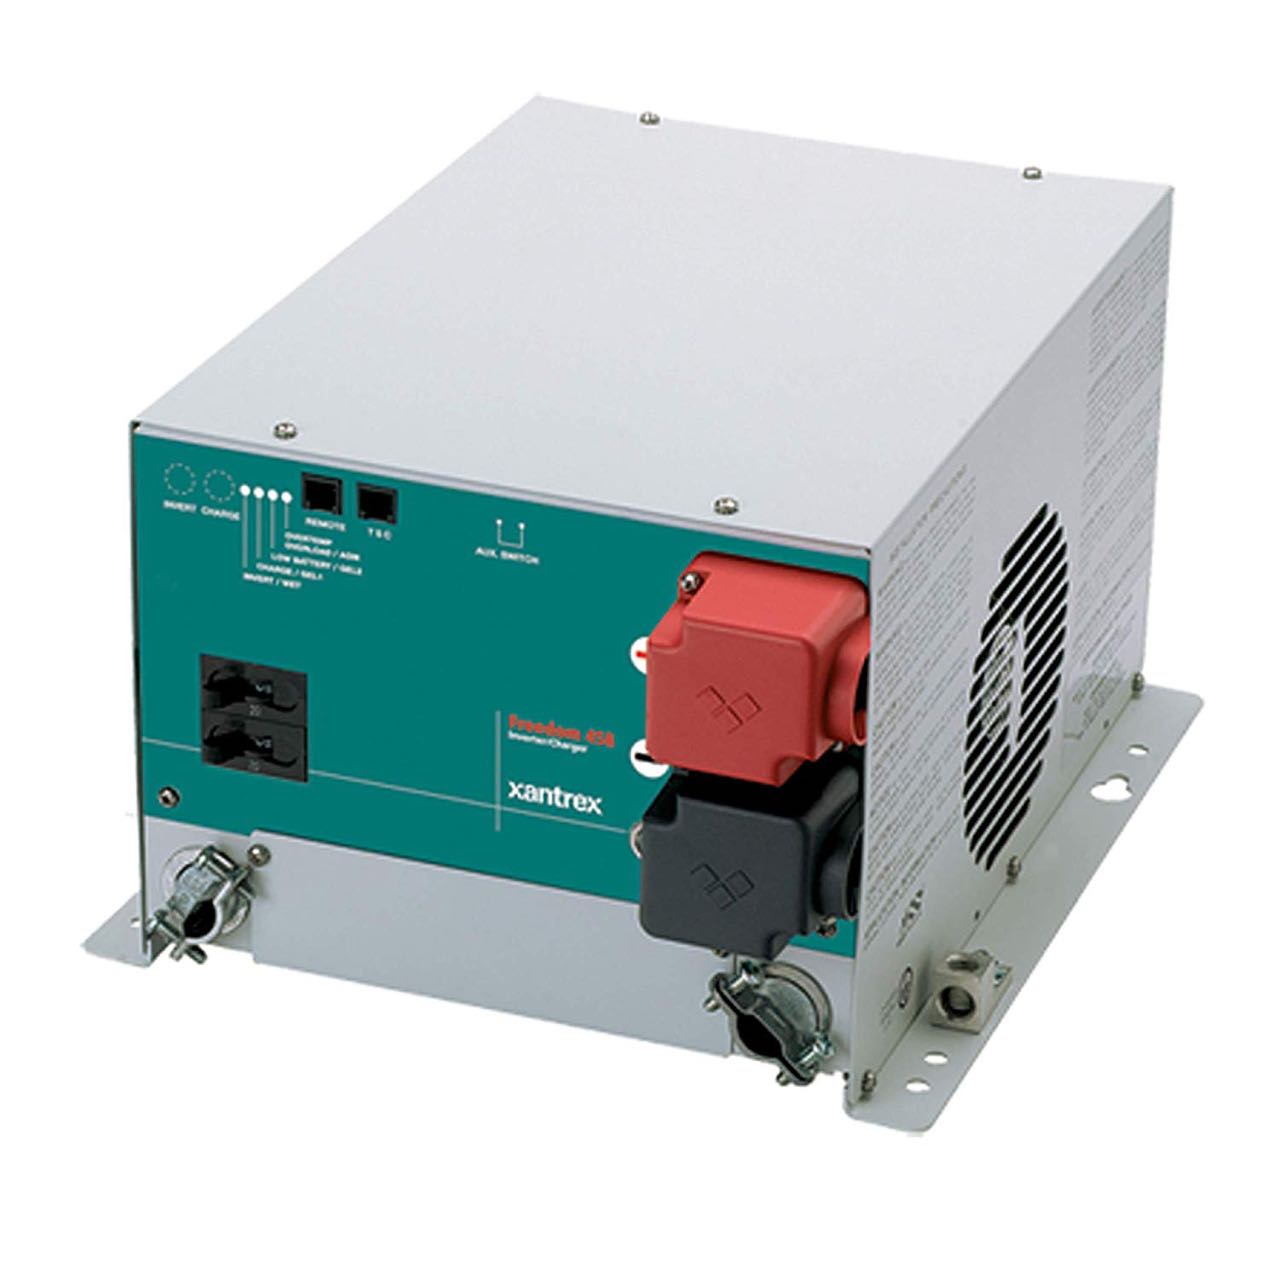
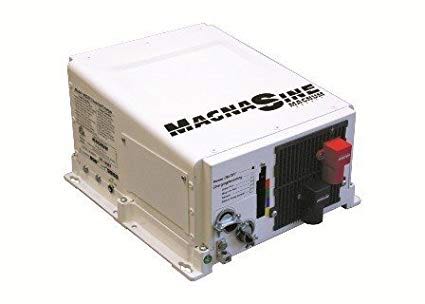
  3. Freedom 458 Inverter/Charger is failing. Turns itself off more and more often having to reset it.
    Replacing it with a Magnum MS-2812 which arrived today 14-Aug-19.
    Old, 2000 Watt modified sine wave New, 2800 Watt, pure sine wave
6. DC Electrical system OFFICIALLY COMPLETED
  1. 4 way cigarette lighter sockets for radios, GPS etc.
  2. Power to poop deck binnacle and test remote indicator.
  3. Install new starter solenoid .
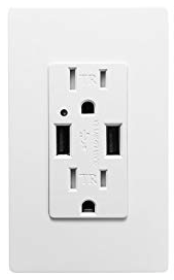
  4. Install 2 120 VAC/USB charger outlets.
  1. Change mast step from Keel stepped mast to deck stepped mast. Install Post.
  2. Fit floor around the post. Varathane and install.
  3. Gnettie to do her magic and cover the post with rope.
8. Work Shop Area OFFICIALLY COMPLETED
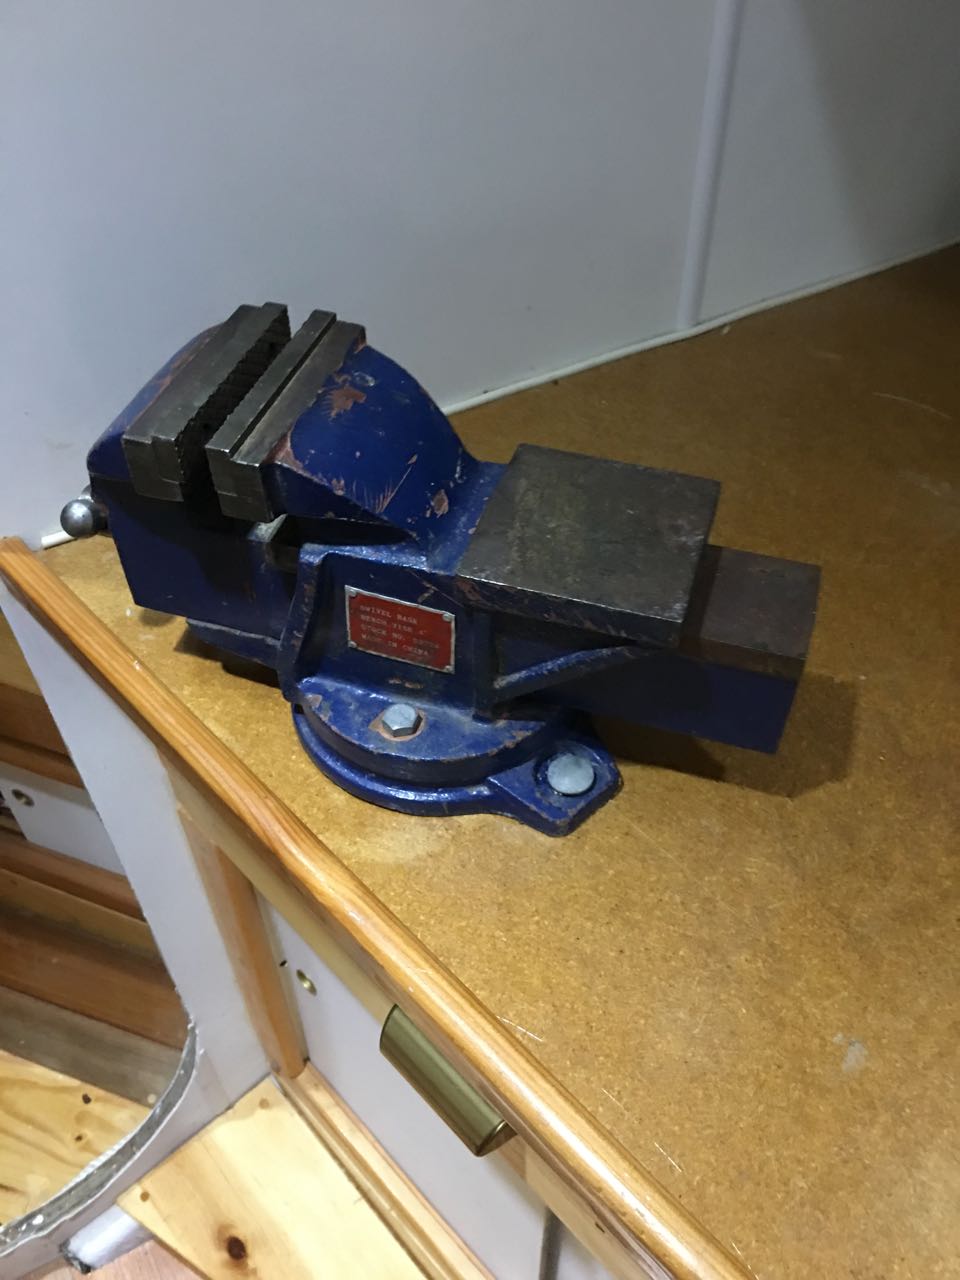
  1. Install a vice on the work bench.

    Done !
9. Dingy
  1. Get the dinghy ready to go. After about a month being blown up, it is not leaking air !
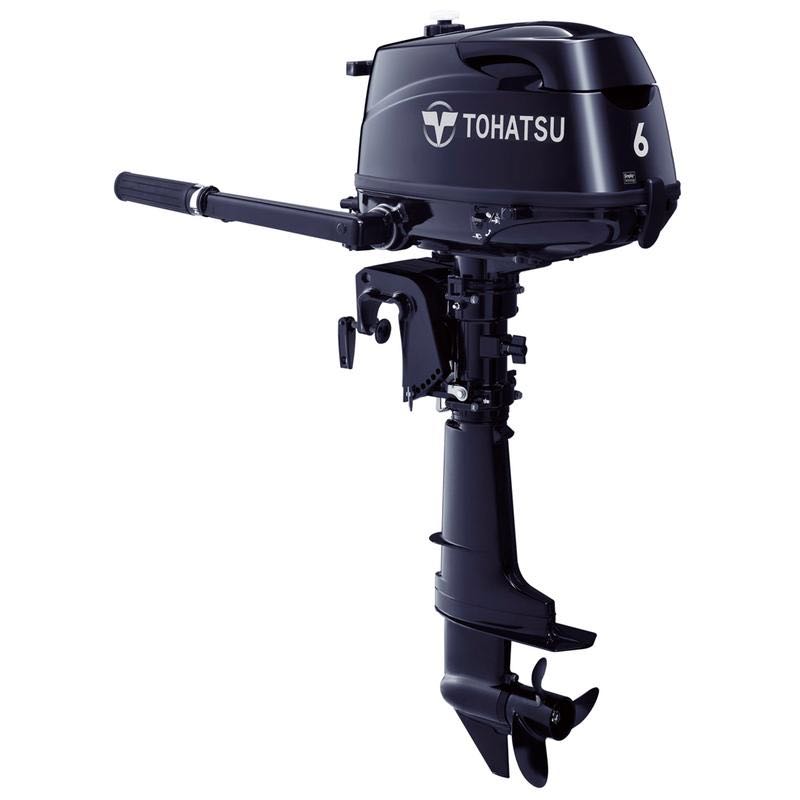
  2. Buy outboard motor with remote tank a Tohatsu 6 HP.
  3. Install pulley to hang dingy under boom kin.
10. Markings
  1. Decals for registration number on the bow.
11. Galley OFFICIALLY COMPLETED
  1. Ventilation fan
  2. Spot Light over sink
  3. Spot light over stove
  4. Carried forth Gnettie's idea to use fish netting for storage under the stove.
  5. Galley Rail above pantry
  6. Hang "Sharon Rose" quilt.
12. Pilot House OFFICIALLY COMPLETED
  1. Install inside lexan panes on the windshield and the starboard windows. Work in progress
  1. Charging showing minus instead of plus.Work in progress
  2. RPM not working.Work in progress
  3. Fuel gauges not working properly.Work in progress
    Re-Engineering the fuel senders. Will build in Arizona this winter.
14. Fuel Tanks OFFICIALLY COMPLETED
  1. Polish fuel from starboard to port tank, and clean out the bottom of the starboard tank.
  2. Polish fuel from port tank to starboard tank and clean out the bottom of the port tank.
  3. Polish fuel from starboard tank to port tank, emptying starboard tank.
    1. Pump fuel back into starboard tank from drum, filtered into a 5 gallon container.
    2. Then fill the tank in 5 gallon increments and measure the fuel level in the tank with a yard stick.
      Found that the tank's first 5 gallons is at 2 1/4" from the bottom with 1/4" unusable.
      Each inch from then on is 5 gallons, until it gets to the upper chamber which is smaller.
    3. Make up a chart and be able to measure actual fuel quantity with a yard stick.
  4. Polish fuel from starboard tank to port tank.
  5. Check and clean cross feed hose. Work in progress
  6. Open up cross feed and let them even out.
15. Head OFFICIALLY COMPLETED
  1. Gnettie to make shower curtains.
16. AC Generator EFi2800 OFFICIALLY COMPLETED
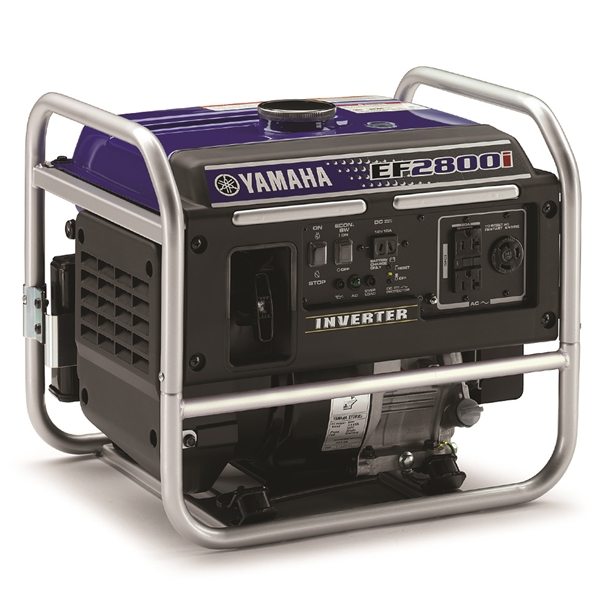
  1. Prep the generator: Fresh oil; clean/oil air filter; check the spark plug and gas it up.
    It will run the water maker, the washing machine and charge the batteries.
17. Stowage OFFICIALLY COMPLETED
  1. Make up bags to stow ships stores in the bilges.
  2. Clean bilge storage areas and stow everything.
  3. Clean work shop and stow tools.

End of Summer
   
After Launch Work

In order to get the ship into the water I am moving some of the tasks to "after launch" mode.
  1. Bow Pulpit: Build a walkway out to the end of the bow sprit.
  2. Boom kin: Figure out the latch system for the boom kin hatch.
  3. V Berth: Cut hatch in overhead for storing sails.
  4. Fish netting above the bulwarks.
  5. Sound proofing.