|
|
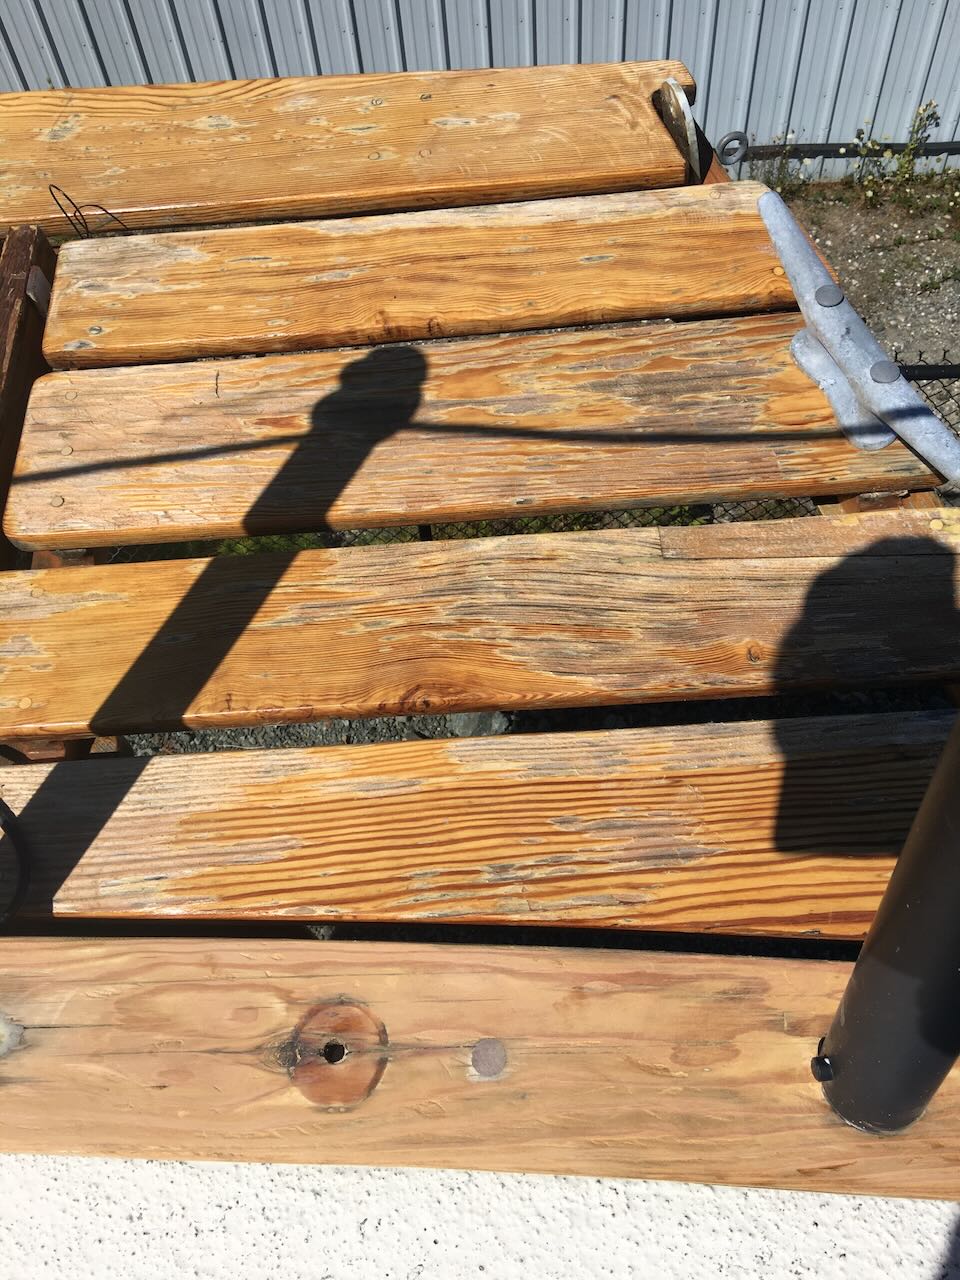
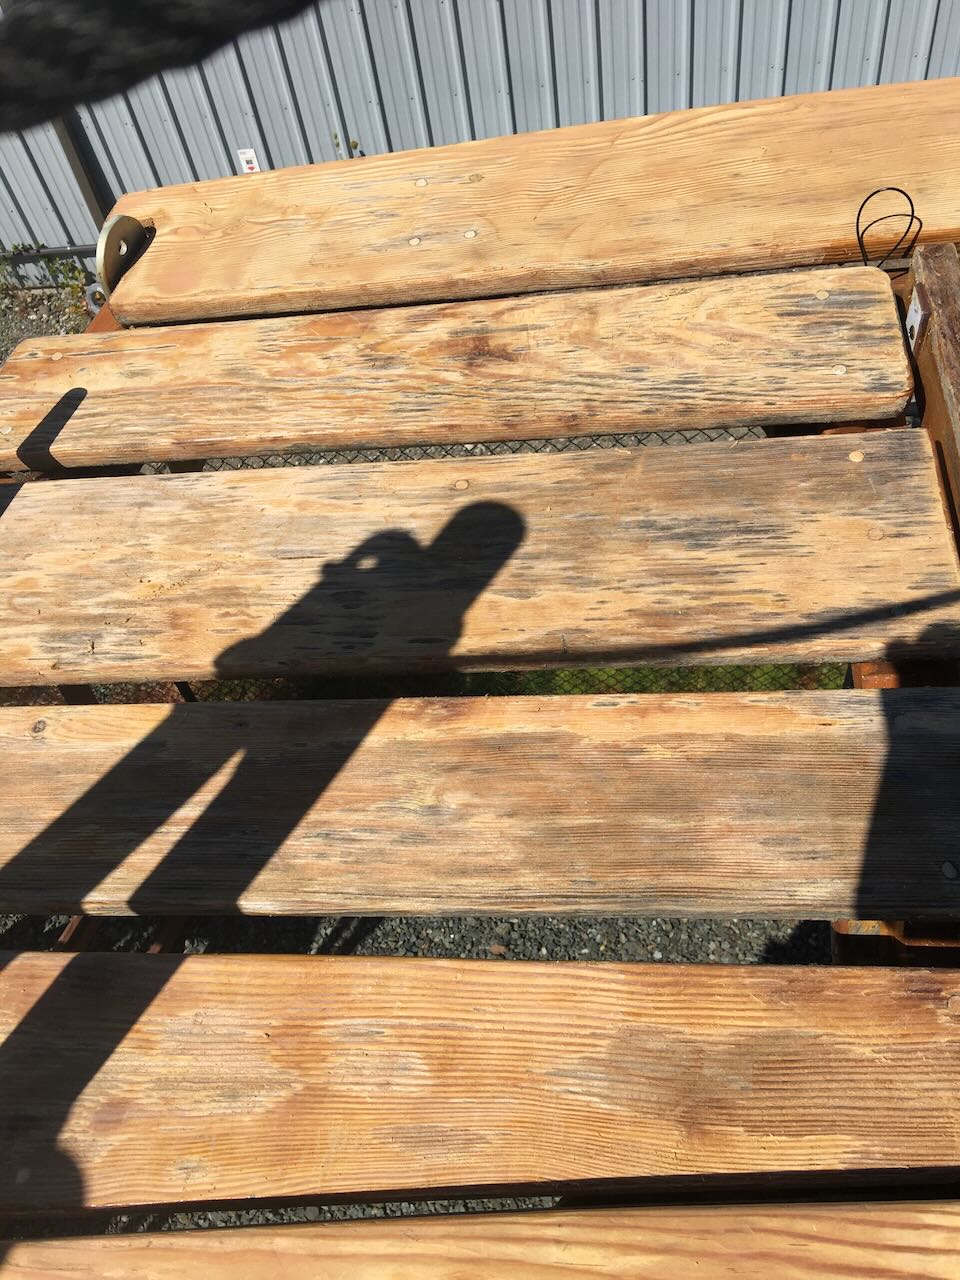
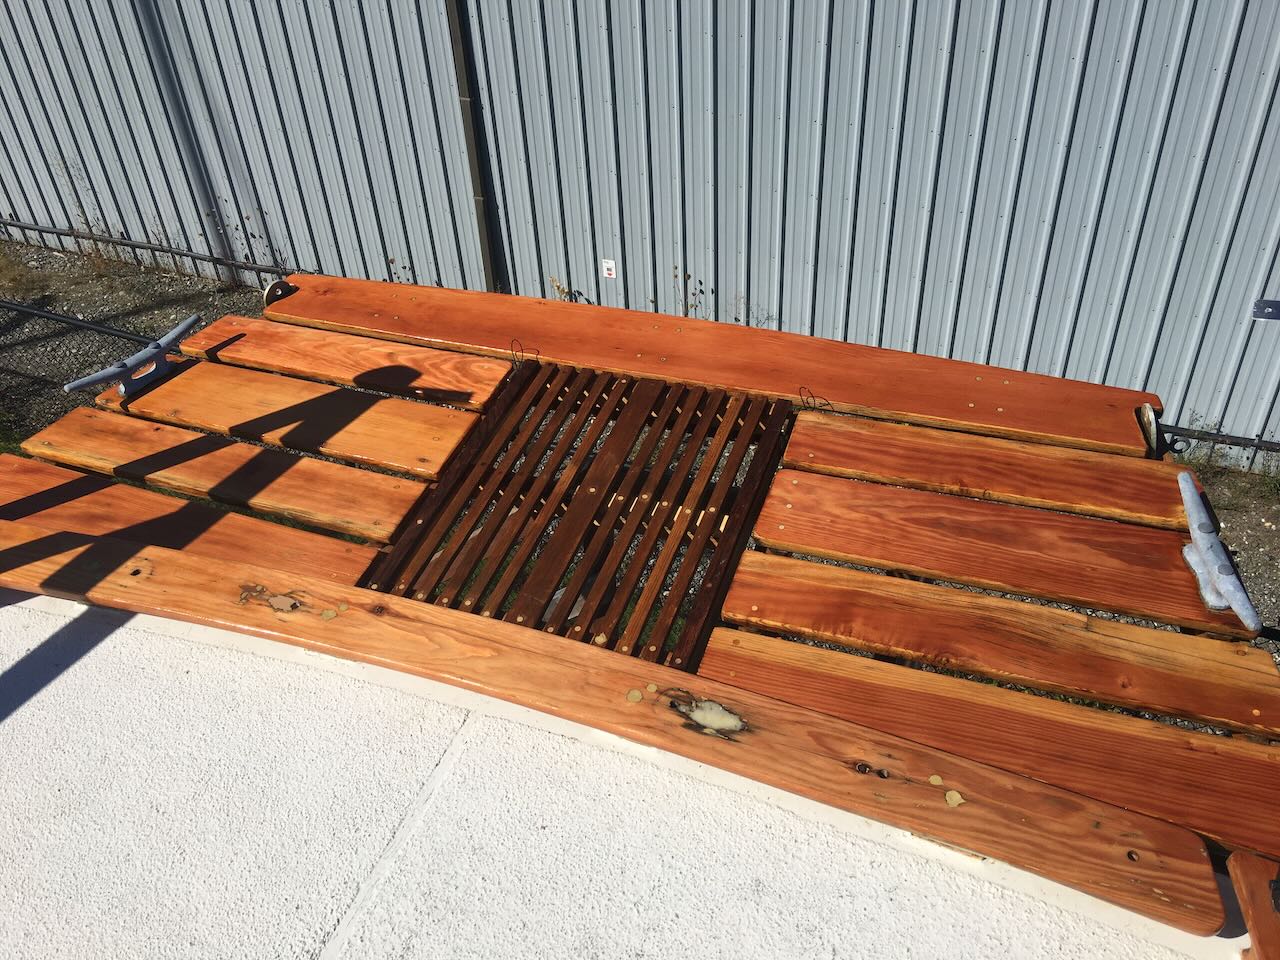
| Here is the weathered Boomkin wood. Bristol Finish all came off. |
This is what the wood looks like after heat scraping off the old sticky varnish. Next step is to use an angle grinder with 100 grit to remove the last of it.
Then we can go over it with 80 Grit sand paper on my Kobalt sander. With the old varnish now all gone I can use the same sandpaper pad for hours.
|
| |
|
|
|
|
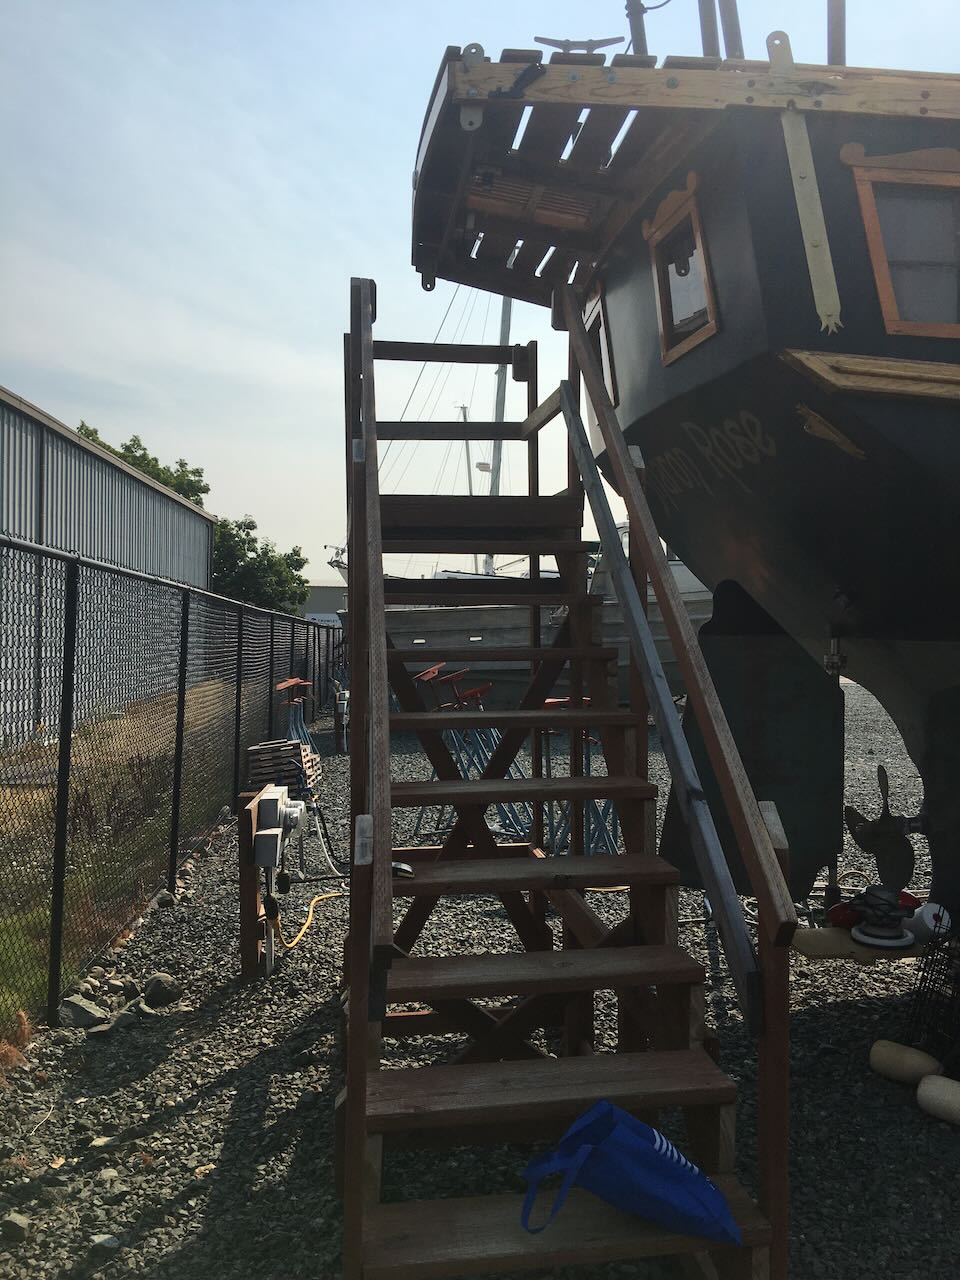
While Carl and Susie are out sailing I borrowed their set of stairs to inspect the area under the boomkin.
|
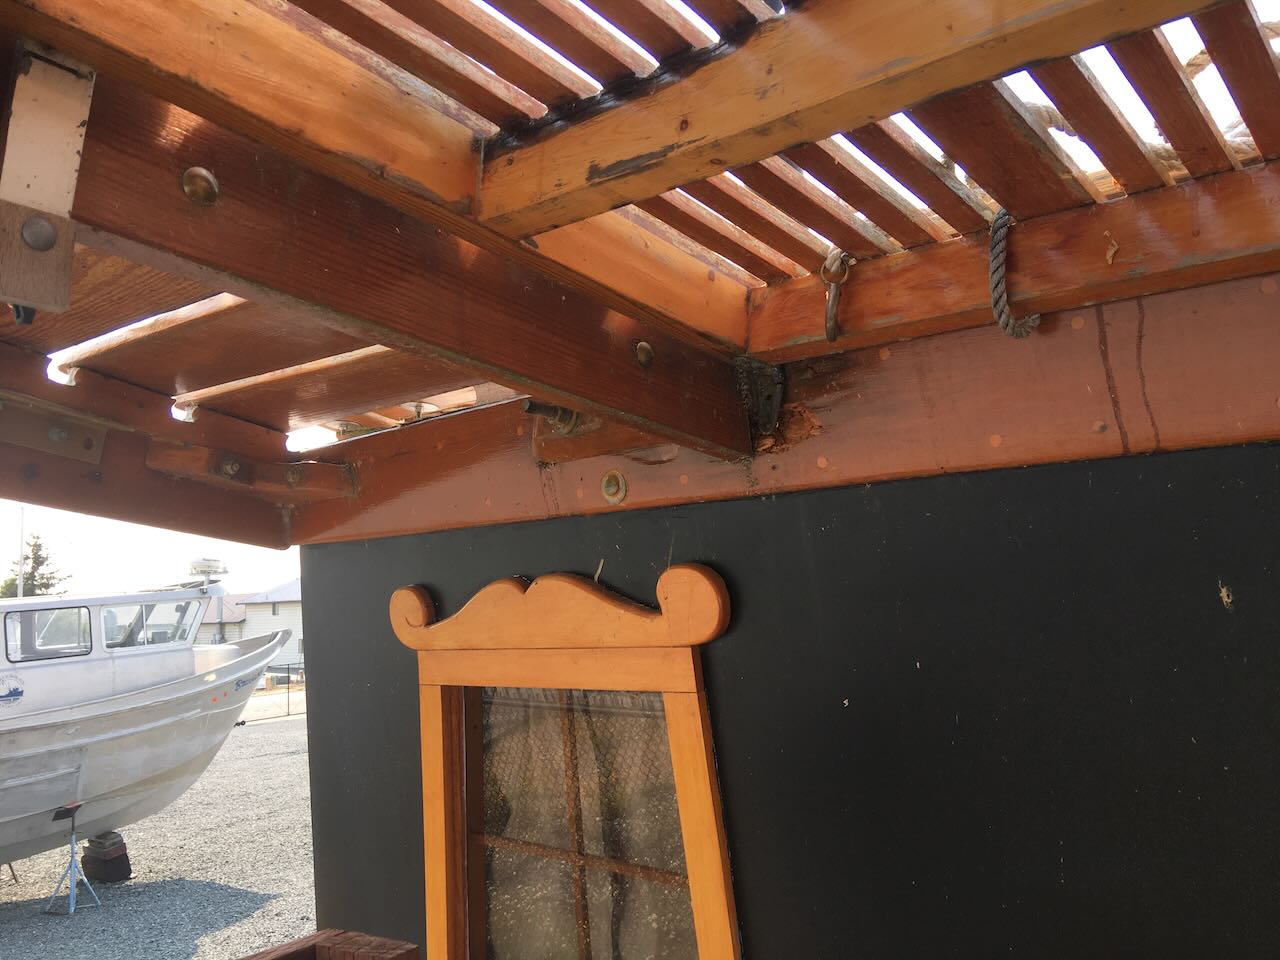
I made a mistake and let down the center hatch and the screws pulled right out of the wood on one side. So a little dry rot to repair.
I removed the center hatch to sand and fill on the ground. Going to use longer screws next time so they will go through the hull and into the cross beam.
|
| |
|
|
|
|
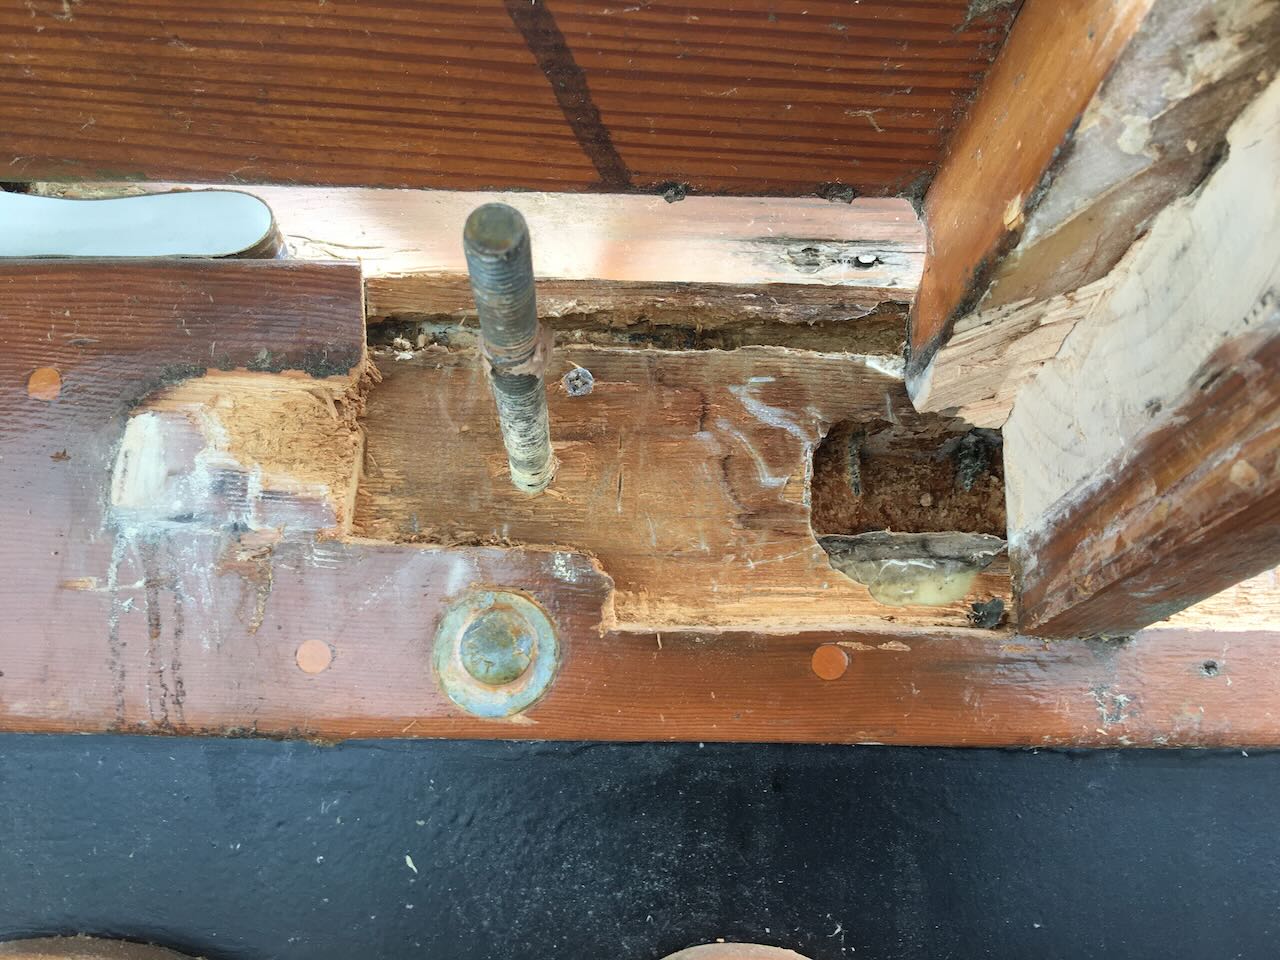
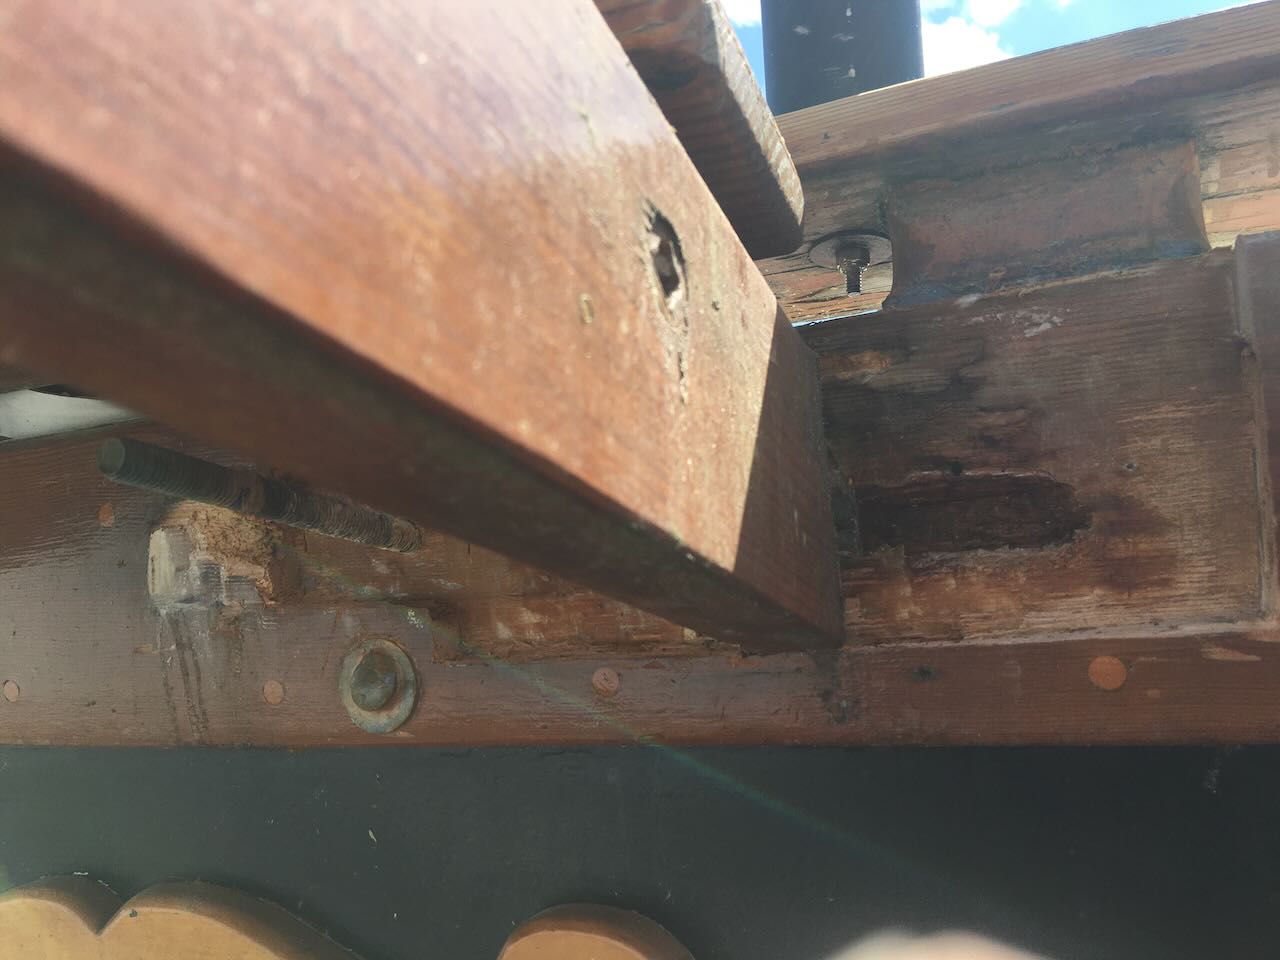
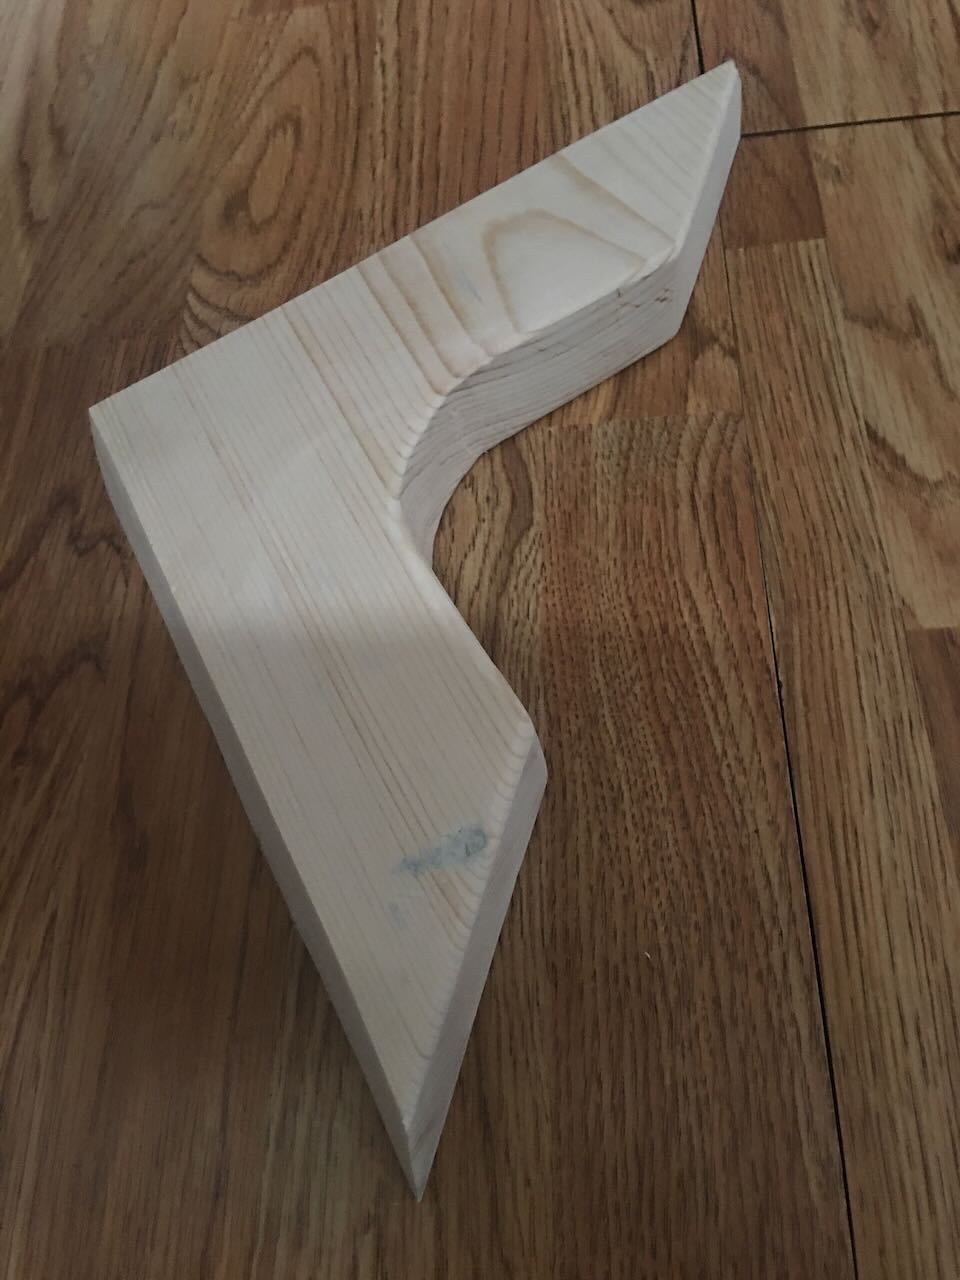
Removed the bad wood and treated it. As you can see I had to remove a gusset. Now I will need to make a new one without the proper tools!
|
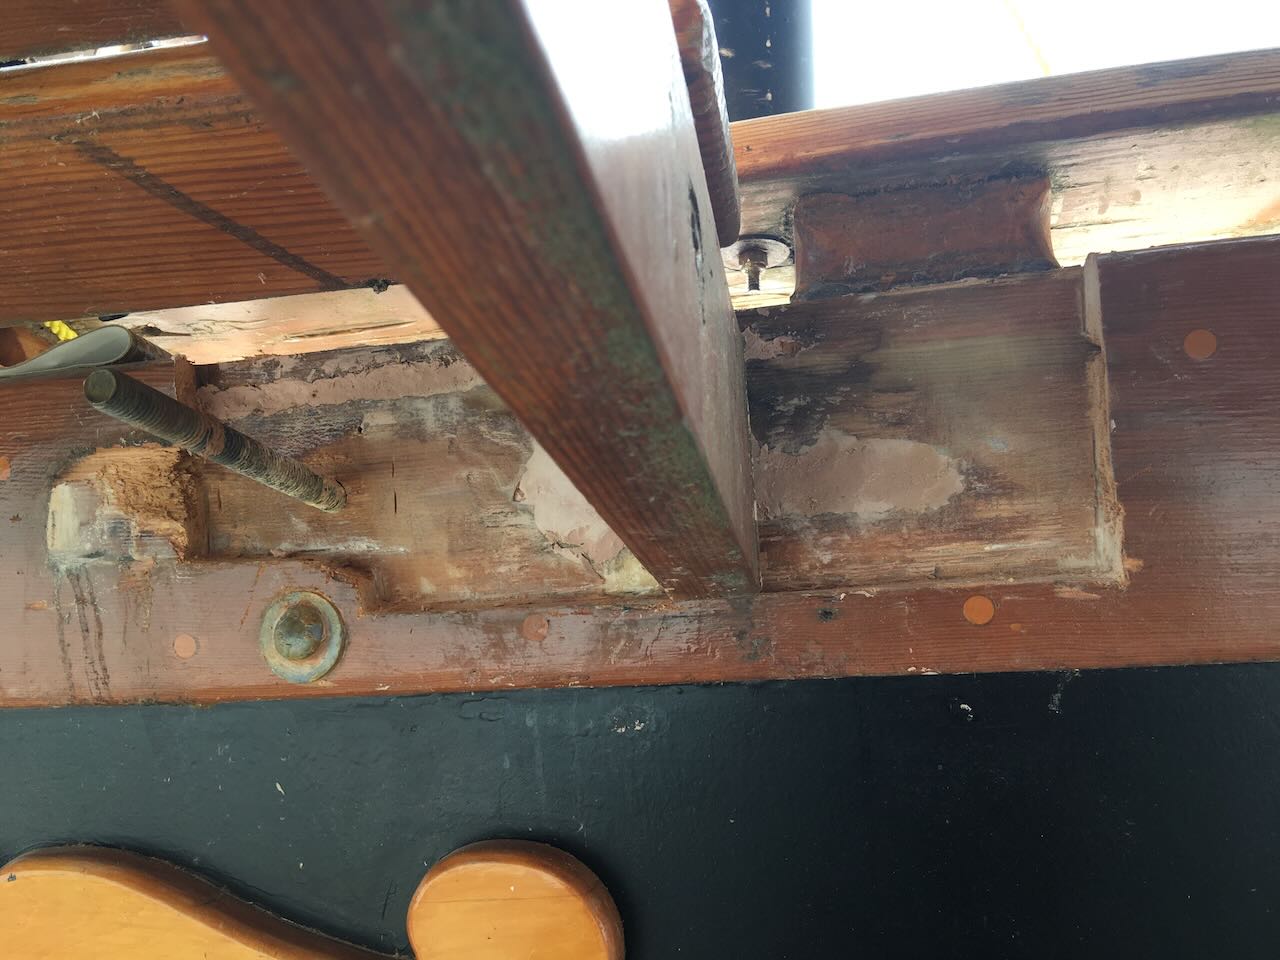
This side of the beam is a bit better.
|
| |
|
|
|
|
Treated and filled the voids with SculpWood Putty
|
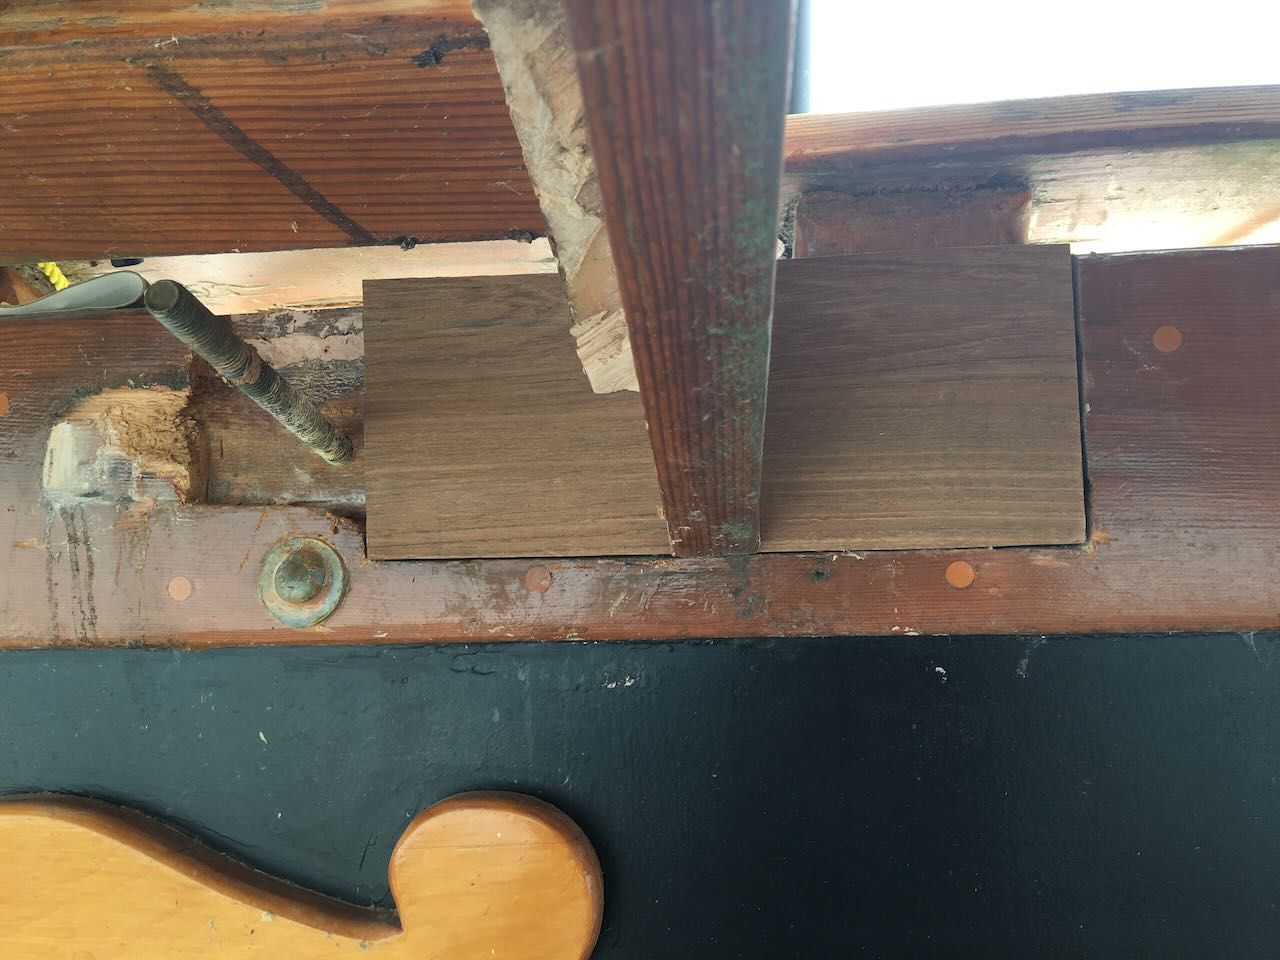
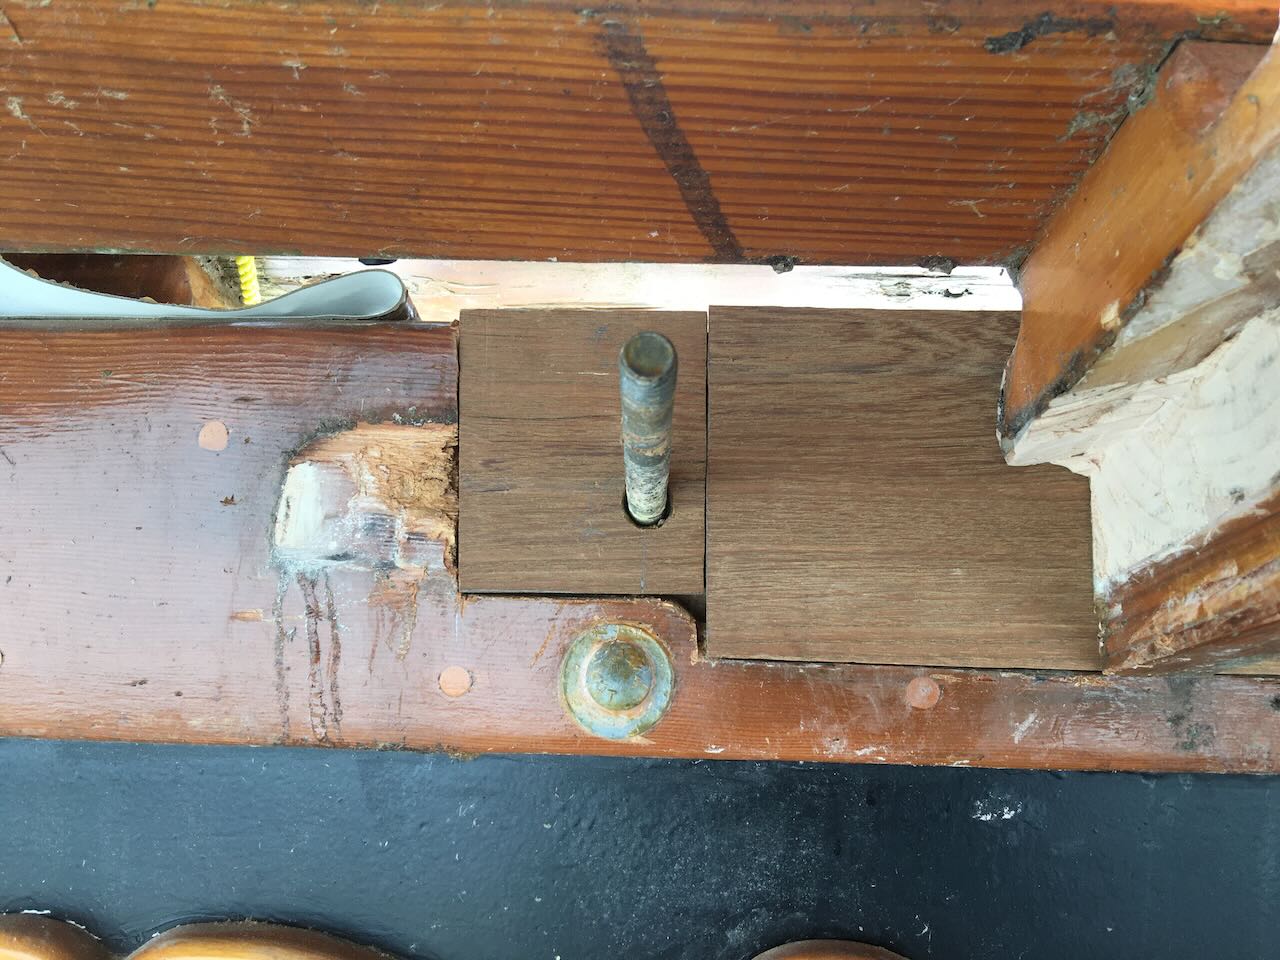
First wood piece roughed in.
|
| |
|
|
|
|
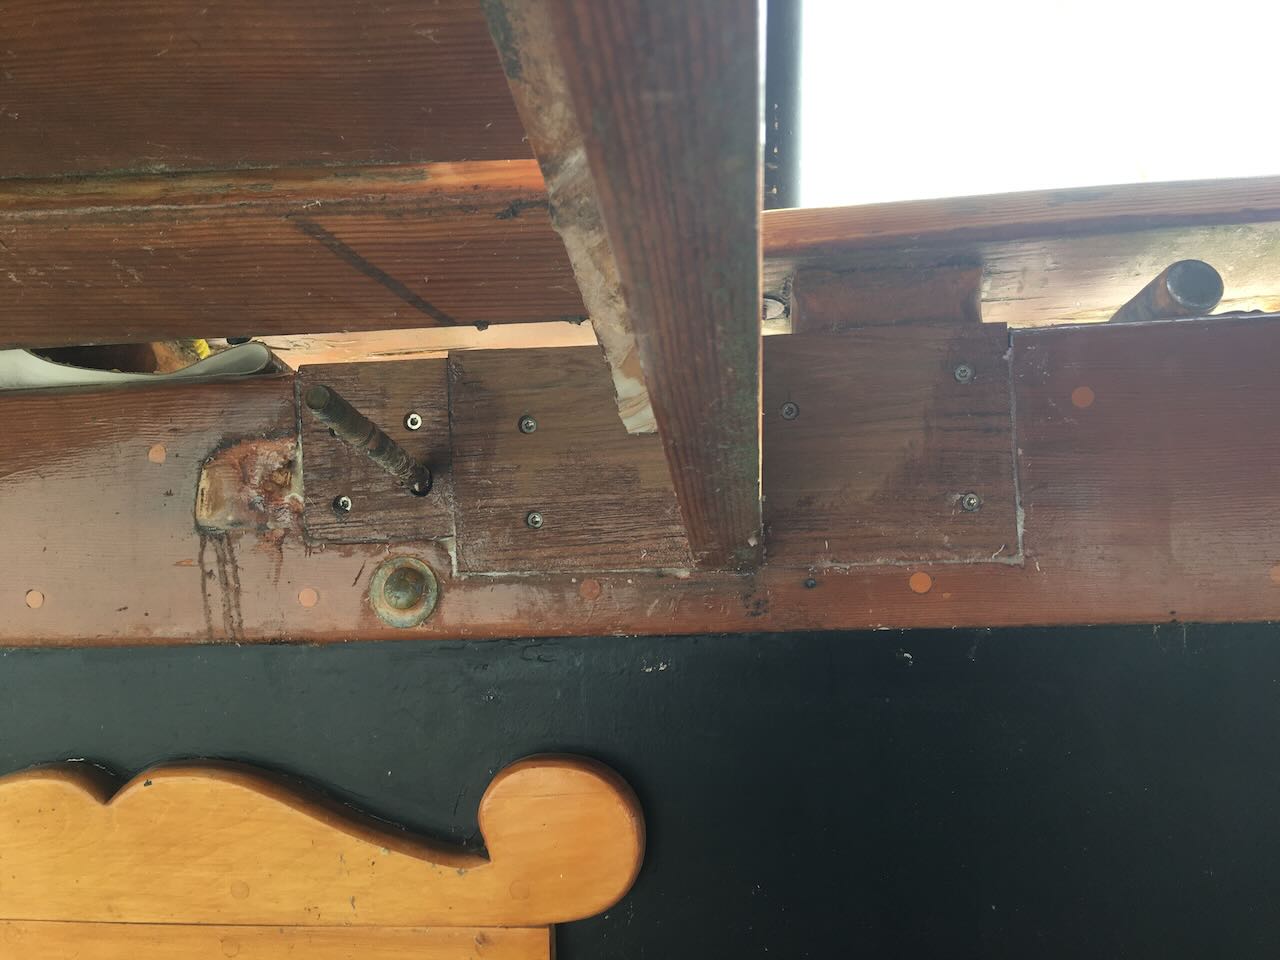
Second piece fitted.
|
All glued in place.
|
| |
|
|
|
|
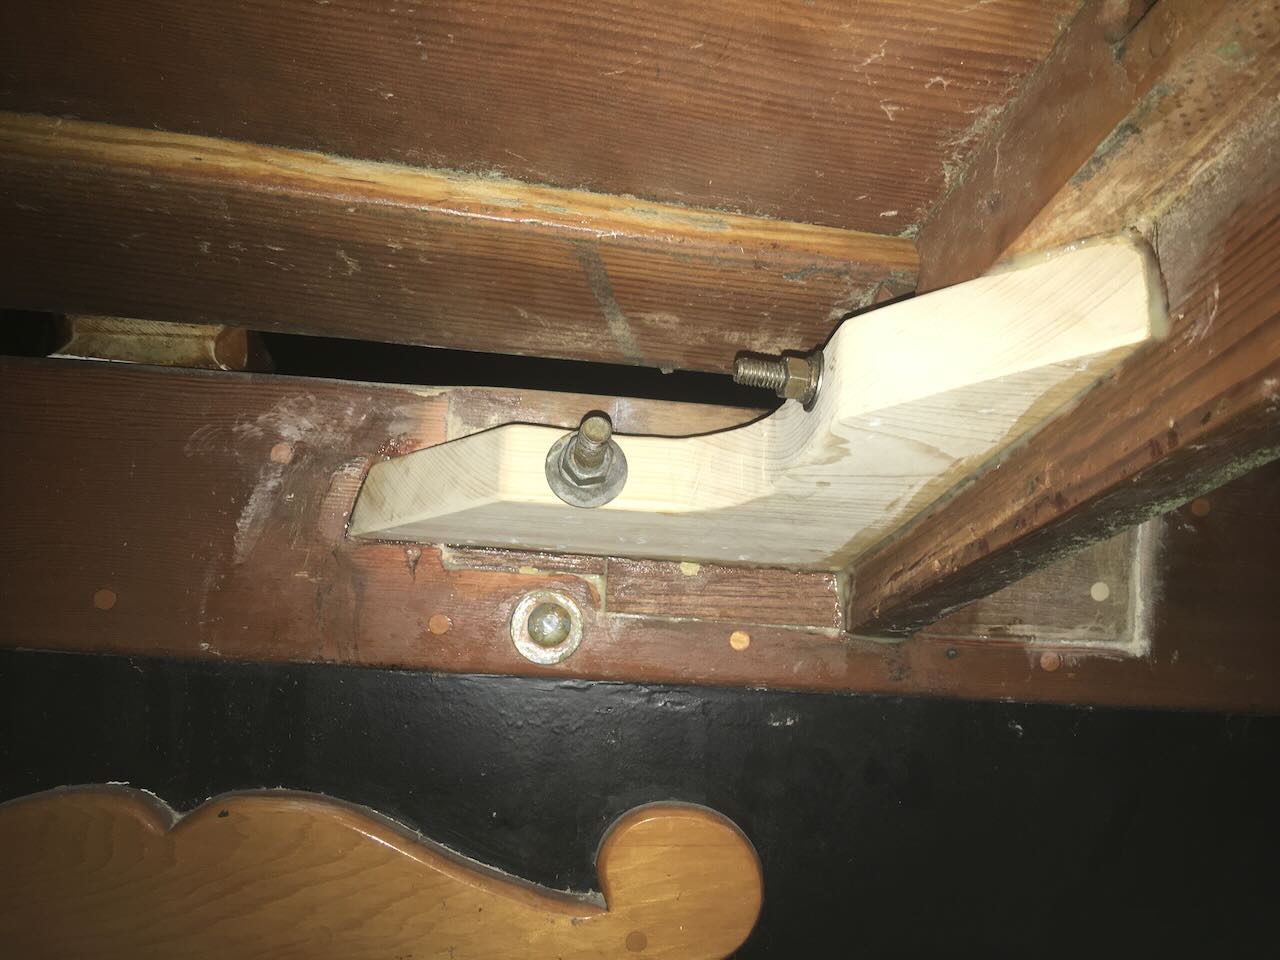
New hand made gusset! Only took 4 hours!
|
After a hell of a lot of fine, picky work, it is now glued in place.
|
| |
|
|
|
|
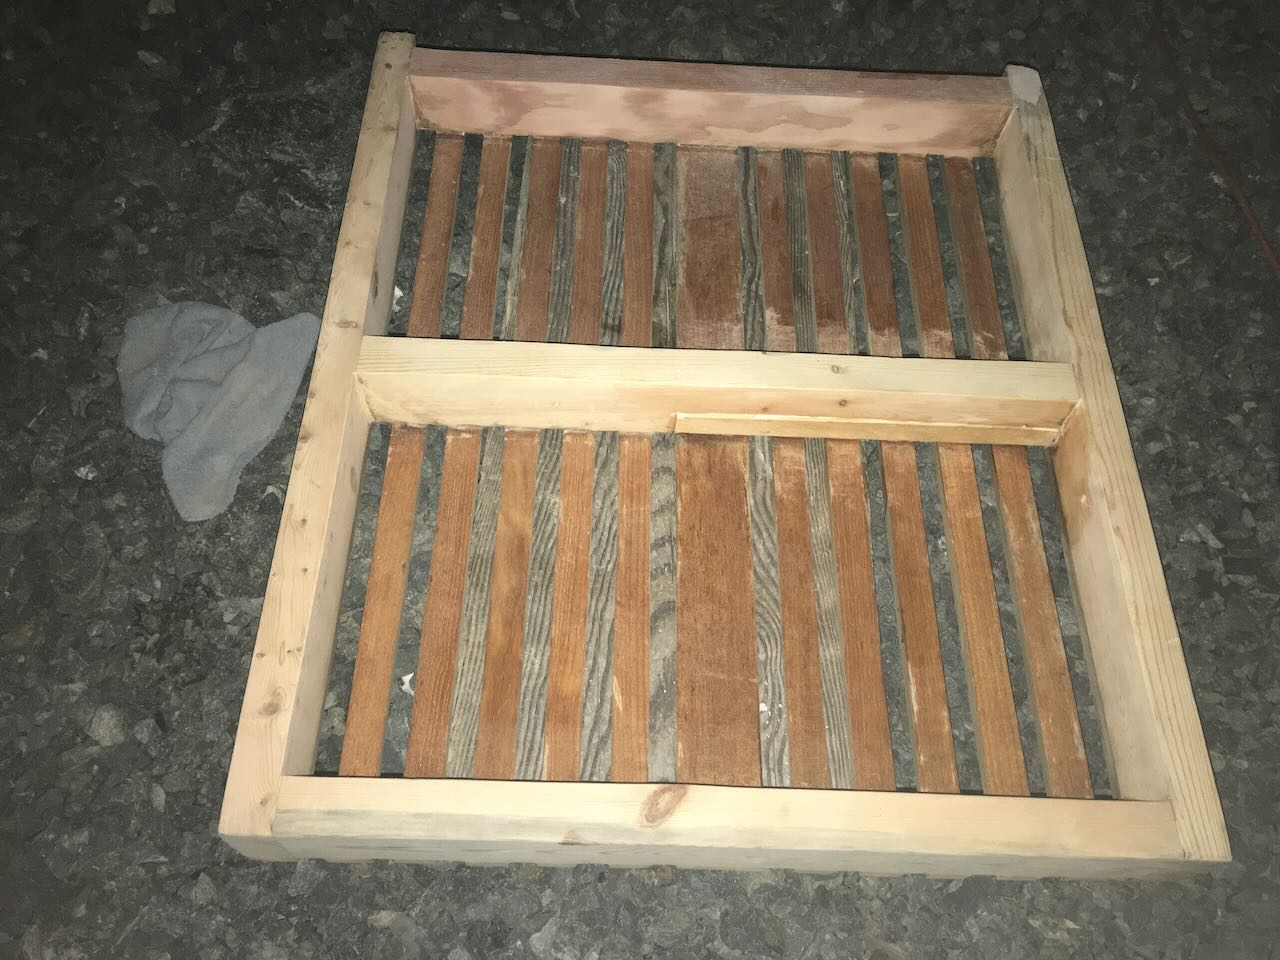
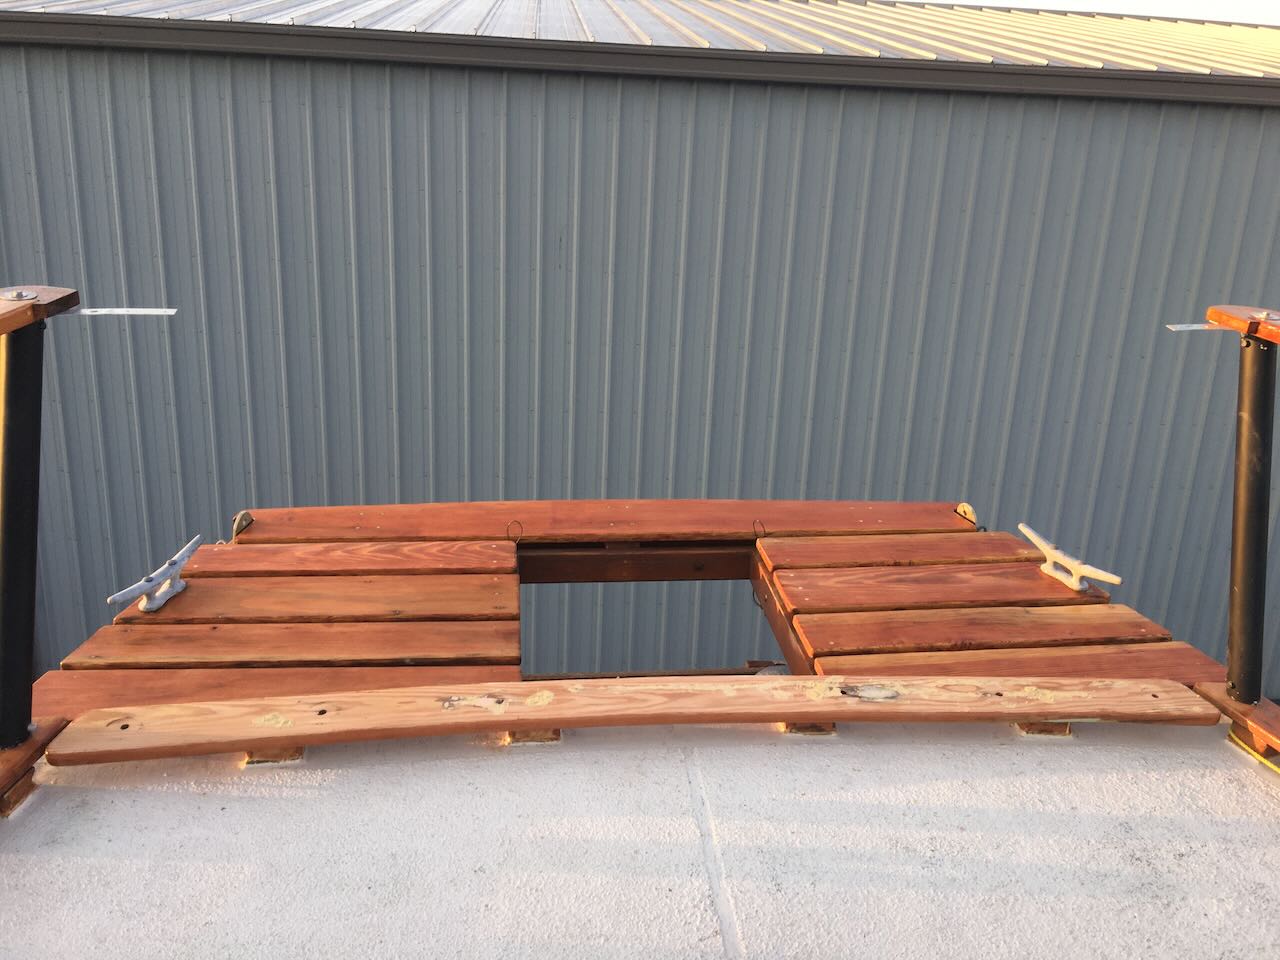
Trap door all cleaned up and a Swede installed in the cross beam.
|
First coat of Varathane Spar varnish.
|
| |
|
|
|
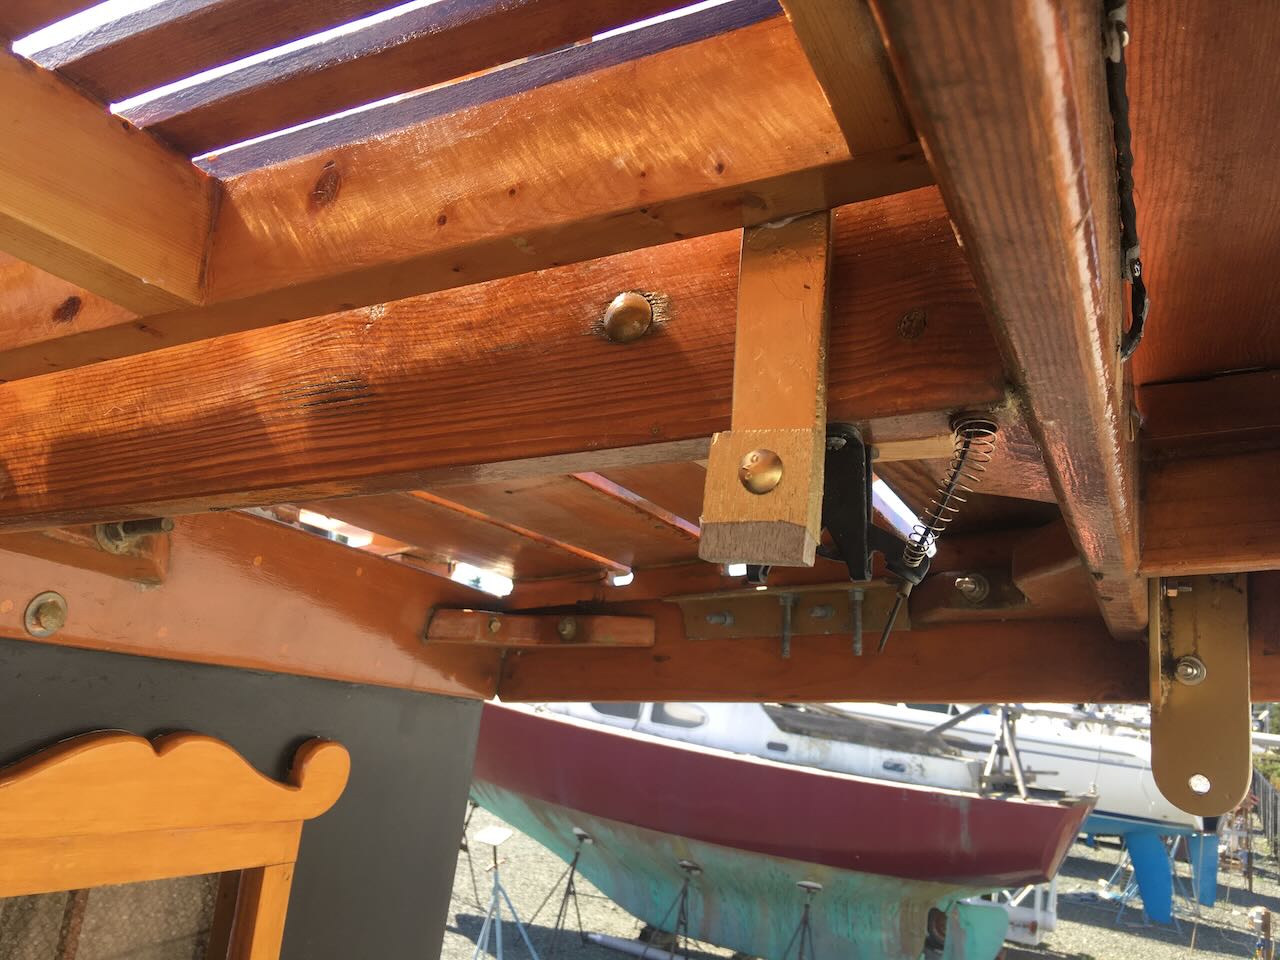
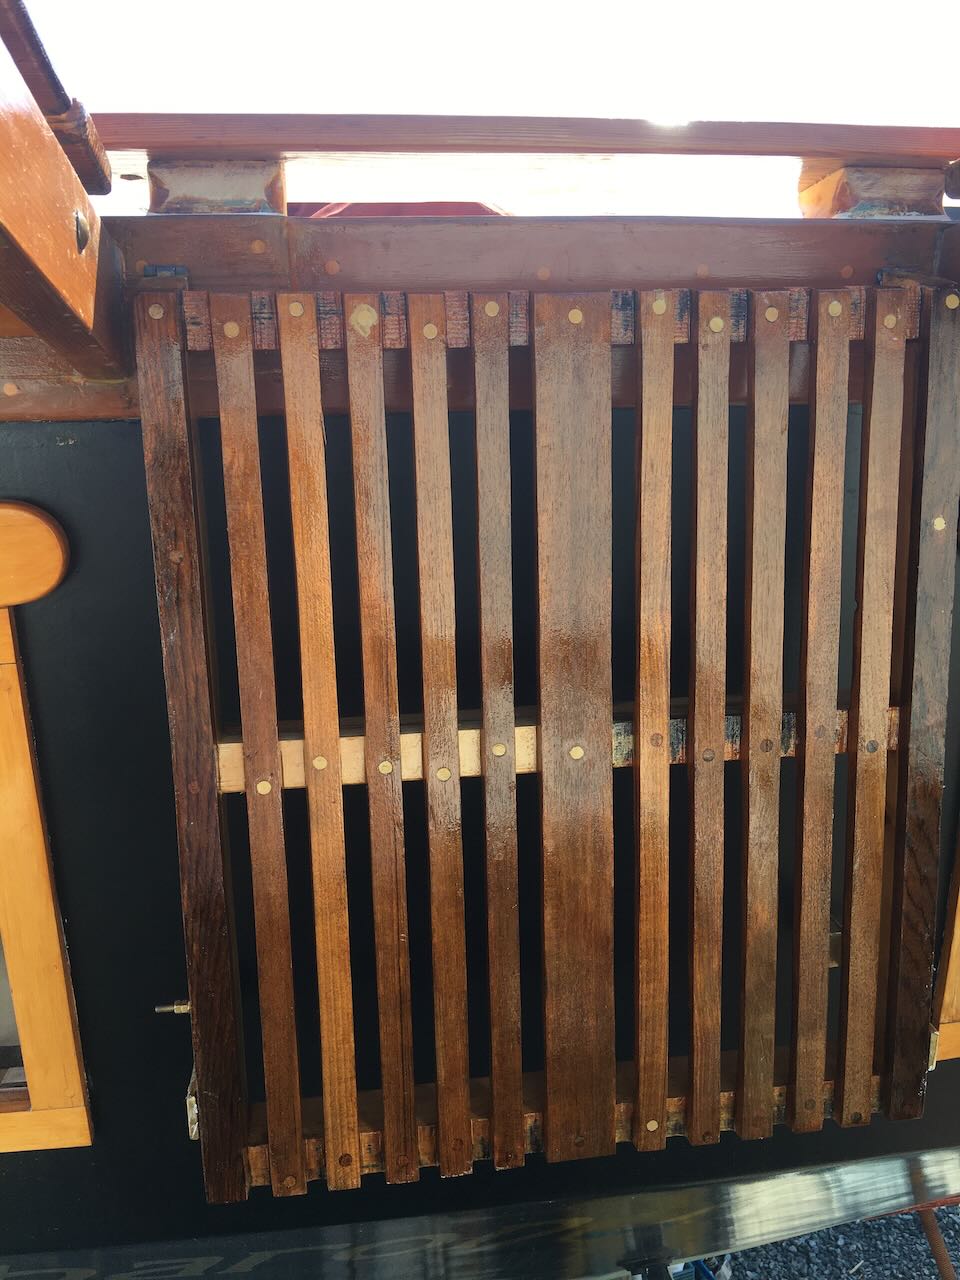
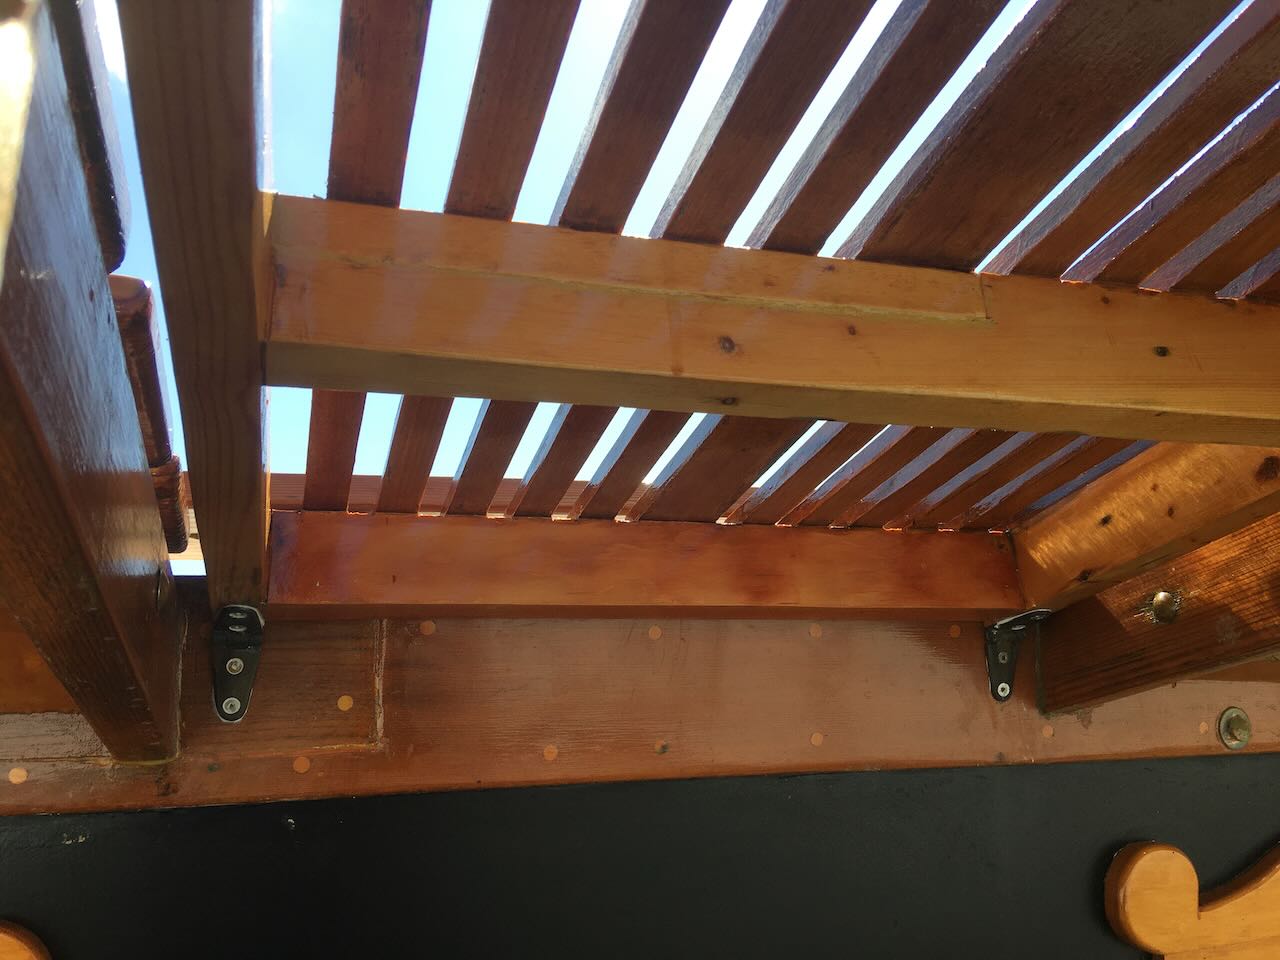
| Painted the hatch hangers gold. The hatch is installed. If you pull up on the little wires from the top side the hatch releases.
|
Swung down into place. Fits perfect against the hull..
|
| |
|
|
|
| Hinges installed with 3M 4200 sealant adhesive. All fittings will now be done with it from now on. Should have done it years ago. The 4200 allows you to remove it later. 5200 never. |
Done !!! If you expand the picture you will see the black hoops on the aft end on each side of the hatch.
These release the hatch so it can drop down out of the way.
|
| |
|
| |
|