Water Maker - 2020
|
Our first thoughts when we first decided to build the boat was to gather rain water and put it into the 40 gallon stainless steel tank.
Then for our potable water use individual gallon containers. The reason for individual containers was to prevent getting bad water and poisoning the whole water supply.
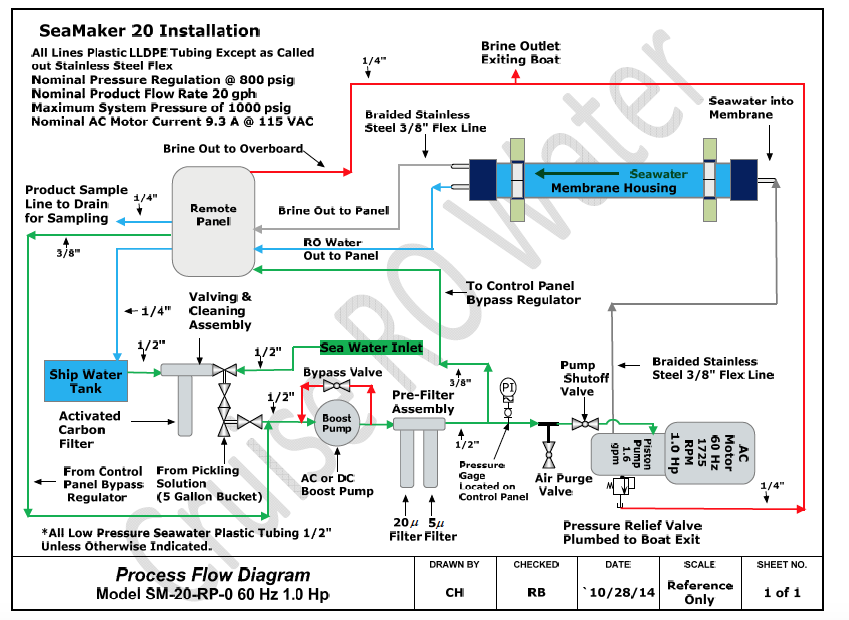
Fast forward to today and we can change our plans and install a water maker. A water maker is a desalination unit which takes in sea water and forces it through an RO membrane at about 800 PSI. Then out comes fresh clean water out the other side. How cool is that ? Now we will use the 40 gallon tank for our potable water and do away with the individual containers. I have chosen a 20 GPH water maker made by Cruise RO Water. This will fill our 40 gallon tank in about 2 hours. Last year the unit did not arrive until 2 days before we left for Arizona. So in she goes this year. |
|||
 |
 |
||
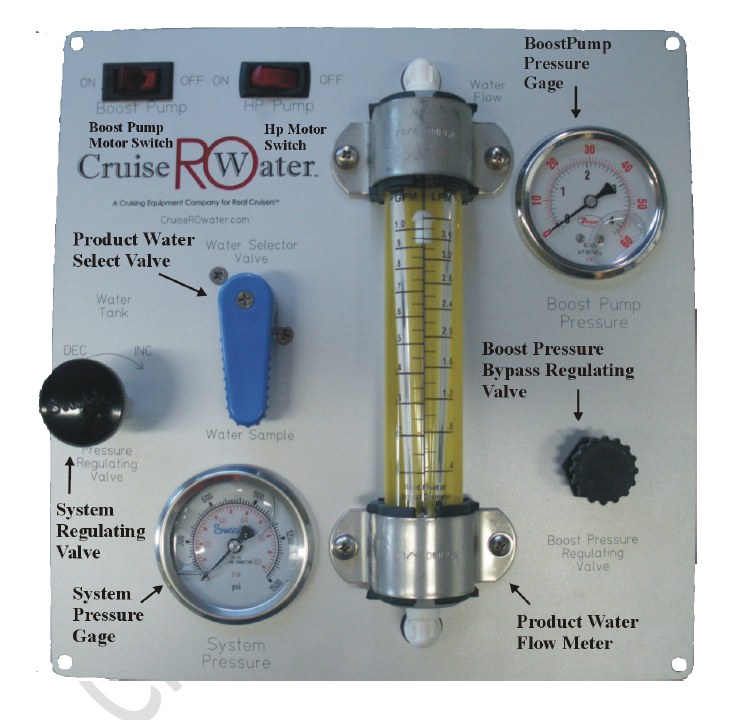
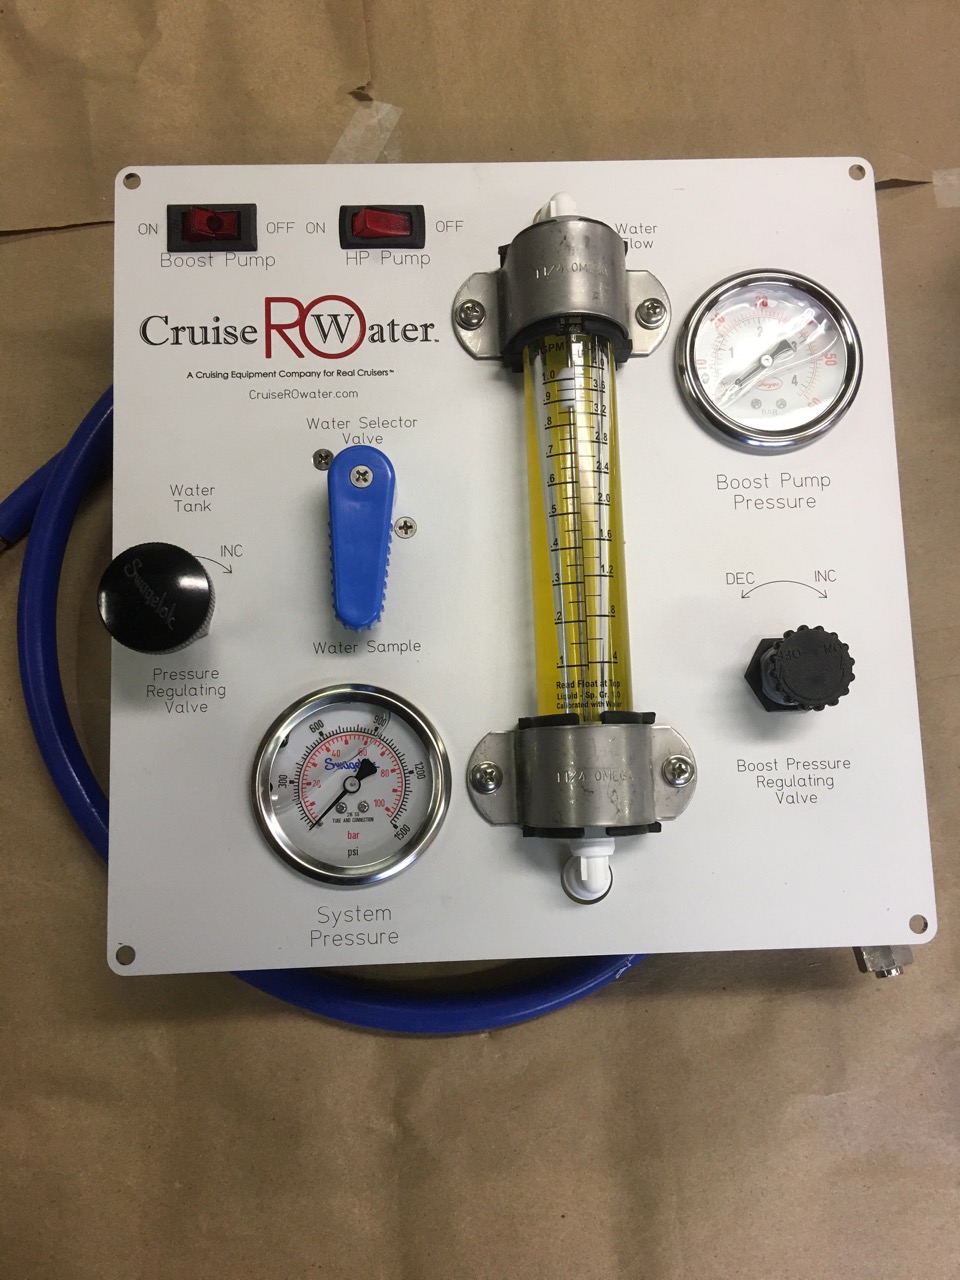
| This is the control panel for the unit. | Here is how it all comes together. I'll keep you posted as to how I am going to fit all this into the ship. | ||
The day has come.. Saturday the 13th of June, 2020 to begin the installation the water maker. |
|||
| First comes the unboxing of 5 cartons and organizing the parts. | |||
|
|||
 |
 |
||
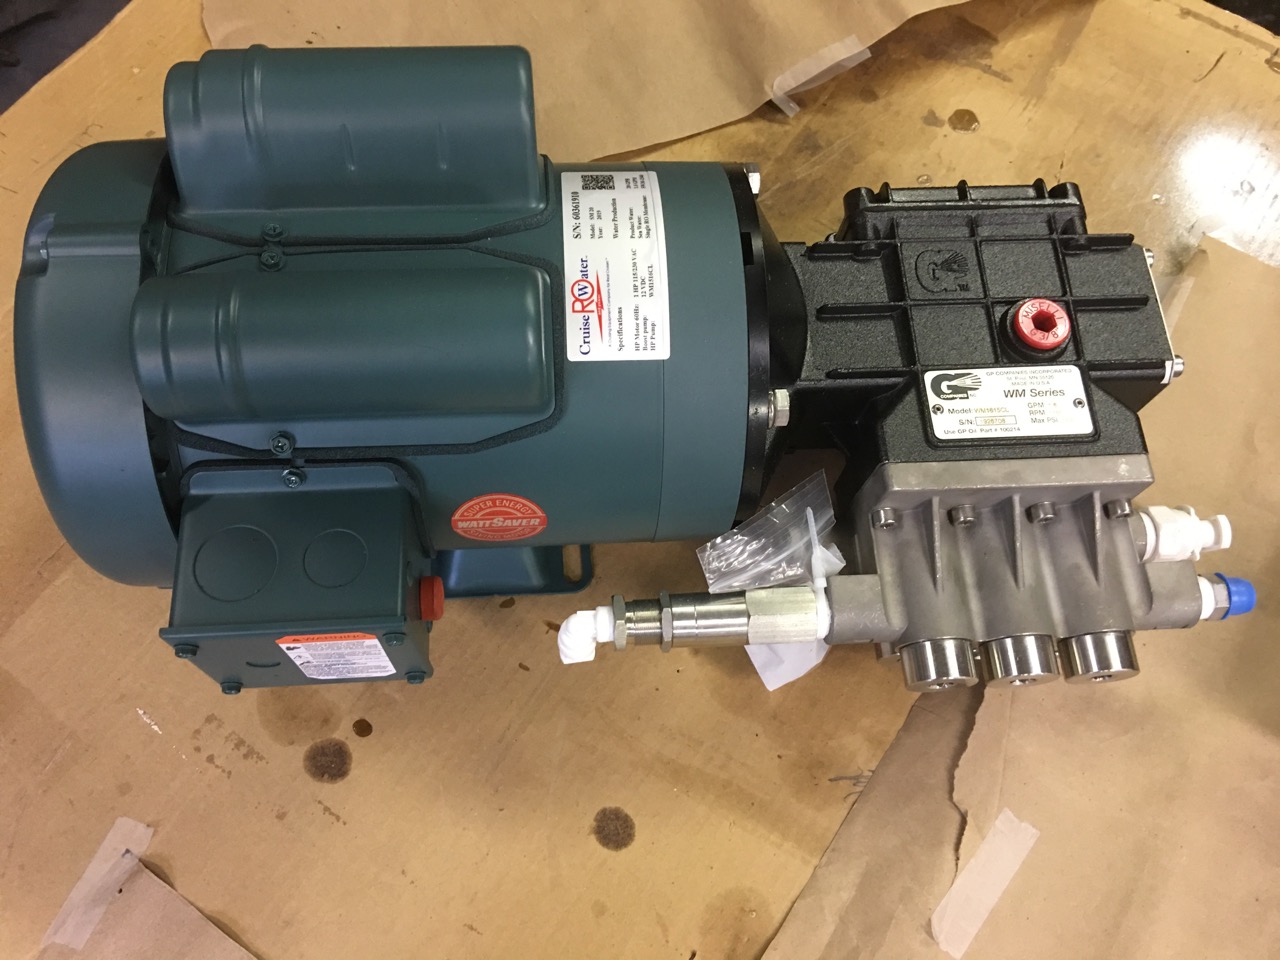
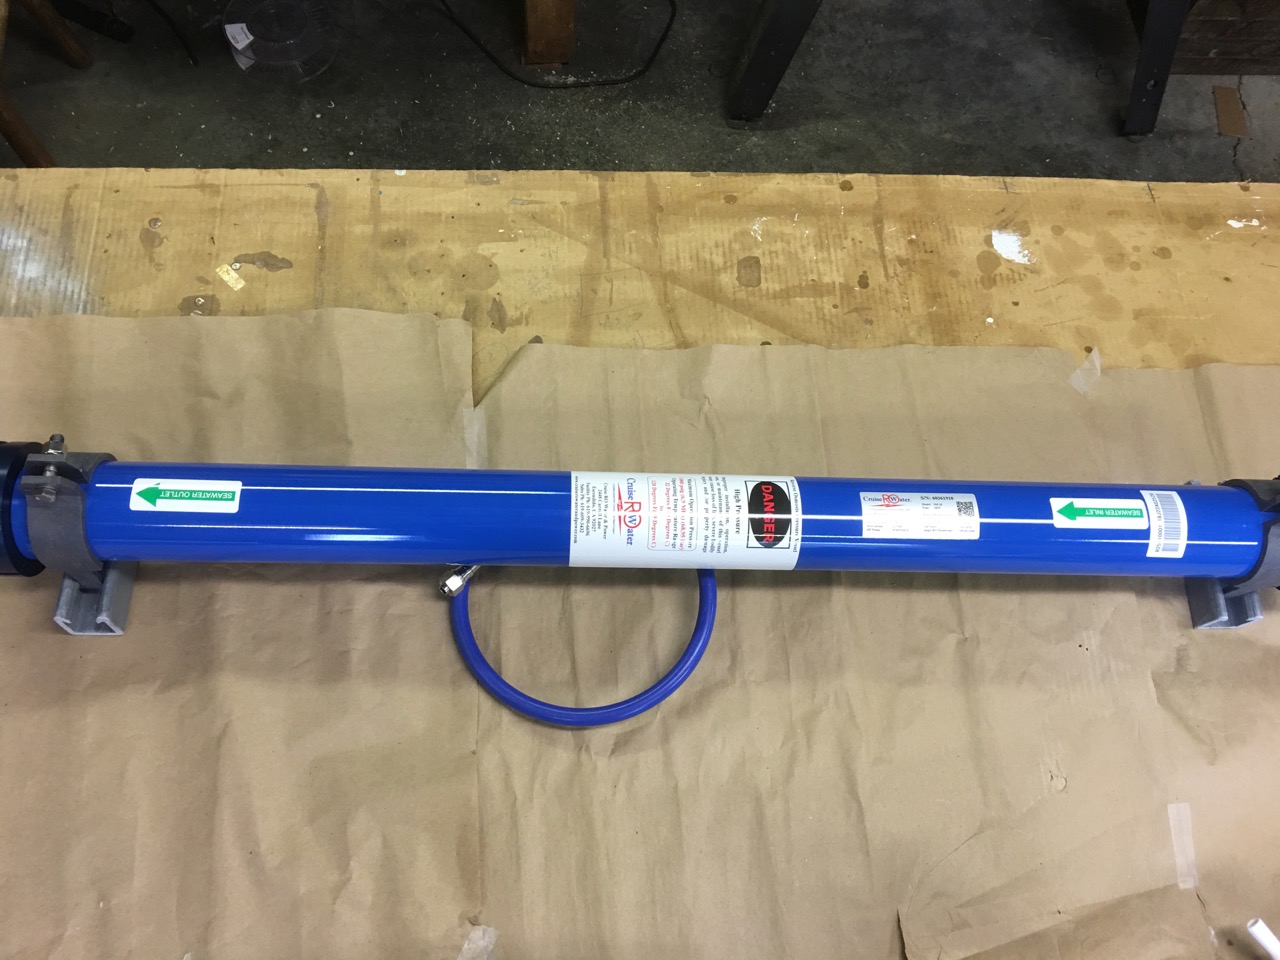
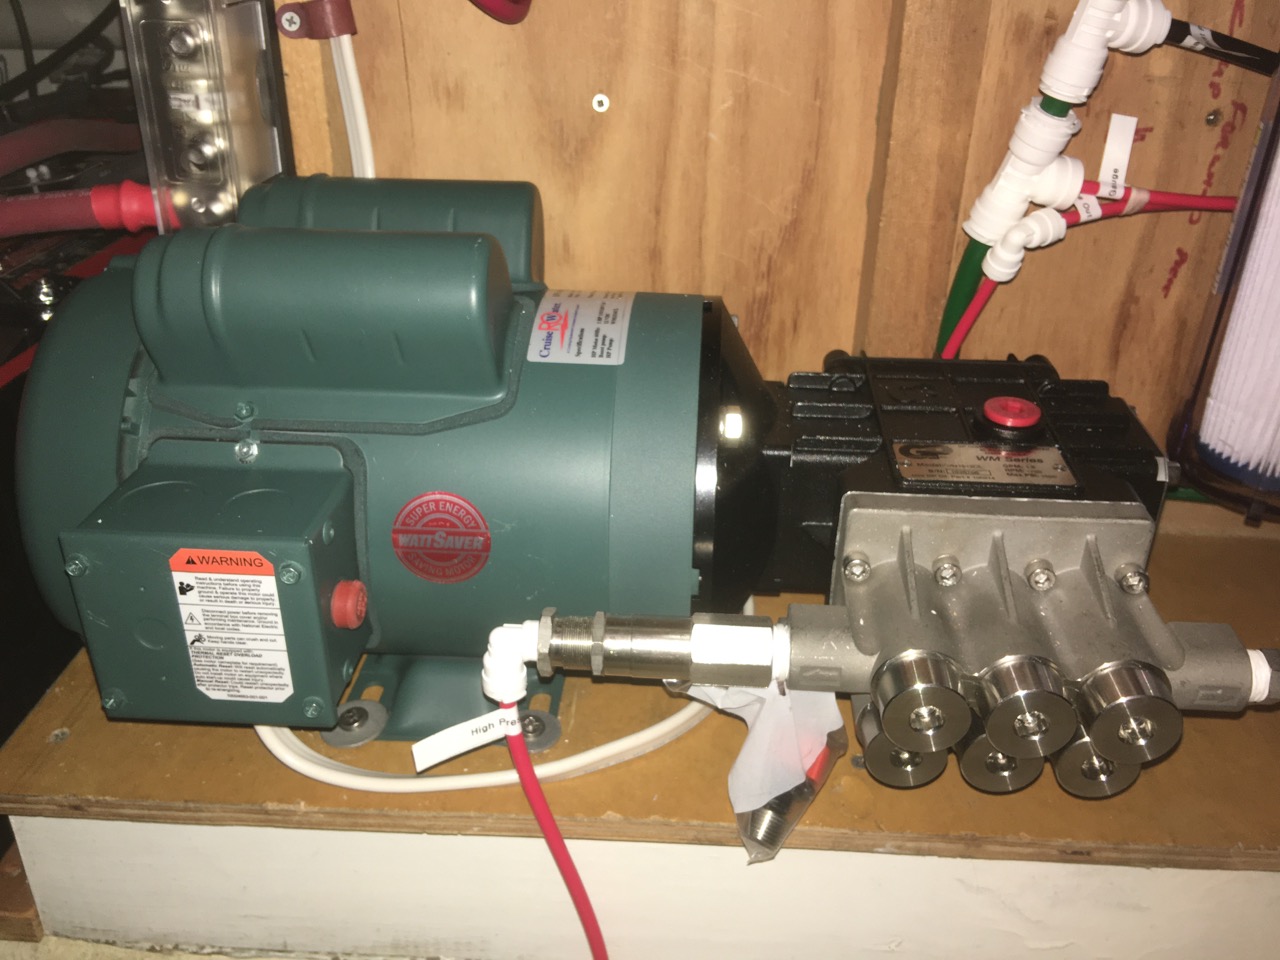
| The heart of the water maker, the 800 PSI water pump. | Sea water is pumped through this membrane at high pressure to purify the water. | ||
 |
 |
||
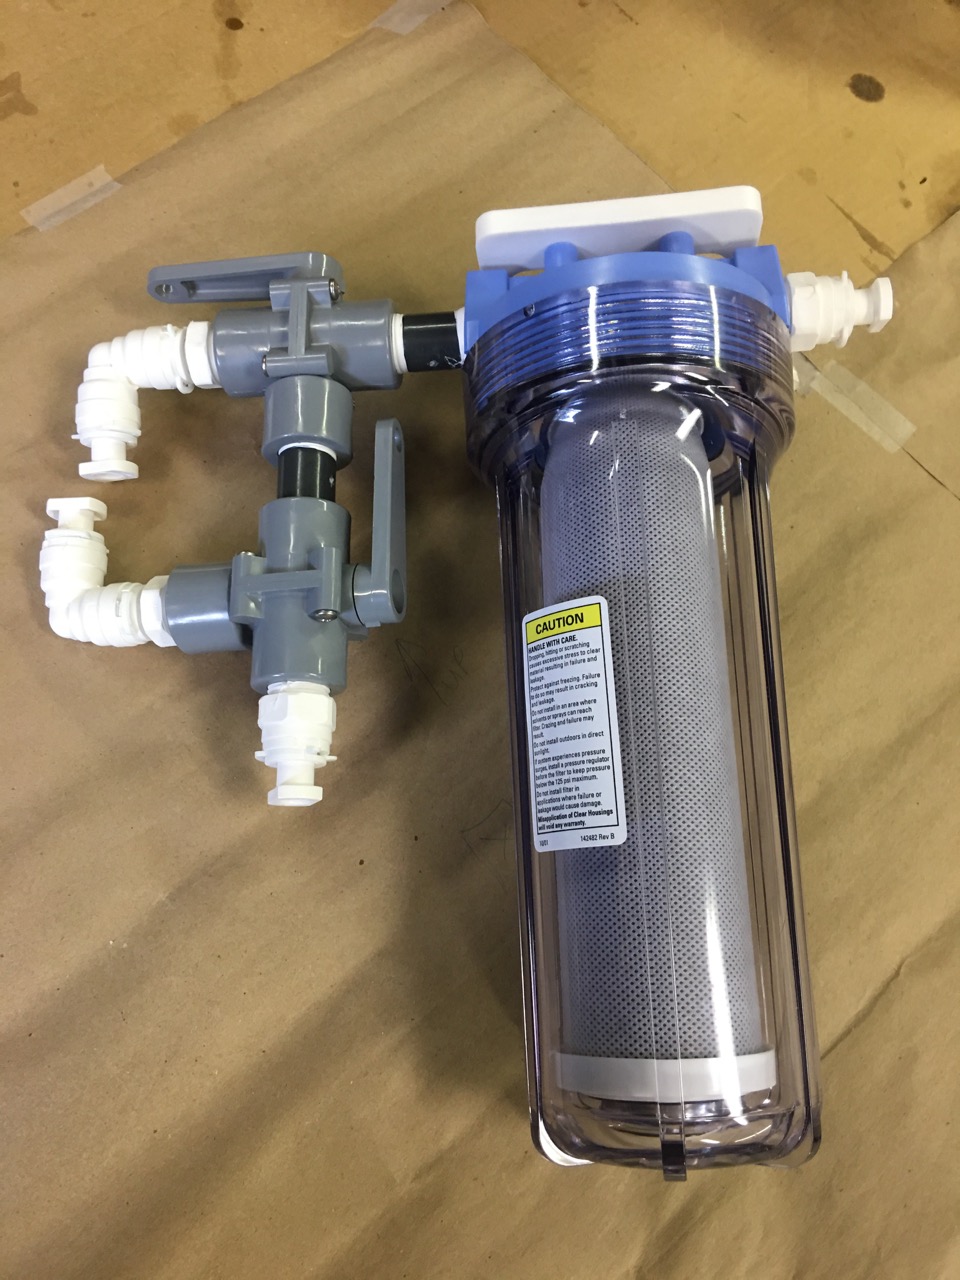
| The valving on the left directs either sea water or fresh water through the system. It also allows for a pickling solution to be pumped through the membrane to pickle it for long term storage.
The fresh water is pumped through the carbon filter and routed to the membrane to clean it. |
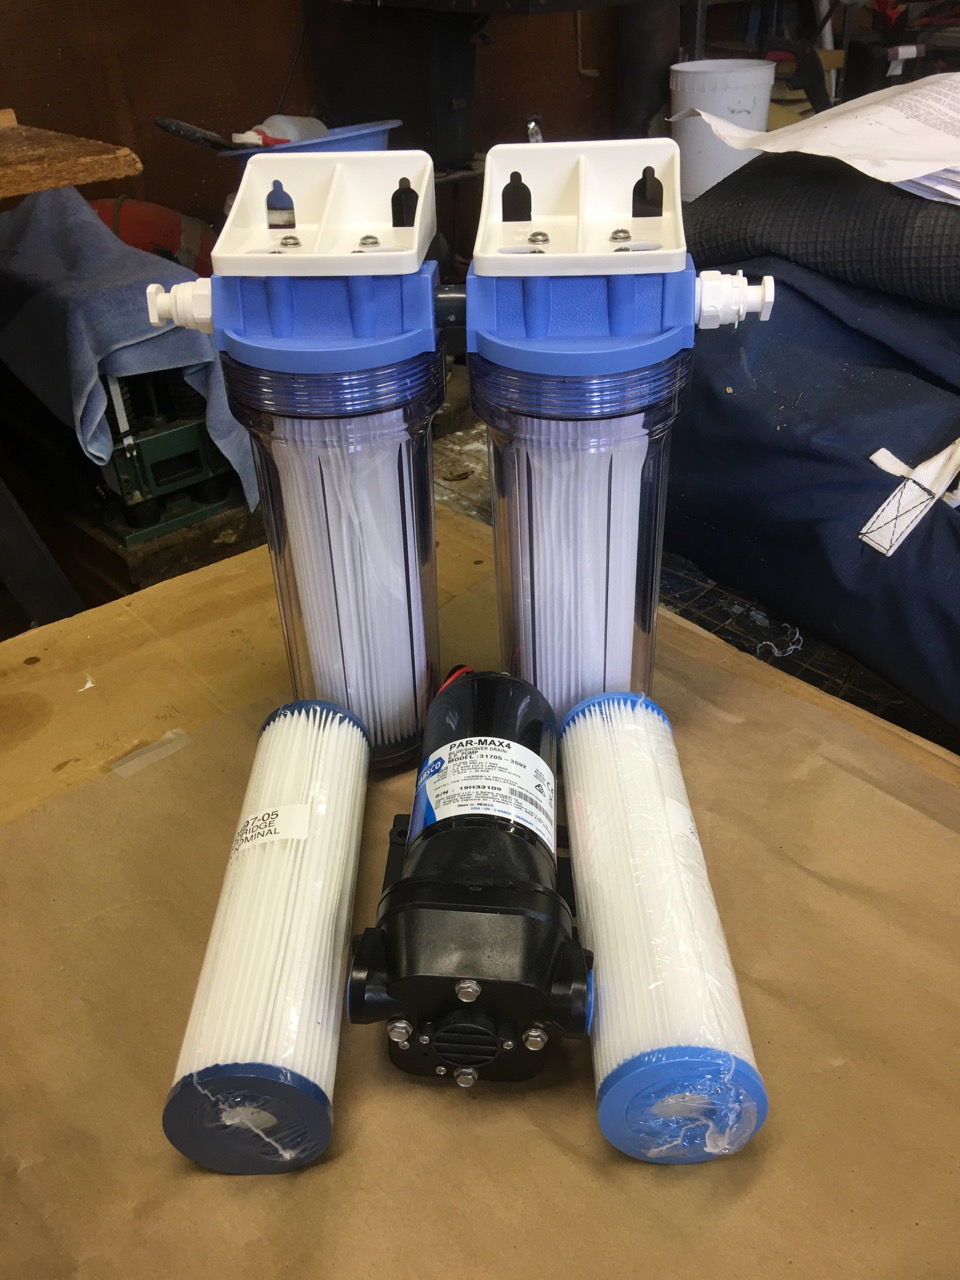
Water is pumped via this boost pump through a 20 micron and a 5 micron filter before going to the high pressure pump. | ||
 |
 |
||
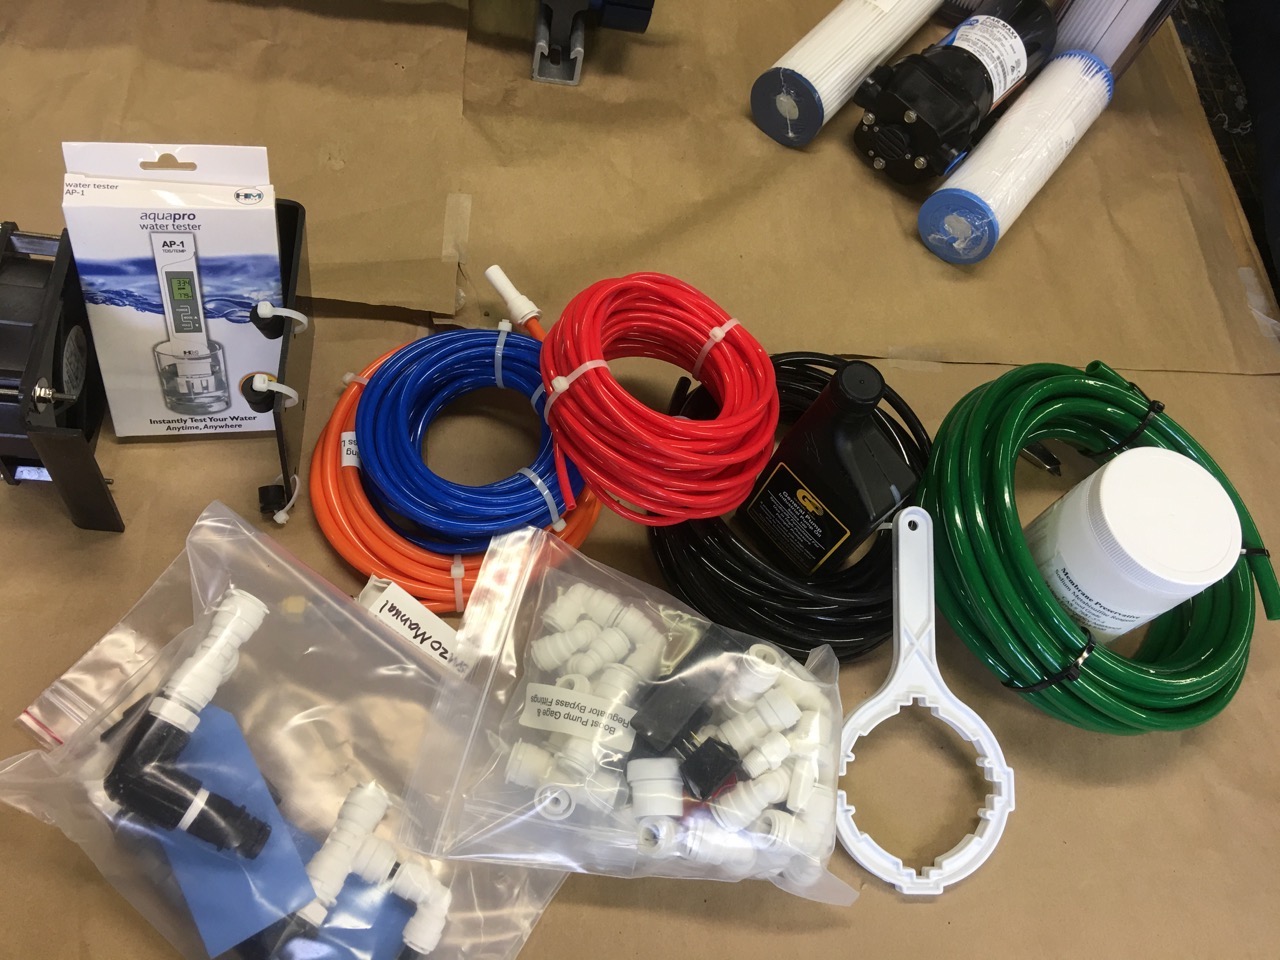
| The panel which controls the whole rigmarole. | Here is the whole pile of parts and widgets I need to install in the ship.
Even if you are not religious, please, say a prayer for me ! |
||
| Day 1 Install the membrane 15-Jun-20 |
|||
 |
 |
||
| The membrane housing is secure to the vertical beams with 2" 7/16" lag bolts. This is the inlet end. Pressure pump will be mounted on the shelf to the left. | This is the outlet side of the membrane. From here the pressure line will go up to the control Panel. I have good access to it under the pilot house floor. |
||
| Day 2 Install the carbon filter and valving. 16-Jun-20 |
|||
 |
 |
||
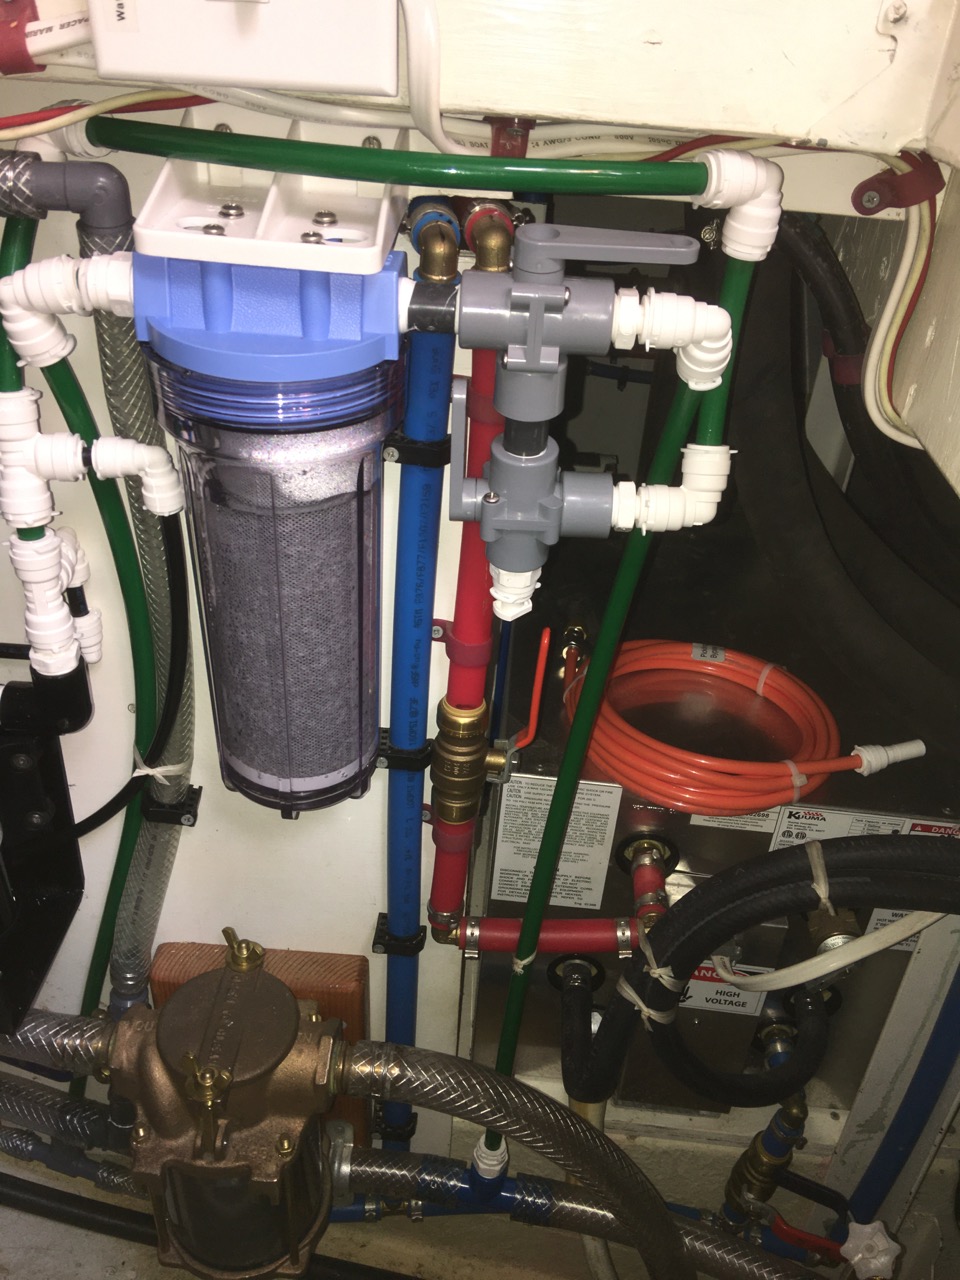
| Spent a lot of time today trying to make room for all the components. The Sharon Rose is a big boat but still trying to fit everything takes a lot of thought. I decided to put the charcoal filter as far to the right as possible on the mounting panel, turned it around so the valves are on the right then re-plumbed the valves so the handles come out to the front. |
The other side of the filter is plumbed to the water tank for cleaning the membrane. I ran the hose straight down and connected it to the pressure side of the fresh water system. |
||
| Day 3 Install the boost pump. 18-Jun-20 |
|||
 |
 |
||
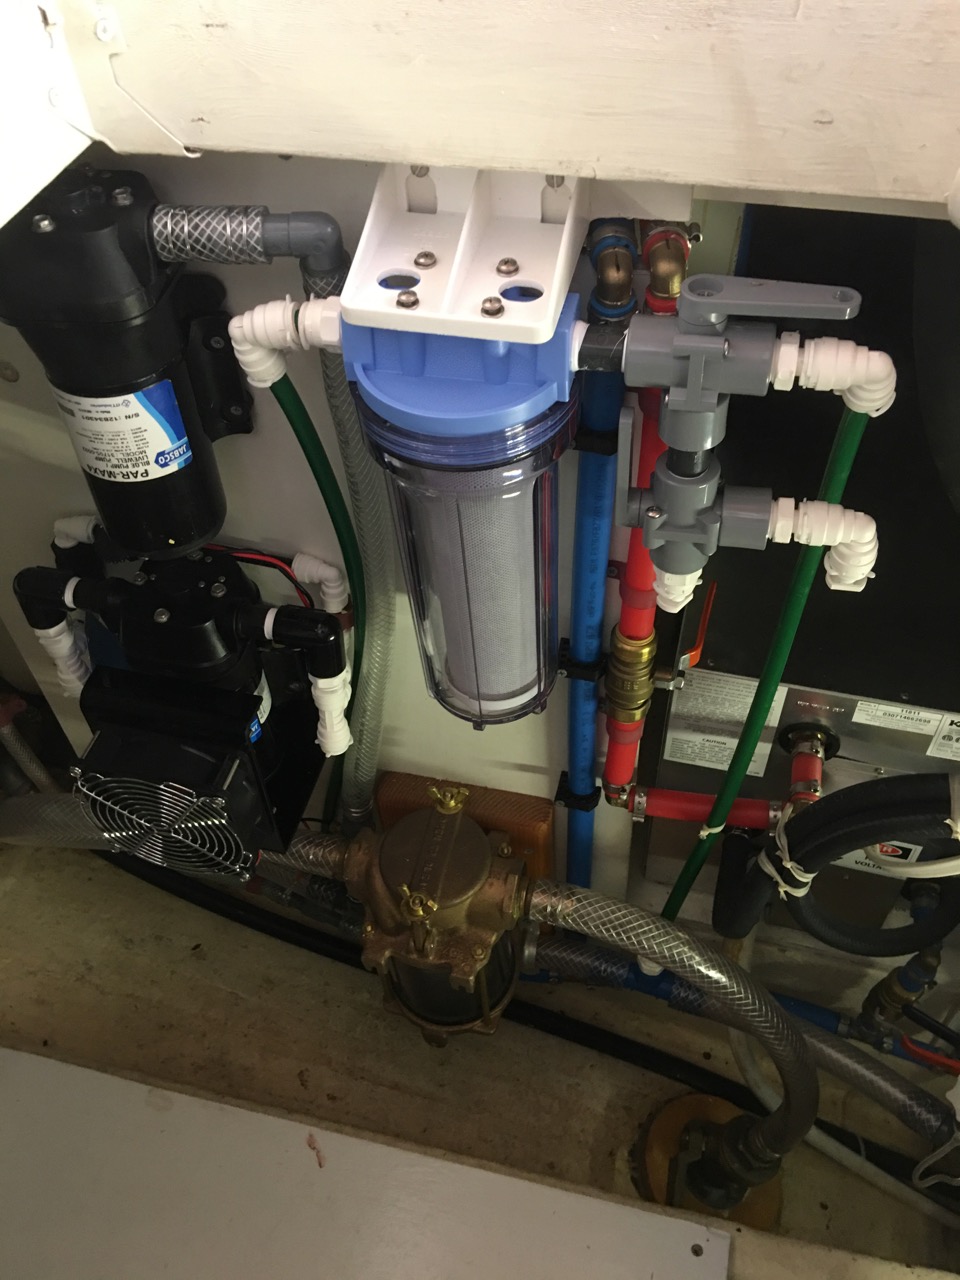
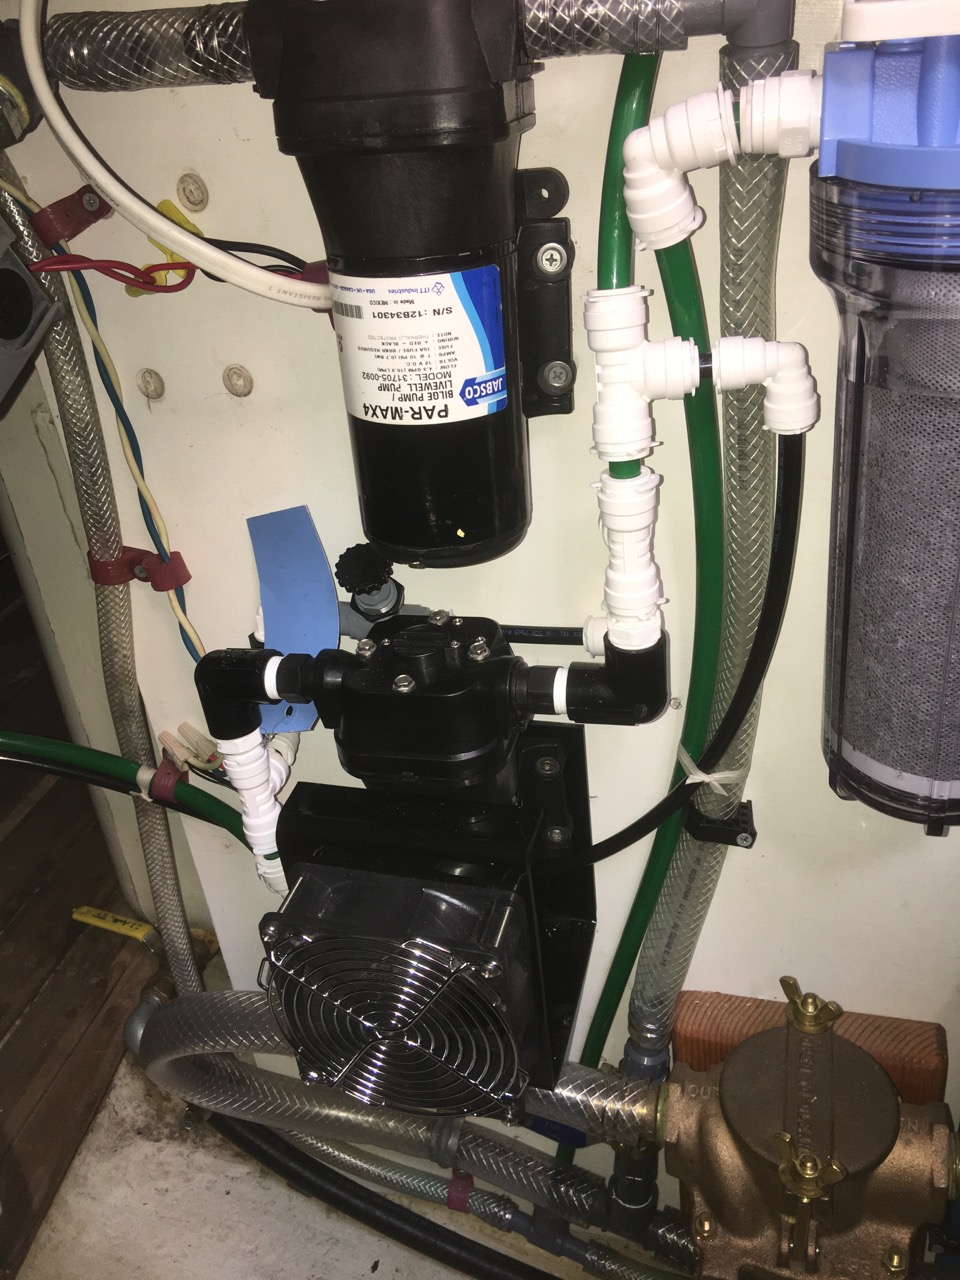
| How about this for a plumbing nightmare, Skippy ? On the left, the top pump is the wash-down pump and it is plumbed to the salt water intake. The pump underneath is the water maker boost pump with it's fan housing. To the right you can see I have plumbed in the salt water line to the valving. |
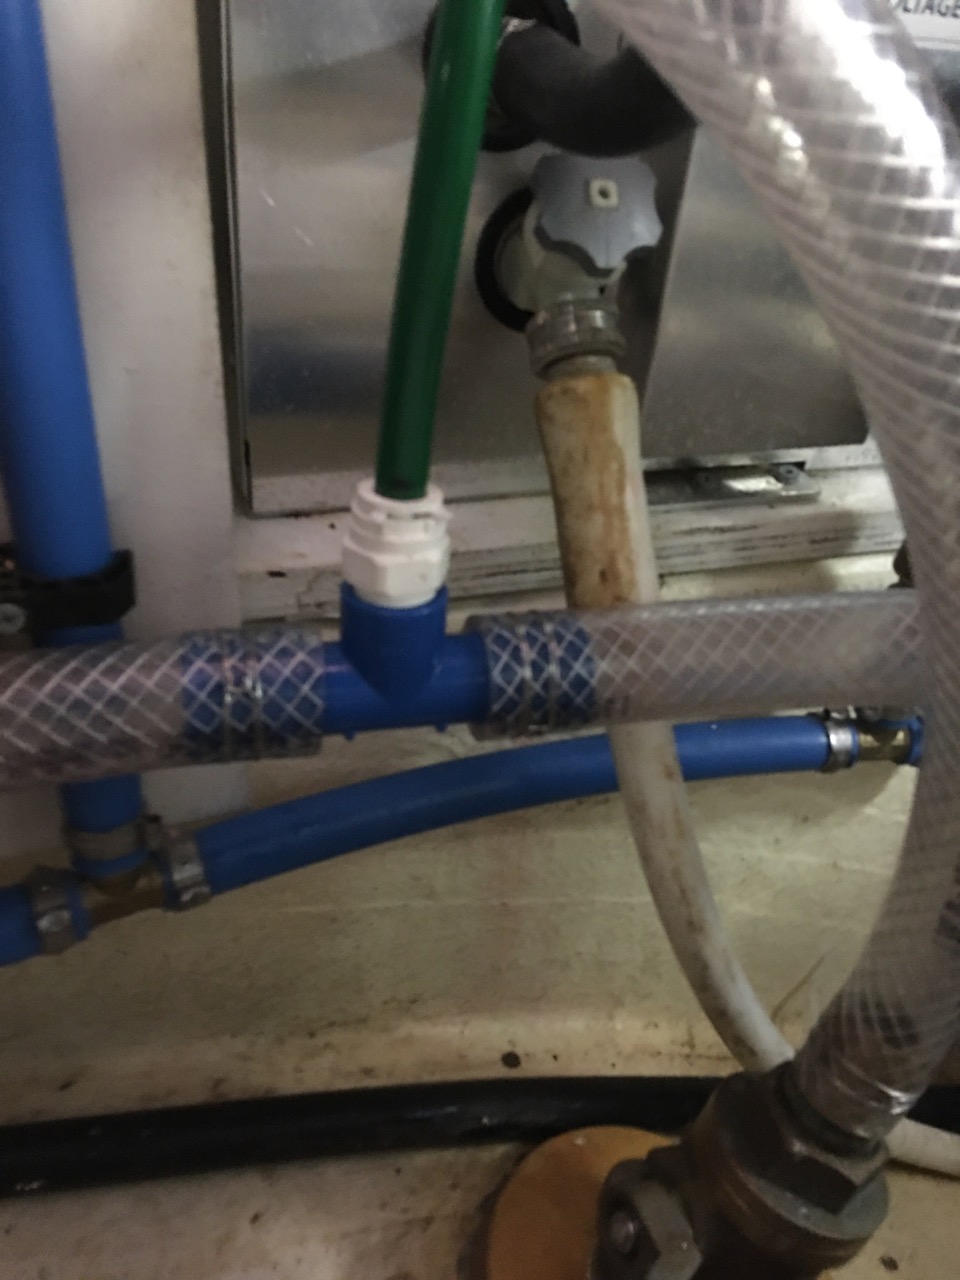
Salt water connection to the valving. Notice this T is blue. These have replaced the old gray ones. The hose barb has threads instead of barbs so you can screw it right into the hose. | ||
| Day 4 Install the pre-filters, pressure pump and plumb it all together. 19-Jun-20 |
|||
|
|
|
||
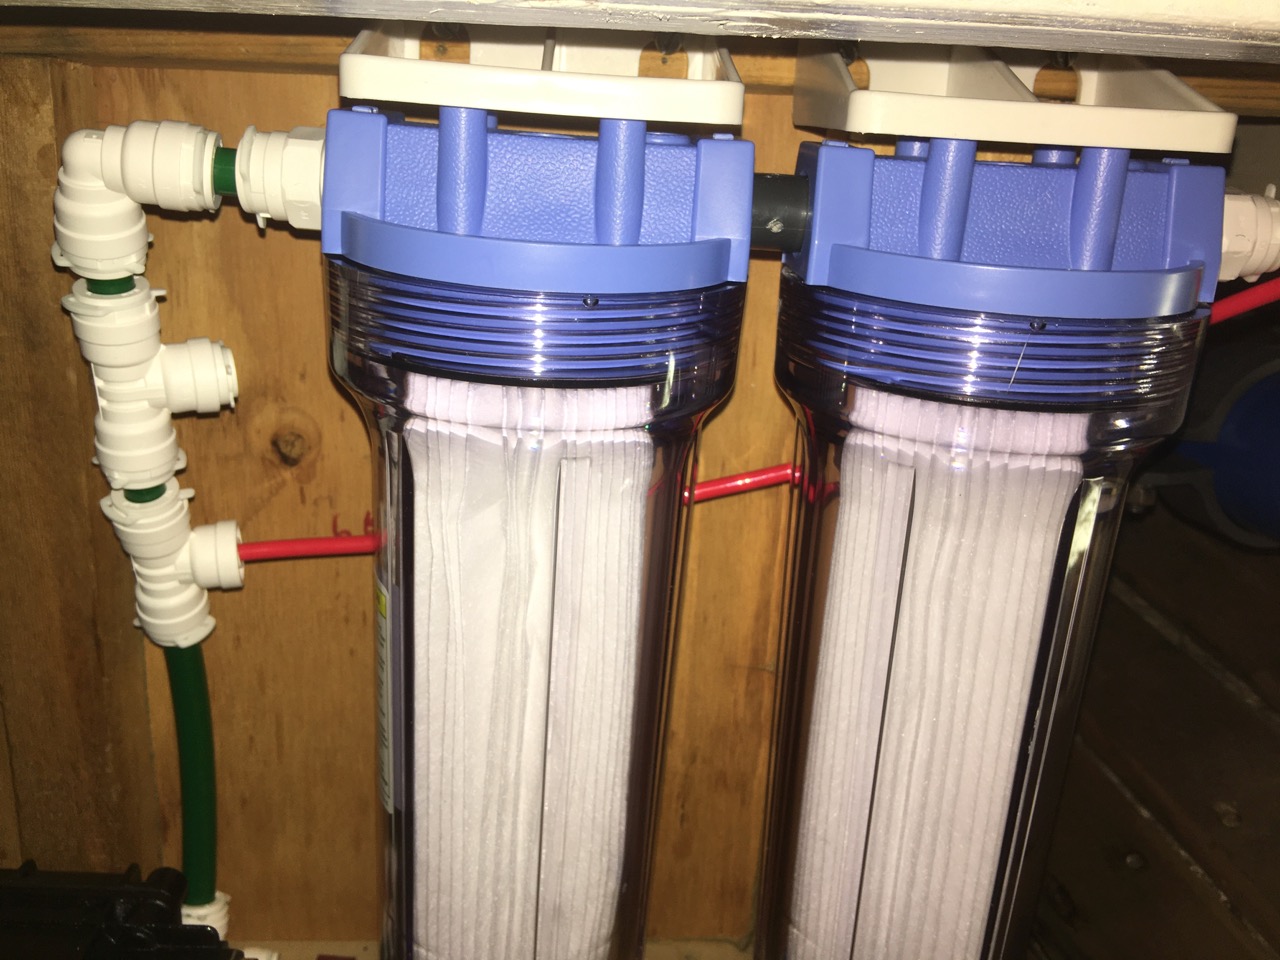
| High pressure pump in it's new home. | Pre-filters hung in place. Some plumbing yet to be completed. | ||
| Day 5 Install the control panel. 20-Jun-20 |
|||
|
|
|
||
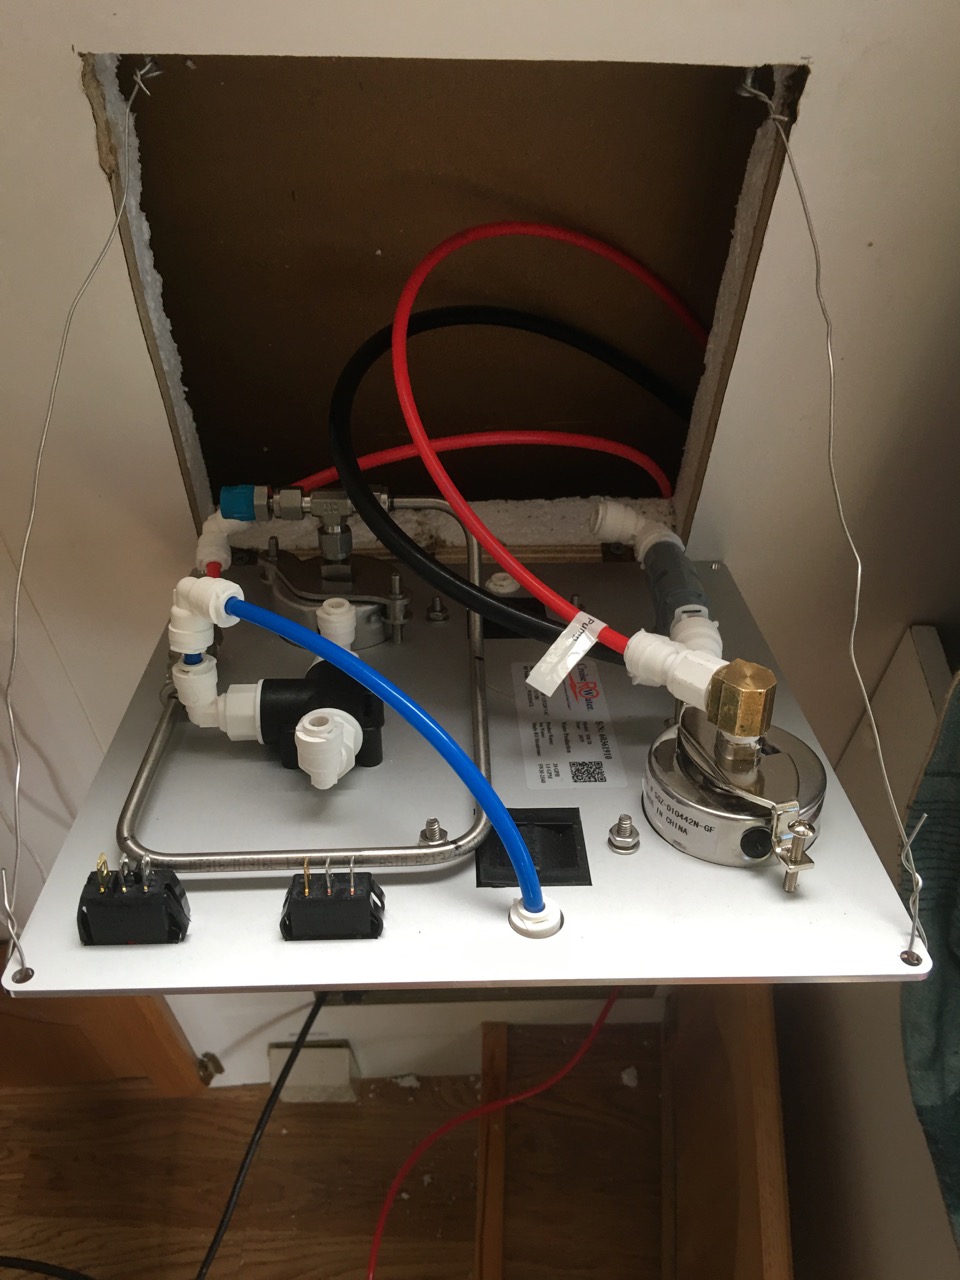
| Measured out the area to mount the control panel. Yikes, scary job... | After the hole was cut and it fit, I built a small mount and hung the control panel so I can connect everything. And everything is quite a lot. | ||
|
|
|
||
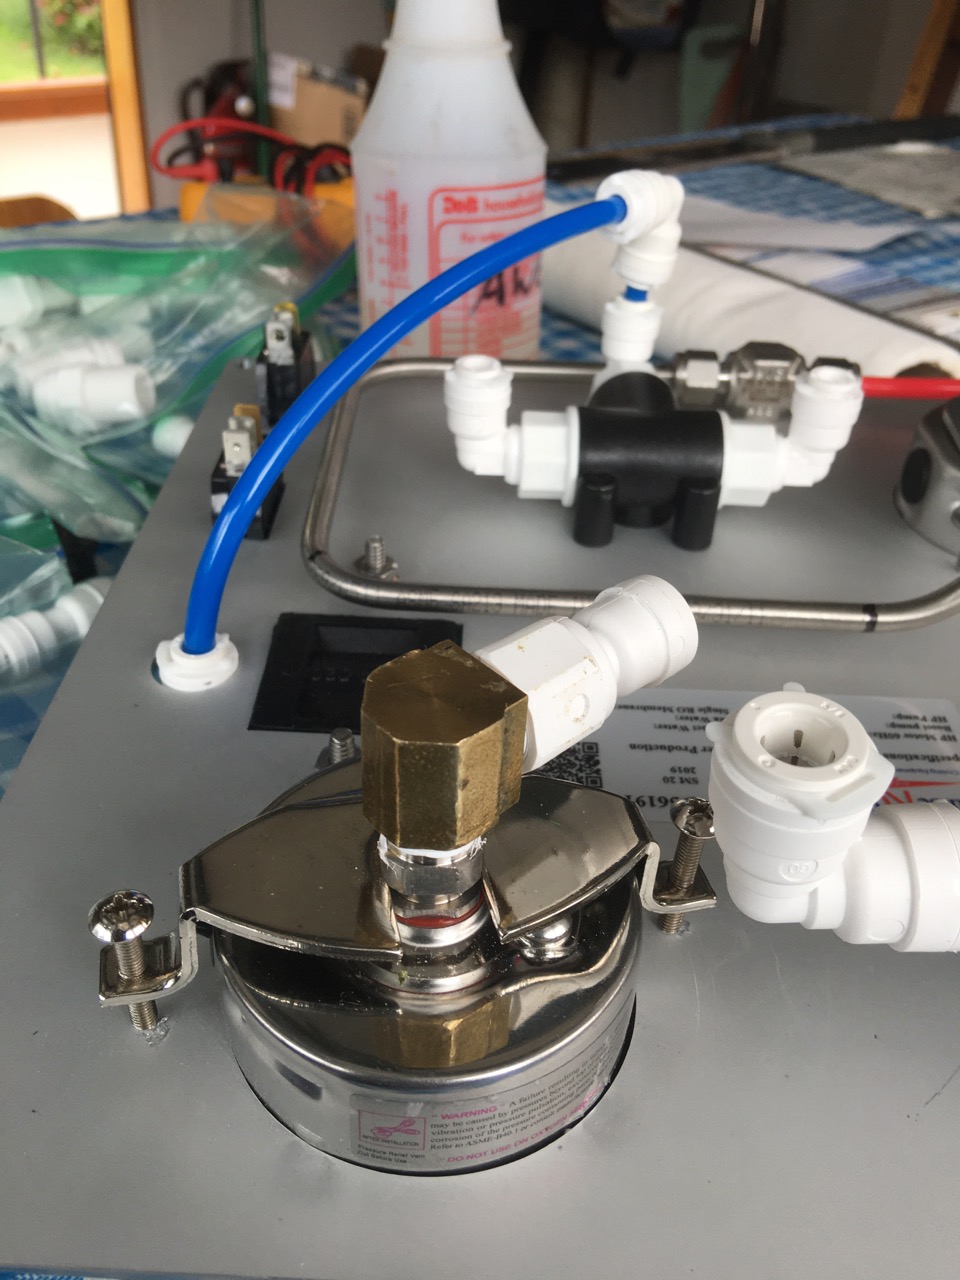
| The area the control panel mounts into is only 4" deep. So I had to make a change on the pressure gauge. You can see it is going straight back and would require the tubing to be bend in a sharp arc once it is in place. | I was going to ask the Cruise RO folks for a 90 degree, but I went to the Murdock fittings web site and low and behold they don't make one. So my fix was a brass street elbow. | ||
|
|
|||
| This area is finally finished except for the wiring. Complicated huh ! | |||
| Day 6 Continue plumbing. 22-Jun-20 |
|||
|
|
||
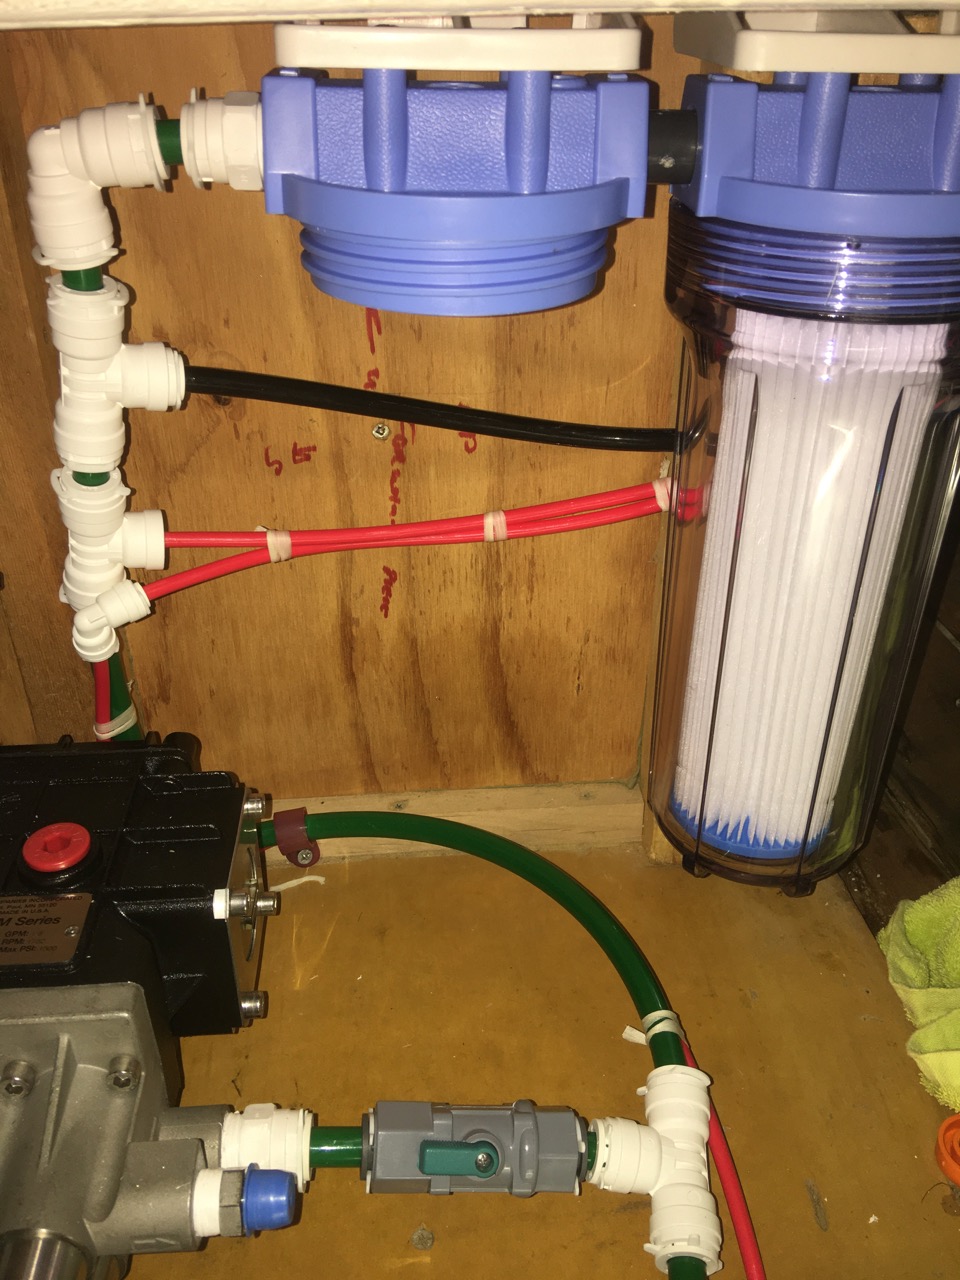
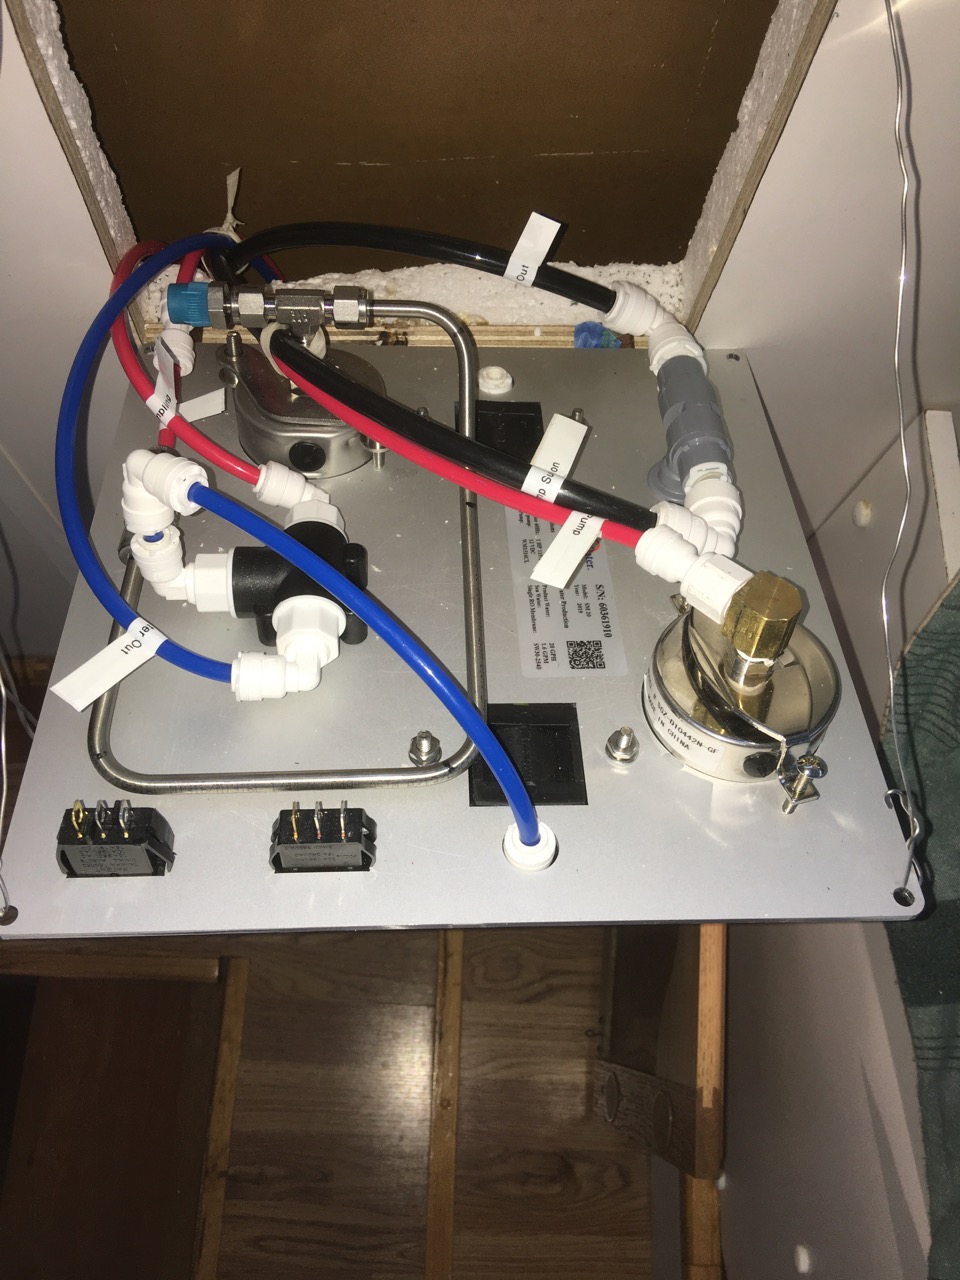
| Plumbing behind the filters. The 3 lines from the left lead up to the control panel. The large green hose feeds the high pressure pump. | Control panel almost done with all hoses marked. High pressure line and RO water input to go yet. Waiting for a longer high pressure line. Last but not least is the wiring. | ||
| Day 7 Wiring and final plumbing. 23-Jun-20 |
|||
| |
|||
| Blue fresh water hose hooked to the fresh water tank vent line. Took a while to run this through the boat. | |||
| Day 8 - 13 Start 24-Jun-20 Finalizing wiring and plumbinng. 29-Jun-20 Completed ! |
|||
|
|
||
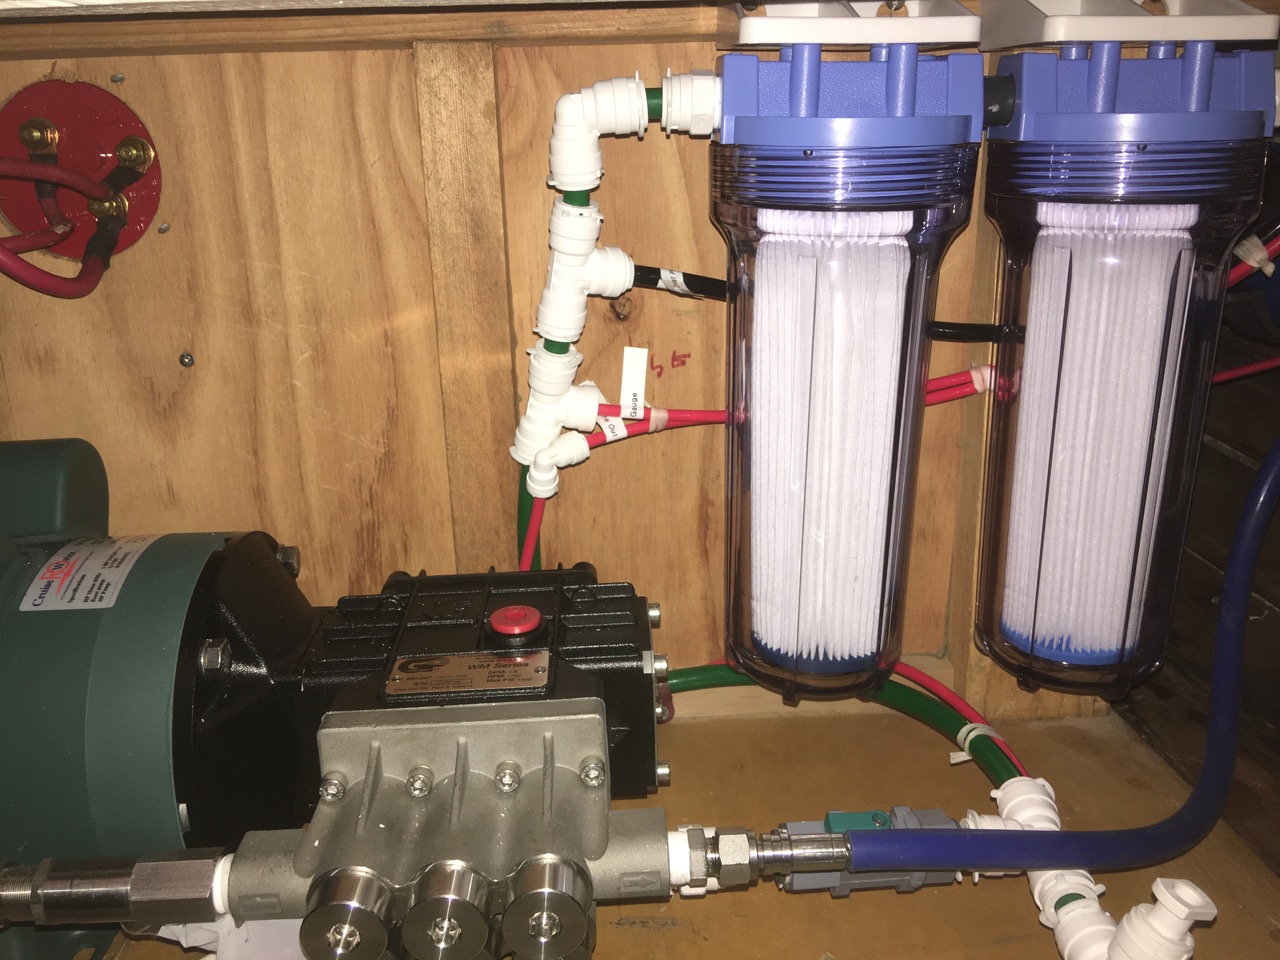
| Pre-filters installed. | High pressure pump ready for business. | ||
|
|
||
| Left side showing both pumps installed | Right side showing all the plumbing and valving connections done. | ||
|

|
||
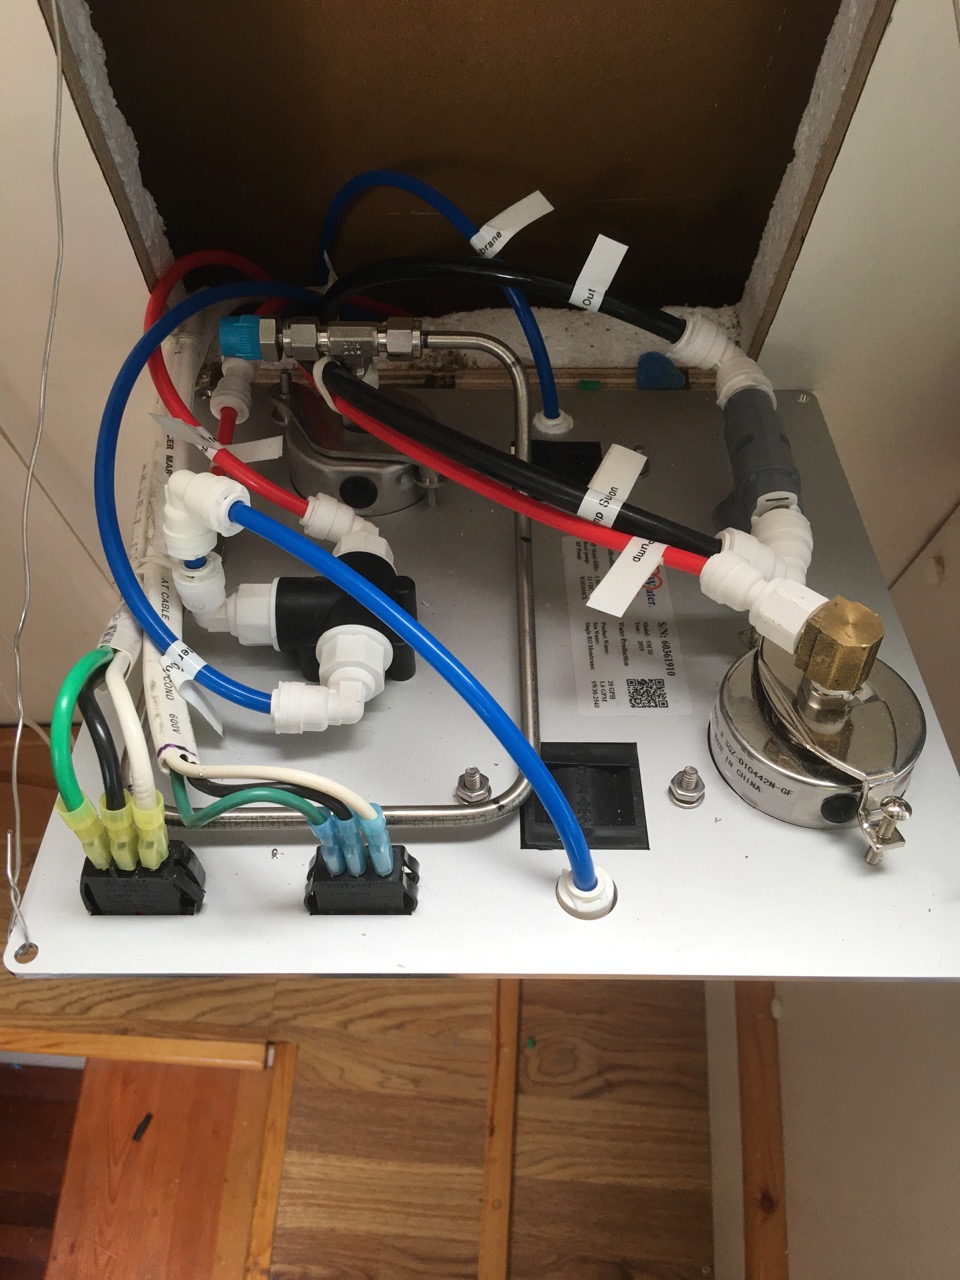
| Here is the back of the control panel all done !! | This is your's truly showing you where I have been working the last 13 days folded up like a road map. | ||
|
|
||
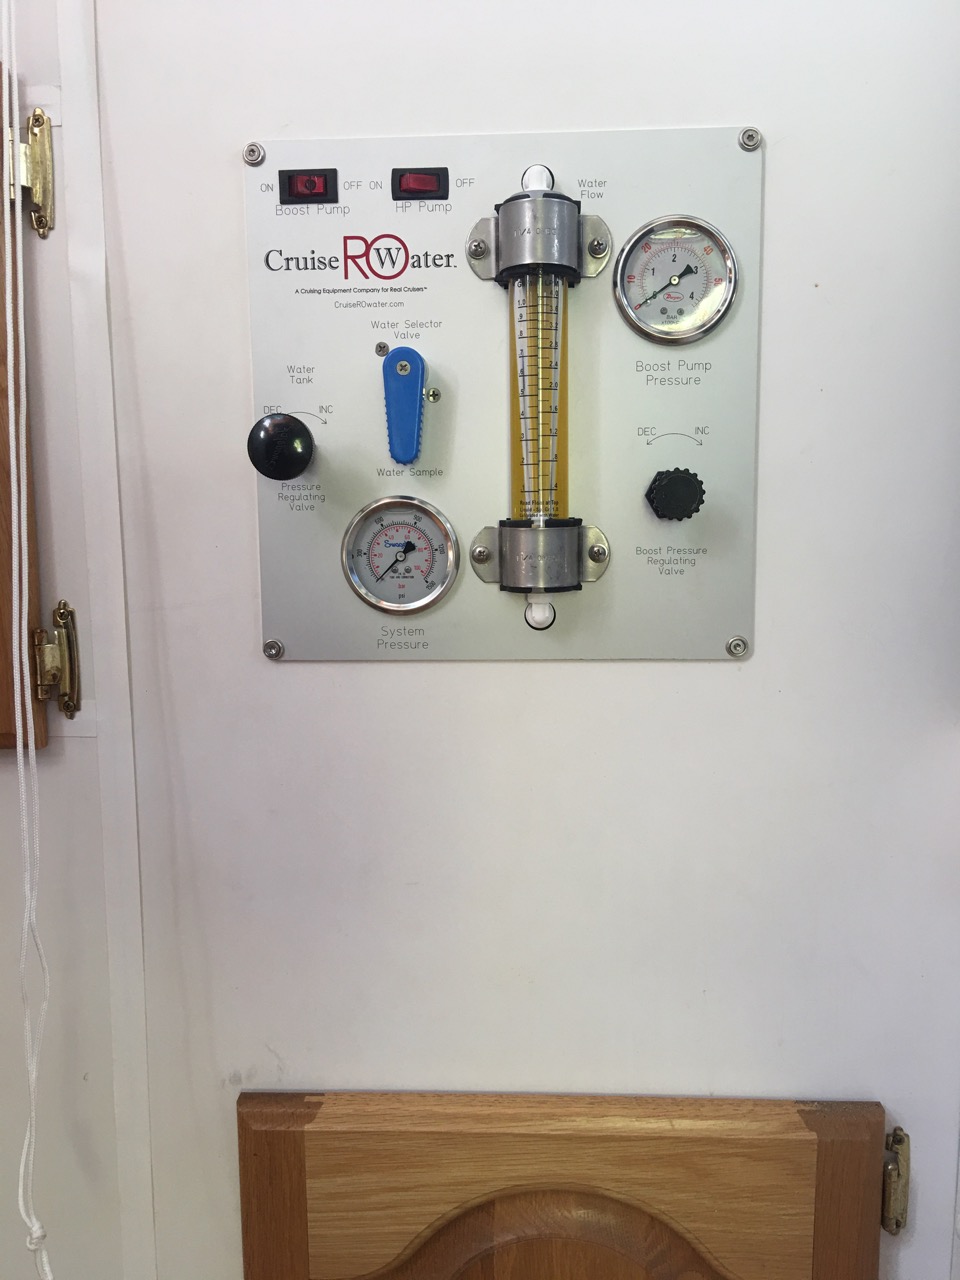
| Panel installed. |
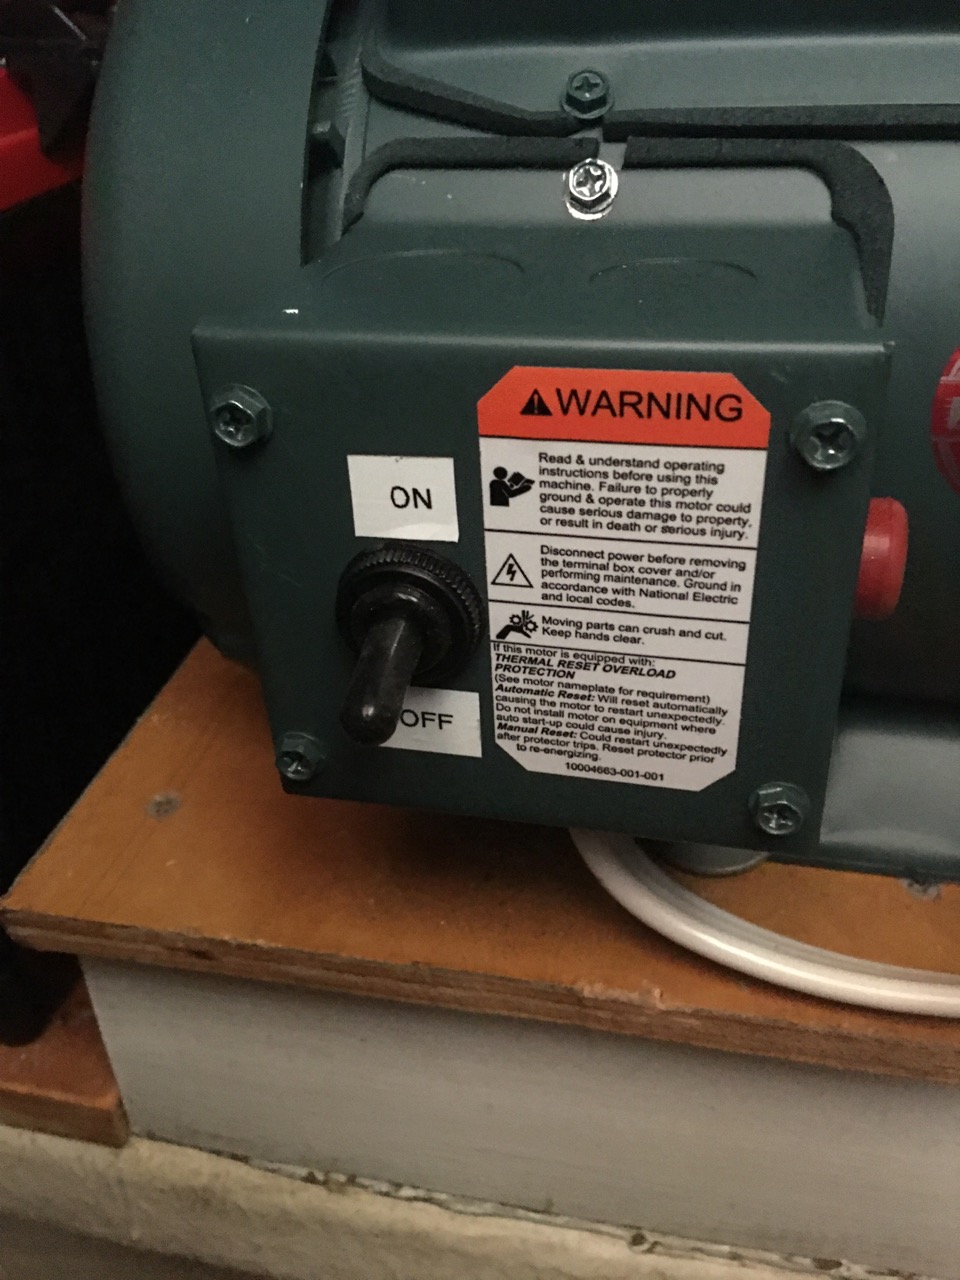
I thought the switches were a little vunerable where anyone passing by could start the pumps. So I added a switch to the high pressure pump.
The Boost pump already has an on-off switch on the main panel so both switches won't function unless the others are on. |
||