Head - 2020
|
When we started the boat building years ago, there weren't so many regulations. You could dump your sewage from the boat when you were a mile offshore, now you can't dump anywhere in Washington waters.
Washington state has pump out boats all over the place to pump out your holding tanks. What a rigmarole !
Just too many people out there today. I would guess that Canada is even worse with regulations. Our neighbor Brad the other day told me about the bullshit he is going through with the county to build a small house on his property. The hoops to go through for a septic system was unreal. So he told me he discovered composting toilets ! So I looked into them. It seems like everything changes when you separate the urine from the solid waste. The solid waste can be composted easily in peat moss or coconut shells, etc. After a while it simply turns into top soil. The urine is sent to a separate container. It only took me a few hours of research to finally decide to order a brand new composting toilet. This video was the most fun to watch... https://www.youtube.com/watch?v=bXA5vPRrmFgd So for this project I am going to remove the existing Raritan PH II toilet and replace it with a compost toilet. Then run a new line from the existing gray water tank and run it into what was going to be the black water holding tank. When the compost toilet is installed we can live on the boat in dry dock ! Which means we can move on it and sell the Avion trailer sooner then we thought. The toilet needs a fan running all the time to dry out the solid waste. That will be fun running the hose up in between the walls. |
|||
 |
|||
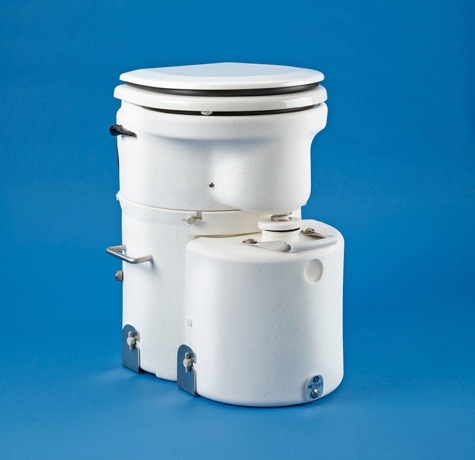
| This toilet to be removed. Never been used... | This is the new Airhead Composting toilet. | ||
 |
|||
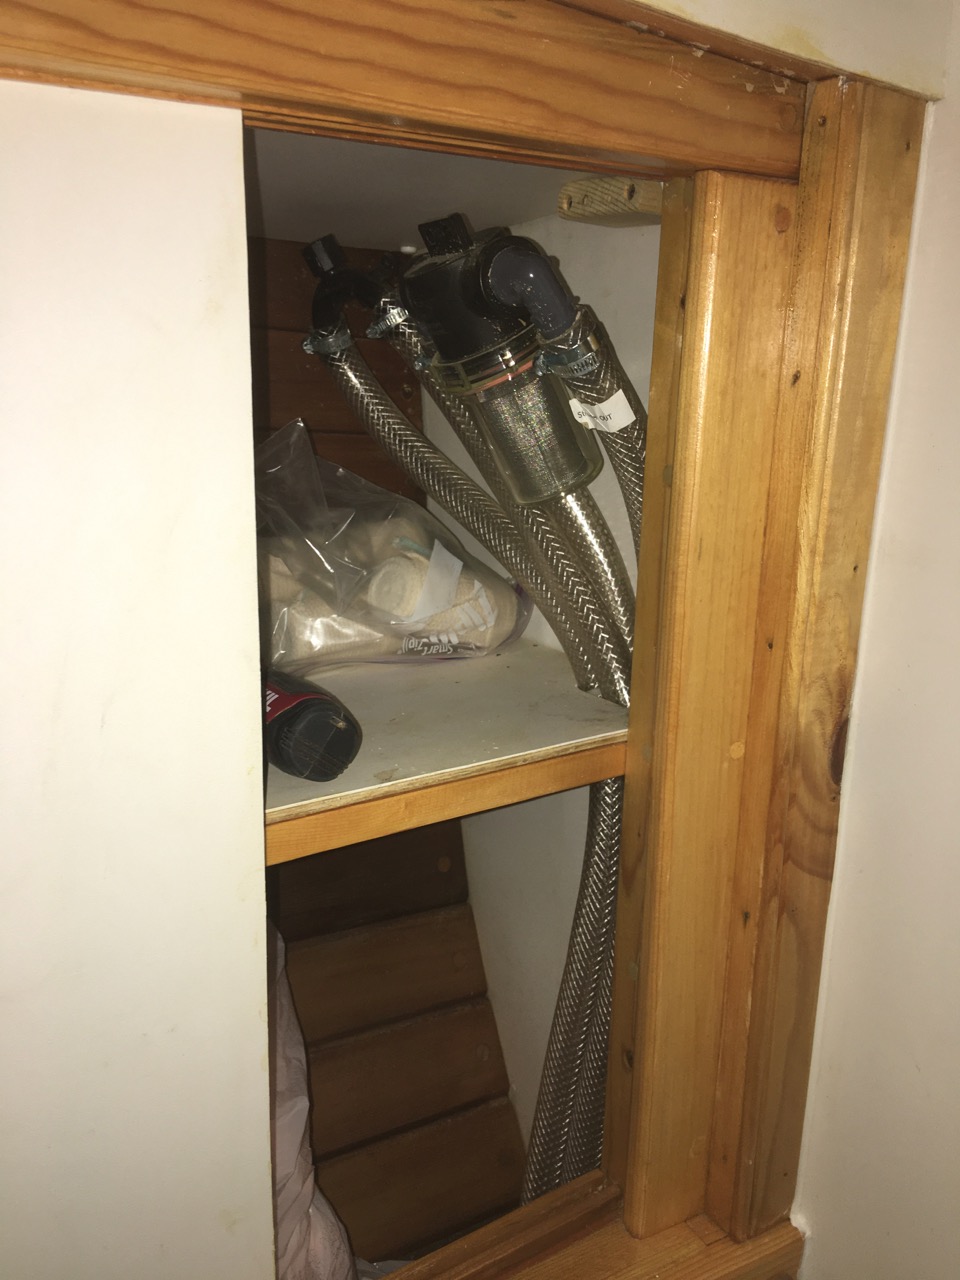
| Space all cleaned out and ready for the new "Throne" ! I now have an unused thru-hull, but it may come in handy sometime. | The Anti-Siphon and the filter screen and all these hoses have been removed. | ||
|
|||
 |
|||
|
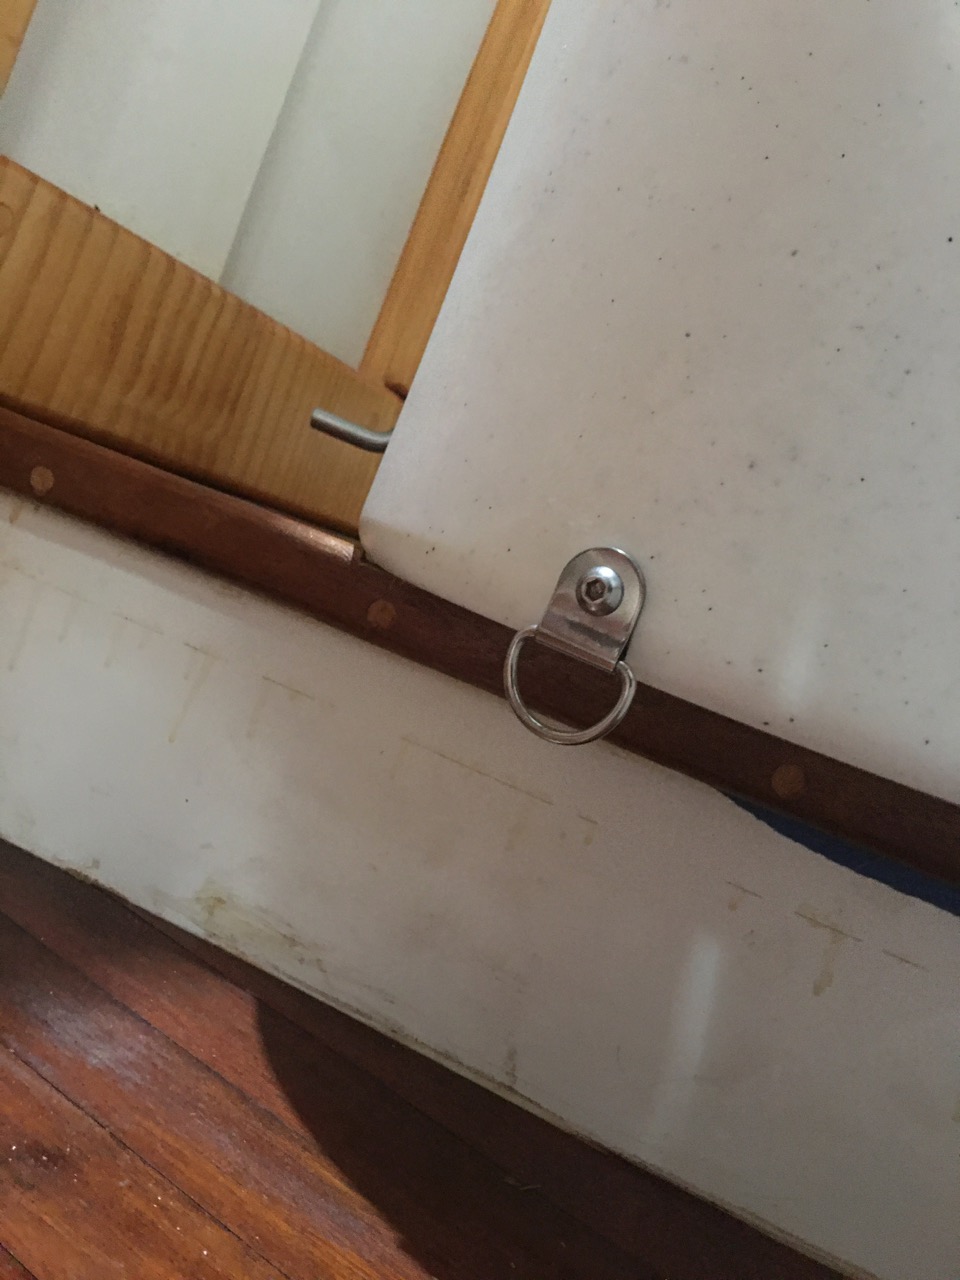
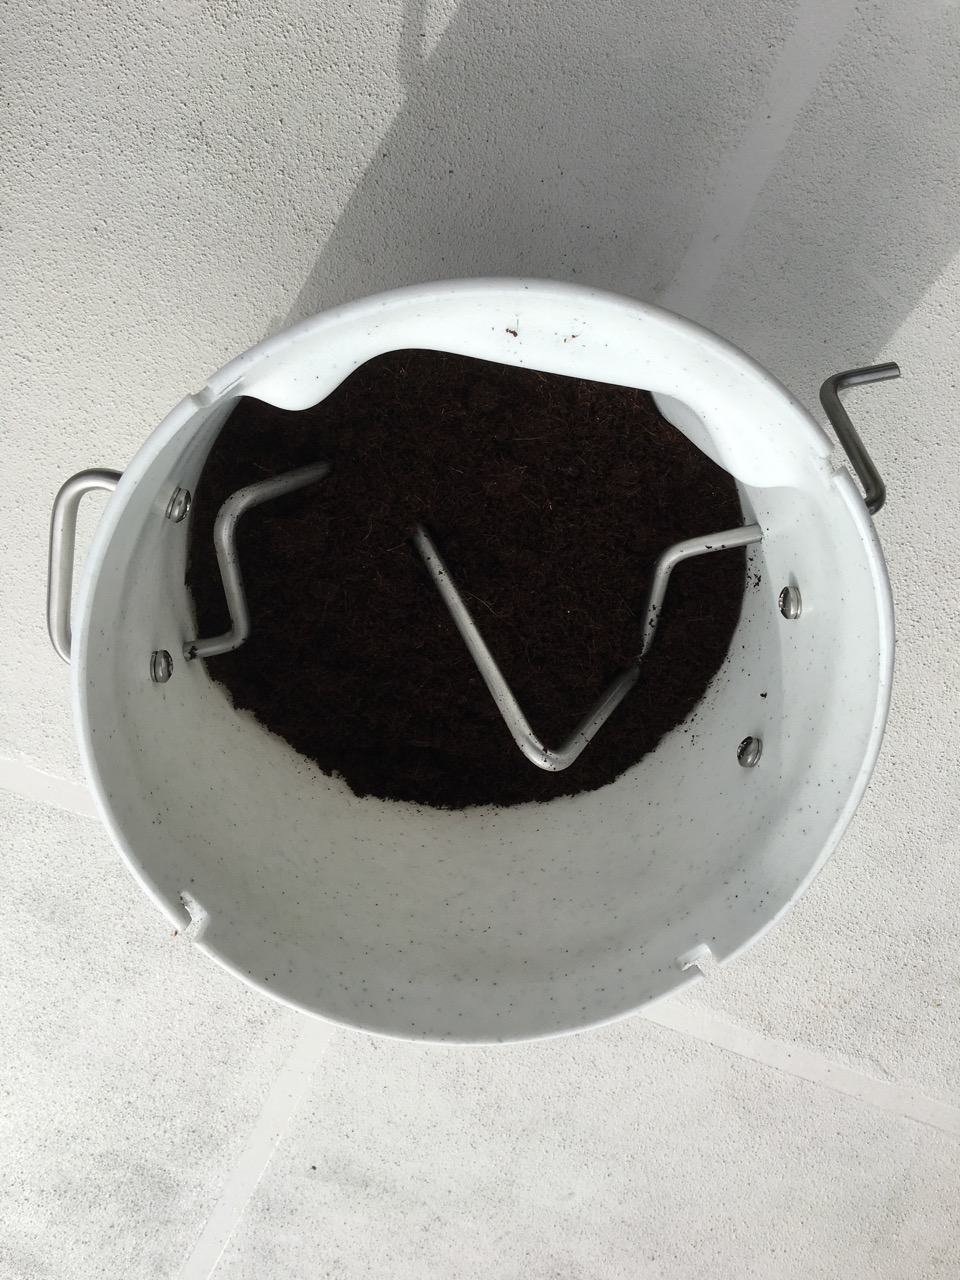
Solid container installed. Had to cut the tip off the stirring handle because it was hitting the cabinet base and couldn't rotate. This container is where the magic happens. It gets loaded with Coconut Coir as a composting material. After a deposit is made we stir it once with the handle to mix it into the compost. |
The liquid (urine) bottle has to fit flush on the floor, so I had to carve out the trim. | ||
|
|
|
||
| Here it is !!!! Now to install the venting system. | Had to take the wall apart behind the shower. | ||
|
|
|
||
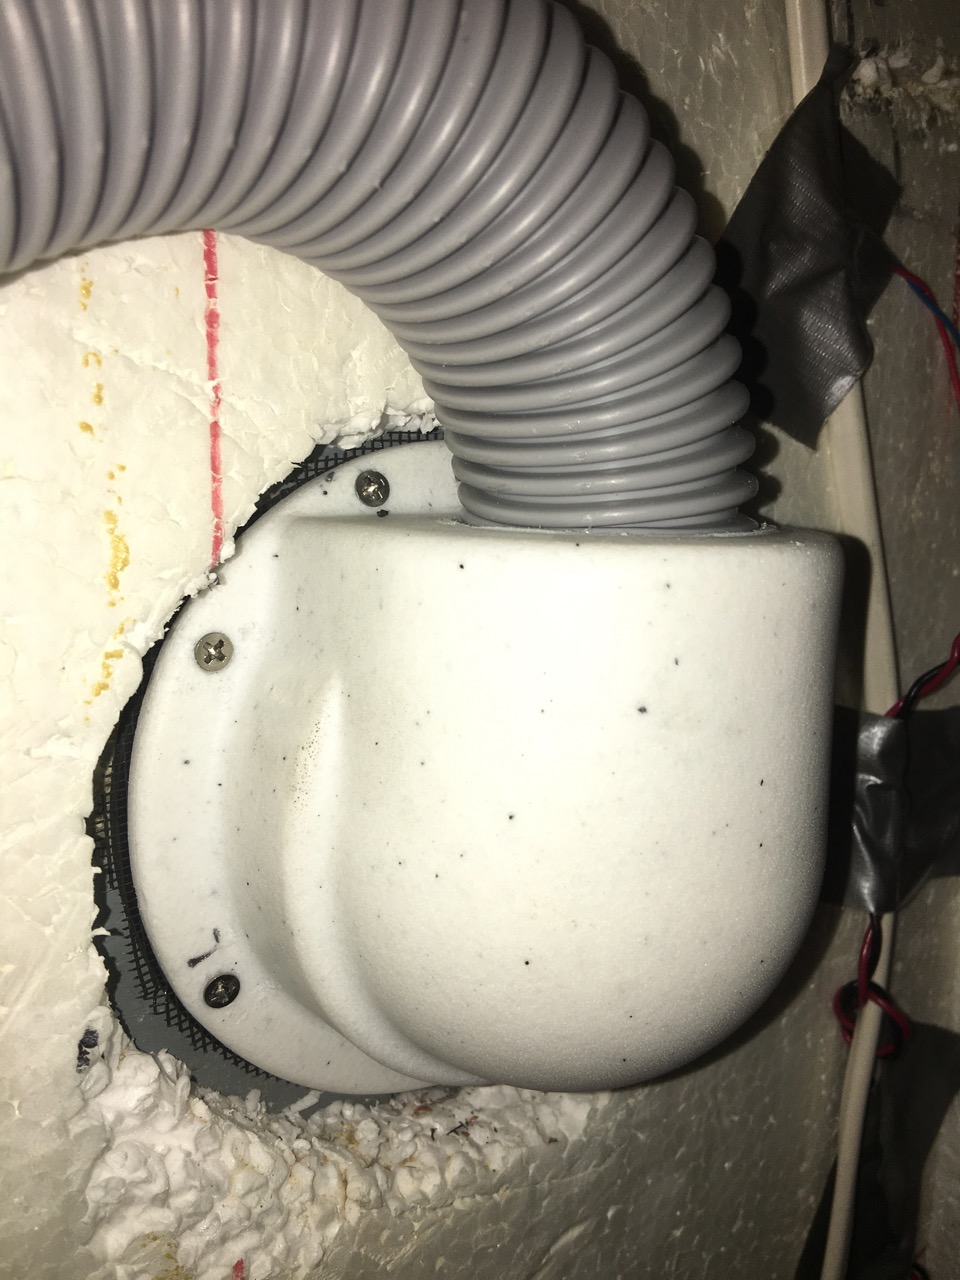
| Cut the brace for the hose to fit through. Will repair with metal plate. | Fan housing and hose attached. I installed it with the hose going in the top to prevent any water from entering the compost. 12 VDC connection box re-installed. The fan must be running all the time so it cannot be attached to the 12 VDC in the box. I found a hole where the green wire is in, goes all the way to the helm. YEAH ! | ||
 |
|||
| Even though there is a screen in the hose near the toilet, I thought it would be best to head them off at the fan. | The factory had a mounting screw right behind the hose, so in order to service the fan you had to un-screw it. Impossible to do once it is installed through the wall. I added 2 screws one on each side of the hose so the hose did not have to be unscrewed anymore. | ||
 |
|||
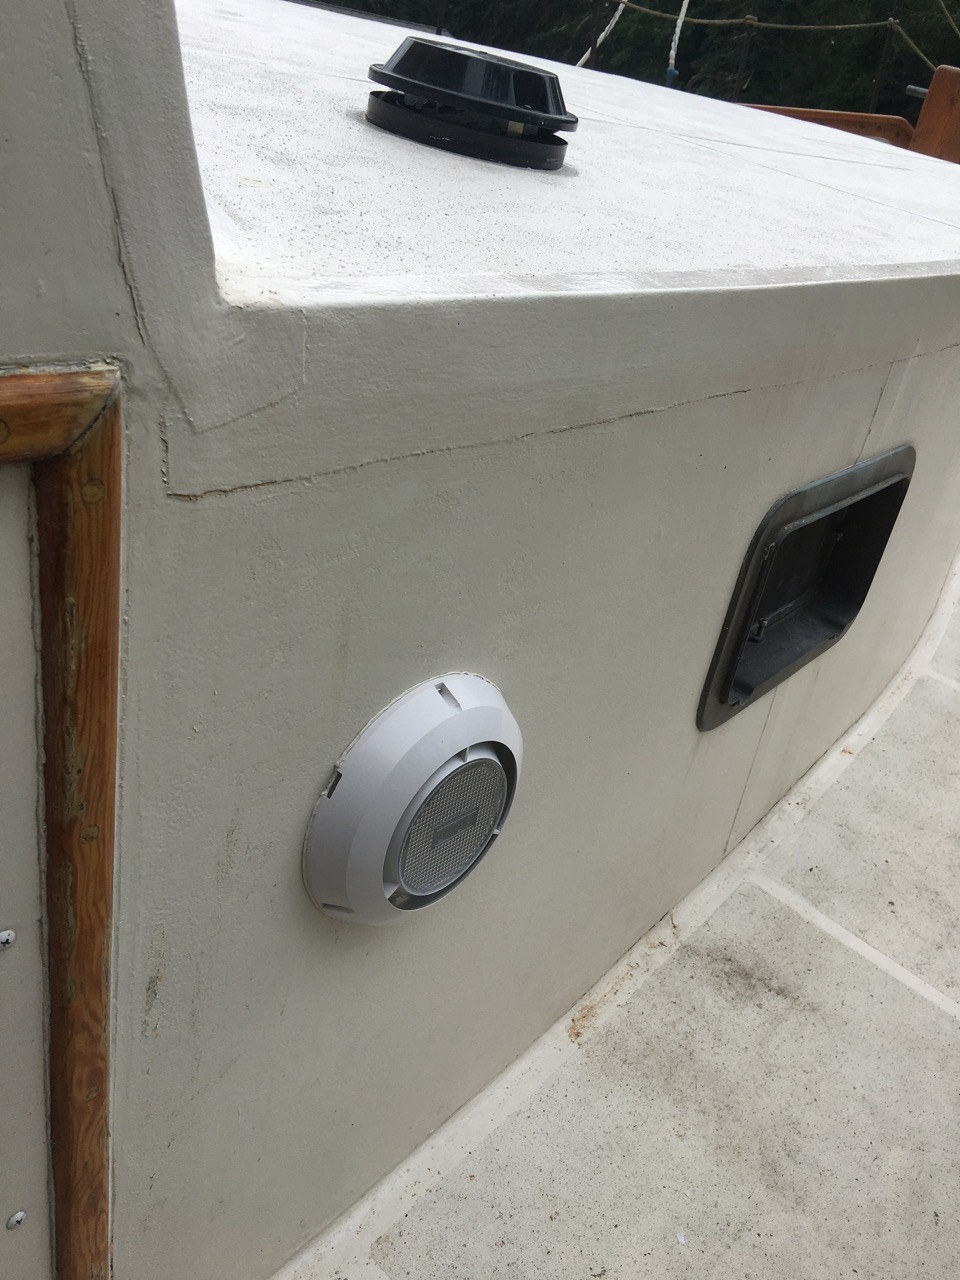
| Metal plate for the wood brace is done, now to put the whole shower area back together. | Outside cover installed. This vent draws air out when the wind blows so it will also be a help to the fan. | ||
 |
|||
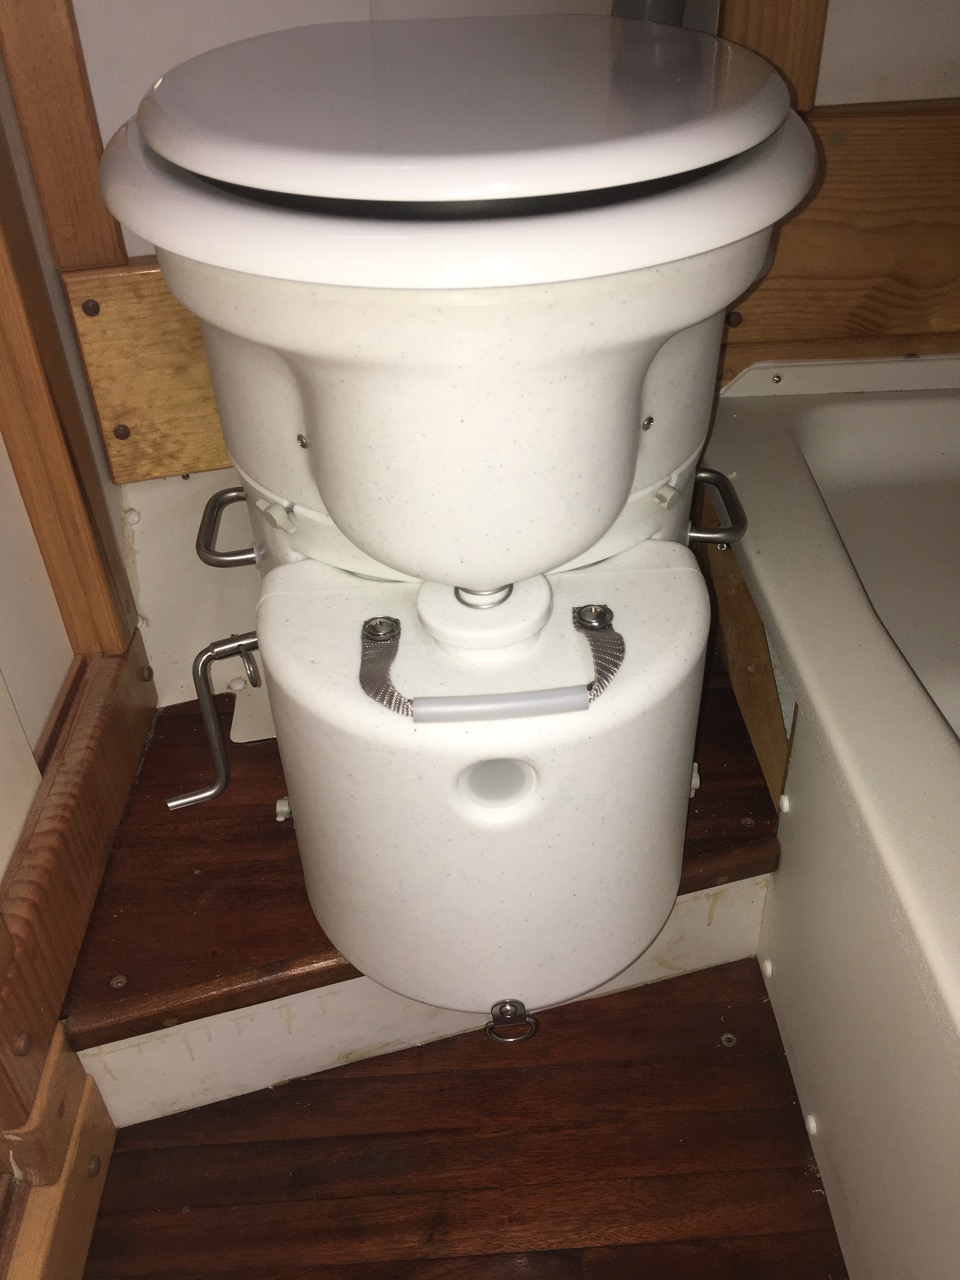
| Had to use 2 90 ° hose splices to get the hose back and in the corner. The large gray section comes apart to clean the inside screen. I used a Velcro strap to hold it in place. |
Finished job, toilet in place and ready for Coco Coir to be prepared for use ! First time in my life I'm looking forward to taking a shit! |
||
 |
|||
| Removed the compost (poop) container to ready it for use. | Poured in the coco coir. A little shy in height. Supposed to be 1" above the center. | ||
| Toilet paper container for the ladies is installed. | Toilet ready for waste management. 1/4 cup of white vinegar in the urine container to alleviate any smell. | ||
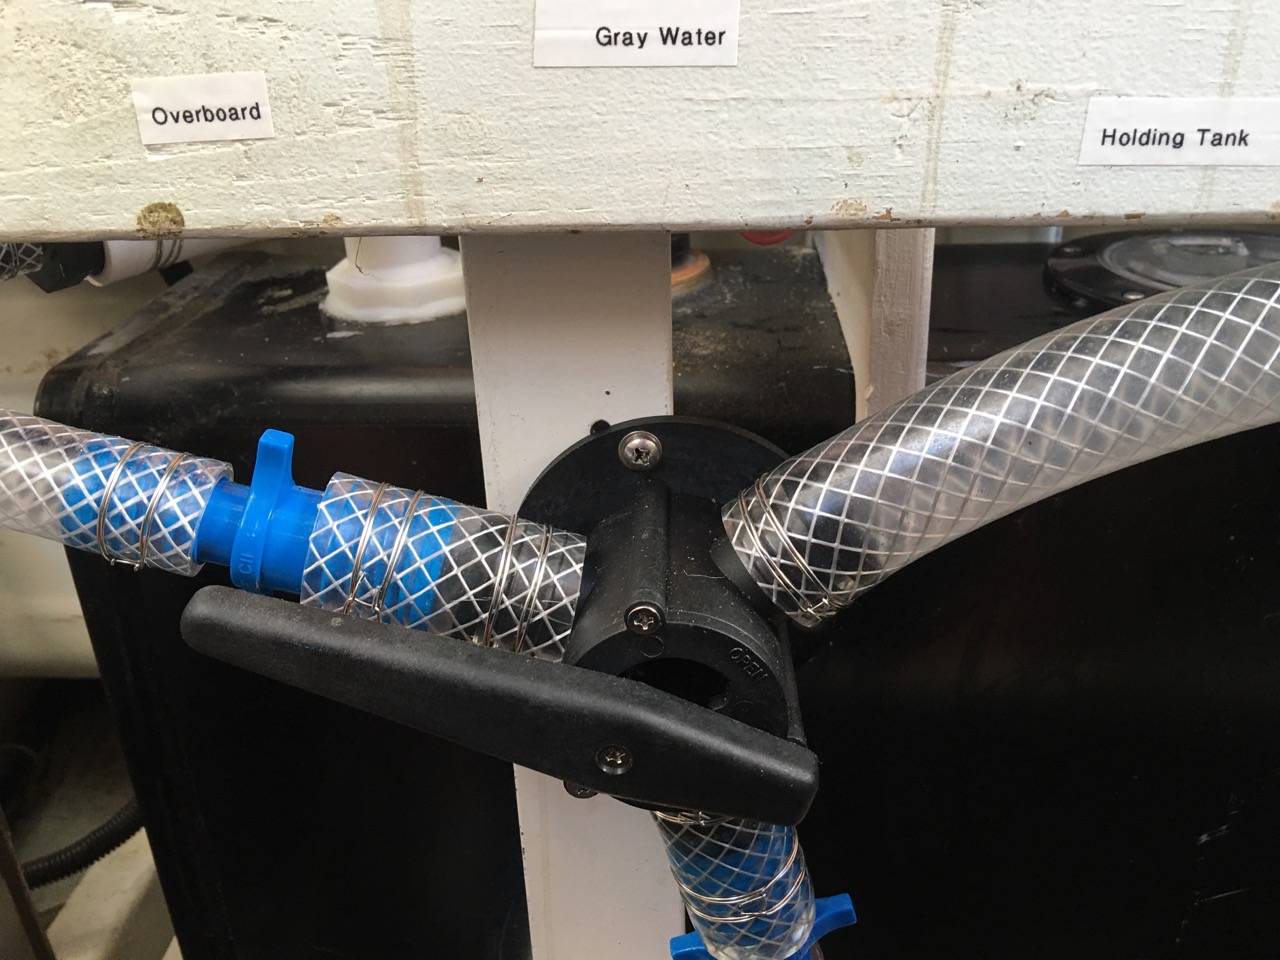
| Now to modify the grey water system to utilize the black water tank. I am going to install a Y valve to either send the gray water to the black water tank or send it right out into the sea. This will give us a larger holding capacity should we get into a marina that prohibits gray water discharge. The pump-out fittings are all left in place so if need be we could get a pump-out for the gray water. | |||
 |
|||
| Removed hose from old toilet and re-designed the connection to the big tank. | New valve installed. It allows me to divert the gray water into the larger 18 gallon holding tank. The smaller gray water tank is actually a 12 gallon tank but it can only hold 6 gallons because of where I had to tap into the side of it. So if need be we can store 24 gallons of gray water. | ||
| New connection from the pump to the valve. | |||