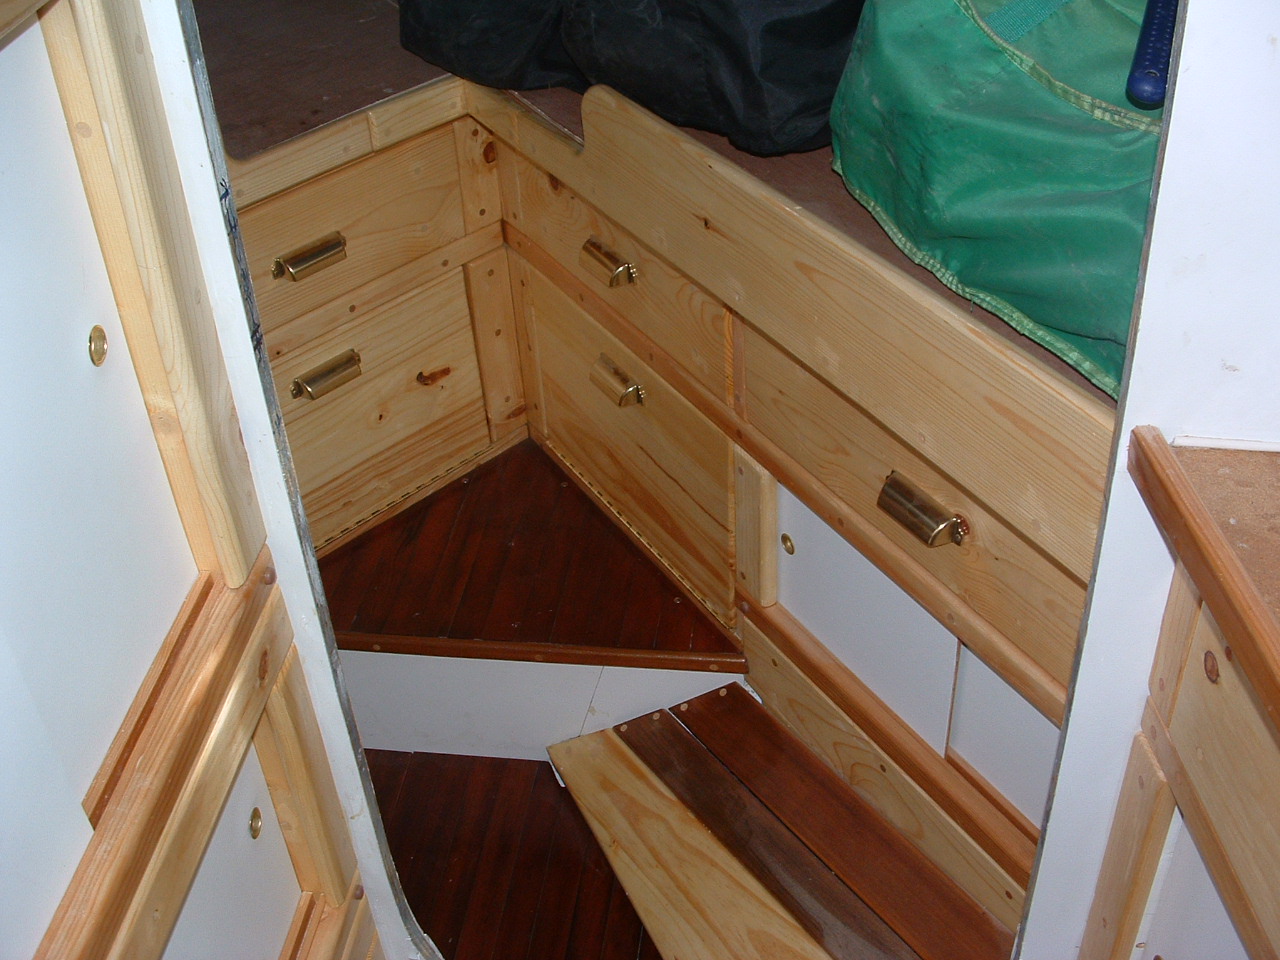
| V-Berth is mostly done except for the trim. |
 |
 |
| As you can see it is finished from the berths area to the floor and the cedar ceilings on both sides are finished. |
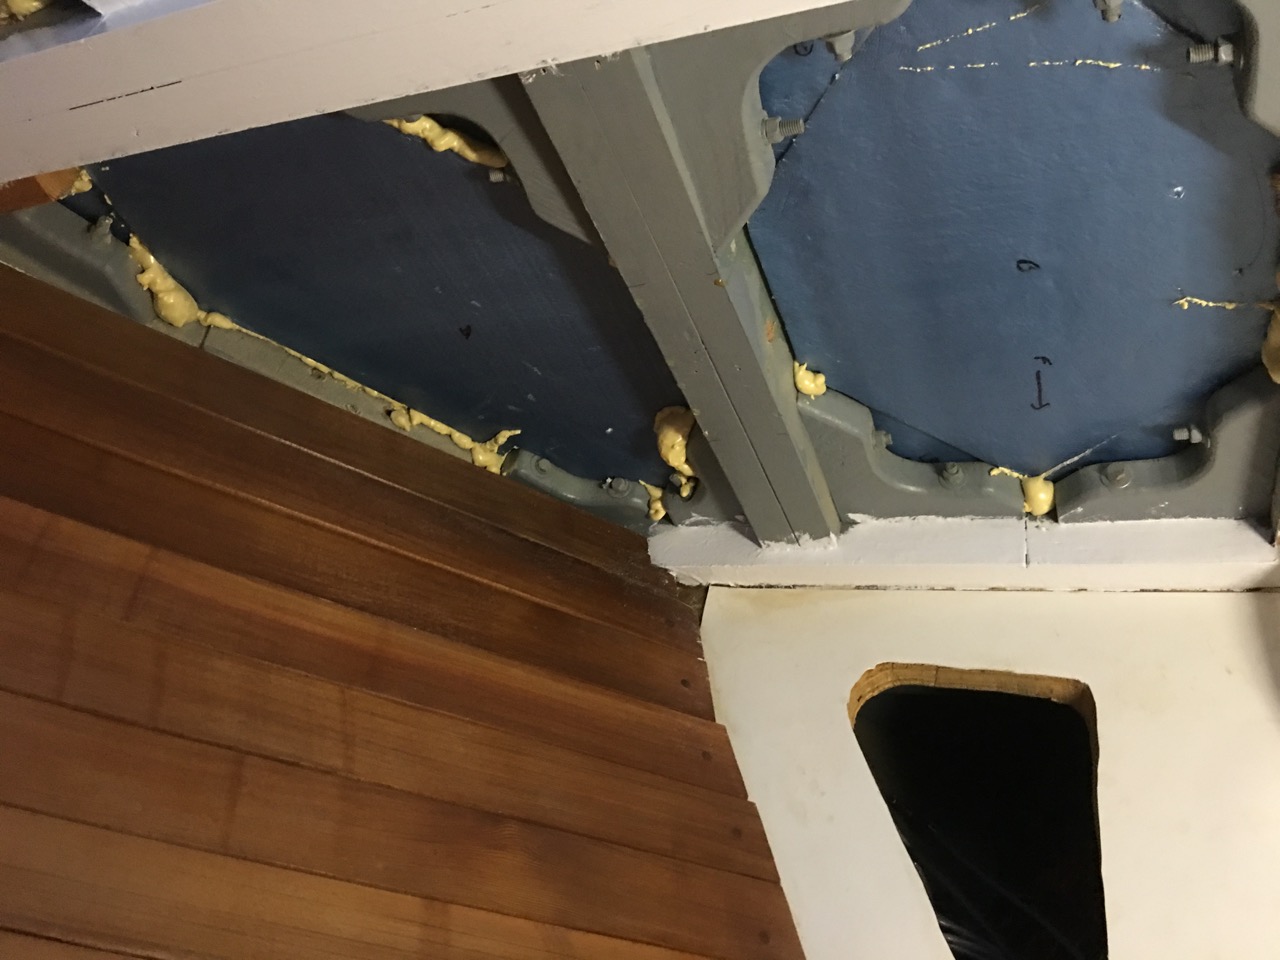
The area under the deck needs to be covered. Here is the Starboard foot end of berth looking up. |
| |
|
 |
 |
| Here is the Port foot end of the berth looking up. |
Starboard side beauty panels in place. |
| |
|
 |
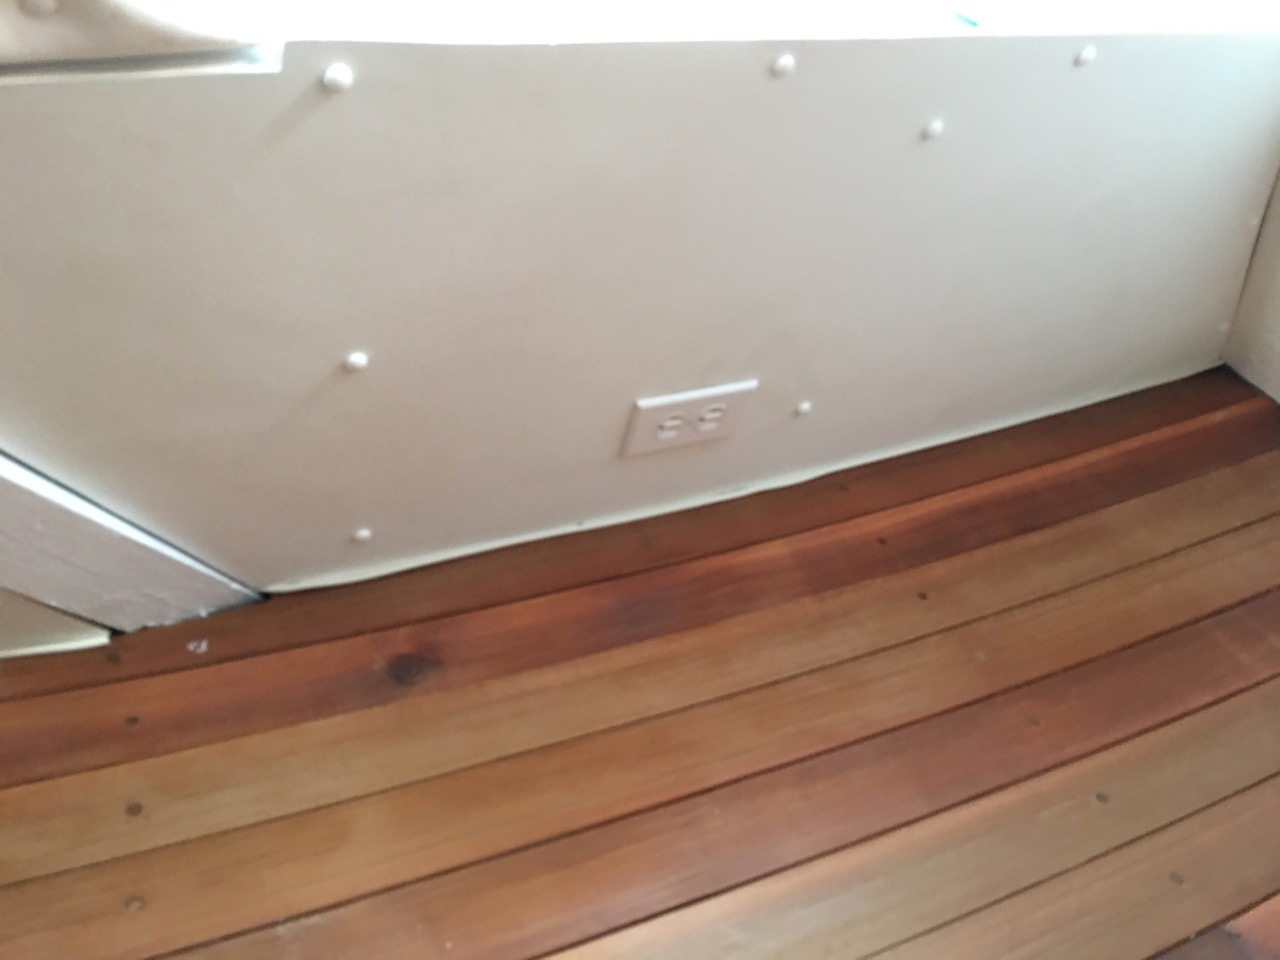 |
| Port side beauty panels in place. |
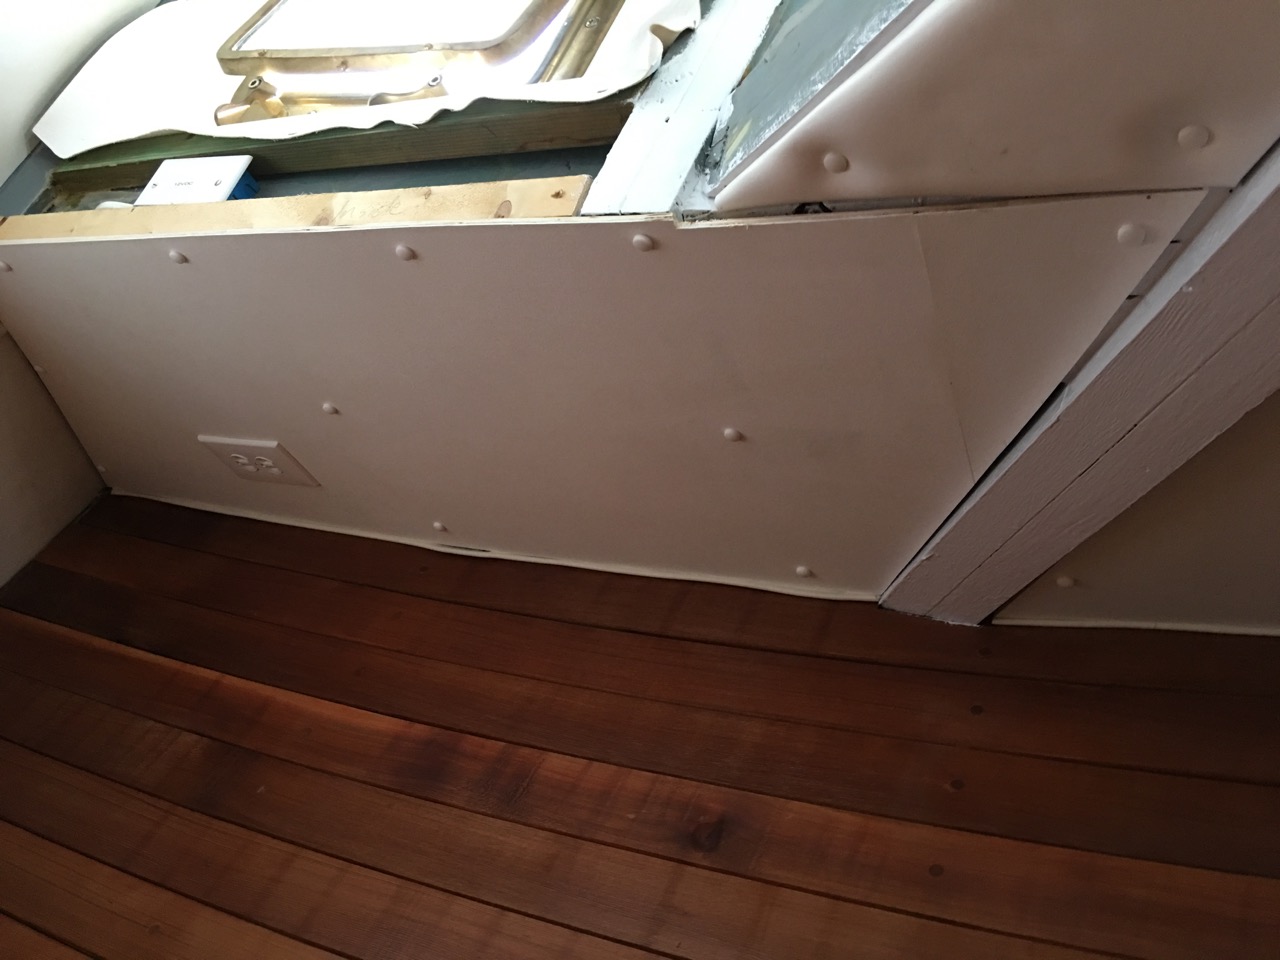
Starboard side over head end of berth done |
| |
|
 |
 |
| Port side over head end of berth done. Sorry about the gap in the front. NO matter how hard you try to cut these irregular panels they never seem to come out the way you want them.
|
Here is the starboard side. |
| |
|
 |
 |
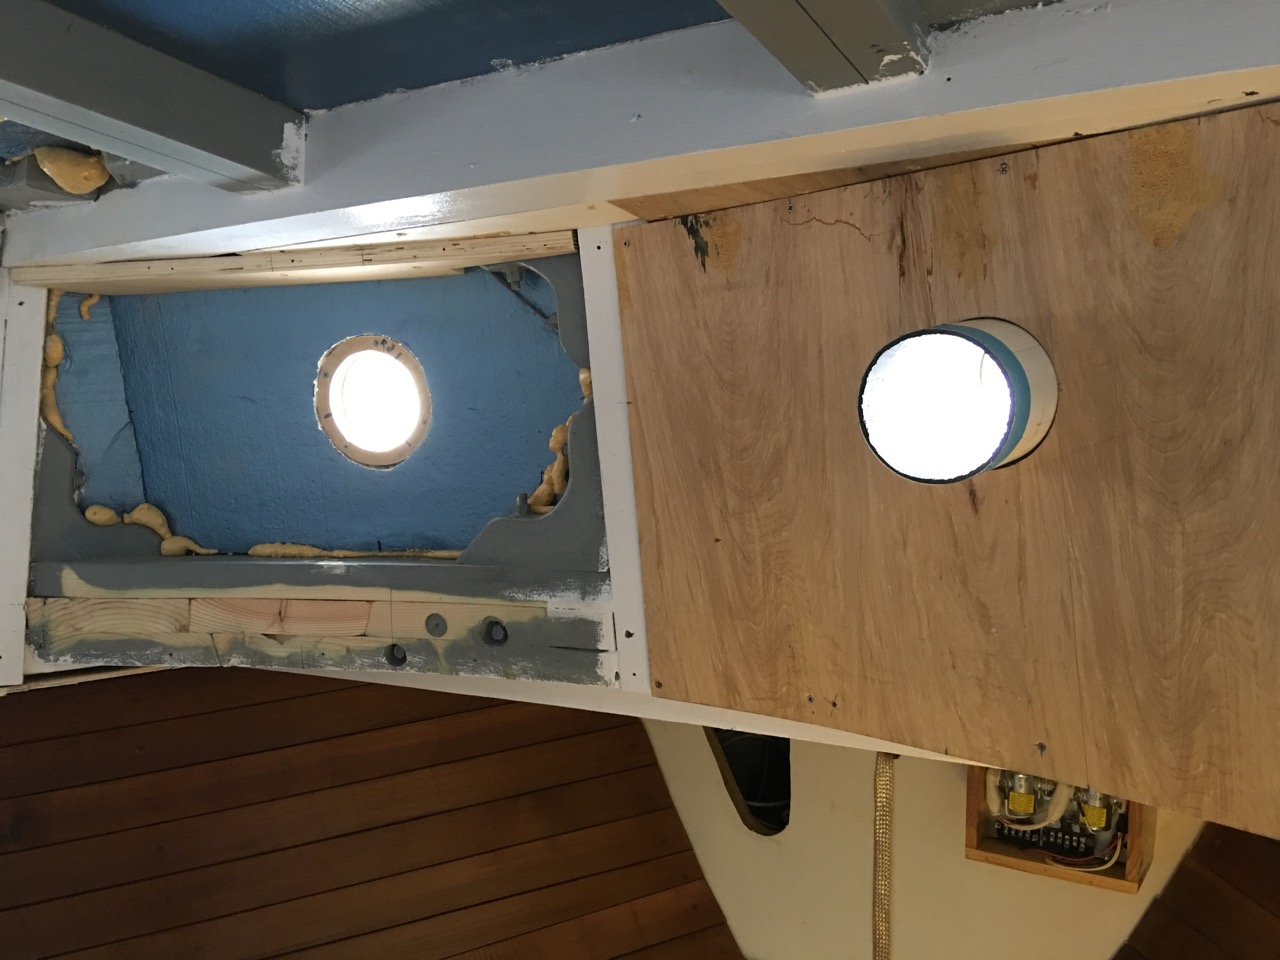
| Here is the challenging part. How to make it look nice around the port lights. |
First I started with a ring to hold the sewer pipe. Yep, I said it correctly. A sewer pipe was the only thing I could find that was the right size. If you ever go to Home Deport and look at 4" and 3" pipe then take the actual measurement you will be surprised. Nothing is really 3" or 4".
|
| |
|
 |
 |
Then I had to build a support for the top of the trim to match the angle. You'll see that above the port side.
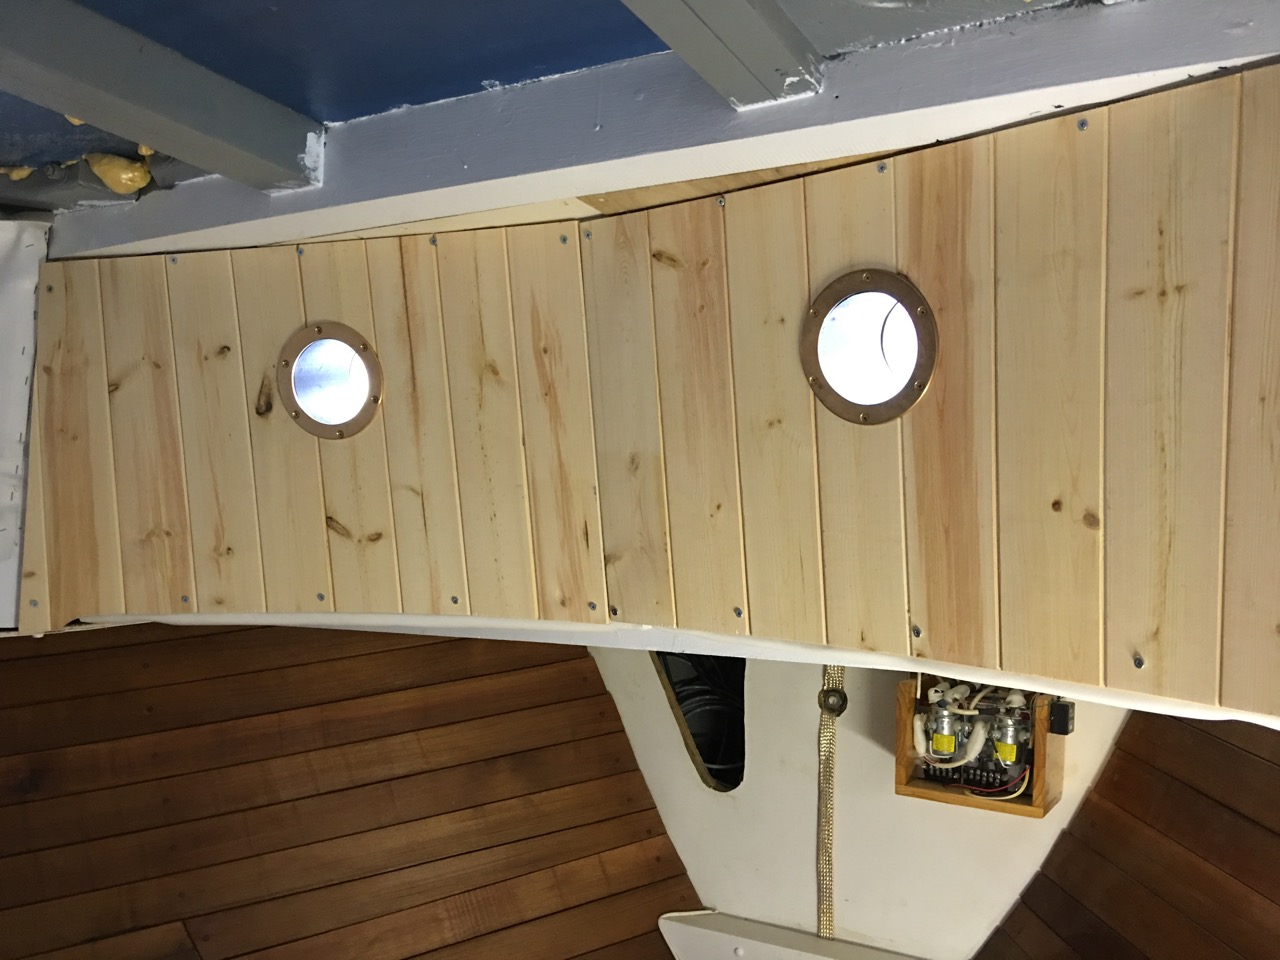
Now I stuck the sewer pipe into the ring and carefully cut out the finished plywood to hold it in place. |
Here is the finished product. |
| |
|
 |
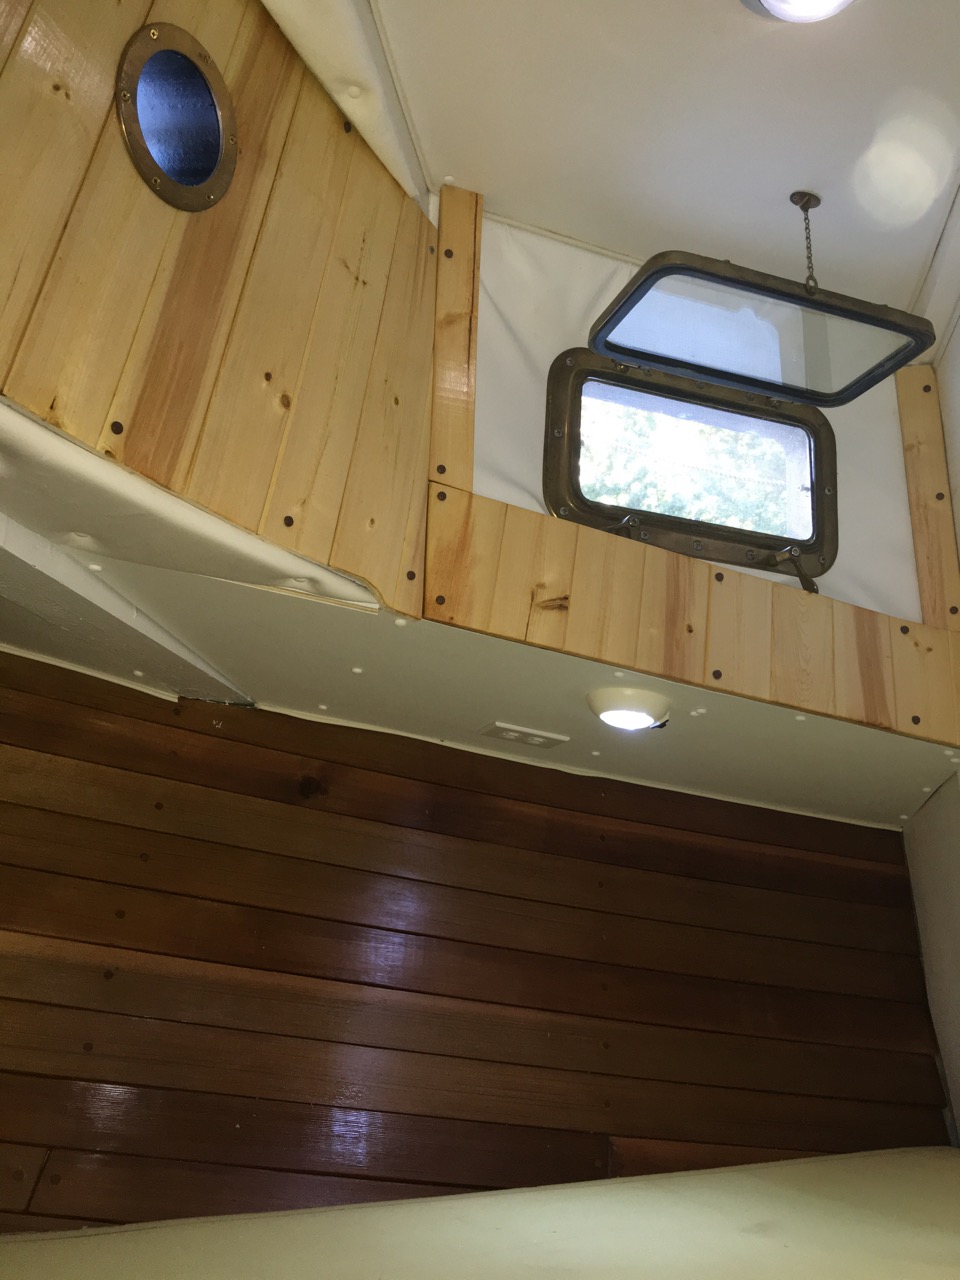 |
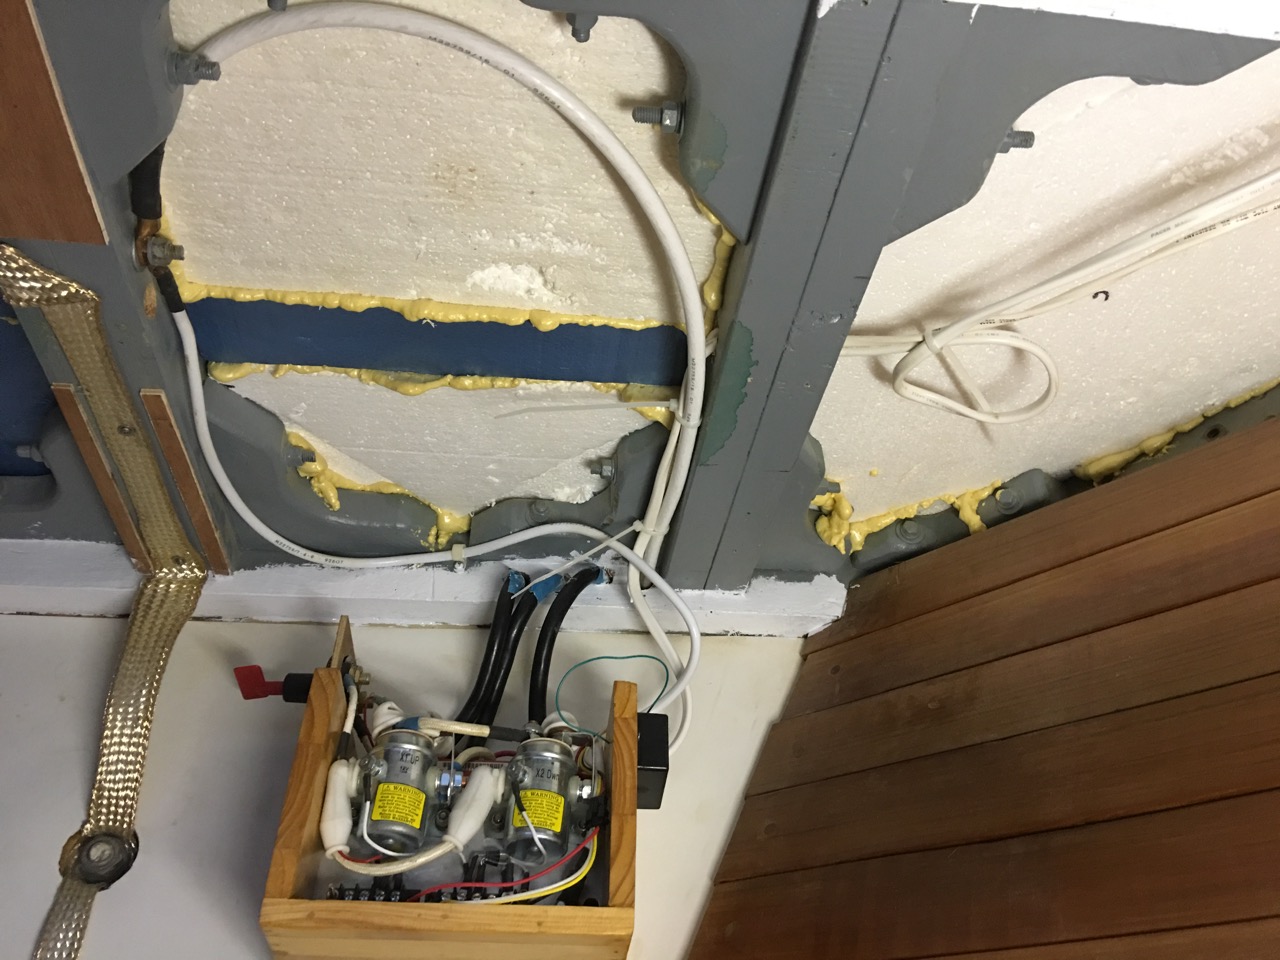
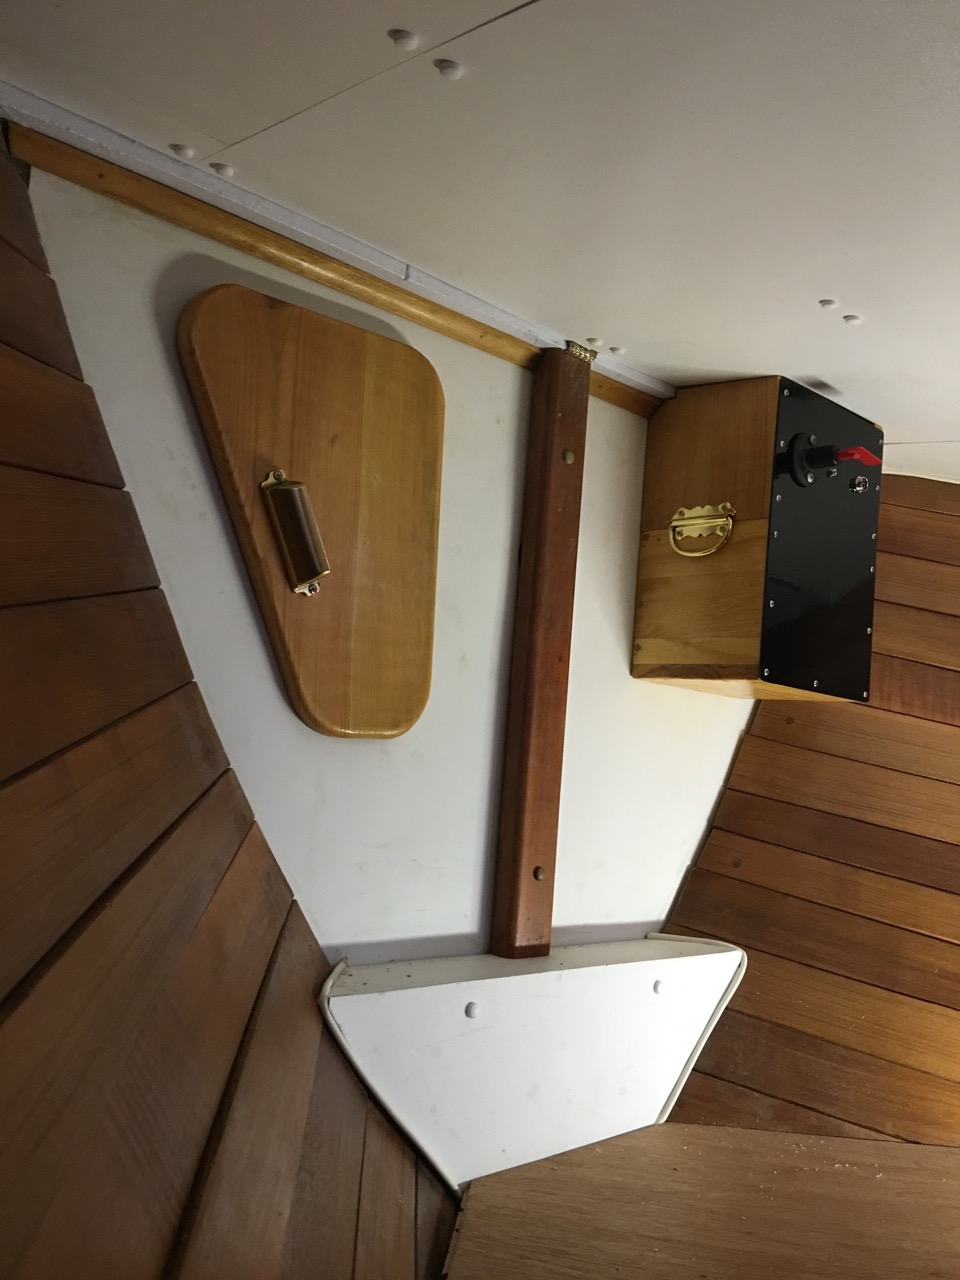
| After a lot of work this is the finished area on the chain locker bulkhead. The box on the right is the anchor control box which contains a battery and the big relays to operate the windlass. |
Starboard side complete with foam mattress cut to size and in place. |
| |
|
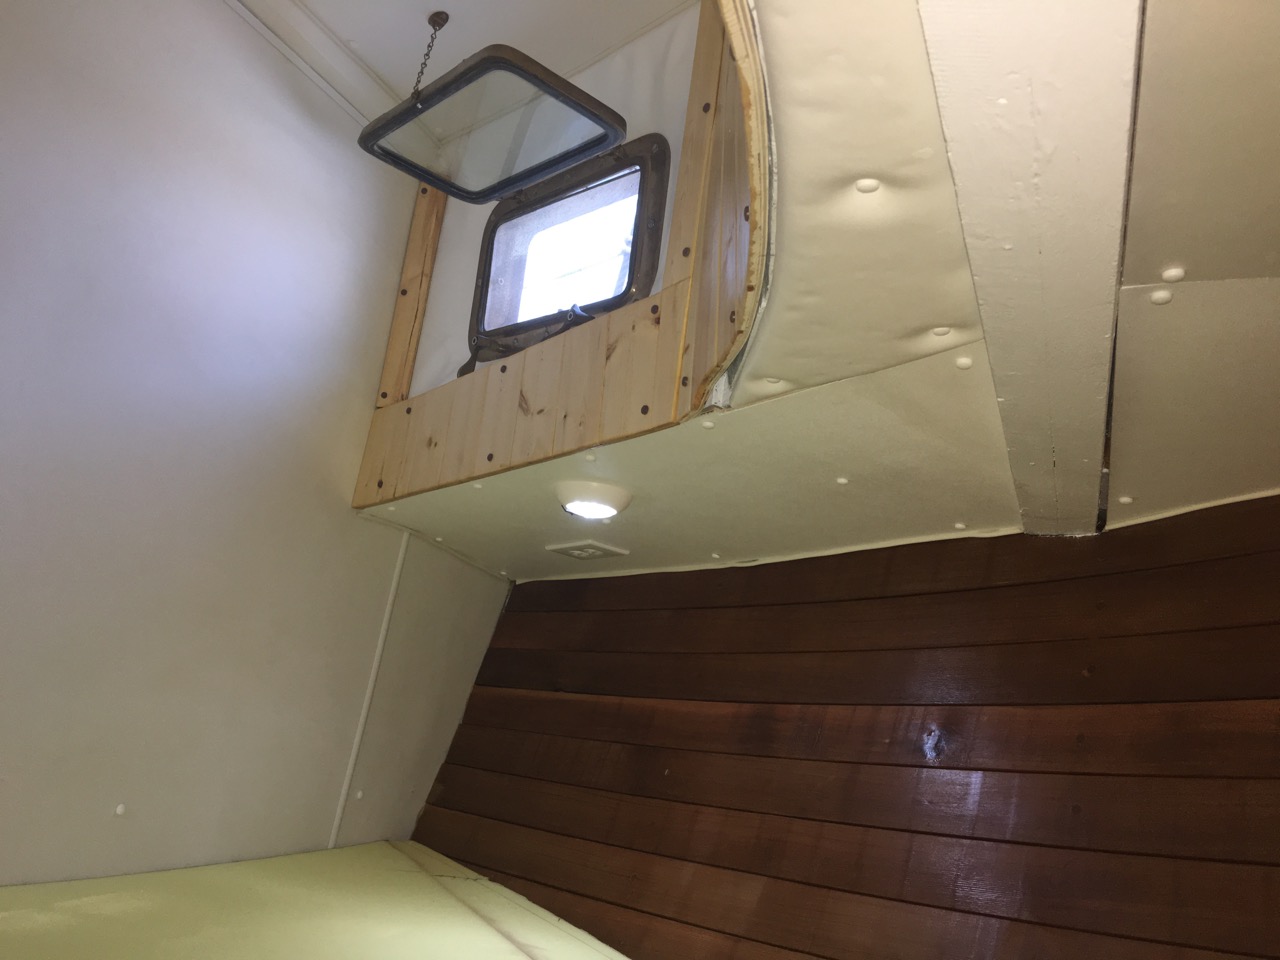 |
|
| Port side complete. Yeah all done !!! Hatch opening in the overhead will come later. |
|
| |
|