Most of you are asking, "What the heck is a V-Berth?".
Well it's the bedroom or berths in the pointy end of the boat. The beds need to be in a V shape, hence the name.
|
 |
 |
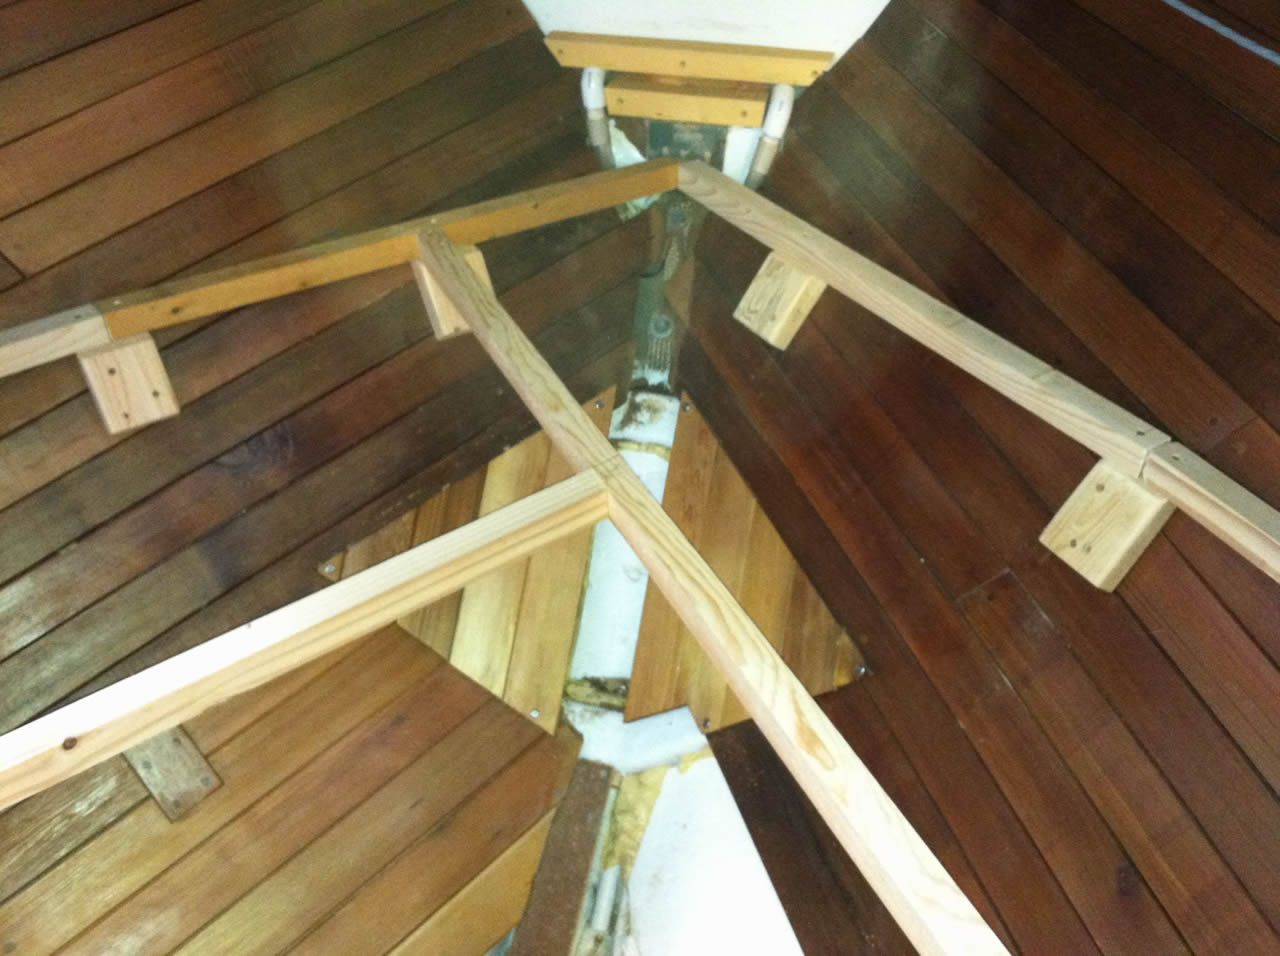
| Here is how we start. Did some measuring and ran strings as to where the berths should go. |
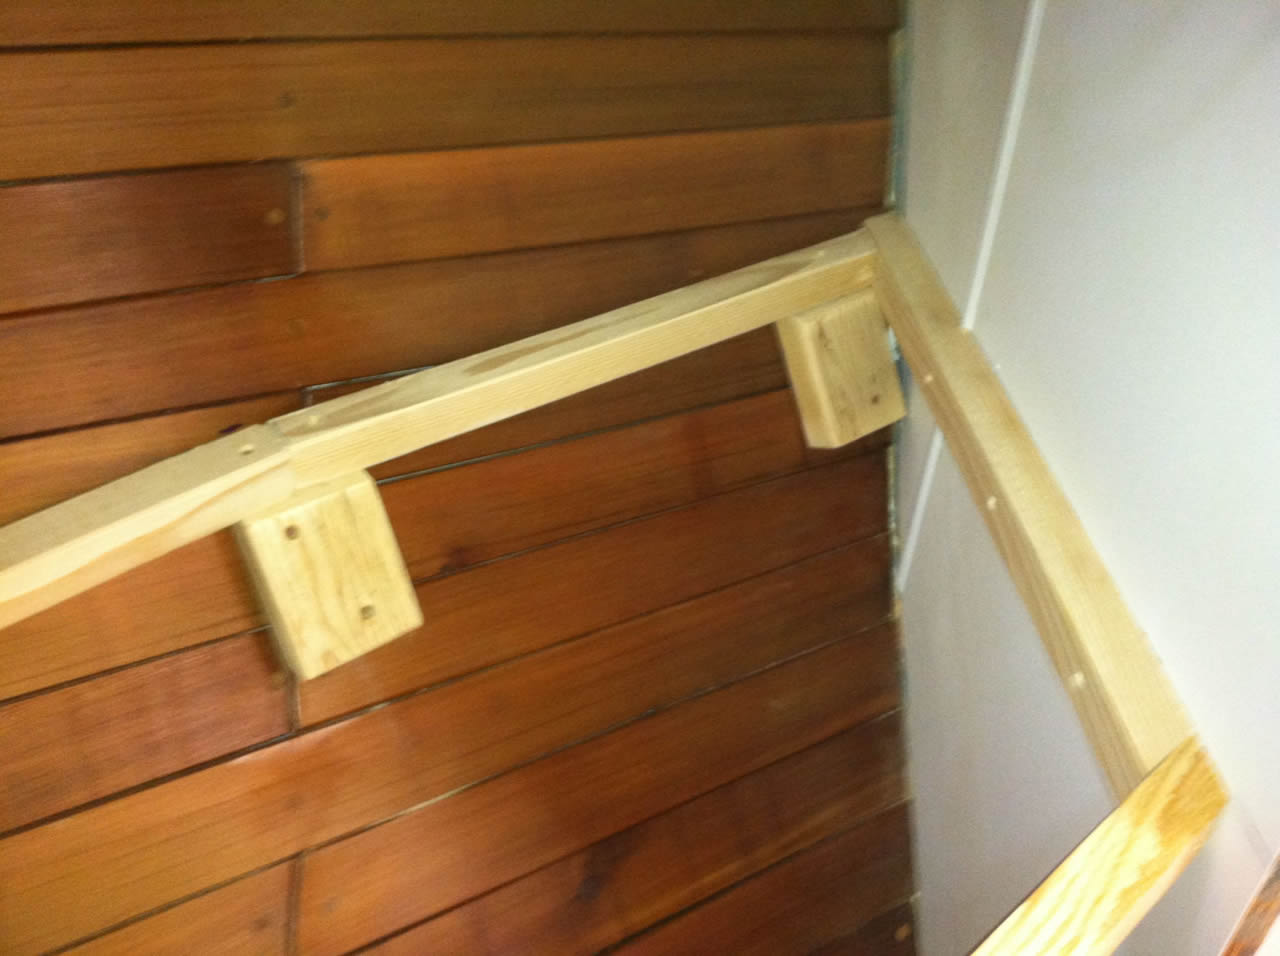
No you see I have added blocks to where the ships rib is under the cedar.
Then added the edge strips, then finally the front 2 strips. Notice how the front strips come together perfectly.
This is why it takes days to install all this stuff at all these weird angles. |
| |
|
 < < |
 |
| Here is the starboard view. Aren't these angles fun ! |
Before I could go much further I needed to ground the anchor chain and windlass.
The big bolt you see at the bottom is the bolt that holds the whisker chain that goes to the end of the bow sprit.
The big bolt in the middle goes clear through the Sampson post and ties onto the anchor chain.
|
| |
|
 |
 |
| The braided strap goes up to the big bolt that connects the grounds to the anchor windlass and control box. |
Cross pieces in place. You can see a V-Berth slowing coming together, |
| |
|
 |
 |
The V-Berth need a little overhang so I ran more support strips under the first group.
The uprights will be attached to these inner strips. |
Here I chose positions on the horizontal strips to insert the uprights.
It comes right down and sits on a rib for strength. |
| |
|
 |
 |
| The center support did not come over a rib so I had to glue this block in place right on the hull. |
You can see the final center support is done with 3 uprights on the block.
Plus the mattress supports are all done. Yeah !
(I even laid down on them to make I didn't break through and end up in the bilges.) |
| |
|
 |
 |
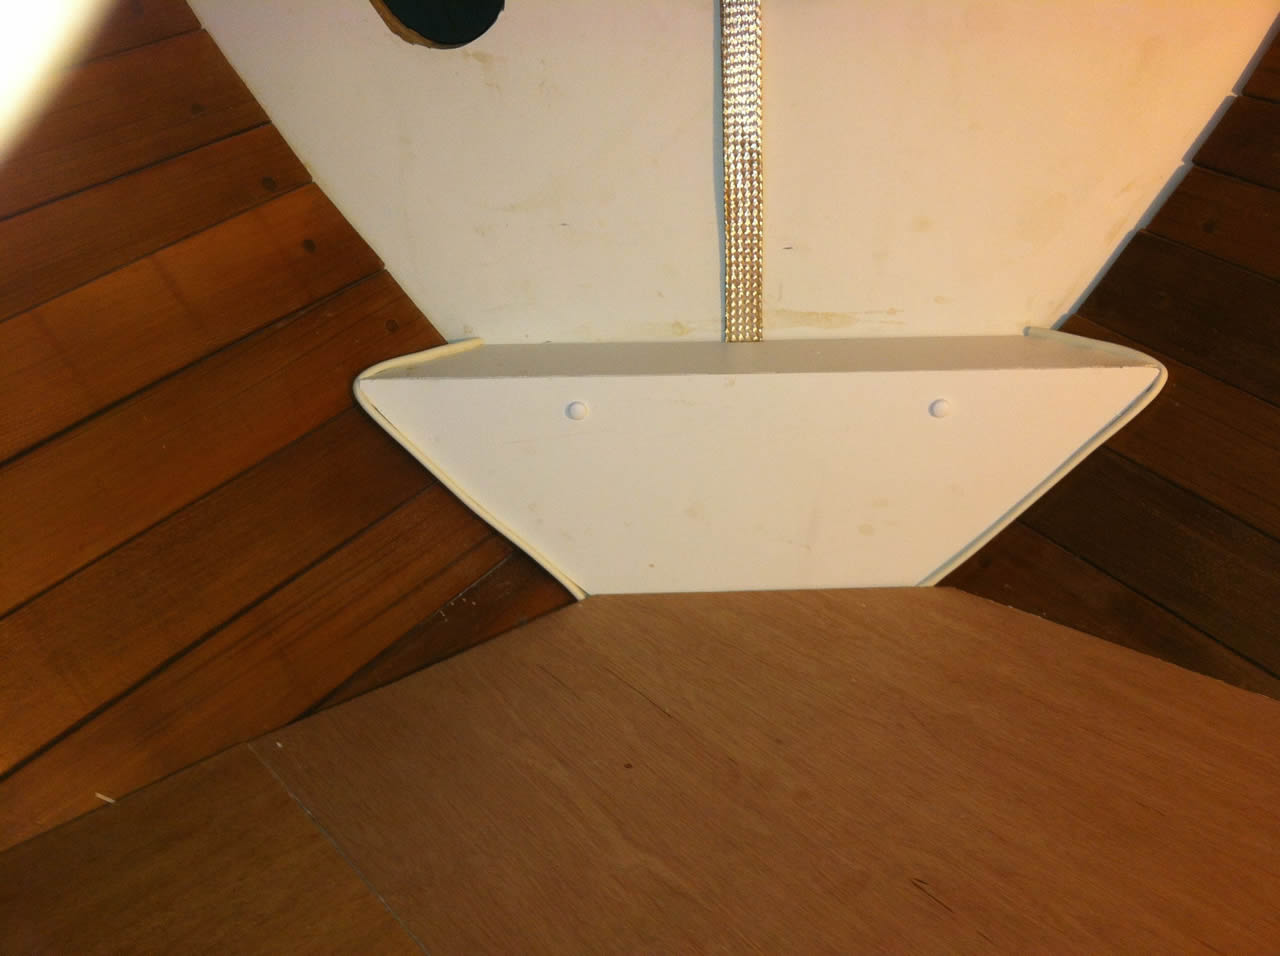
| Now to fancy up the end of the V. First I add to make up 2 fillers underneath, then add a cross block. |
Then I had to trim the mattress support. |
| |
|
 |
 |
| First the back cover in place, now for the top, and then cover it all with white paneling. |
Finished Cover in place. Pray for me dealing and all these tight angles. |
| |
|
 |
 |
Now for the pesky area in front of the V berth. I decided to make a step so short people can step up to get into the berth.
How's this for a tricky piece of wood? Took me about 4 hours to do.
I will make the cover removable so I can get at the bilges. |
All the framing is now in place, ready to varathane. Next is drawers and cabinet doors. |
| |
|
 |
 |
Each drawer beside the bulkhead goes in straight but the front is curved towards the apex of the V,
hence we need diamond shaped drawers. A place for socks and underwear. |
Ok here we are all done with all those &*() angles. |
| |
|
 |
 |
| A diamond shaped drawer. |
A tip down drawer. Can't do anything else because of the space behind. |
| |
|
 |
 |
| Here th one on the port side. This one is a little larger. |
Diamond shaped drawer on the port side. |
| |
|
|
 |
 |
| A regular drawer on the port side. |
Here's a view of the finished floor. |
| |
|
 |
 |
| Port side with garboards installed, |
Starboard side. |
| |
|