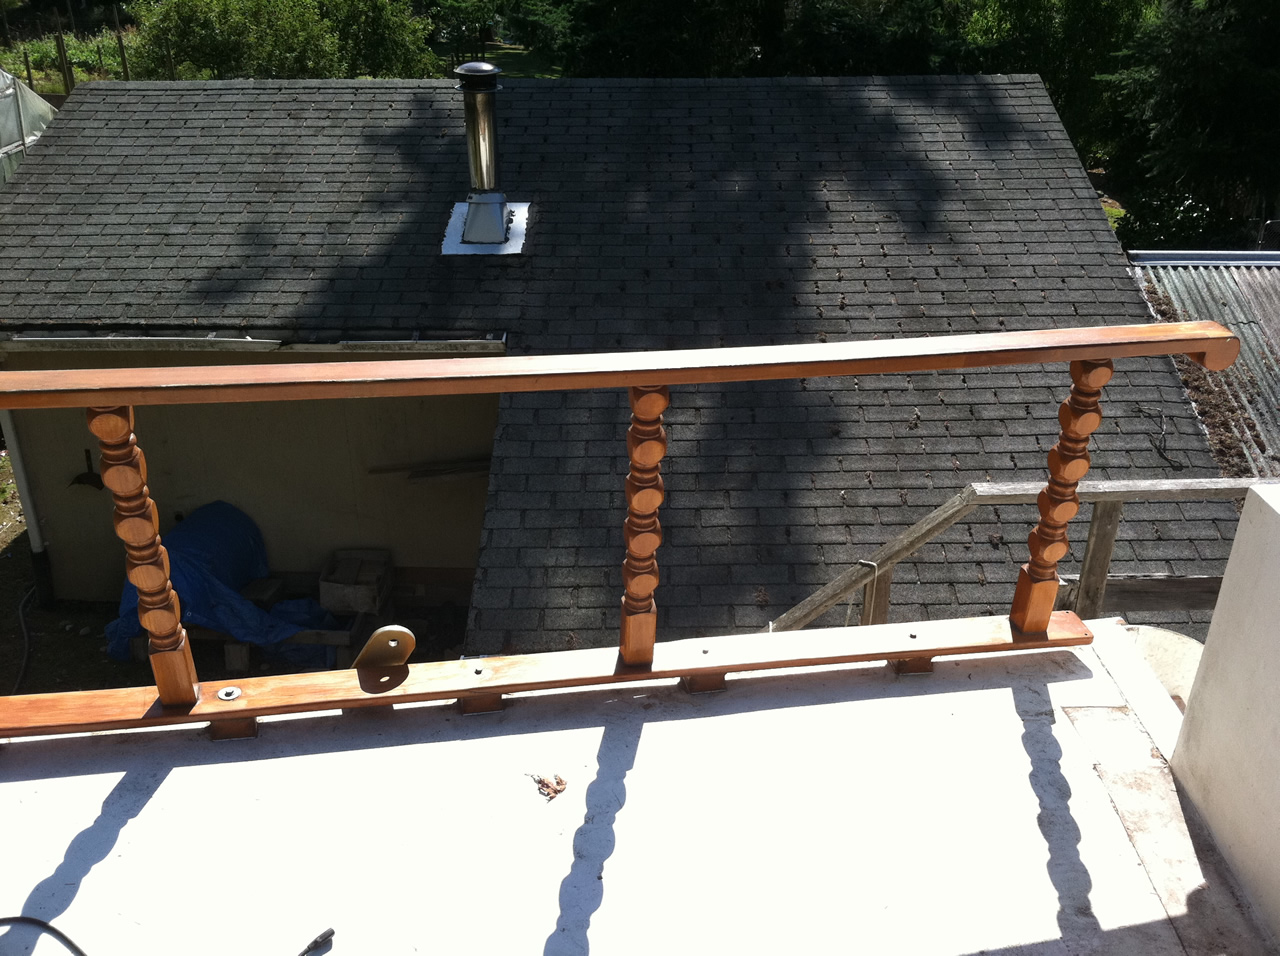
The aft deck was installed with a few mistakes. First I couldn't afford stainless screws when I screwed down the deck.
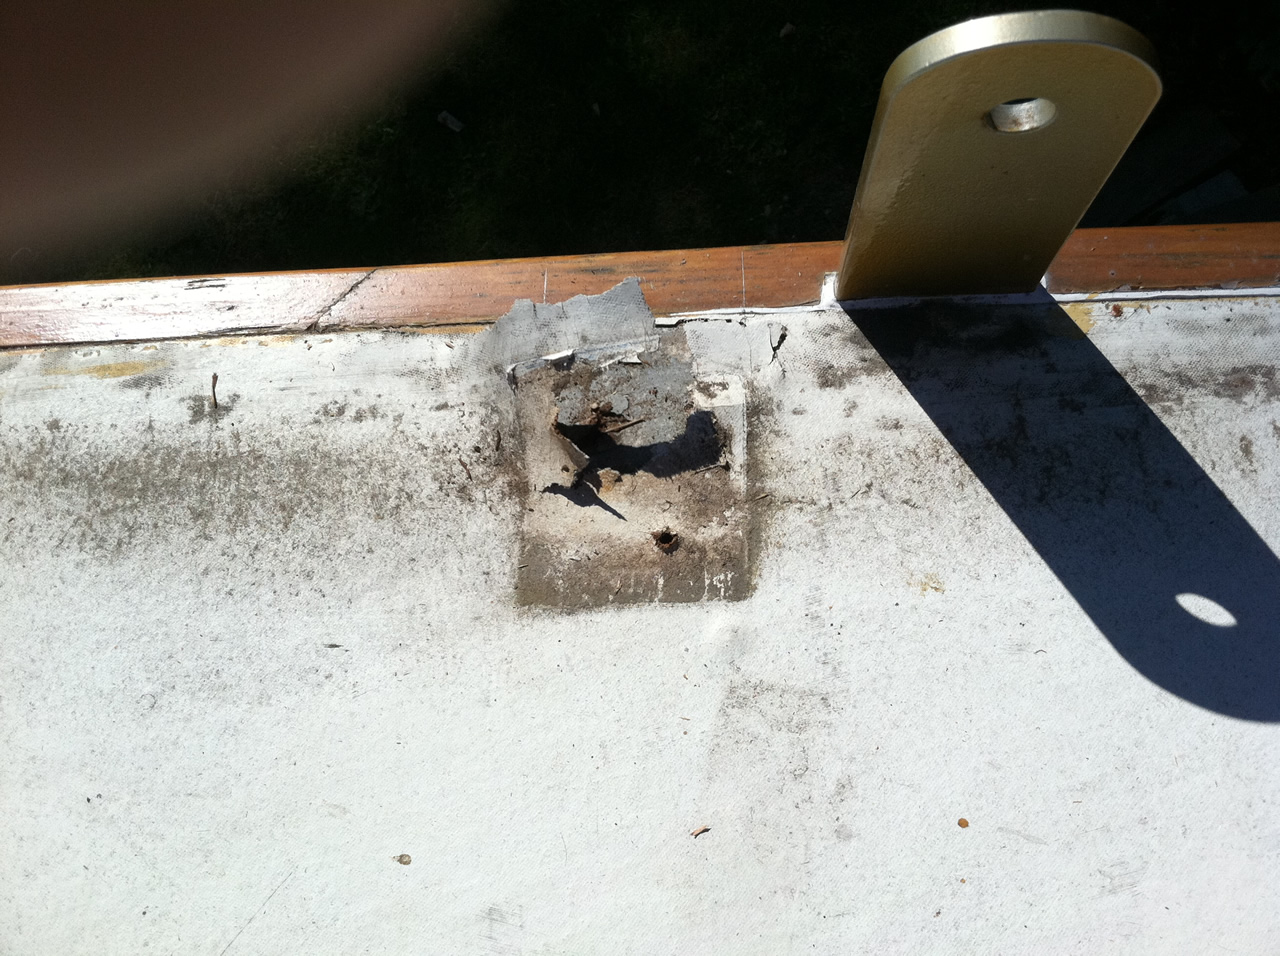
After I put the canvas over top, they started to rust underneath and were causing bubbles in the canvas, and some turned into holes.
Then during the snow storm of 2009 the heavy weight of the tarp on the rails pulled it off the deck.
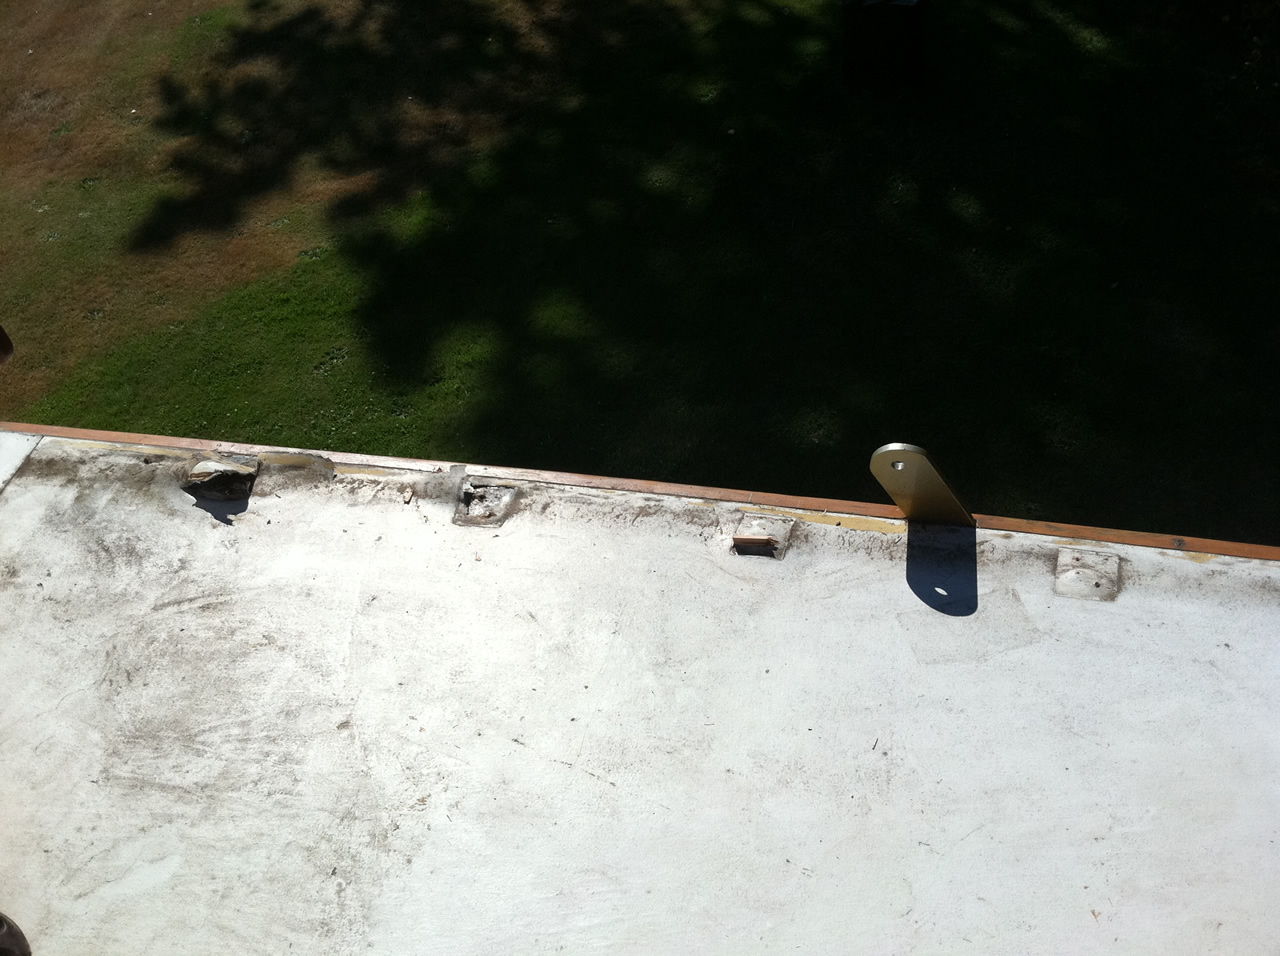
Second: I had mounted the deck supports on the canvas instead of gluing them down onto the deck, so all it did was pull the canvas off the deck.
So the task at hand is to remove all the rails, remove the old canvas, install new staniless screws in the deck, then recover it with new canvas and then re-install the rails.
Sounds like fun huh !
|
 |
 |
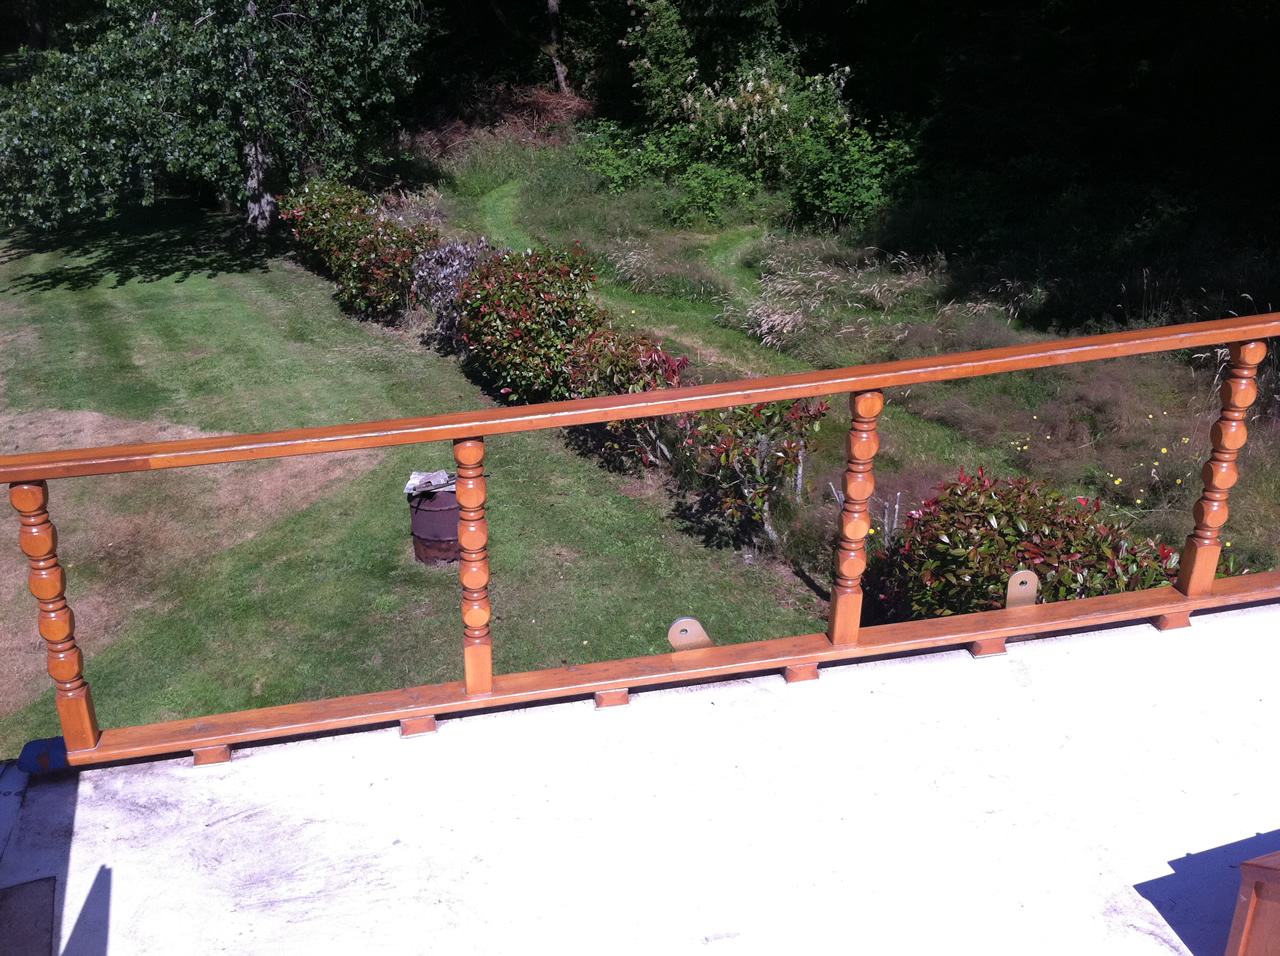
| Starboard rail forward. |
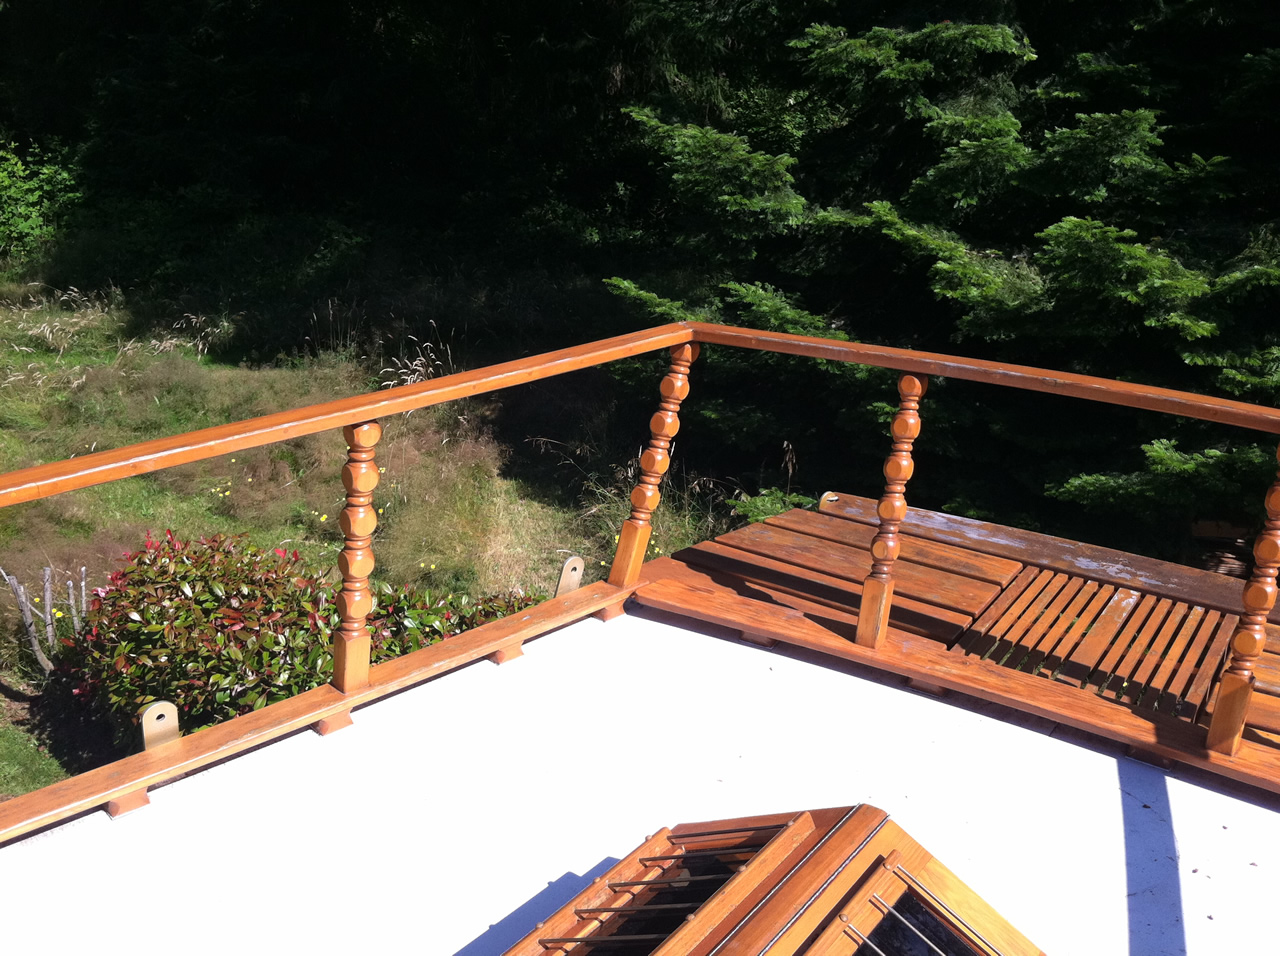
Starboard rail aft section. |
| |
|
 |
 |
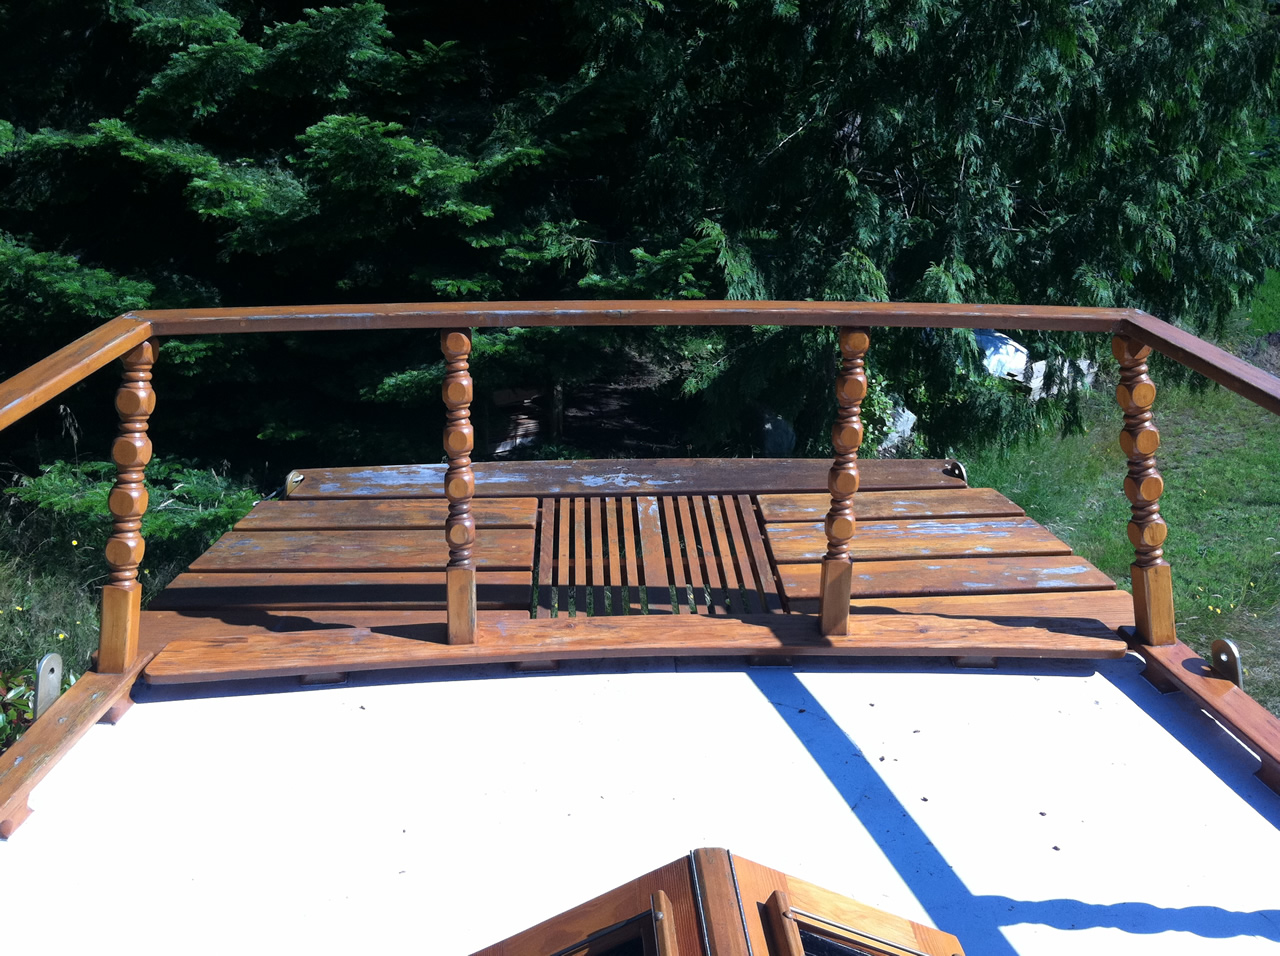
| Aft rail. |
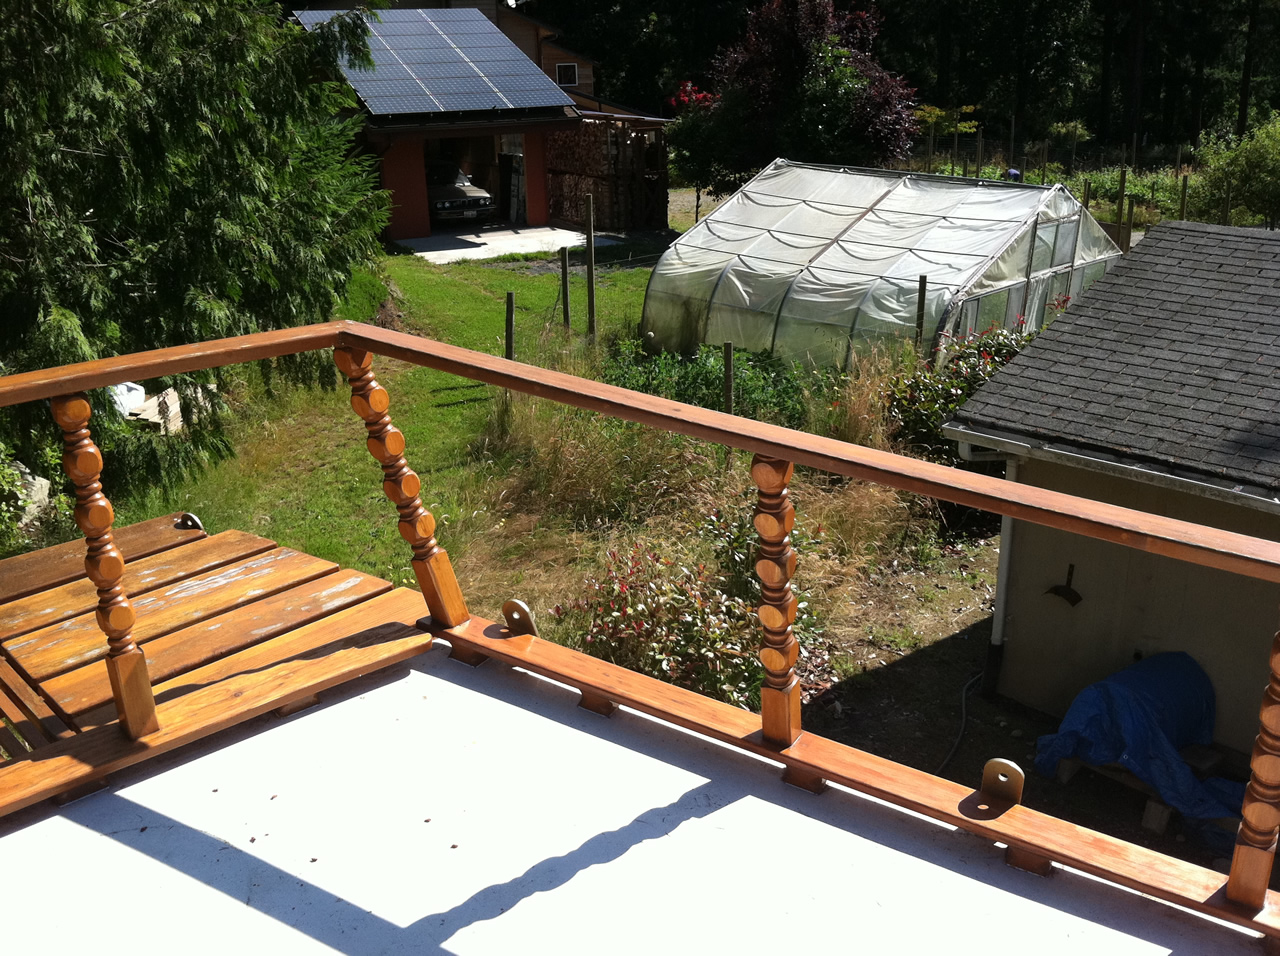
Port rail aft section. |
| |
|
 |
 |
| This section of rail is actually snapped off at the bottom. |
Here the starboard rail has been removed. Here you can clearly see my mistake of mounting the rail spports right on the canvas. When the snow load bent the rail over it simply pulled the canvas off the deck. |
| |
|
 |
 |
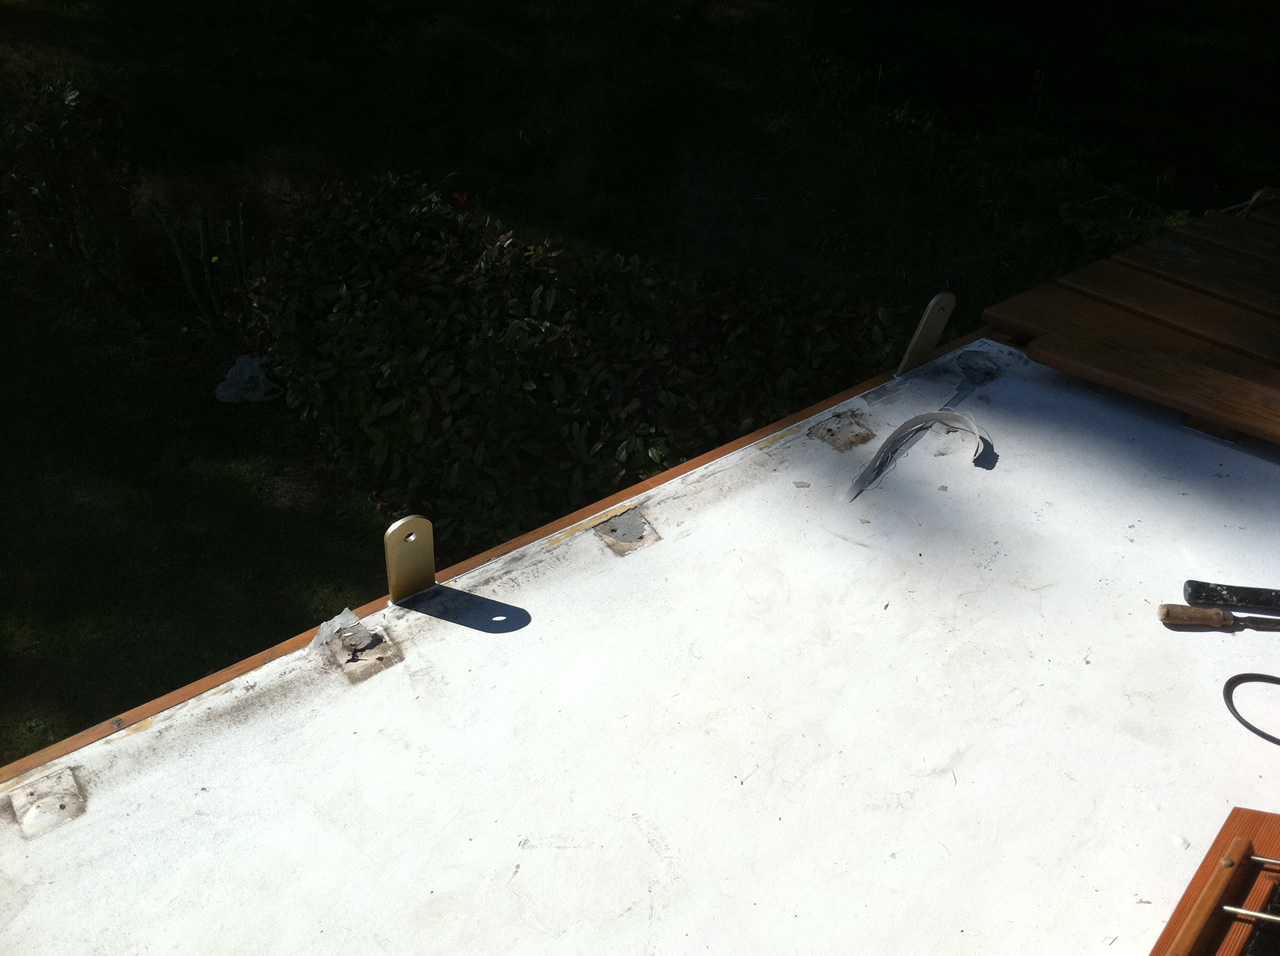
| Here is another view of the mess. |
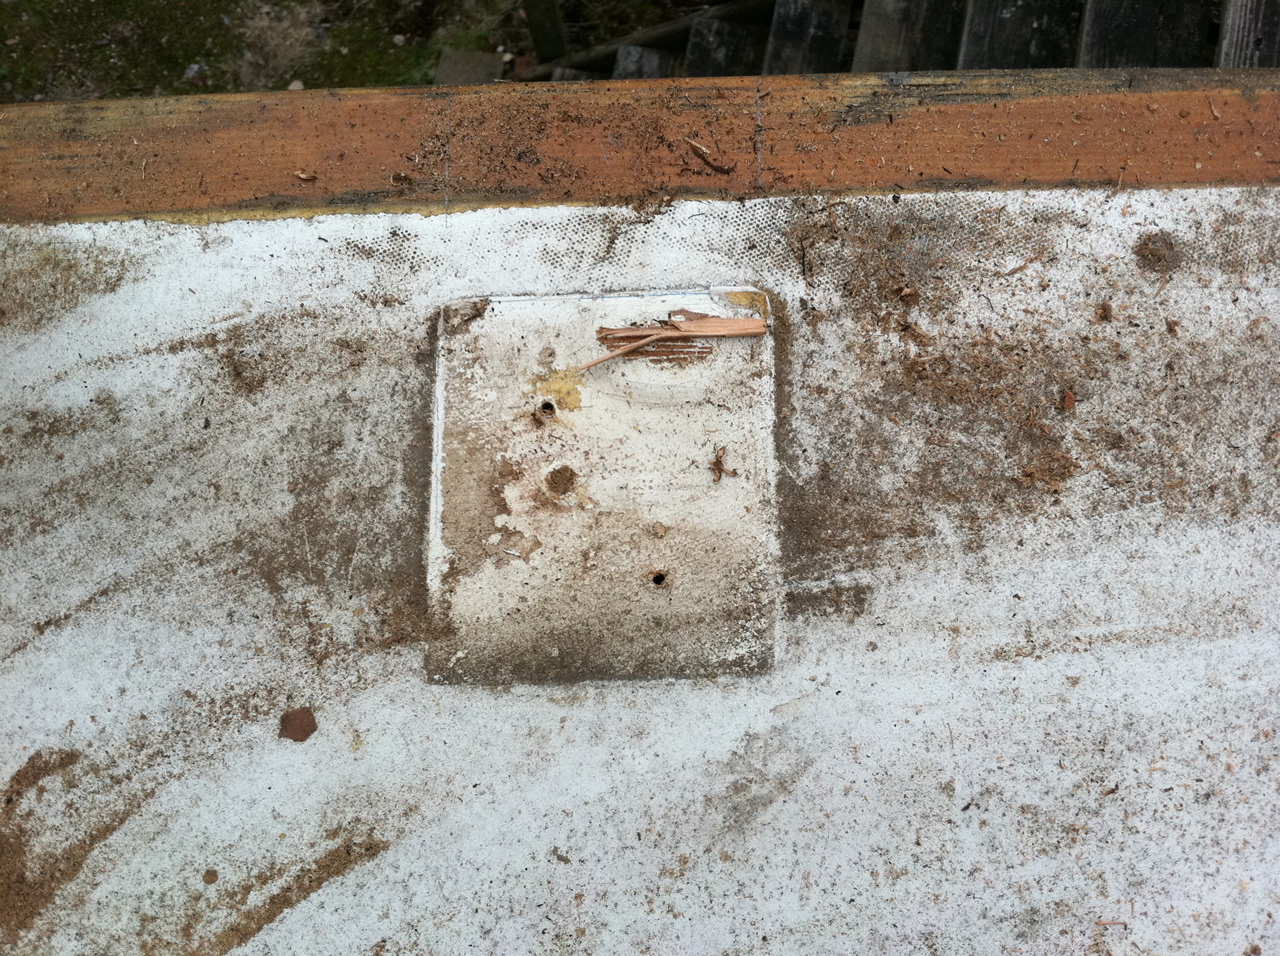
The deck under the canvas looks as good as new. |
| |
|
 |
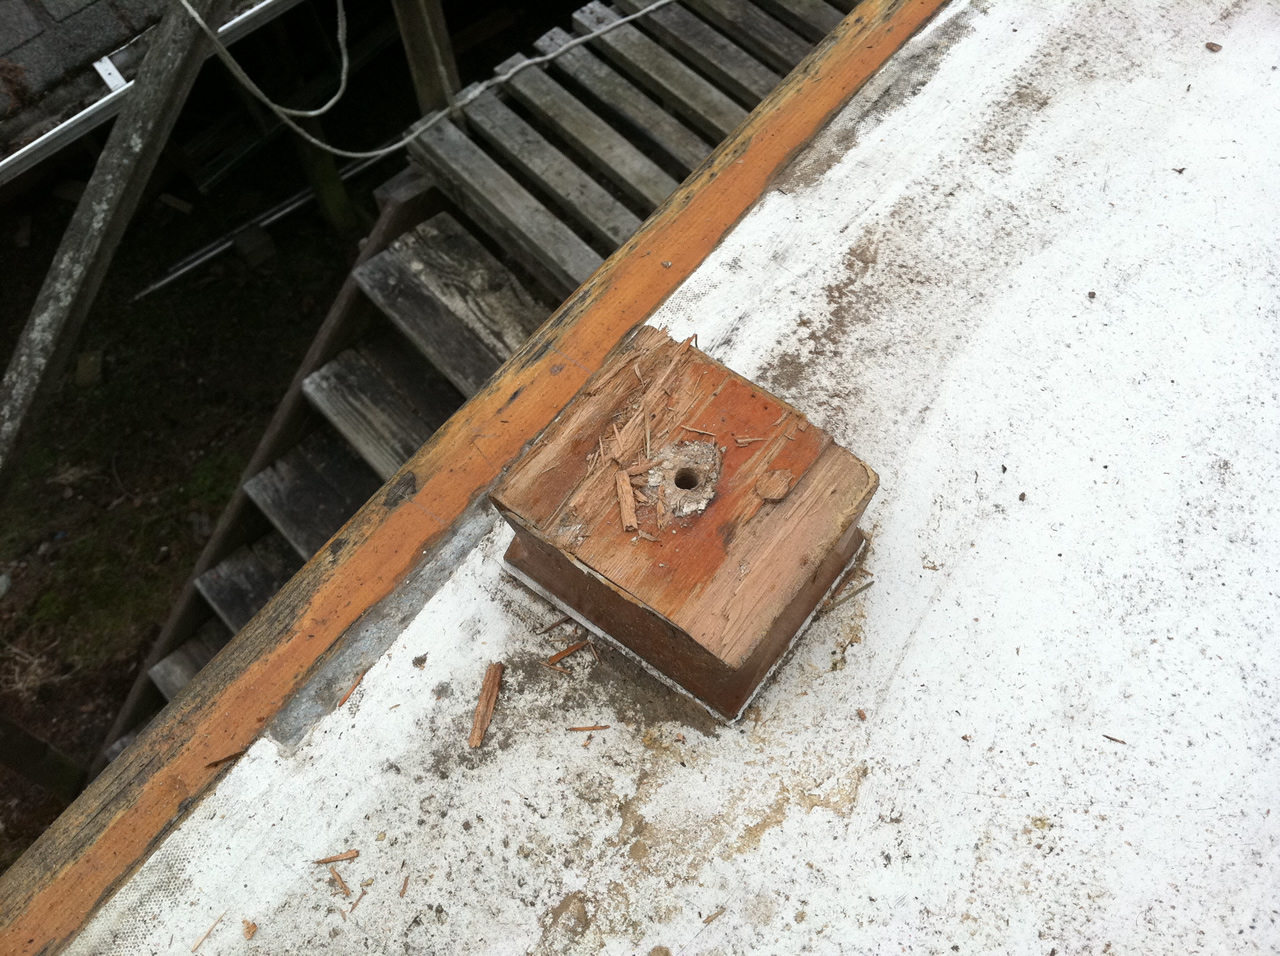 |
| Here is a close up of the canvas that was under a railing mount. Railing mount should be glued and screwed directly on the deck. |
Another view showing the mounting block. And I was so proud of those little blocks ! |
| |
|
 |
 |
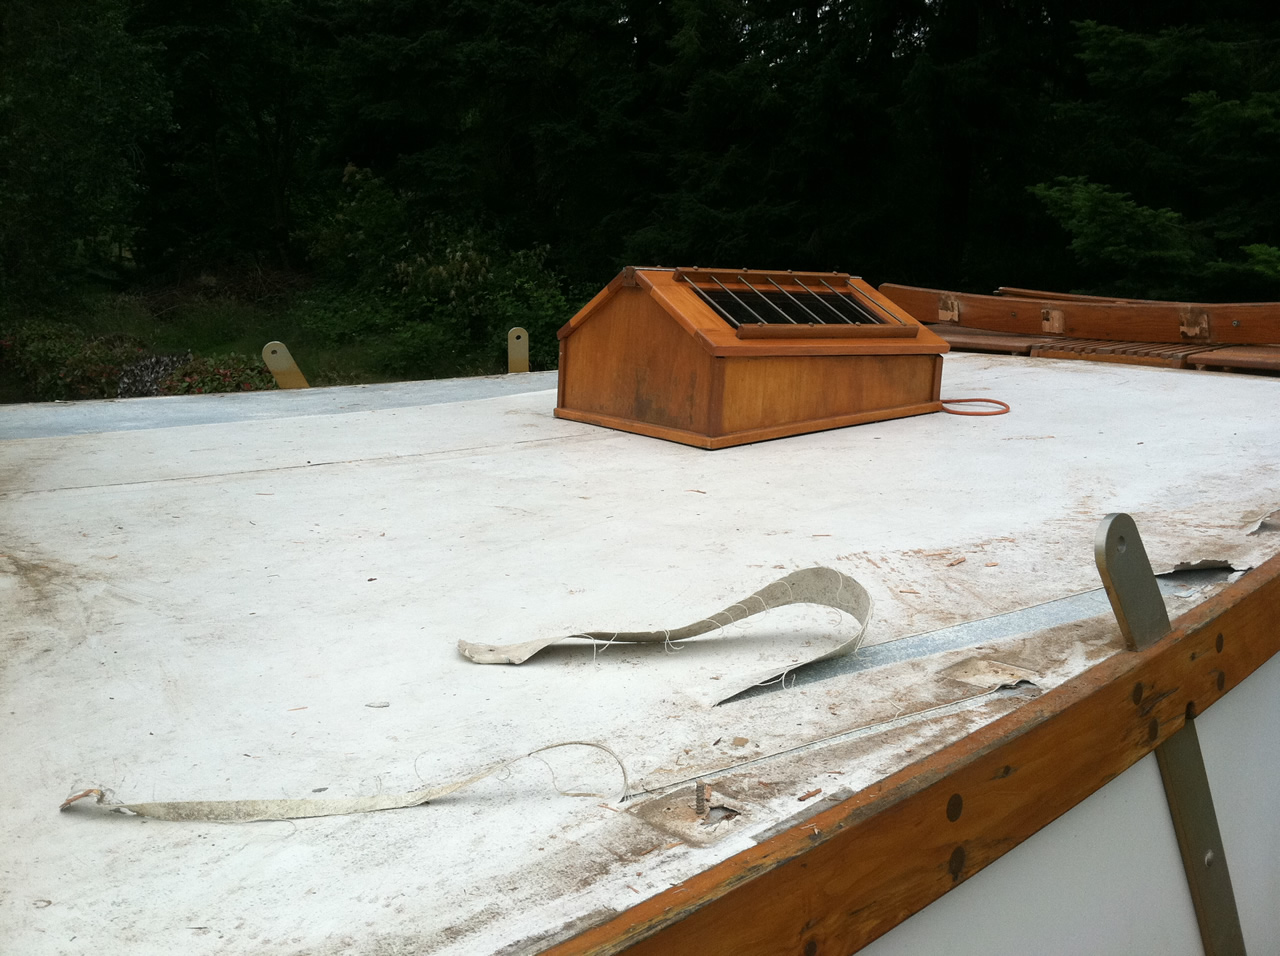
| Here I am starting to rip up the canvas. All I can think of is "What was I thinking ??" not using stainless. |
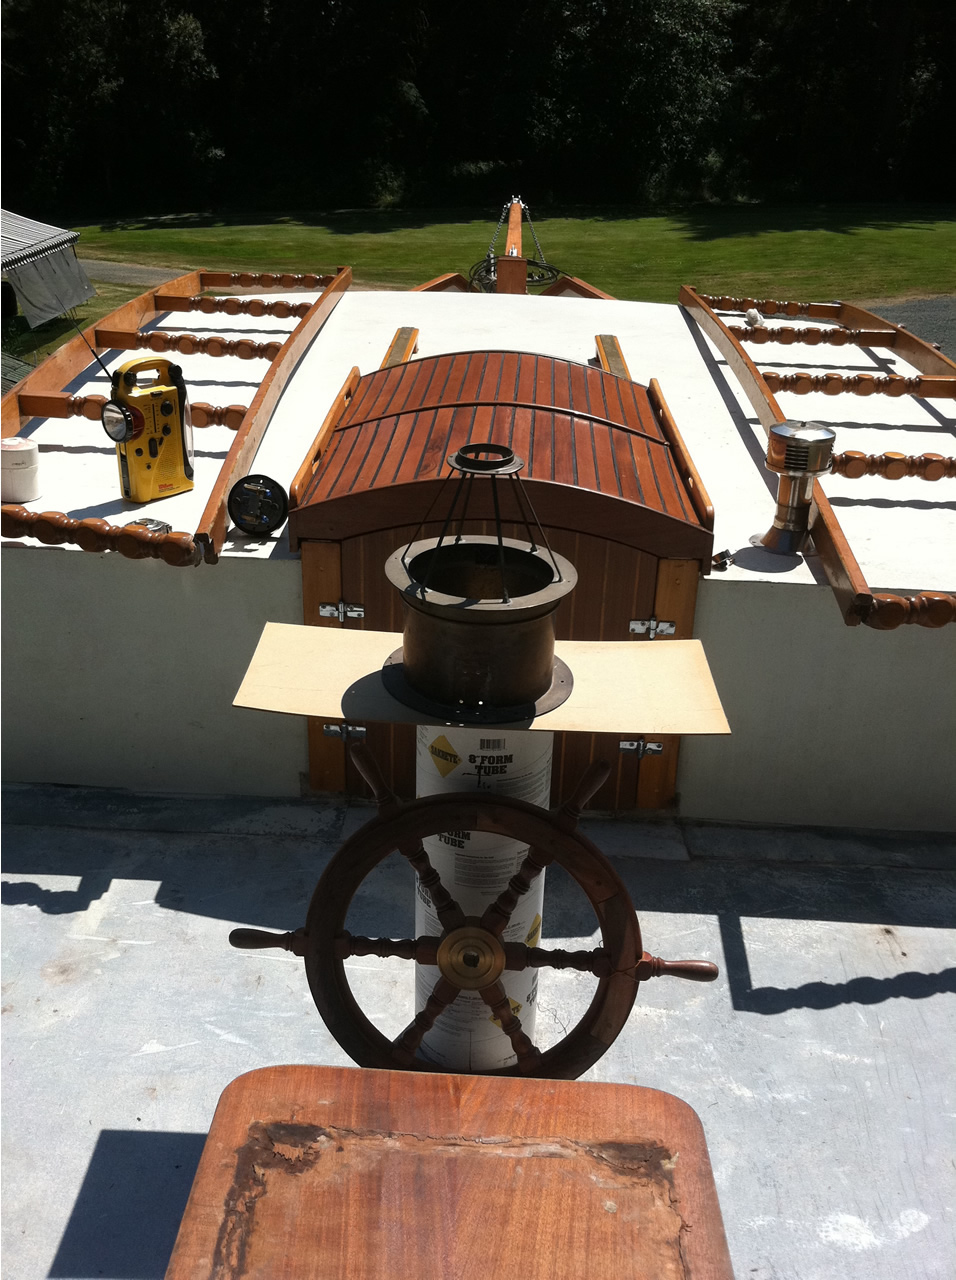
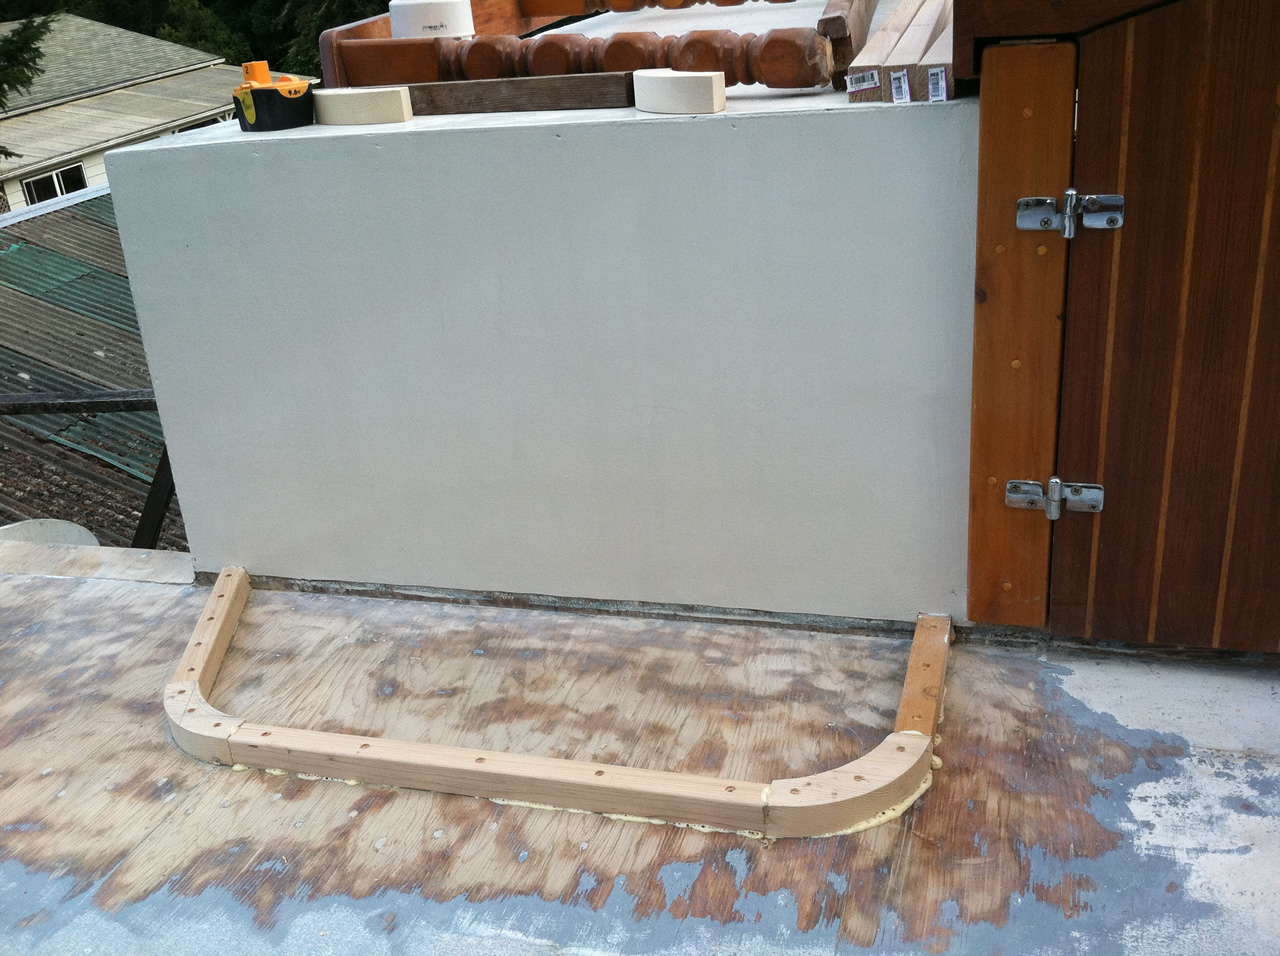
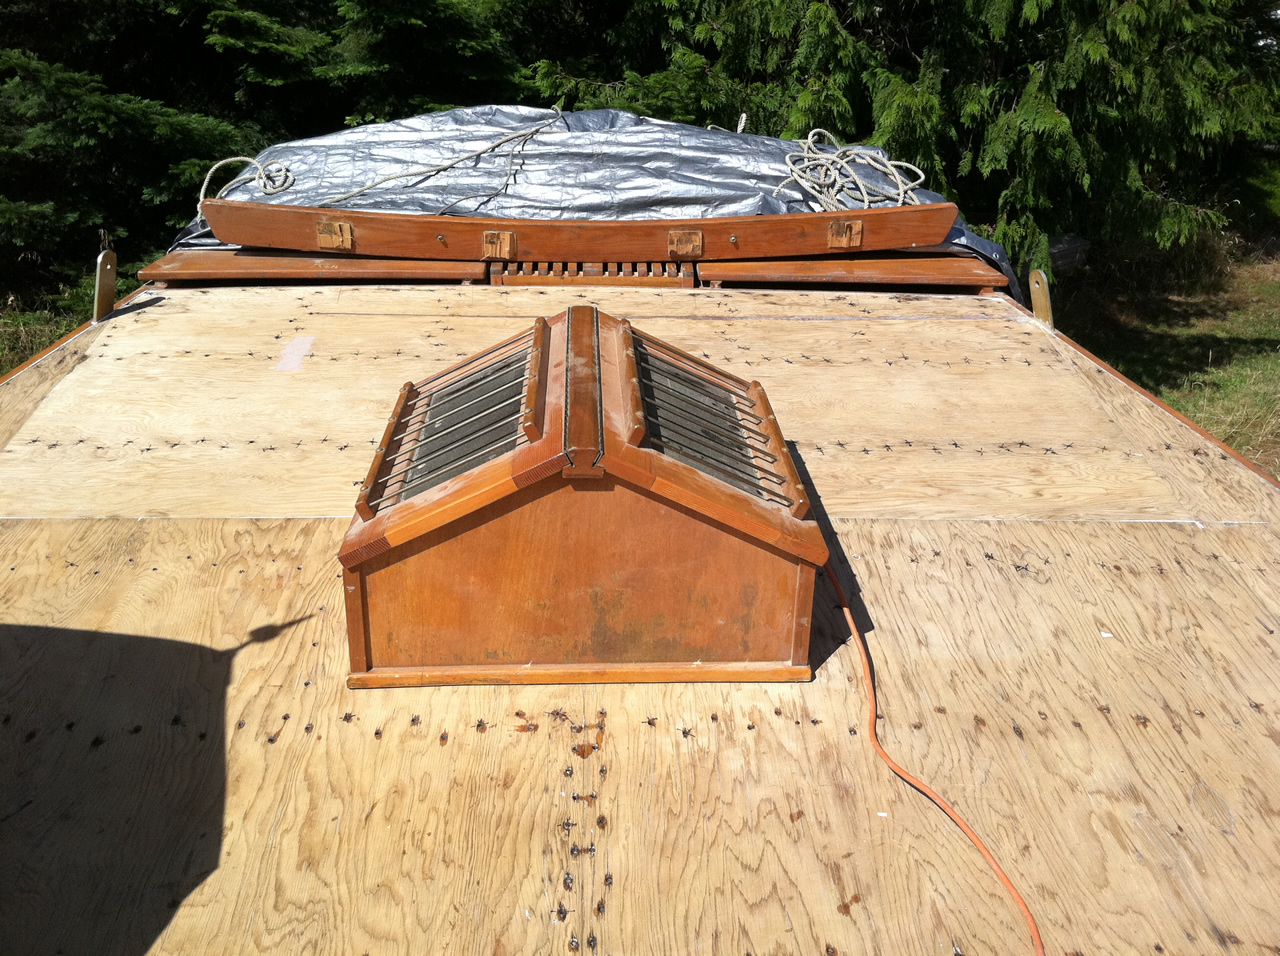
Before I can do anything else I will have to rough in the steering station and the propane lockers.
The seat will be able to hold 3 people. Compass will go into the binnacle. |
| |
|
 |
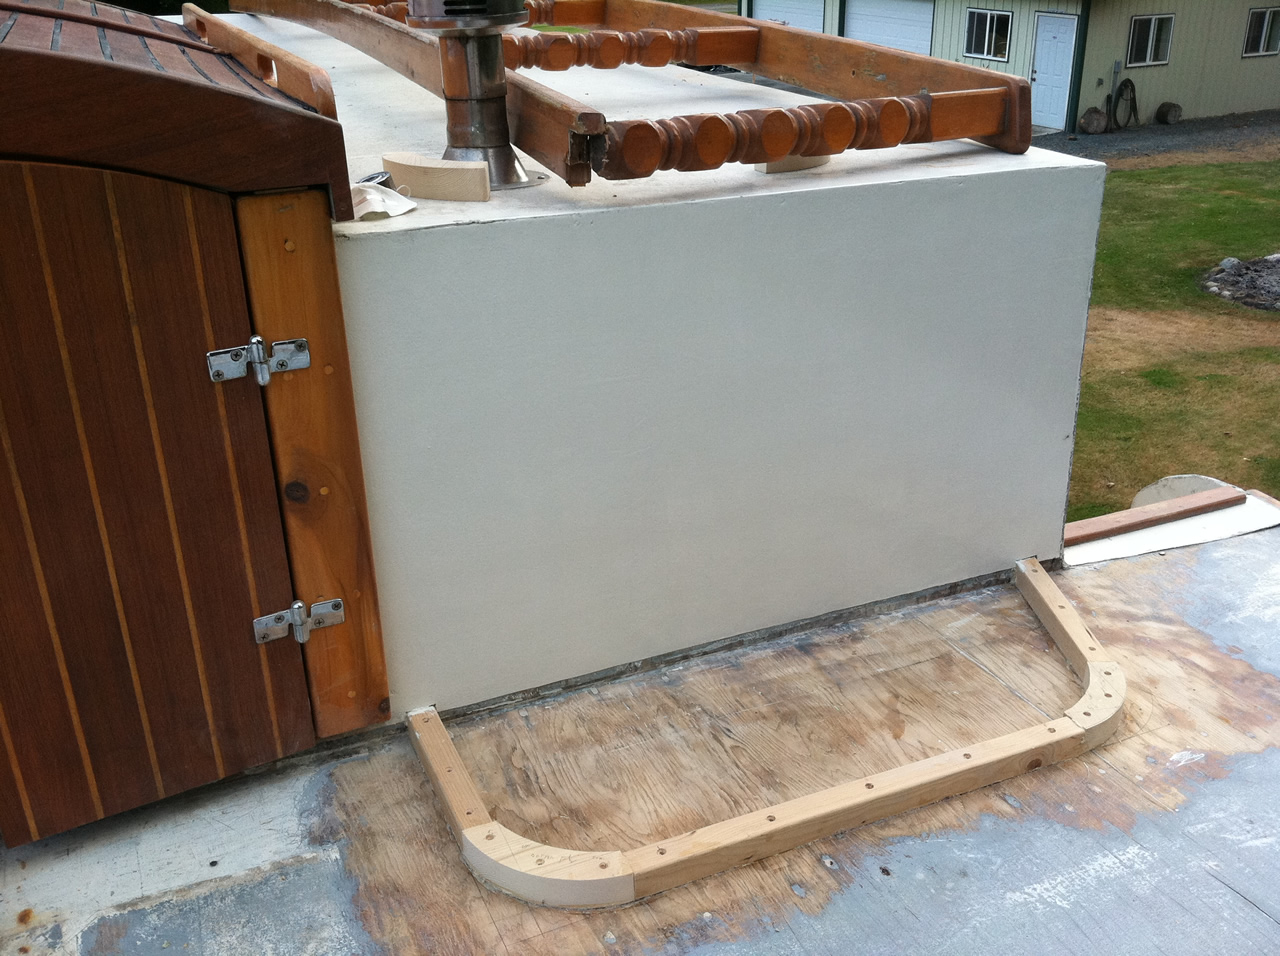 |
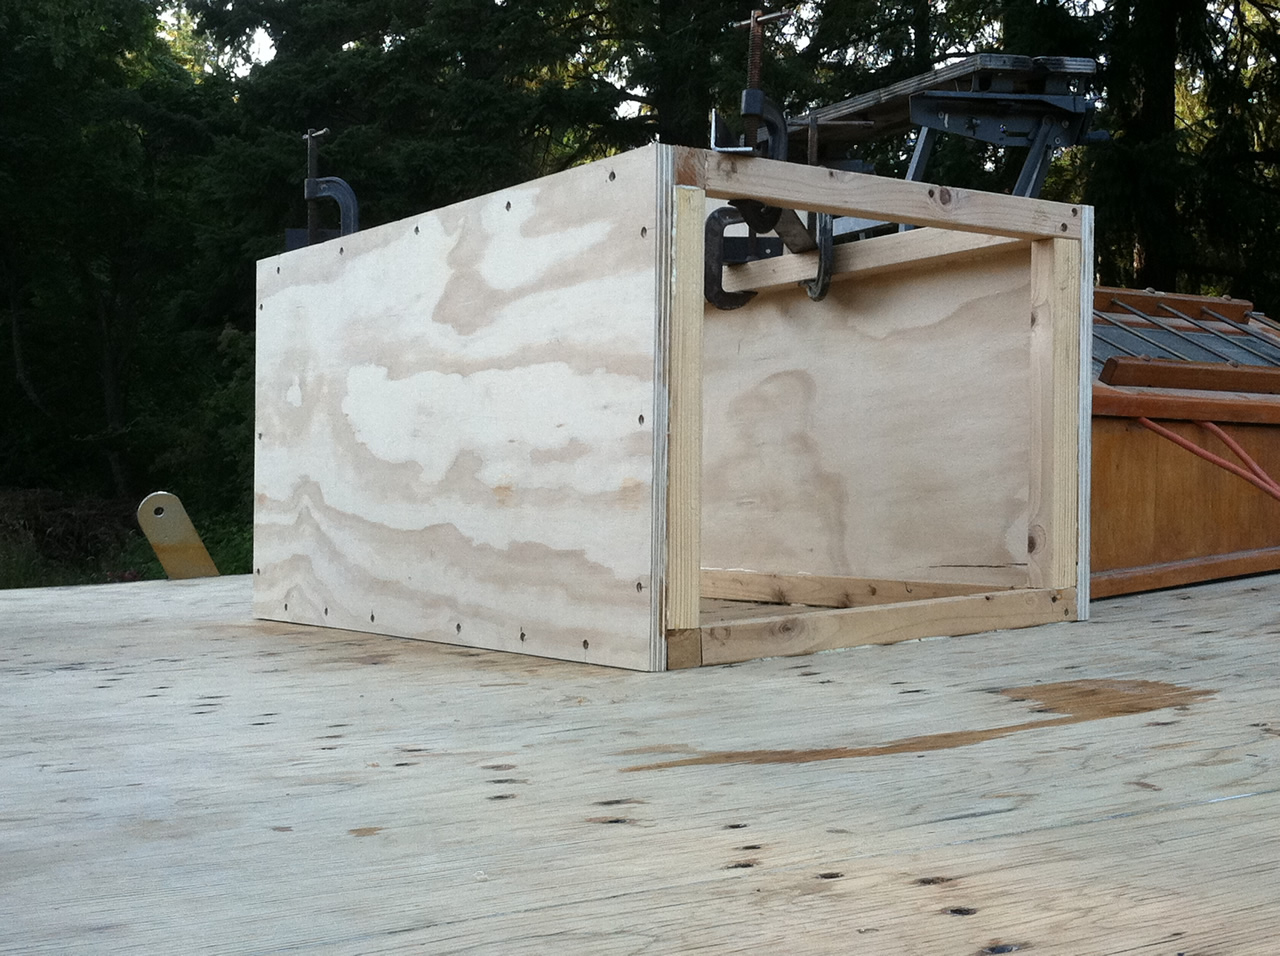
| Area all cleaned up underneath and the beginning of the propane locker. Should be able to hold 2 propane bottles. It is from this side that we will feed the stove.
|
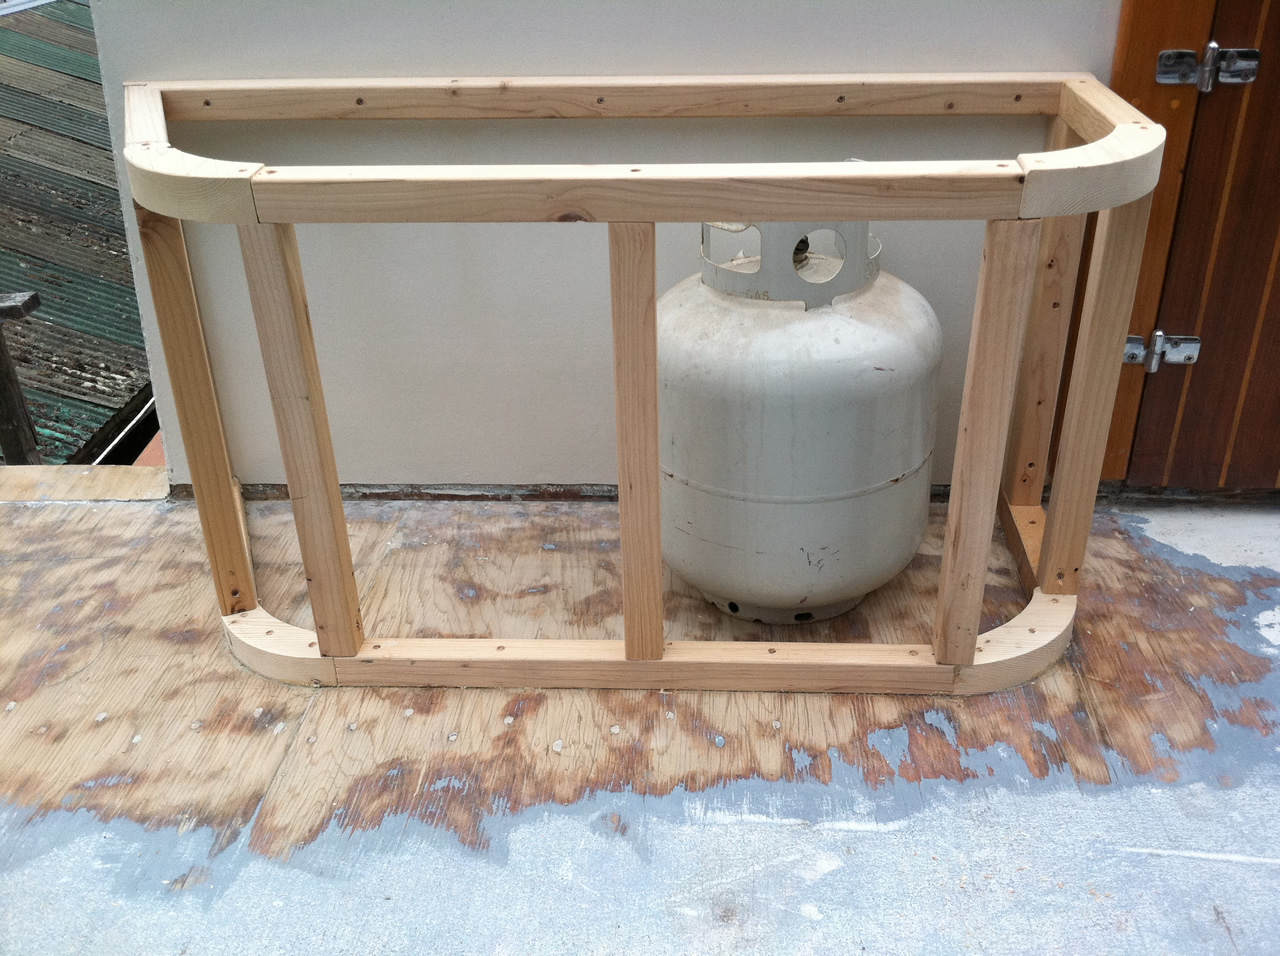
Here is the starboard side. The lockers will also be seats for about 3 people each, depending of the size of the a@#.
|
| |
|
 |
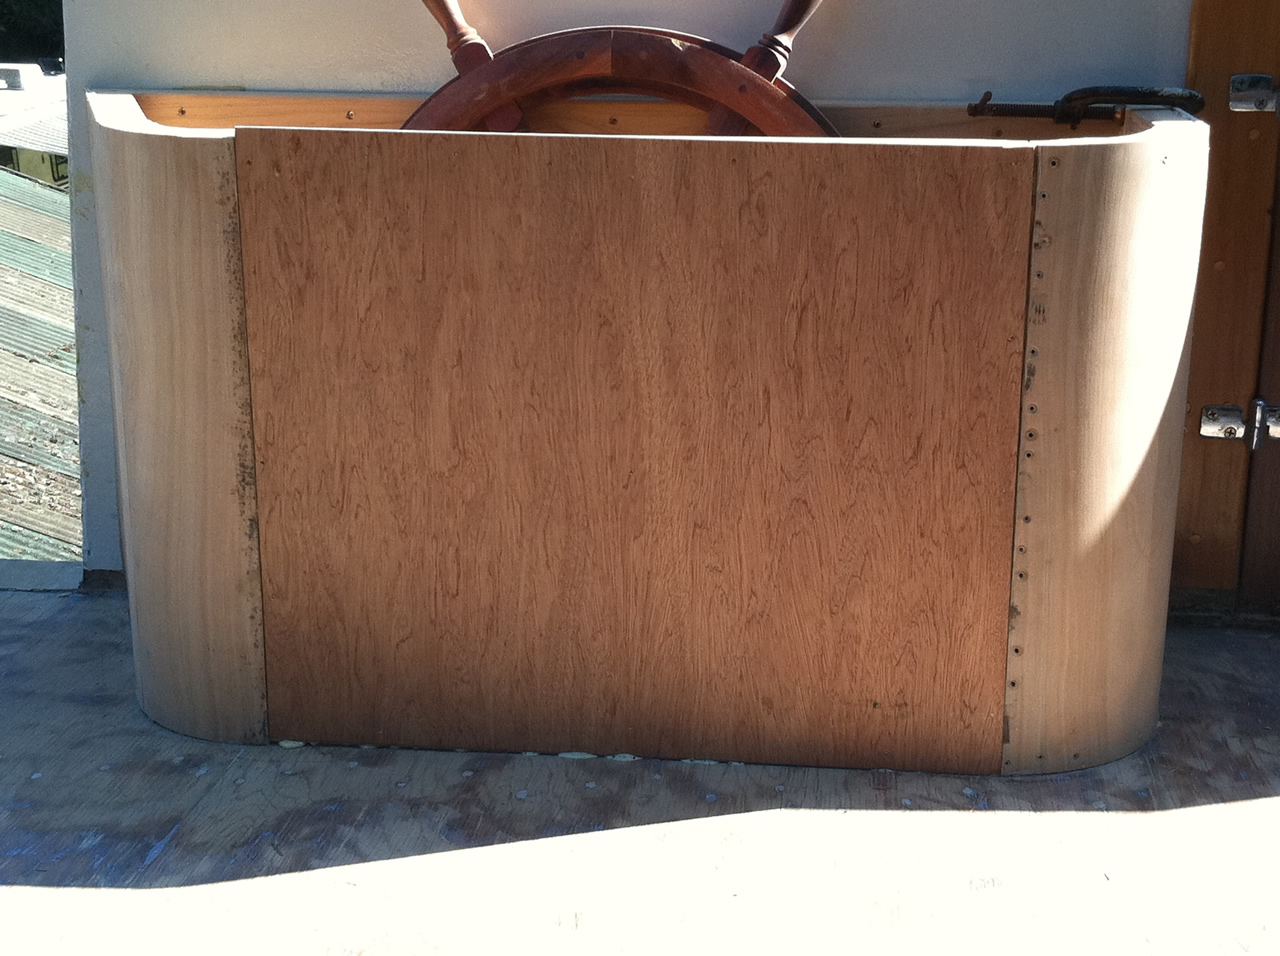 |
| Port propane Locker ready to glue up. Now for the starboard side.> |
Rounding the sides. What a bear to get the stuff to bend. 4 Layers of birch door skins make the curve. |
 |
 |
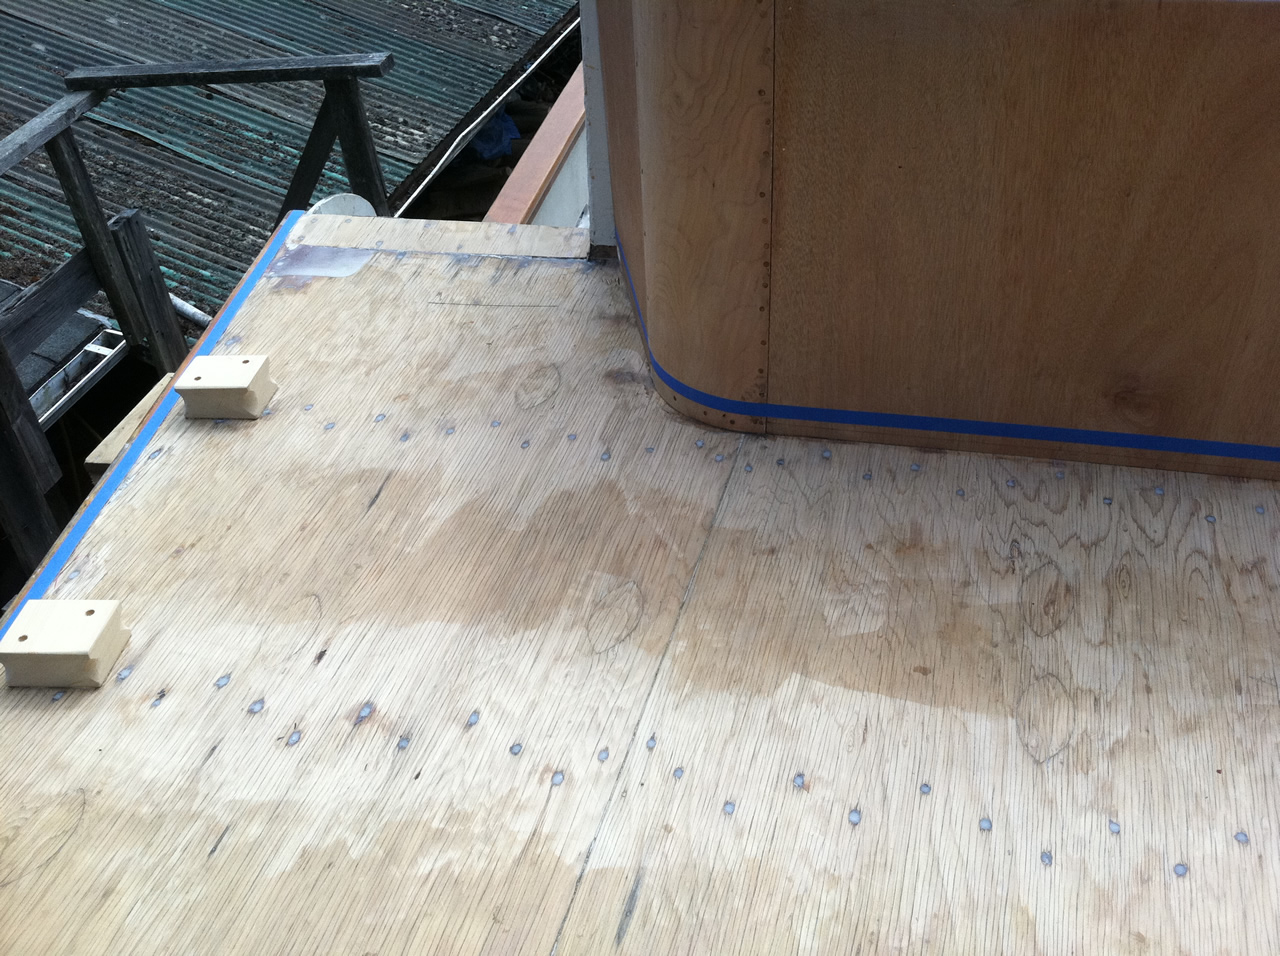
| All rusty screws removed, new stainless screws and sealed with epoxy. |
Pilot Seat Locker, designed to hold the 120 VAC Generator, and support the Captain's ass while steering. |
| |
|
 |
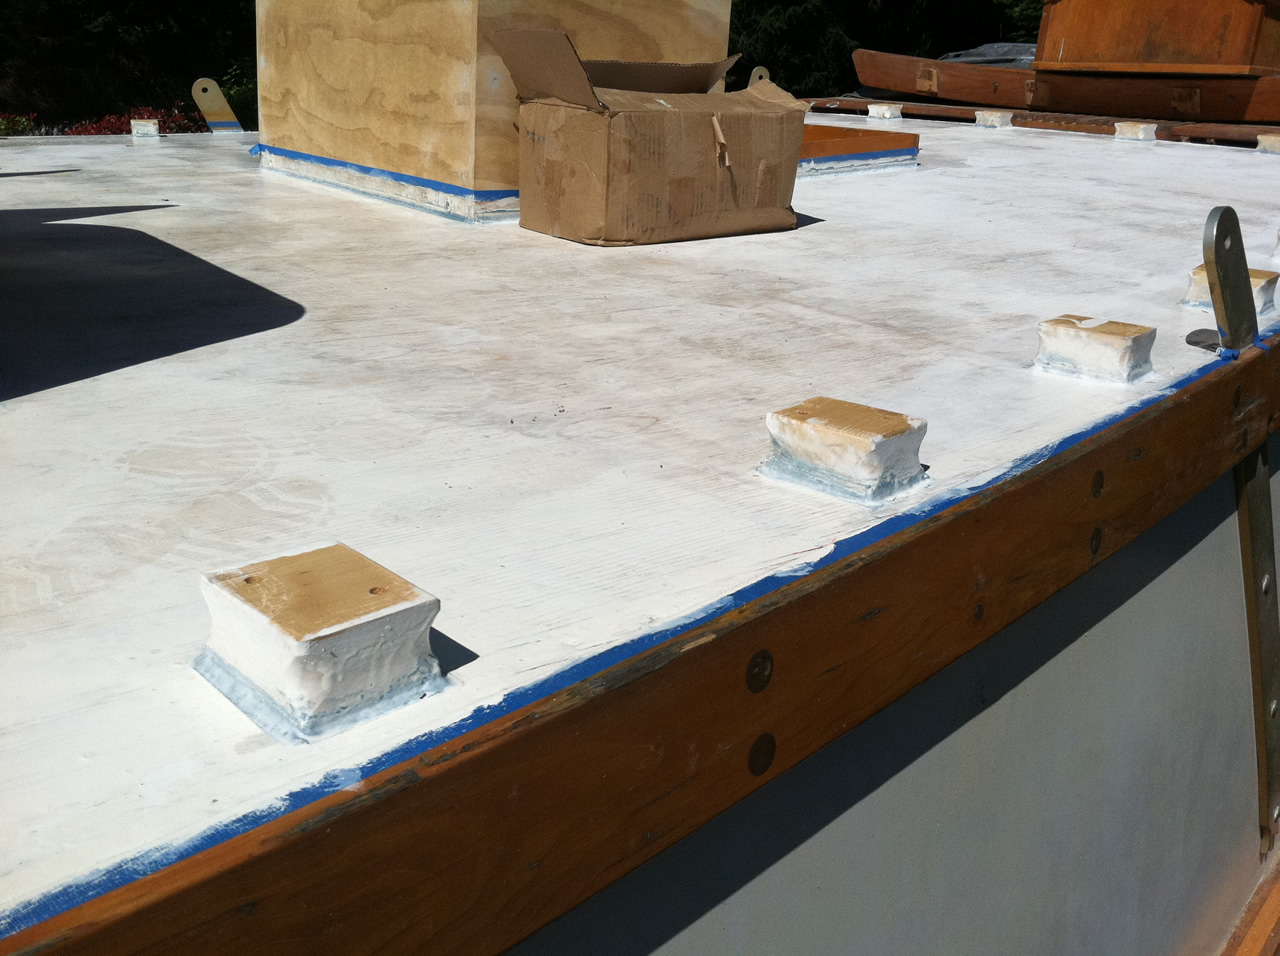 |
| Trim wood all masked, ready for the primer coat of perma-tex. |
This shows the primer coat, then the TAV (rubber based filler) around all the blocks and lockers. Now for the non slip coating. |
| |
|
 |
 |
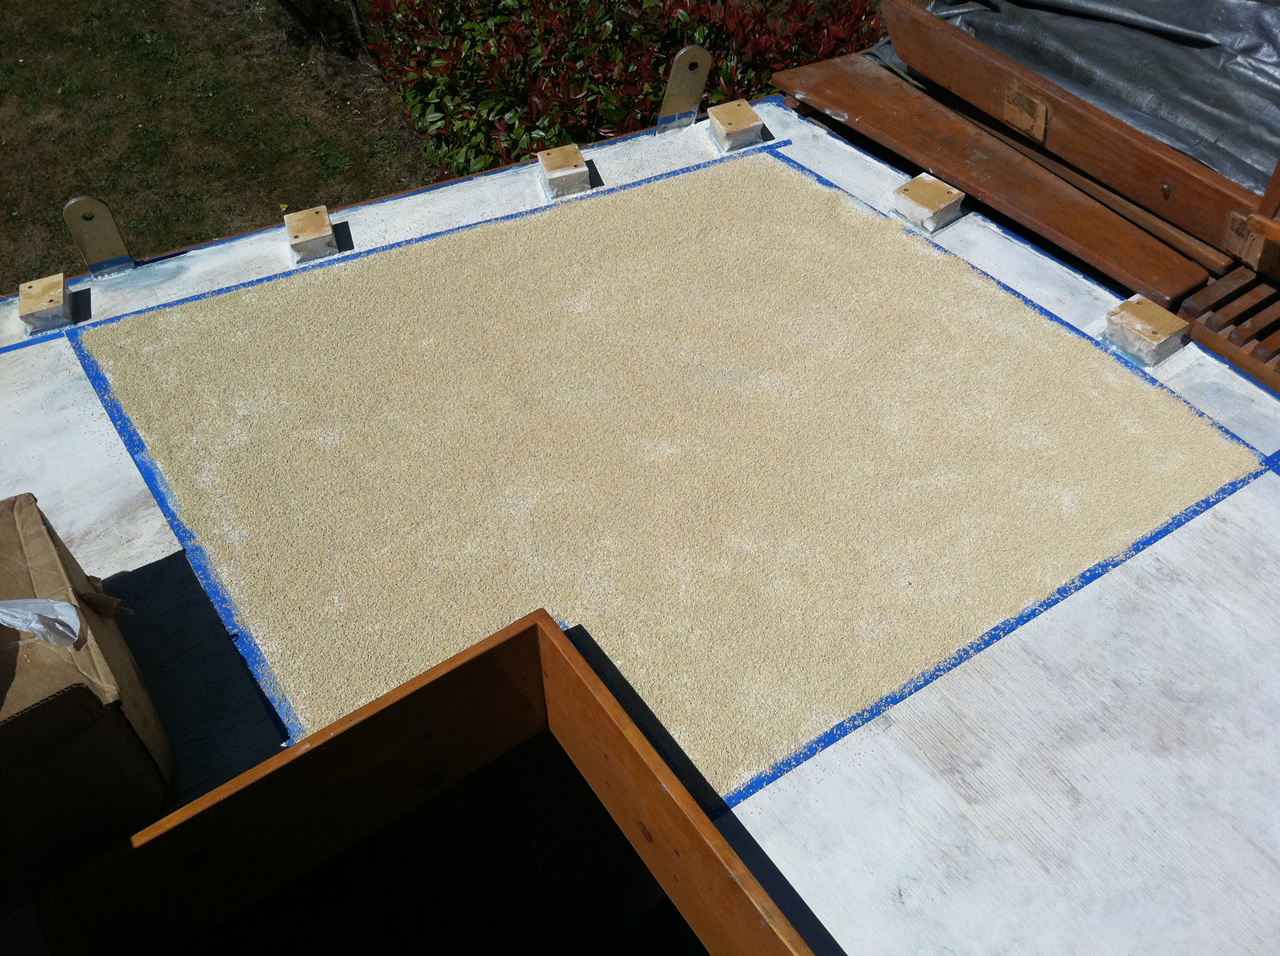
| Here are the no slip rubber granules going on. We put a layer LRB (Liquid Rubber Base) on the deck and while its still wet we sprinkle on the granules. Drys to an amazing tough rubber. Now for a layer of LRB over top to seal them all together. Then the final is a coat of Perma-Tex AL. |
Kaye was my helper for a week! |
| |
|
 |
 |
| All the granules down. |
Looking Good. |
| |
|