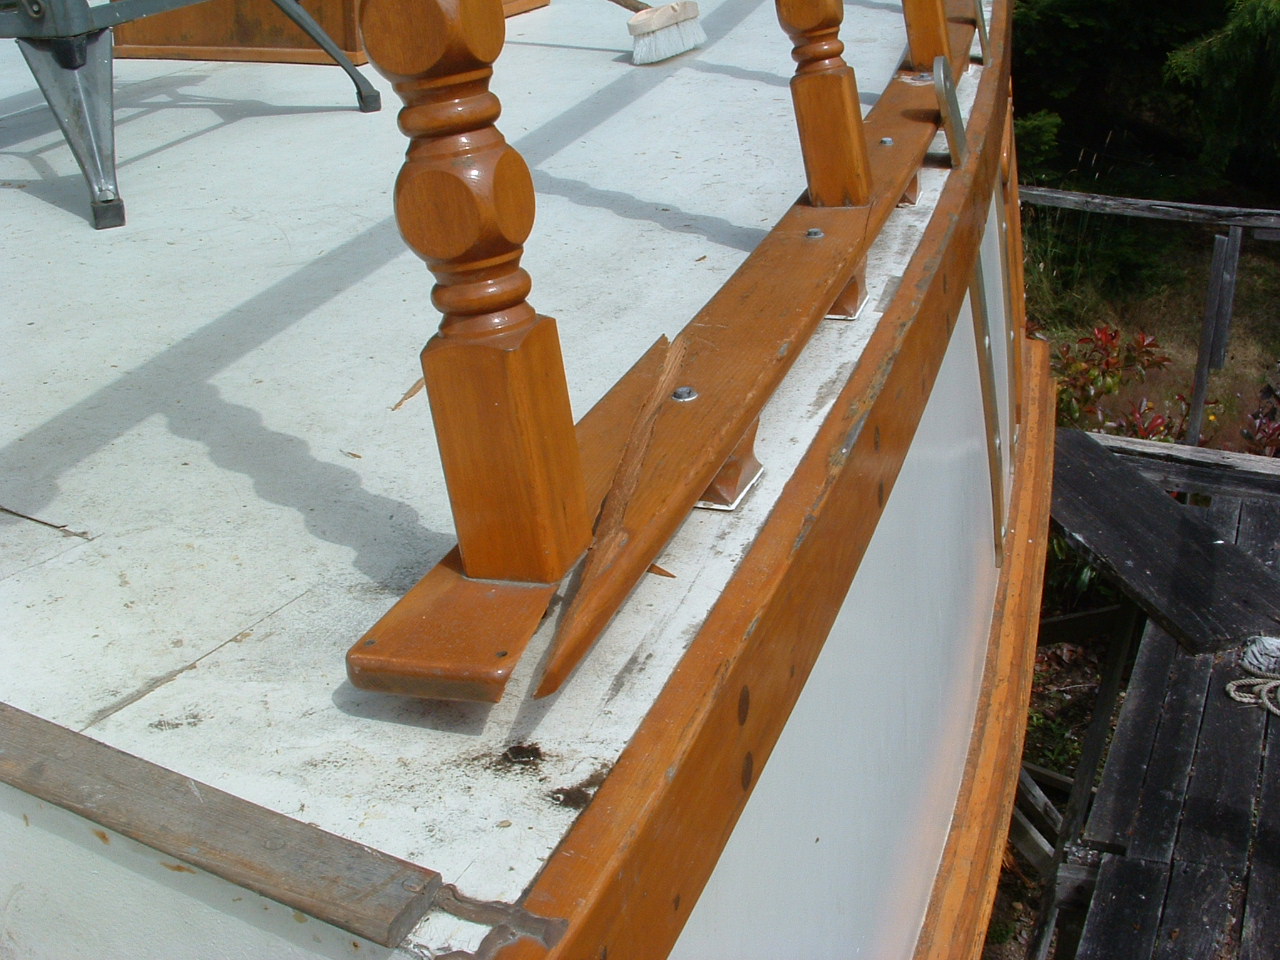
In the winter of 2009 they had a lot of snow here and the huge snow load took a real toll on the railings.
It started out with this, then it got worse and worse. Thank God I bought a Fein Multi-Master tool. That thing is amazing.
|
 |
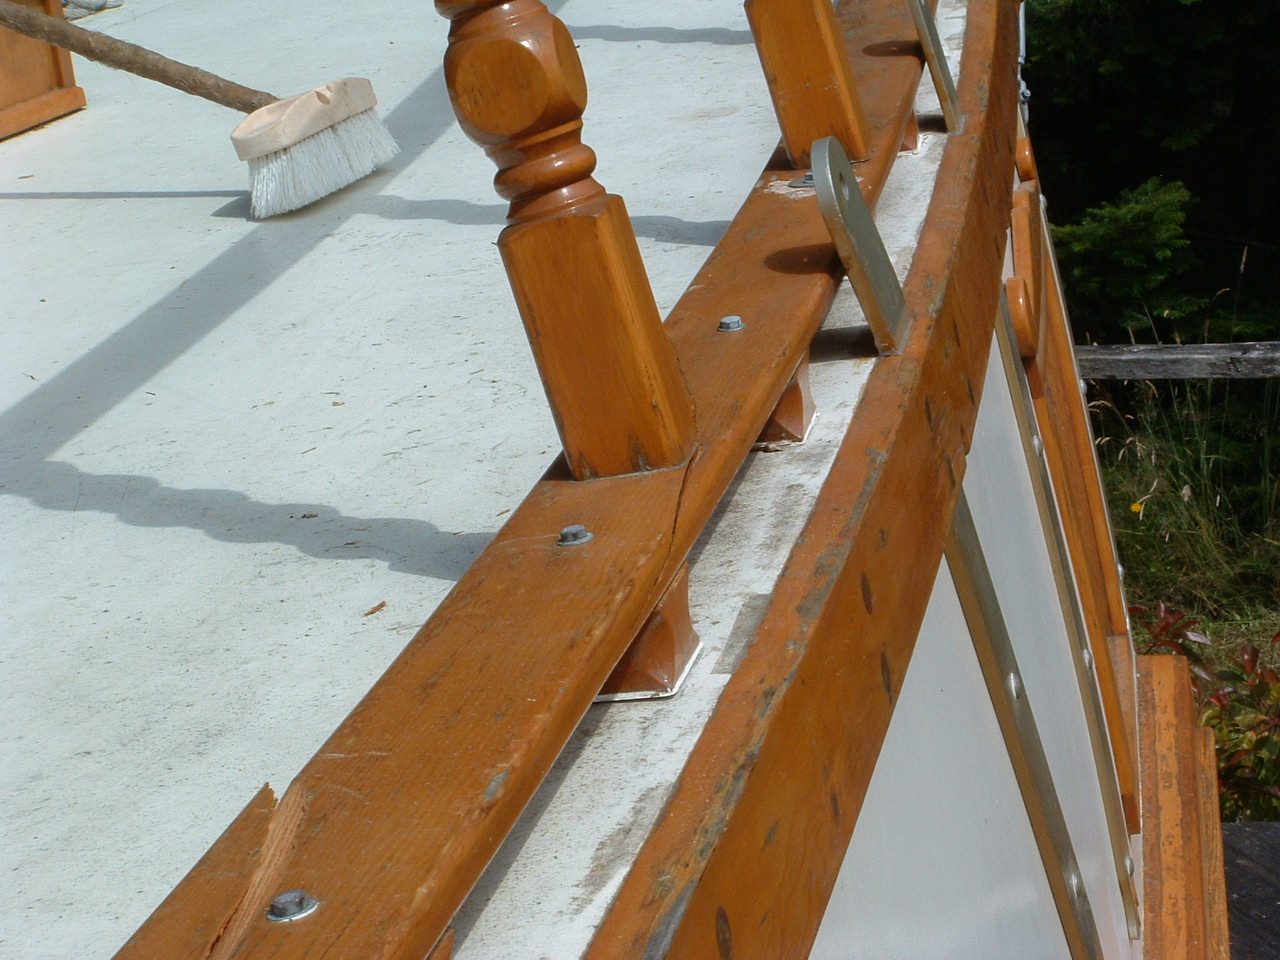 |
| Here is my beautiful rail snapped in half like a matchstick |
It also snapped a little farther aft under an upright. |
| |
|
 |
 |
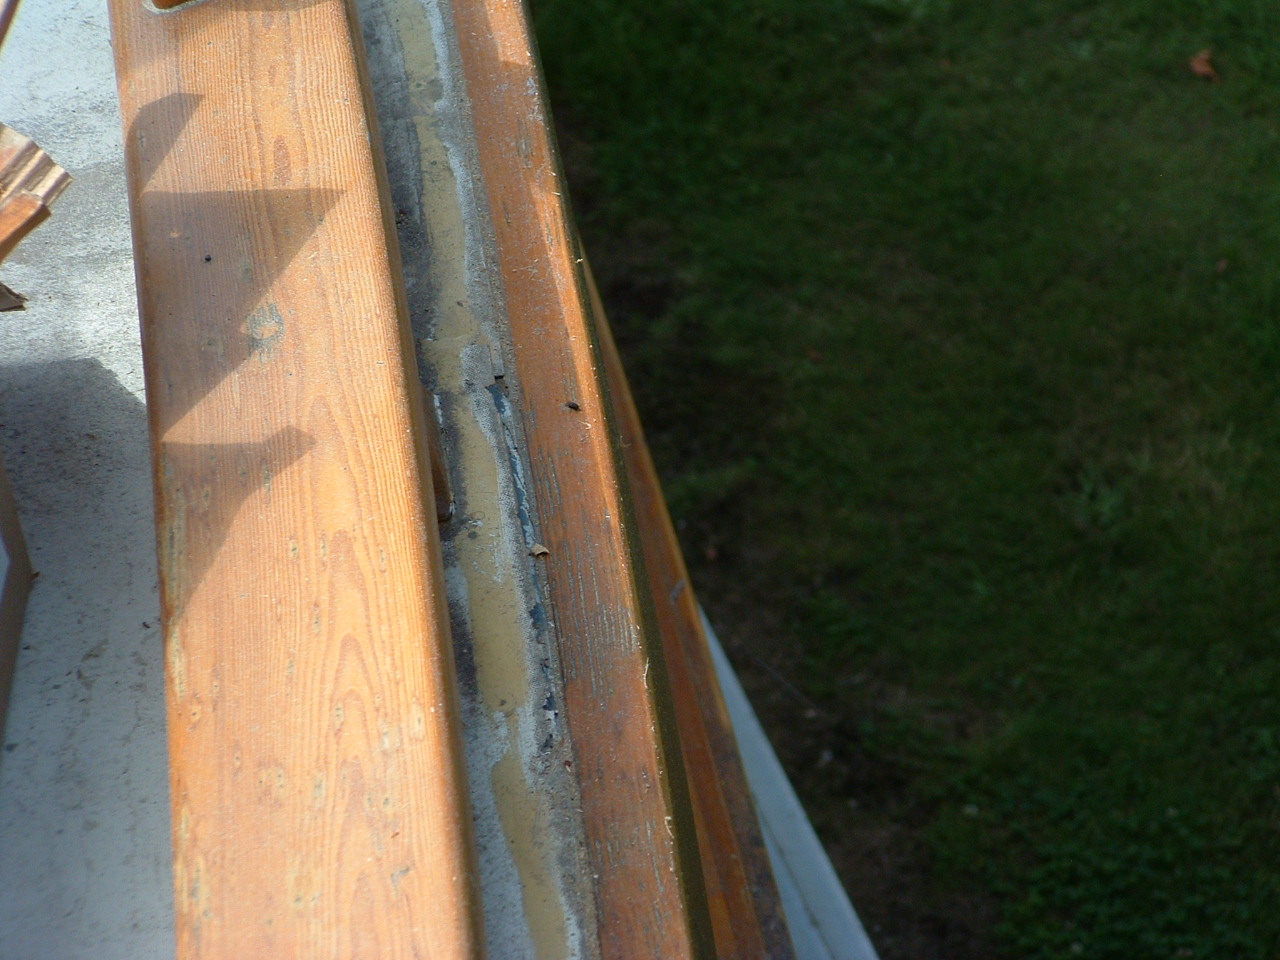
| If you click on the picture and expand it you can see the starboard rail pulled out of the deck. |
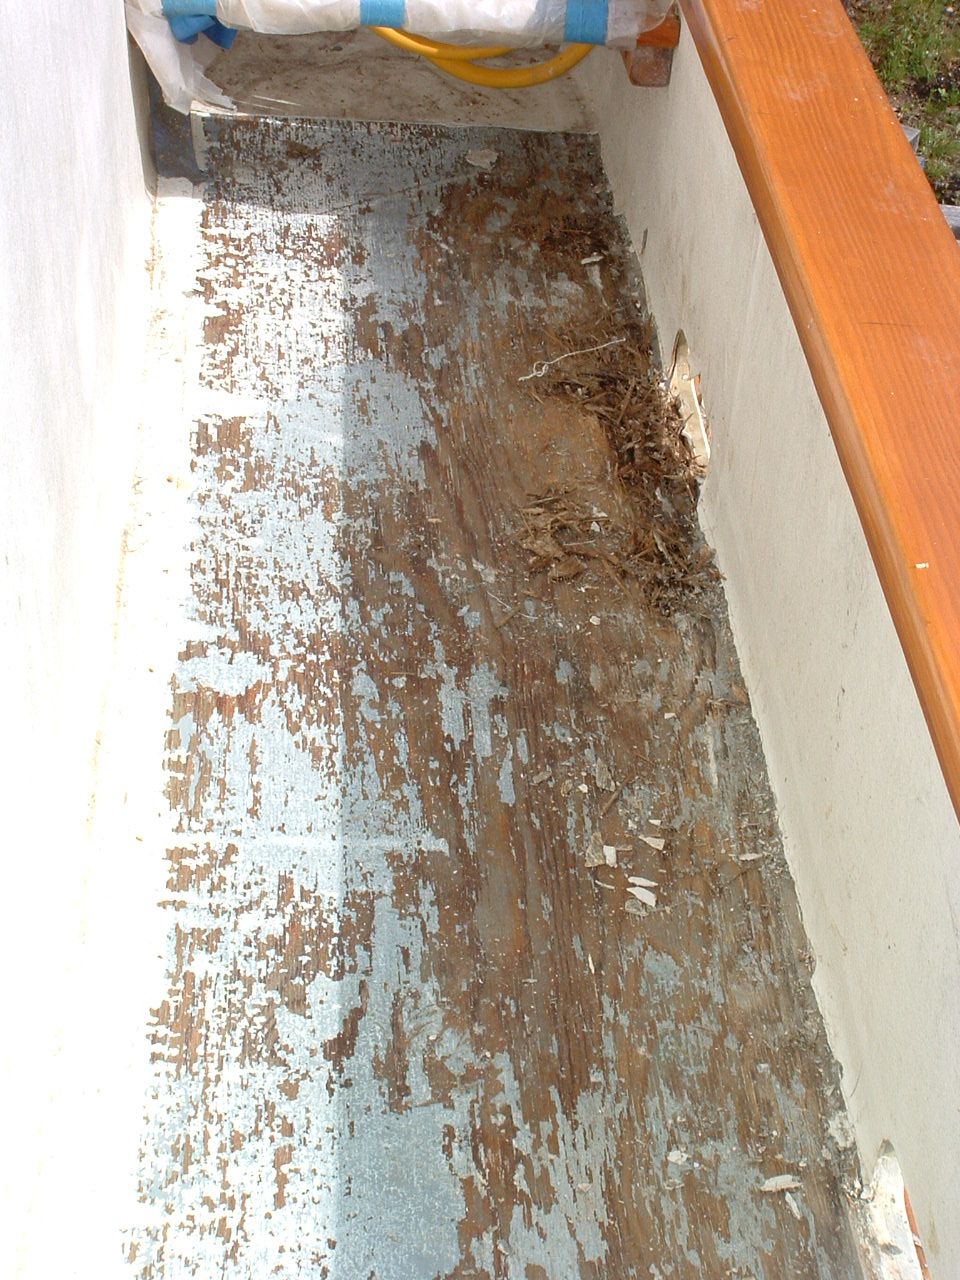
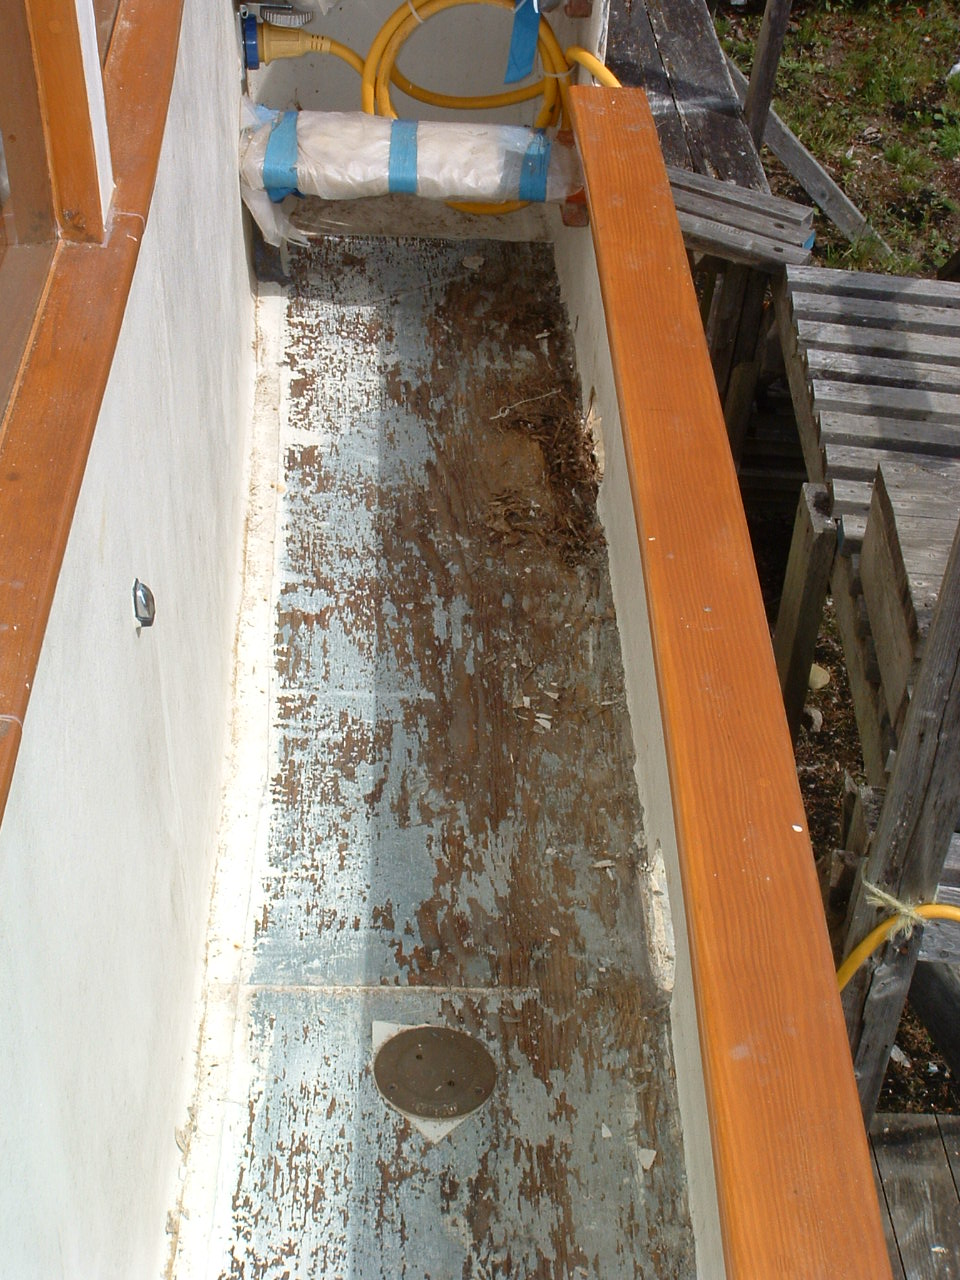
I did an inspection of the port side scuppers and found that water has been seeping in and rotting the deck. I removed all the canvas in this section to dry it all out. |
| |
|
 |
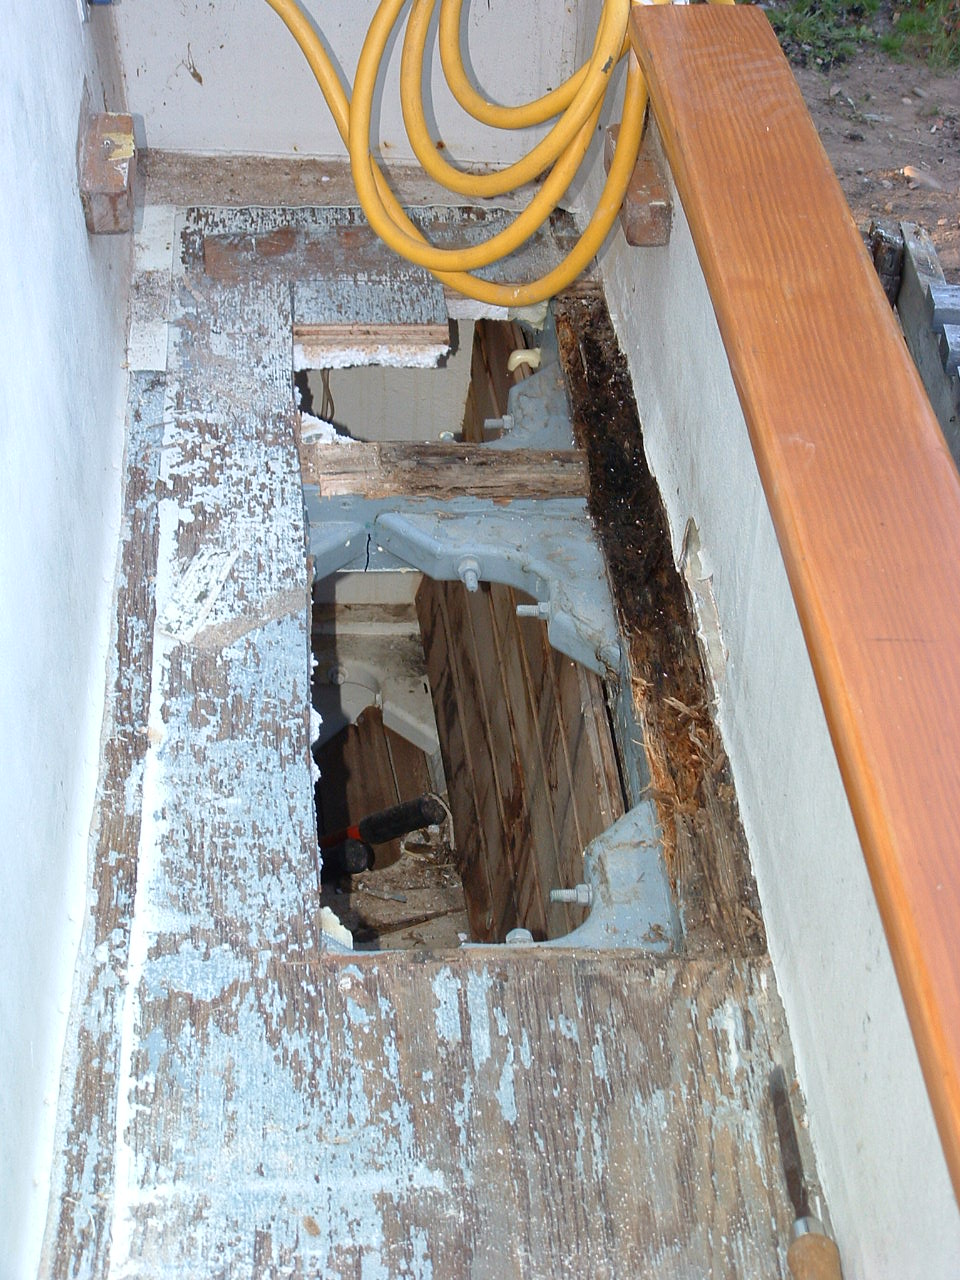 |
| Here is another shot of how far forward it went. This is an easy repair because it has not gotten very far yet. I will need to cut the bad deck out and replace it with fresh plywood and treat the existing wood. I will also improve the way I put the canvas around the scupper. |
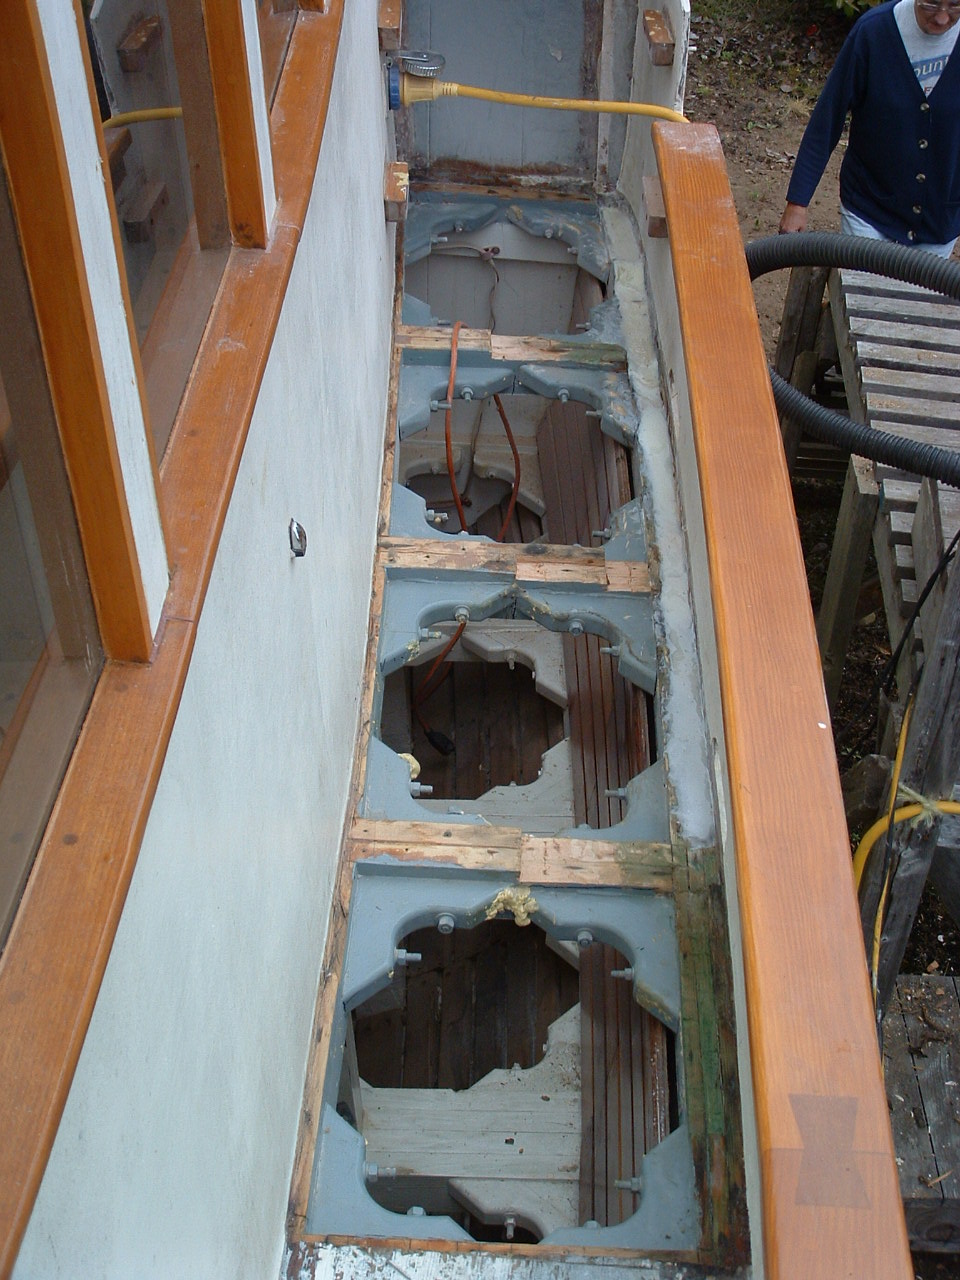
Here I am beginning to inspect for more damage. It seems like the deck shelf is also rotten. I think I'll remove the deck from the seam forward back to the rear bulkhead. Then I am assured of getting all the rotten wood out of there. |
| |
|
 |
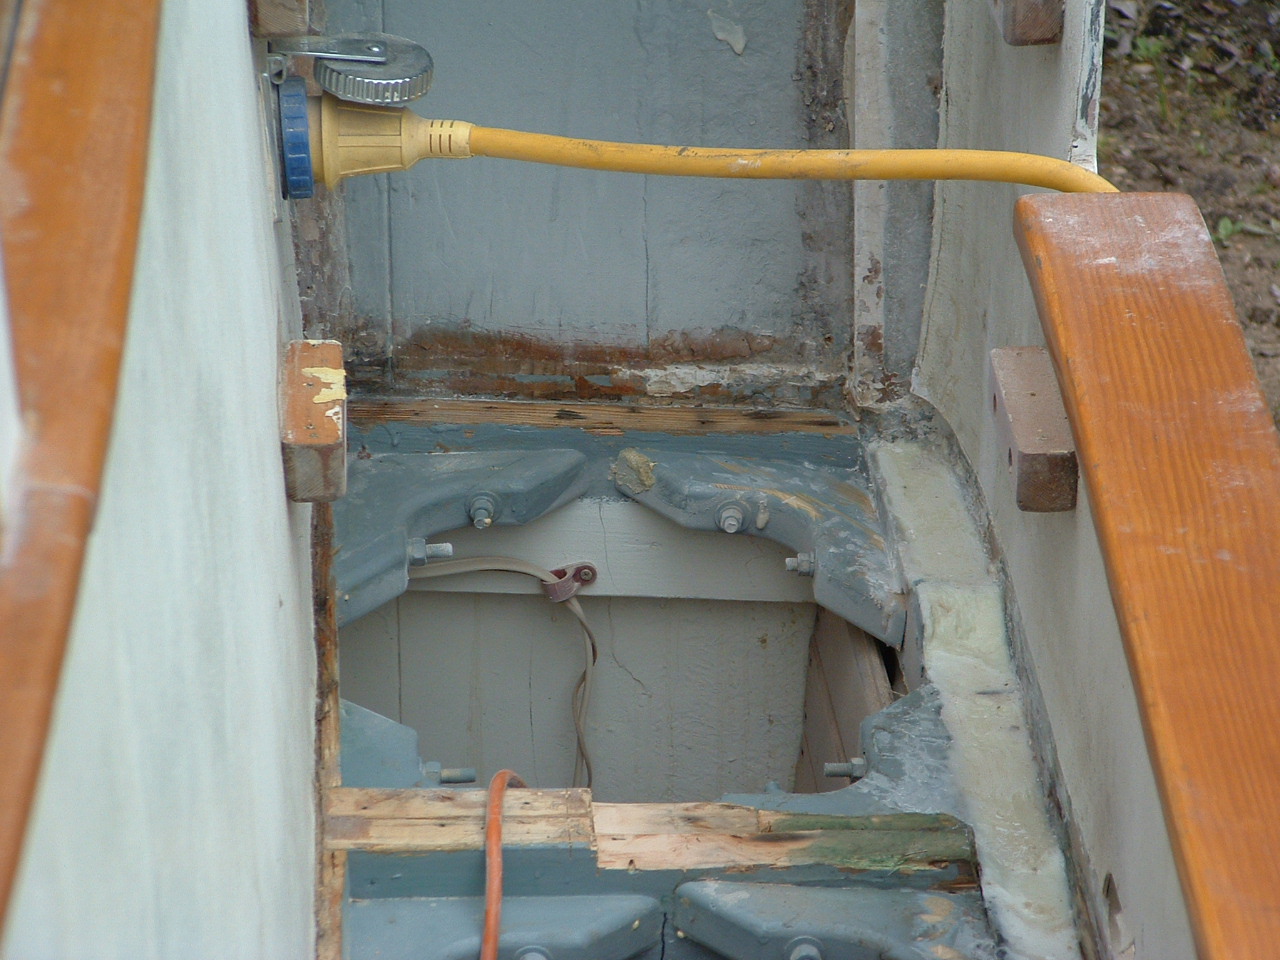 |
This is how much I had to take out. Not as bad as the other side, the deck shelf was only bad the first top inch or so. Towards the aft I was taking the wood out in smelly hand fulls. Lucky this area was all fiberglass underneath so it didn't get into the rest of the ship.
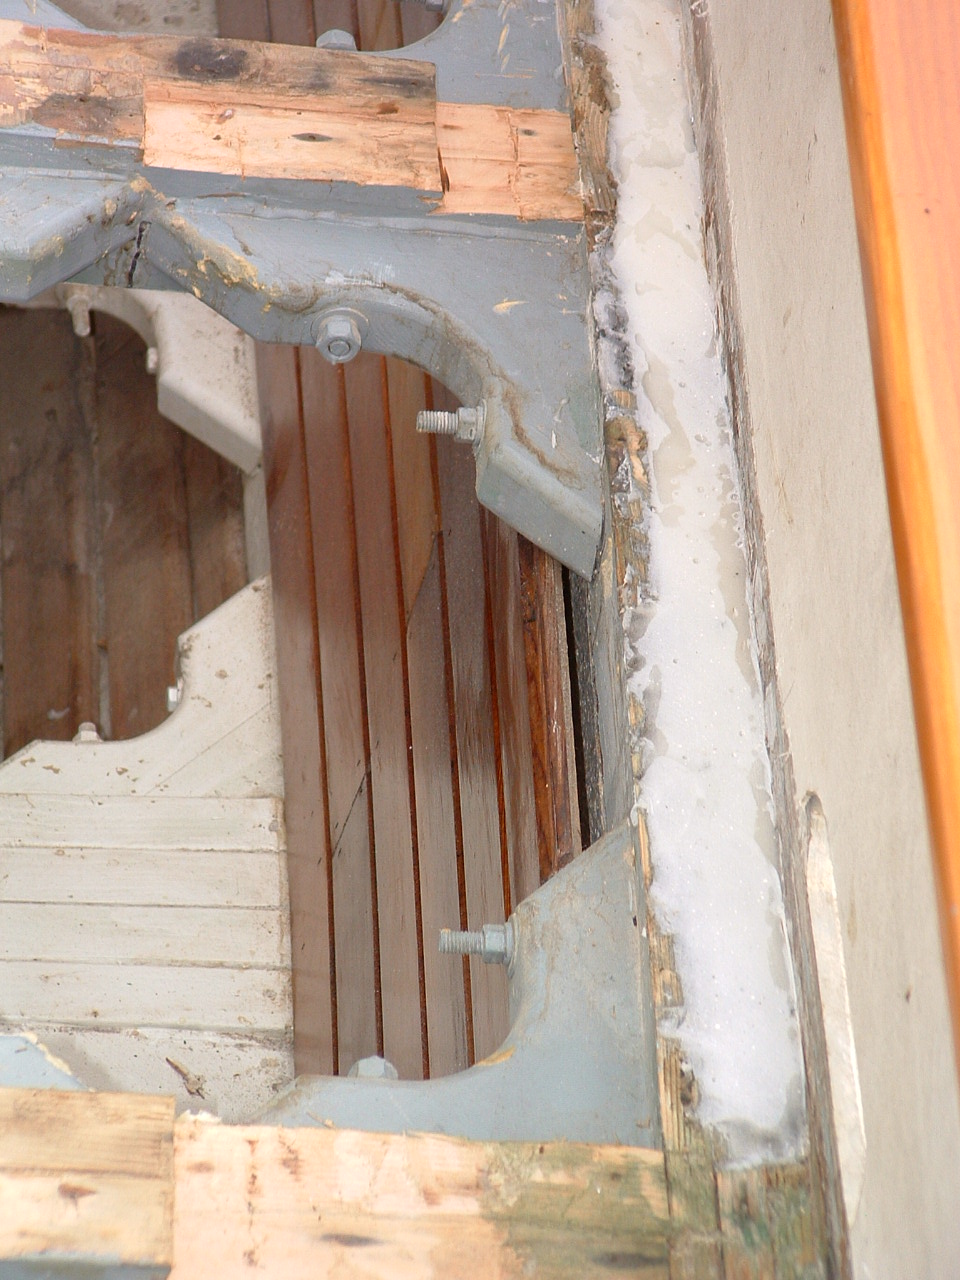
As you can see I have started my first repair by filling it in with West System Epoxy. |
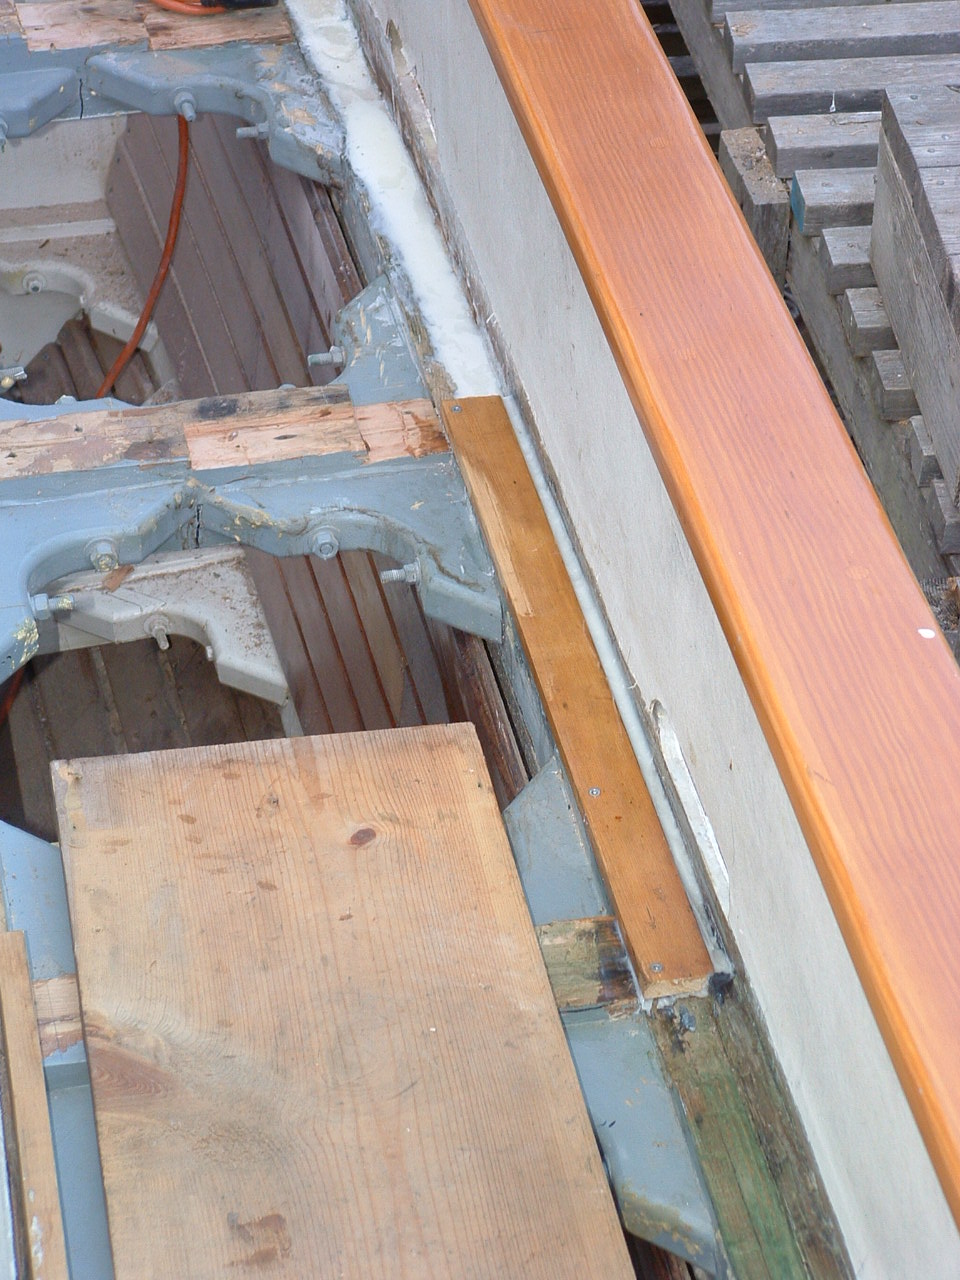
Here is a close up so you can see I am filling in the aft section to the top of the fiberglass casing it was in. |
| |
|
 |
 |
| The cedar ceilings down below were all water stained. I sanded out the whole works and Gnettie crawled in there and cetol'd it. What a girl !! |
I need a wood shelf for the deck to screw too, so here is the first new wood glued into a bed of epoxy.
I will also need to flesh out the wood on the cross pieces.
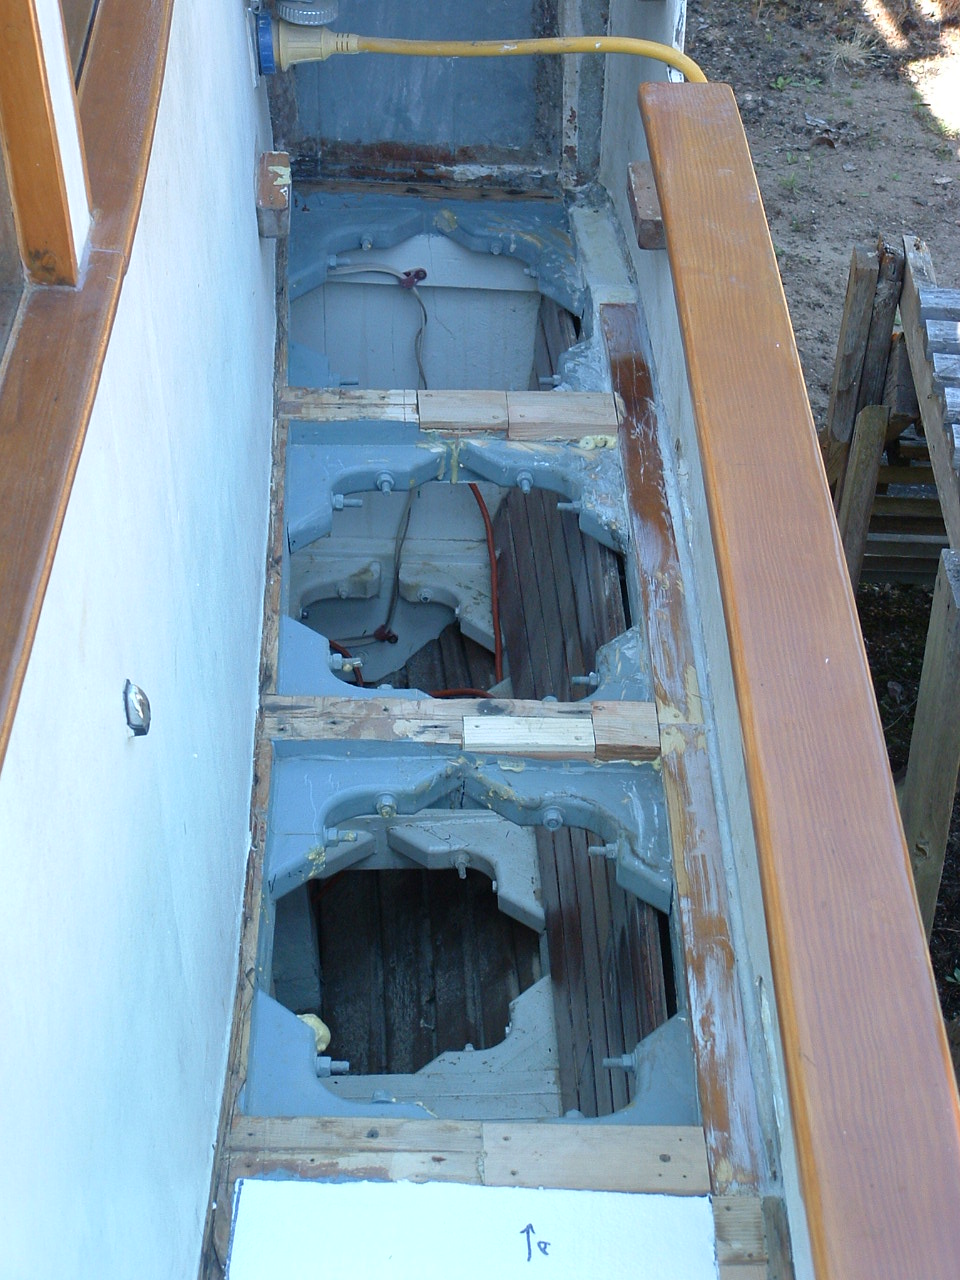
The big piece of wood is for me to stand on so I won't fall through into the bilges. But my tools, pencils and what have you, do all the time. |
| |
|
 |
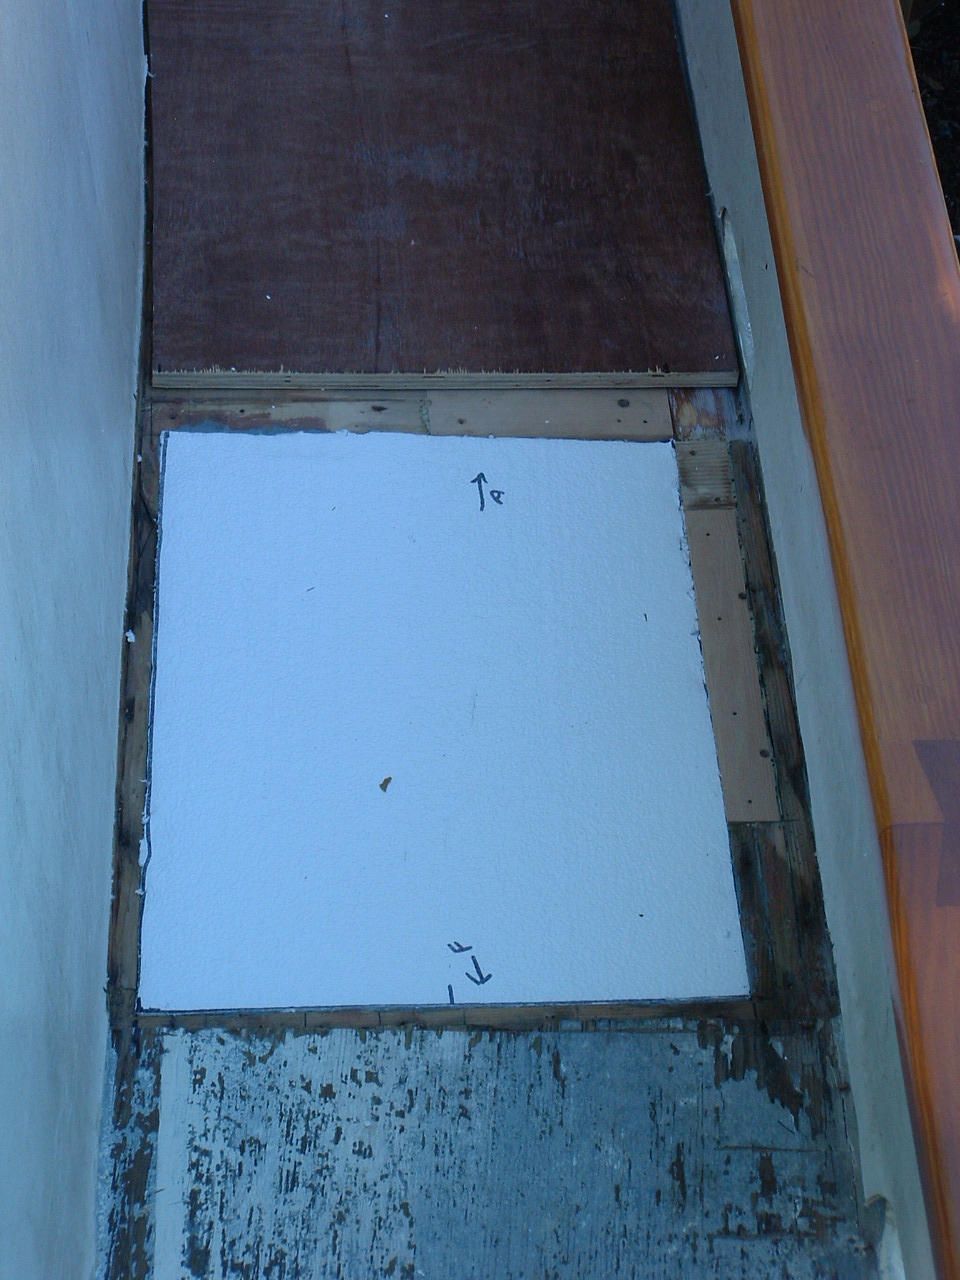 |
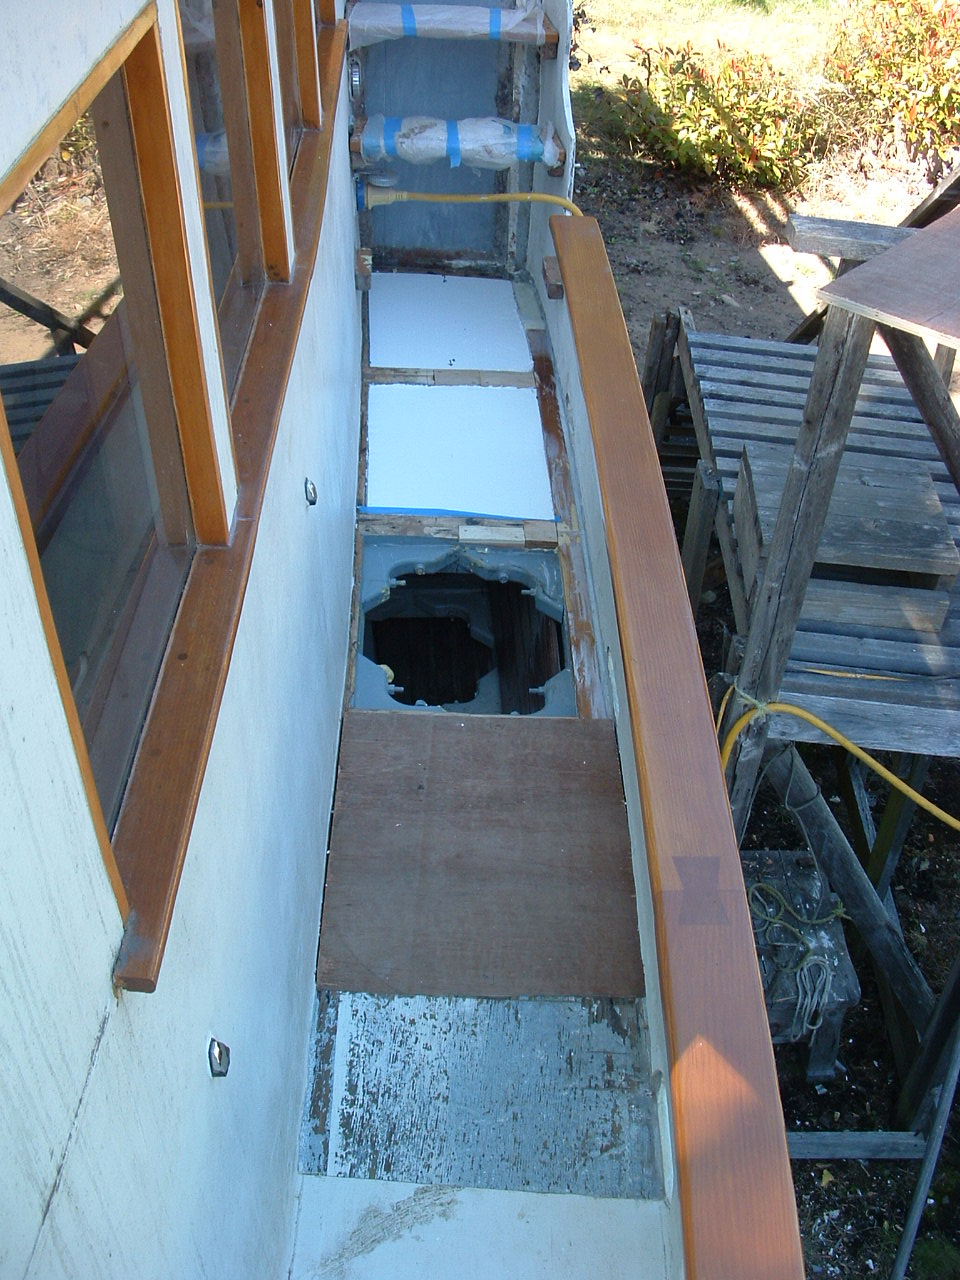
| Here are the repair patches all installed. In the foreground you can see the first piece of Styrofoam installed. |
Forward Styrofoam installed. I just wedged them in and then the deck goes over top and squeezes it in. |
| |
|
 |
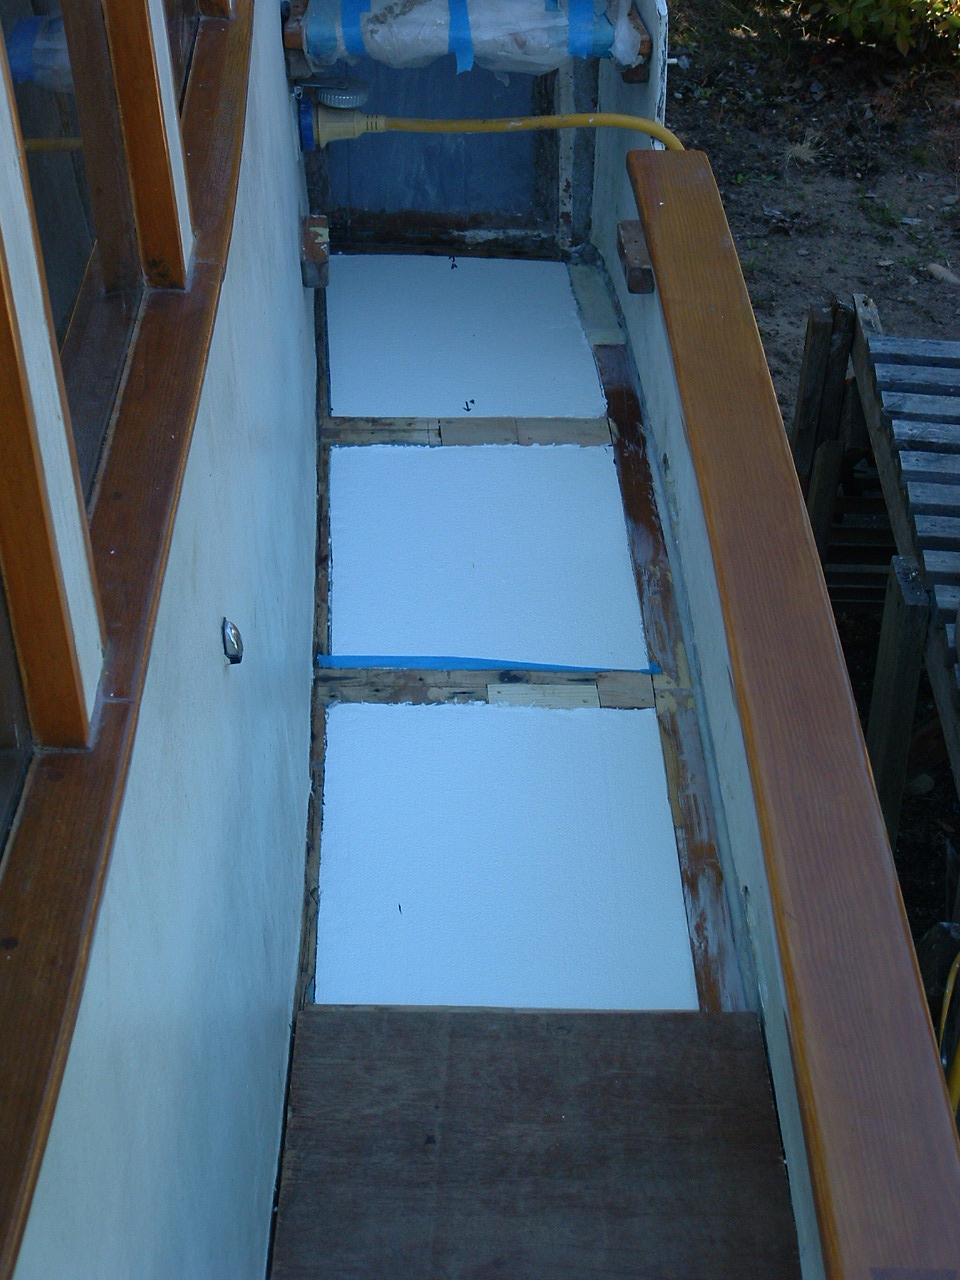 |
| More Styrofoam and forward deck piece fitted. |
Last piece of insulation in place. |
| |
|
 |
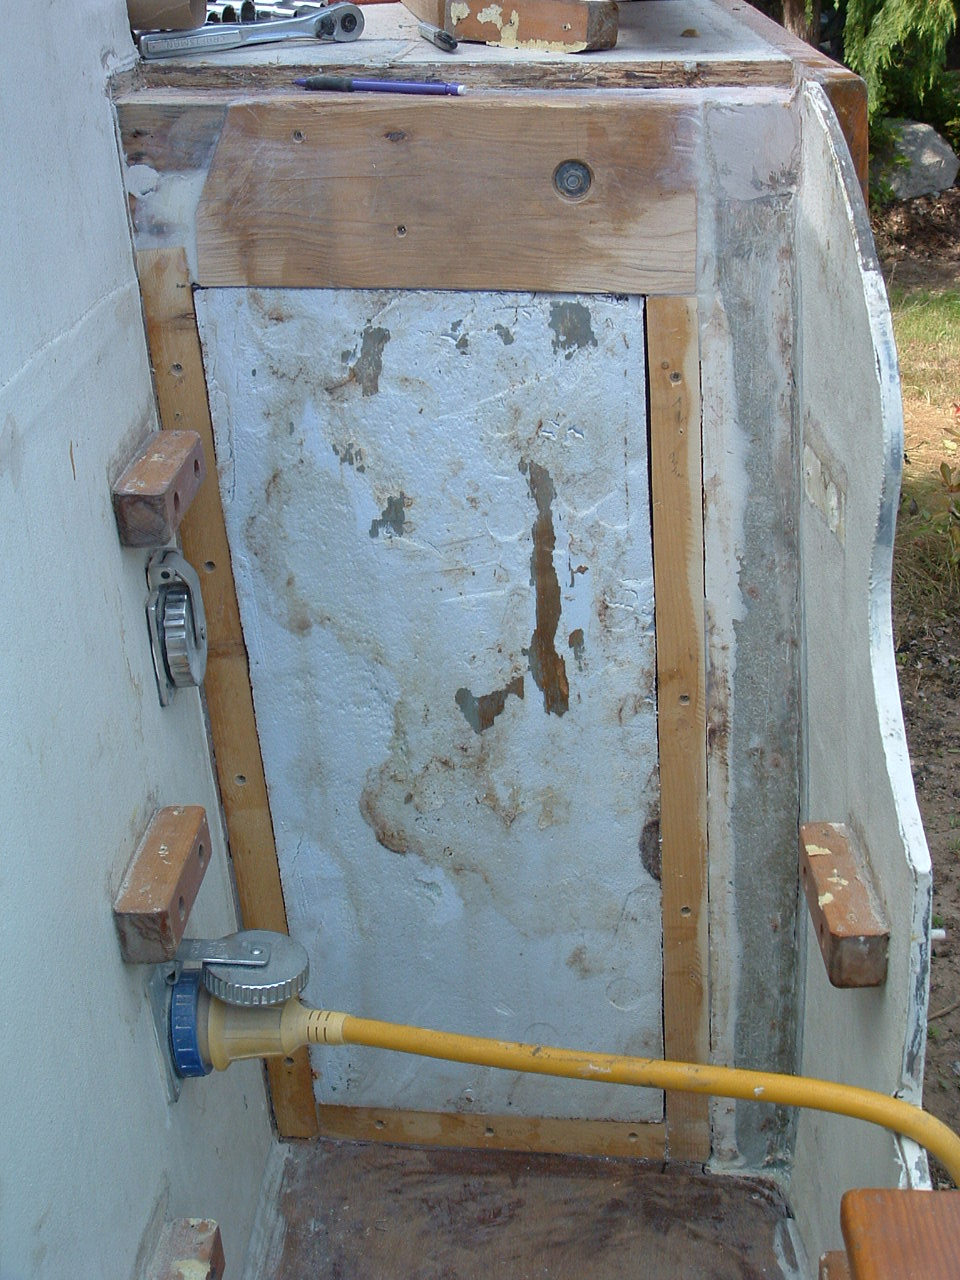 |
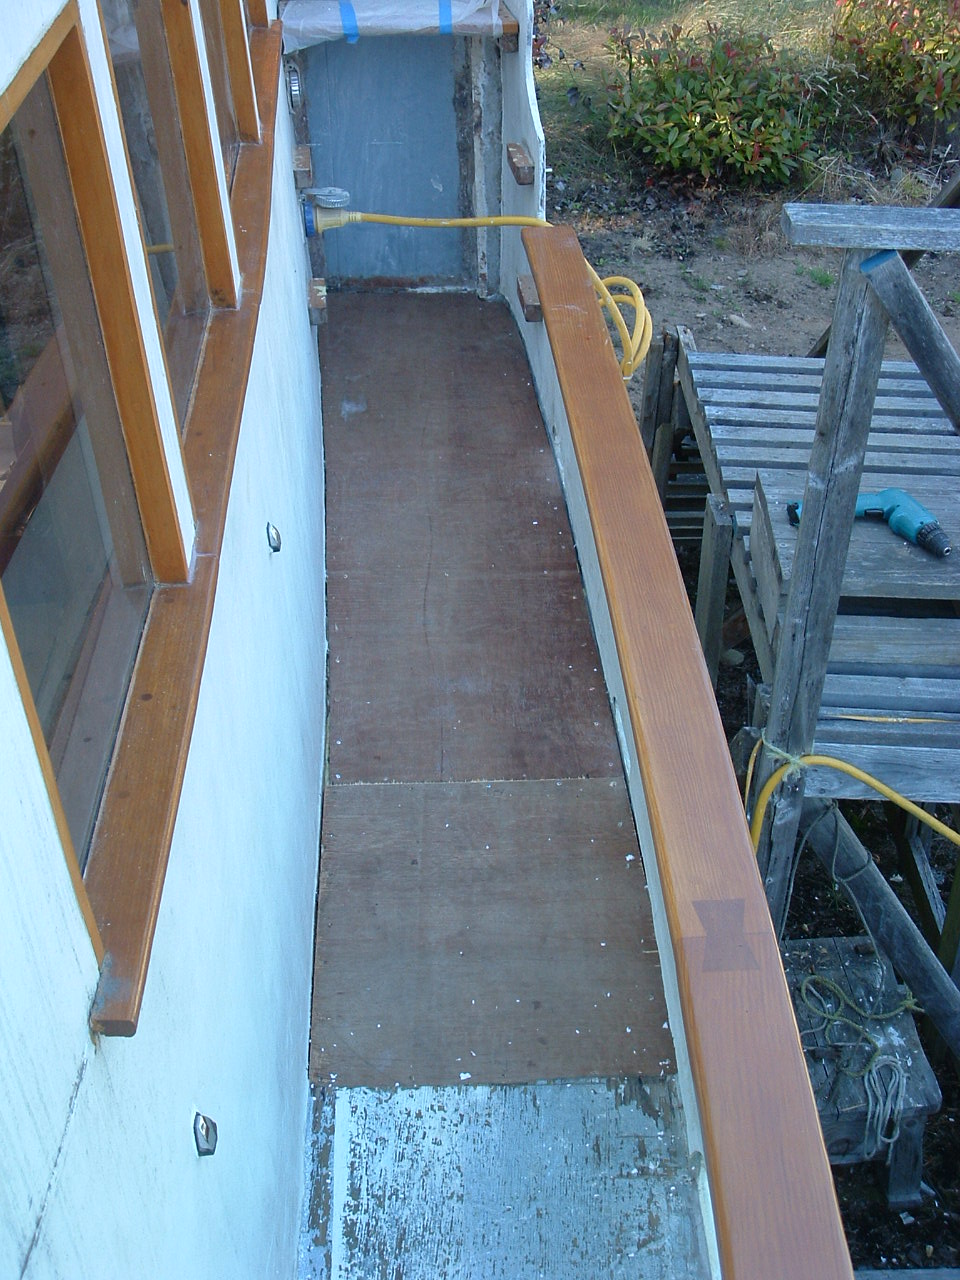
| Deck fitted and screwed in. Now to put the Gorilla into action. |
New frame installed and the insulation back in place. |
| |
|
 |
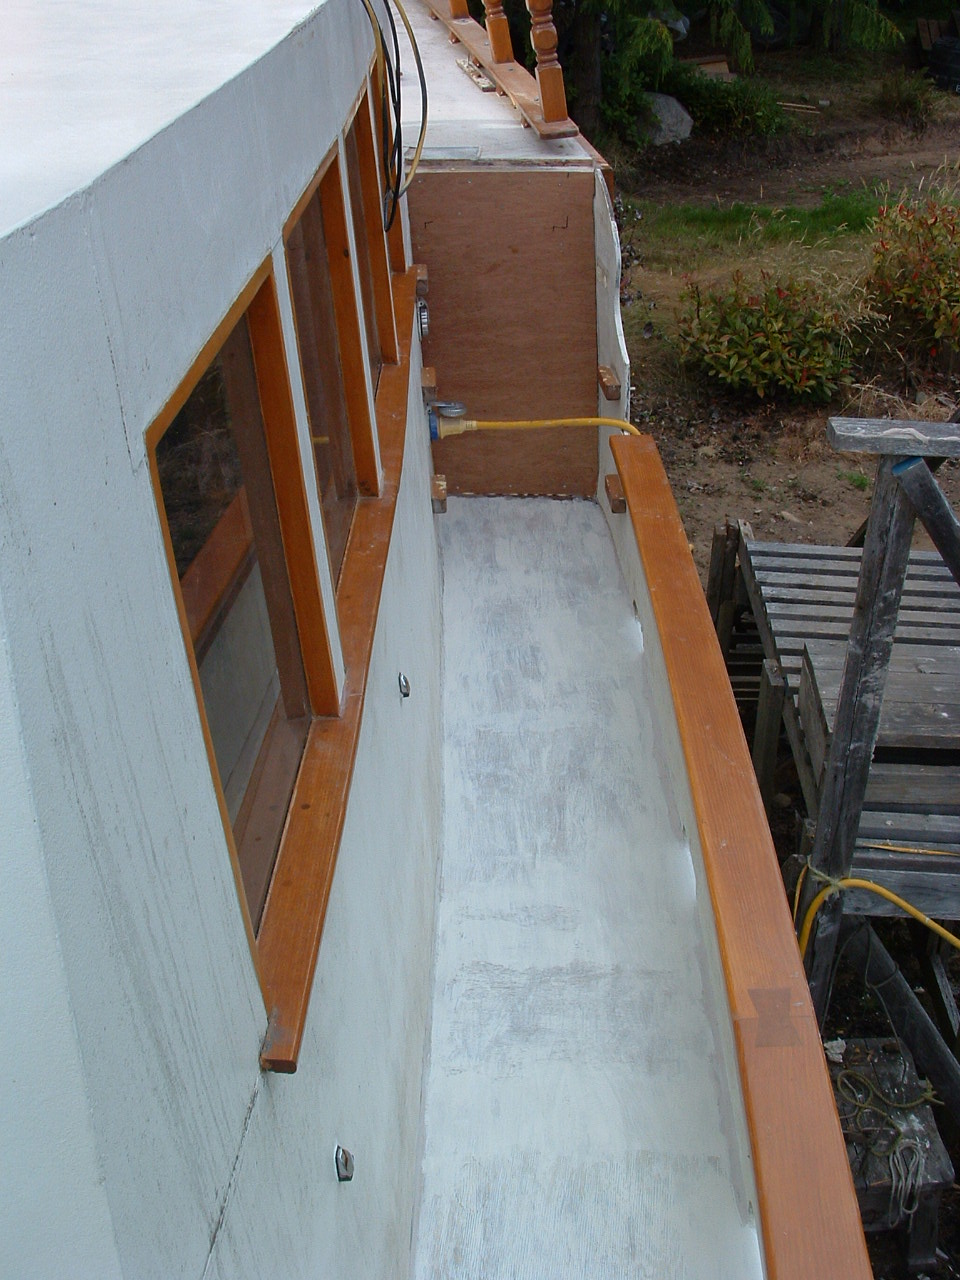 |
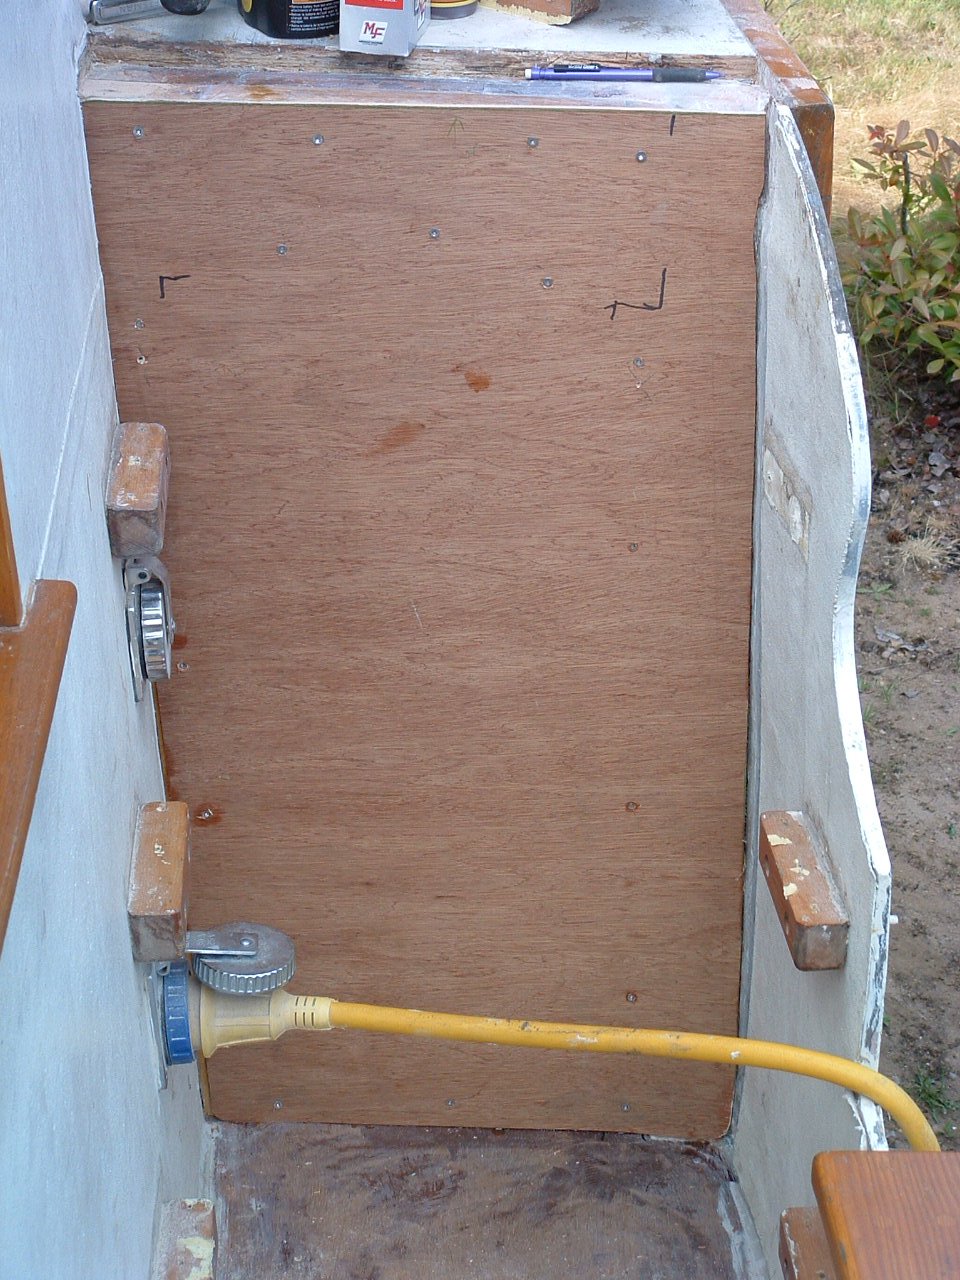
| New cover in place. More work for the Gorilla. |
First coat of paint on the deck. I wanted it to let it soak in before I installed new canvas. |
| |
|