| Now to build the cover to keep the Captain and the first mate dry and warm.
|
 |
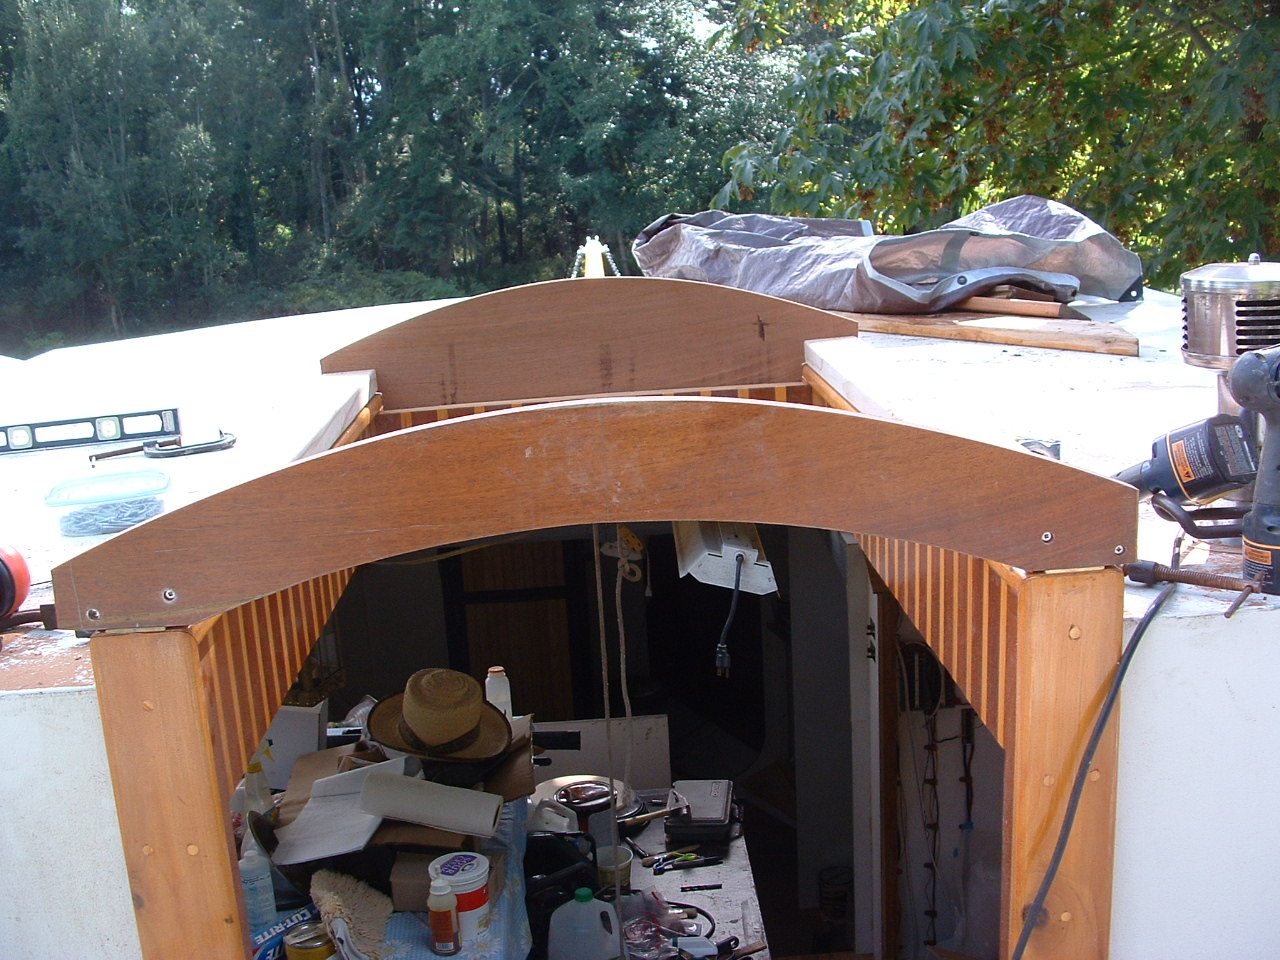 |
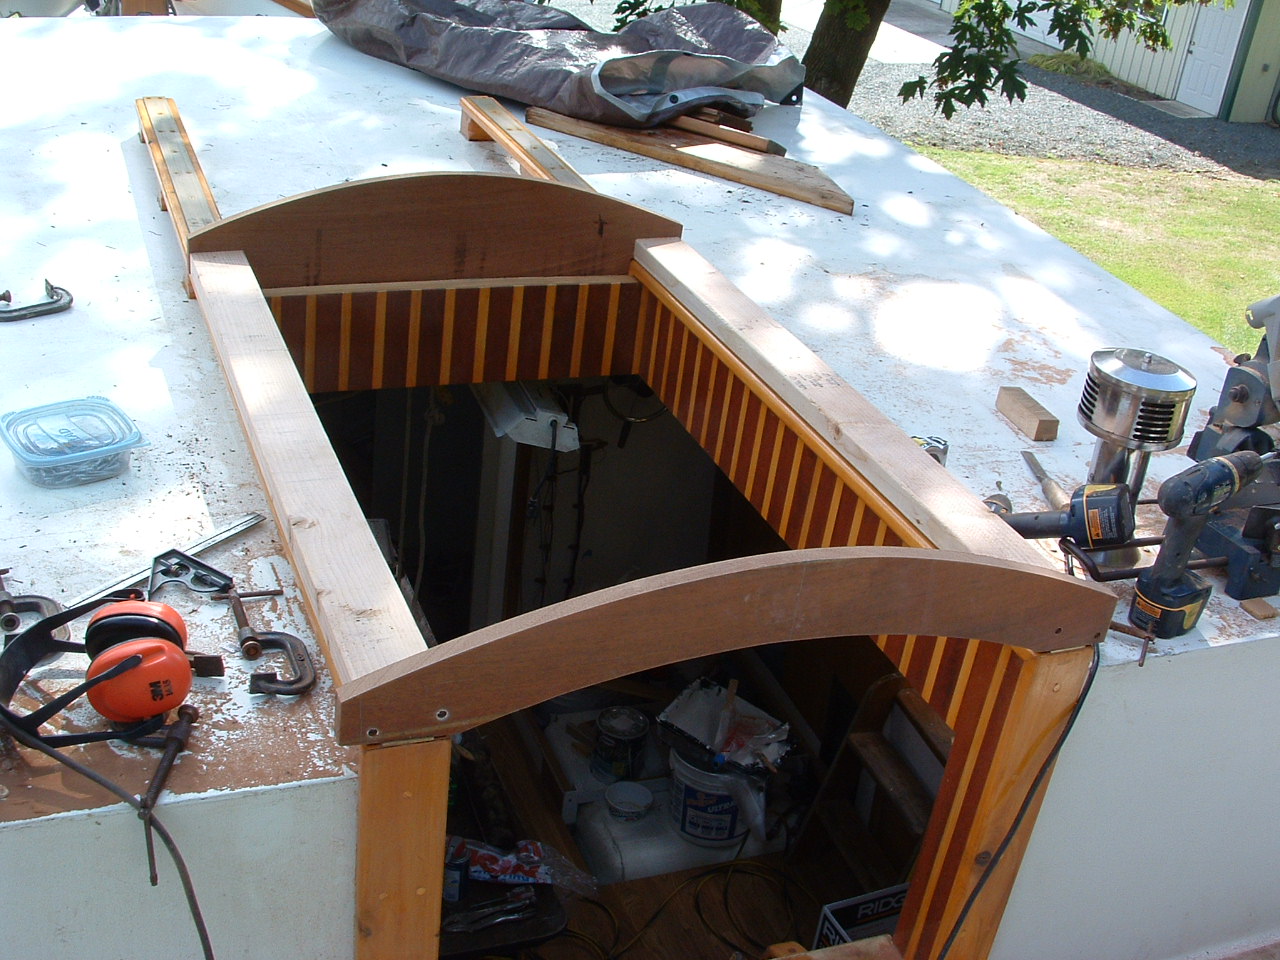
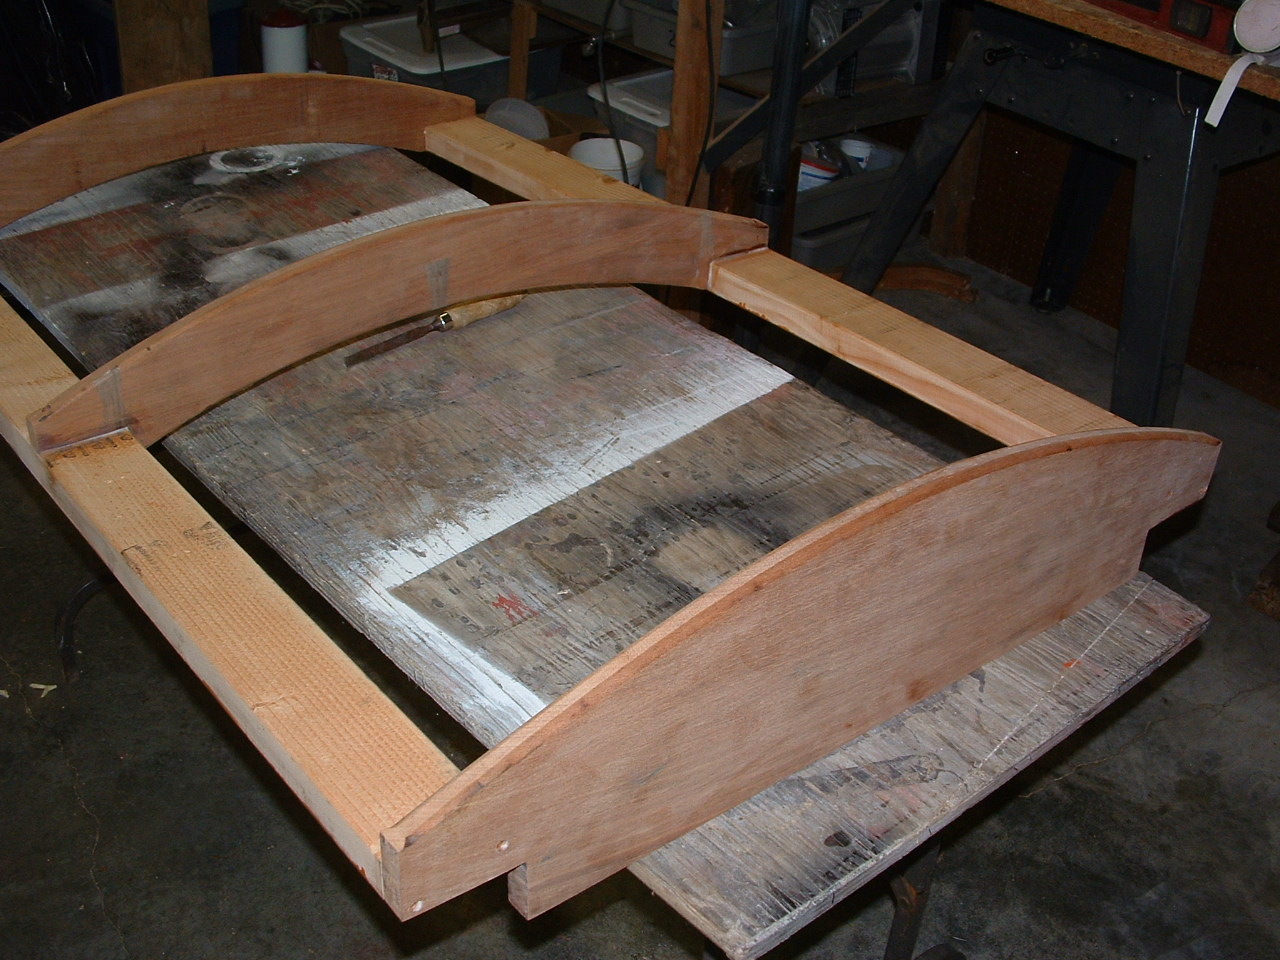
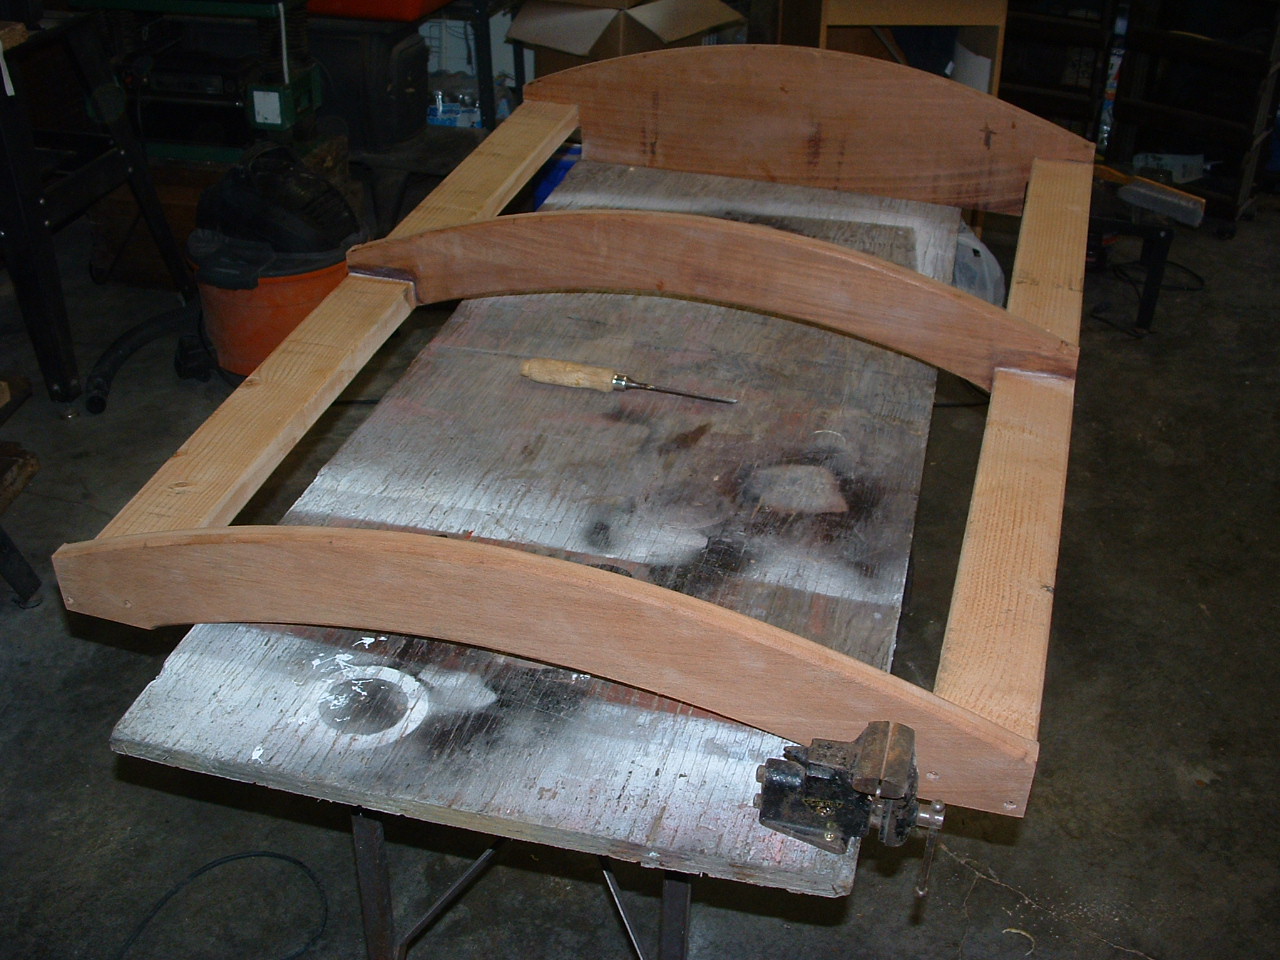
| I took apart and old Mahogany coffee table and cut out the front and the back. The set it on 2 2x4's |
Front view. |
| |
|
 |
 |
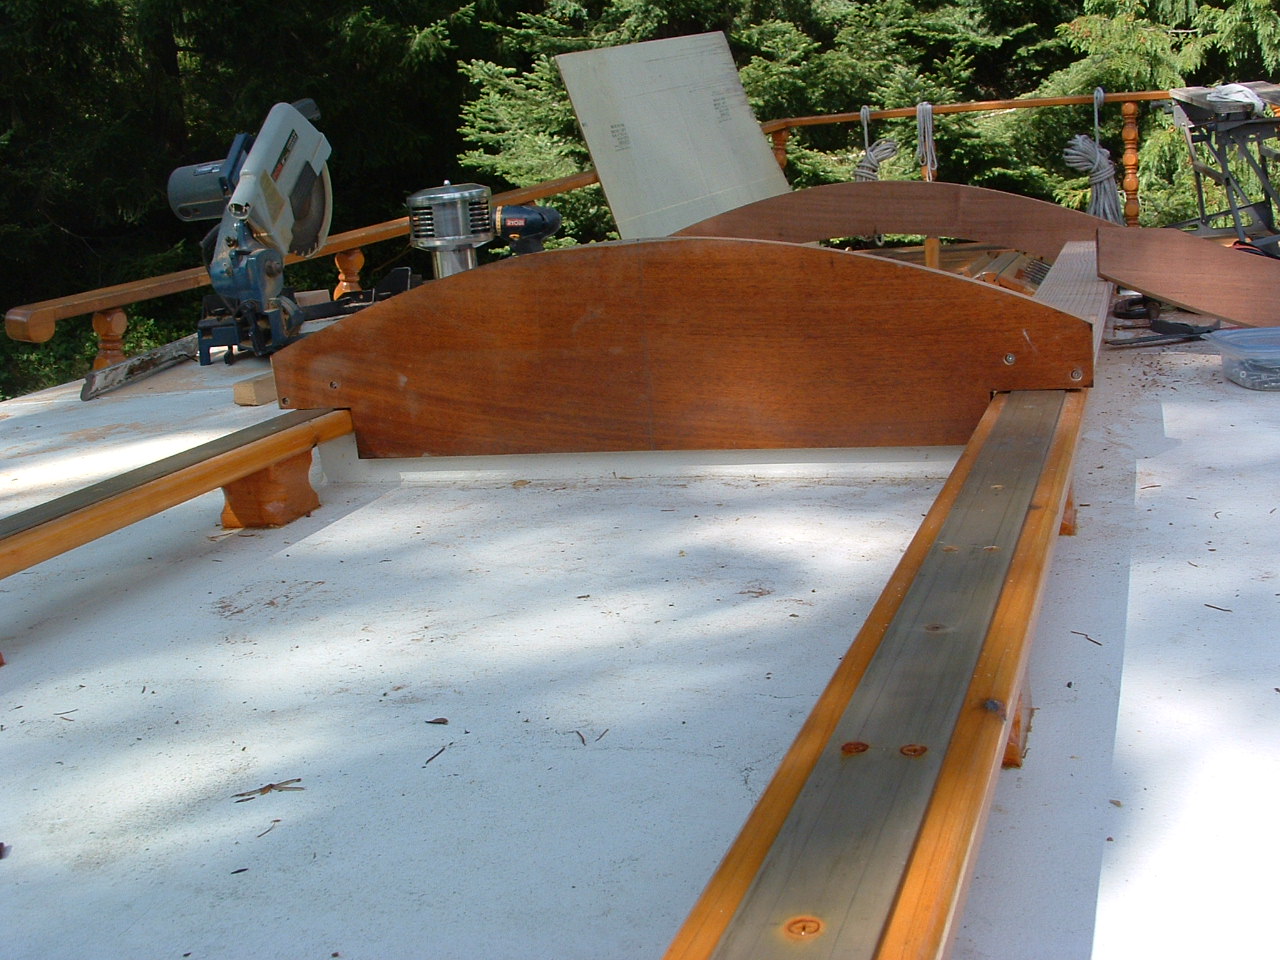
| Rear view sitting on the red brass rails. |
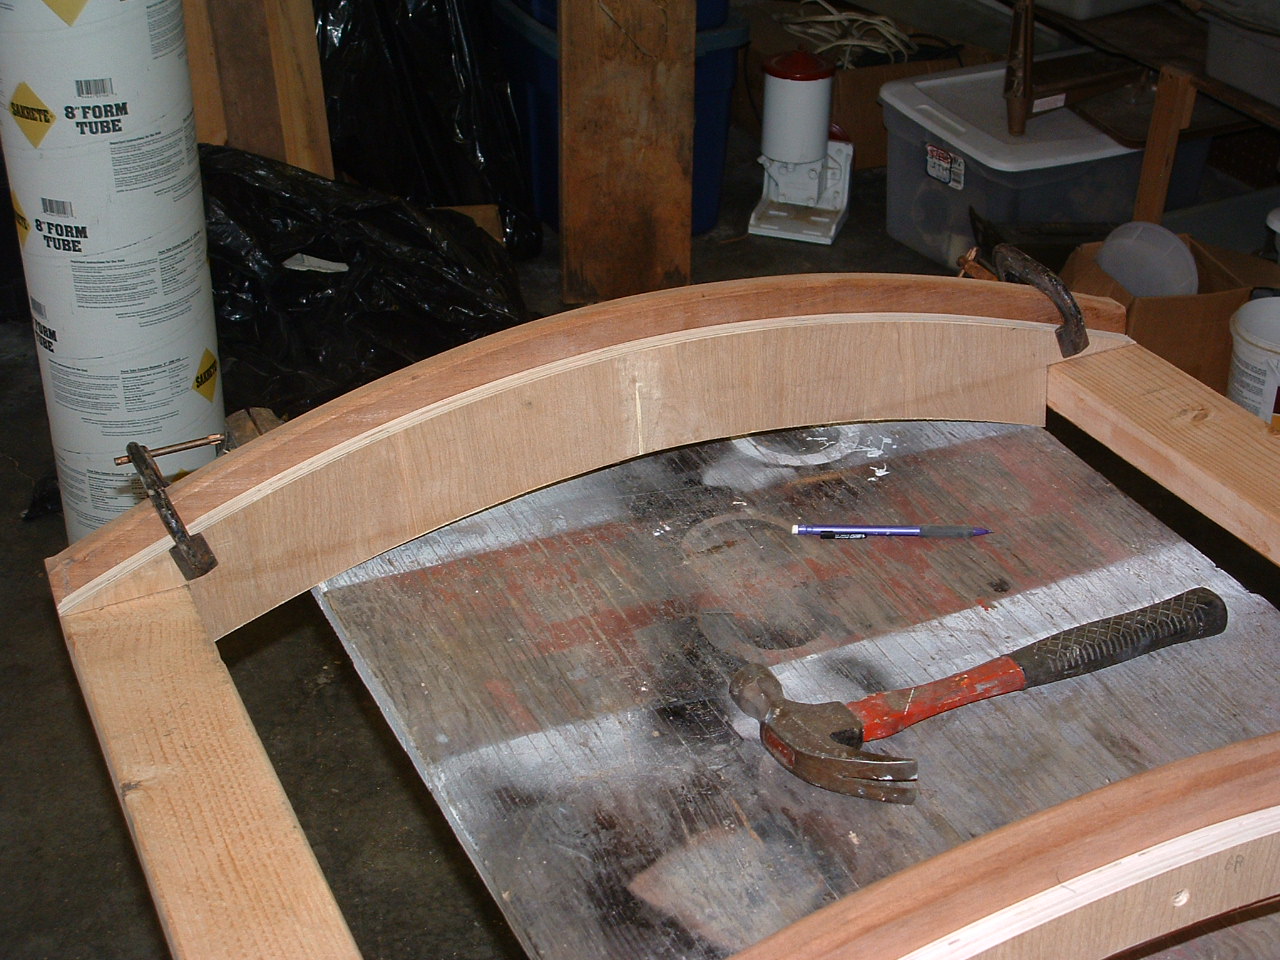
I am kind of designing this on the fly. I figured that 4 foot length needed a center support. So here it is cut and fitted. |
| |
|
 |
 |
| Another view. |
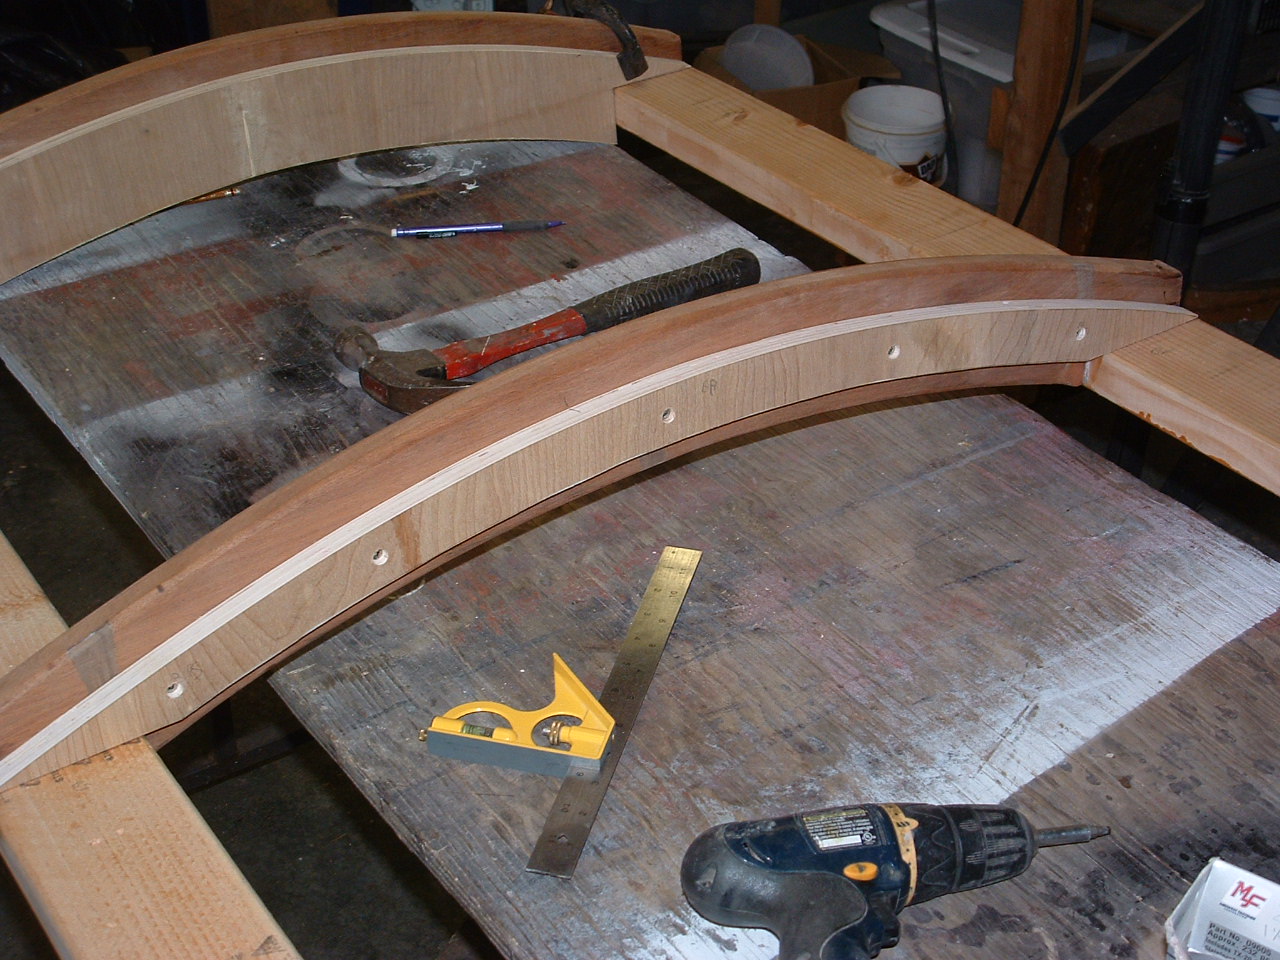
Now to insert the supports for the tops and bottoms. This one is extended to allow the companionway doors to set against. |
| |
|
 |
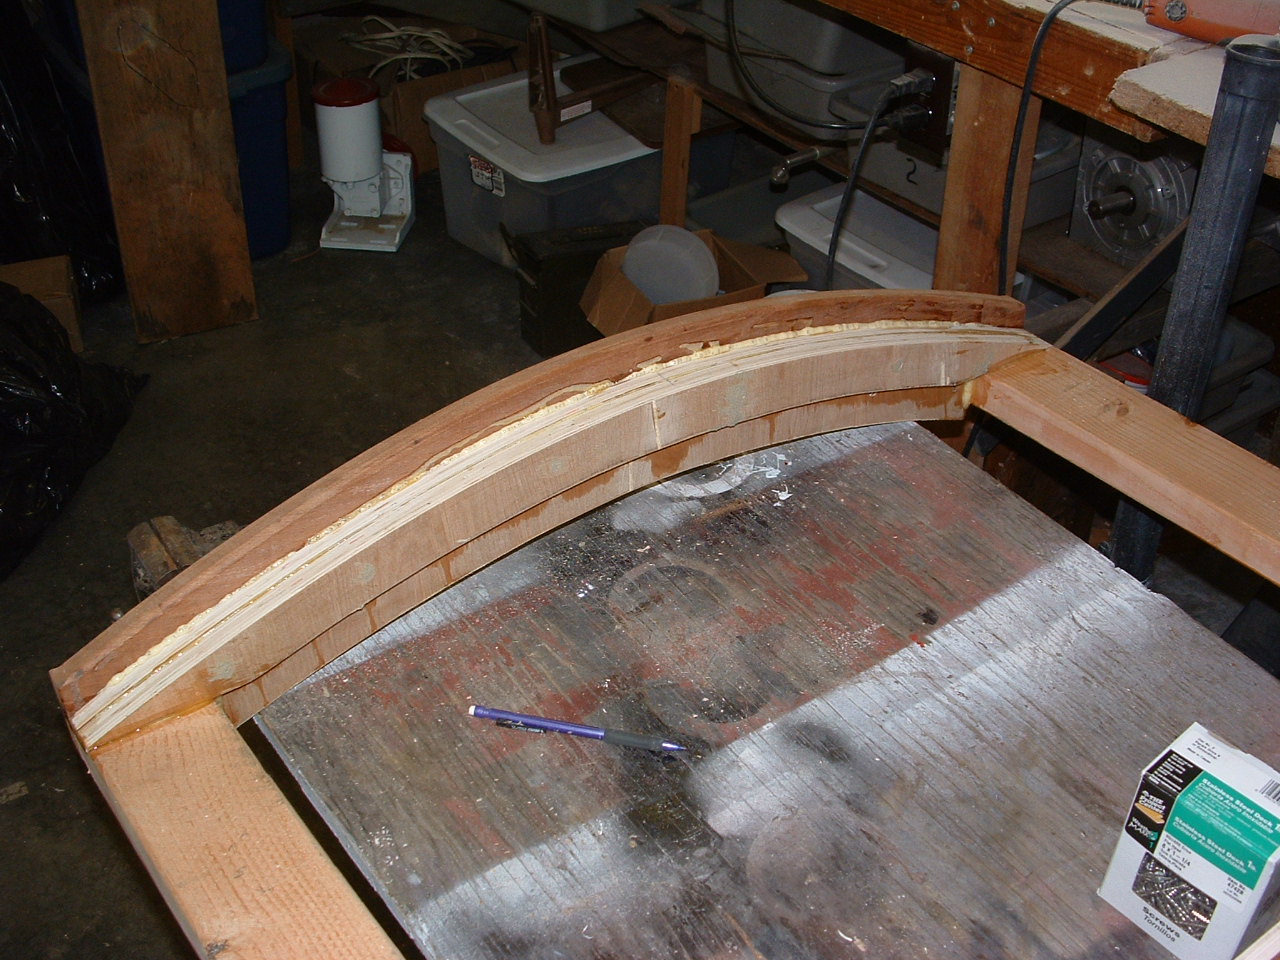 |
| Center supports in place. |
Whoops I needed to put in an extra rib for the underside to rest on. |
| |
|
 |
 |
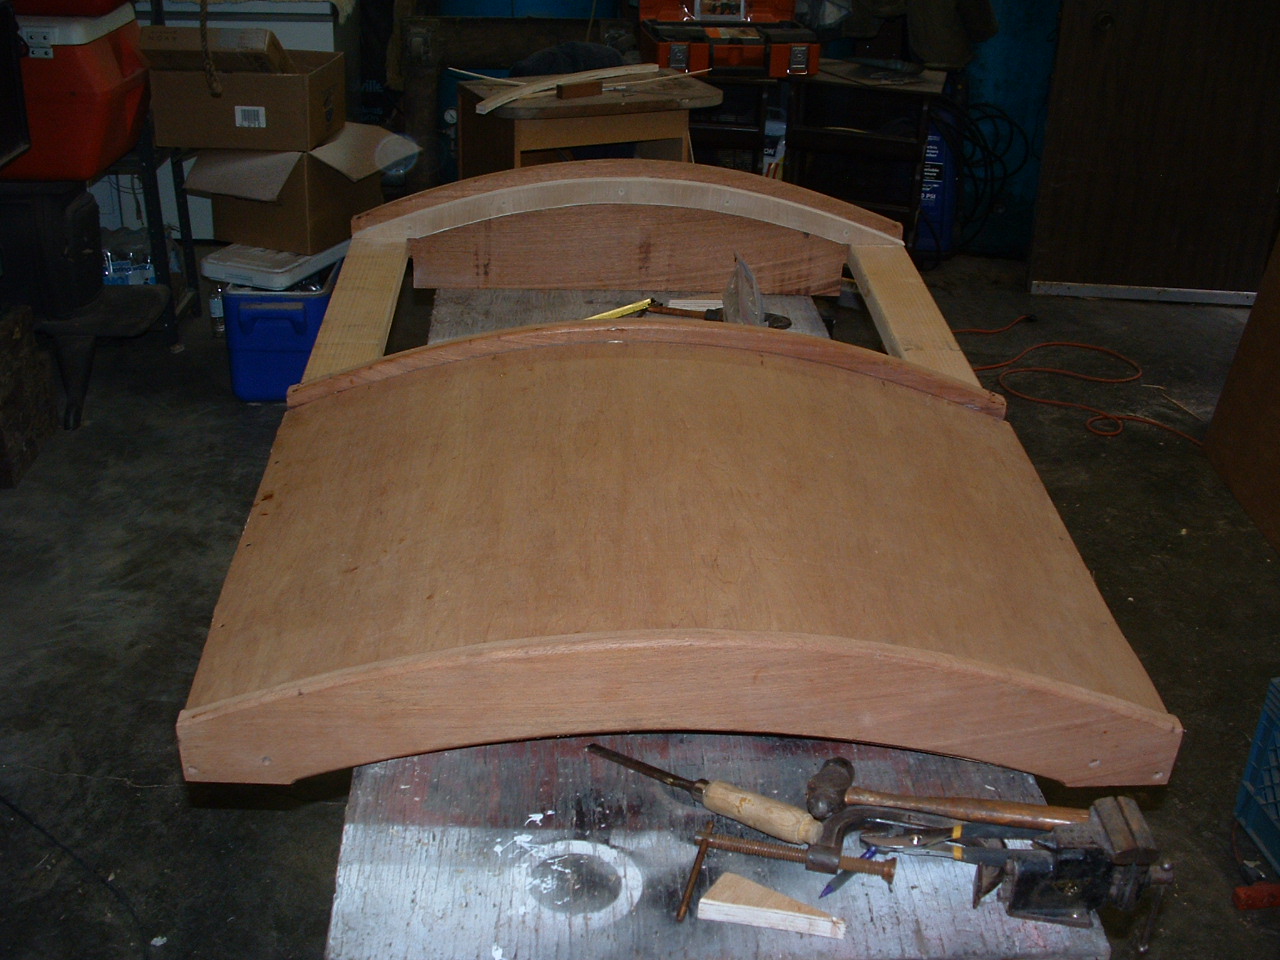
| First cover in place. I am using 1/4 luan and copper tacking it into place. The copper tacks are designed with barbs on the sides so they go in but will never pull out. So if you make a mistake you're screwed. |
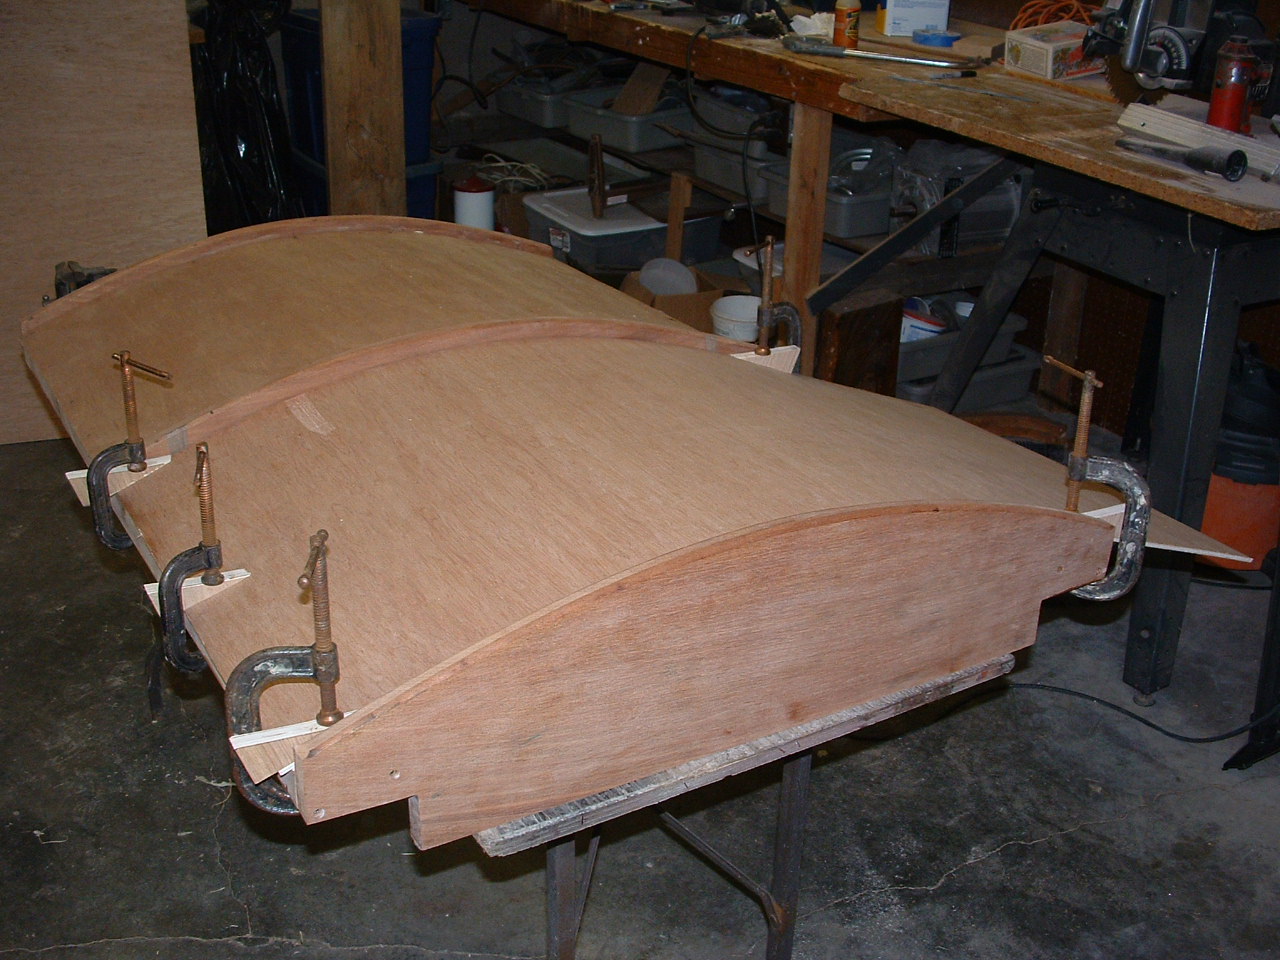
Second one going into place. Each side will get 2 more layers for a total of 3/4" on the curve. It needs to be strong so a person can walk on it while working on deck. |
| |
|
 |
 |
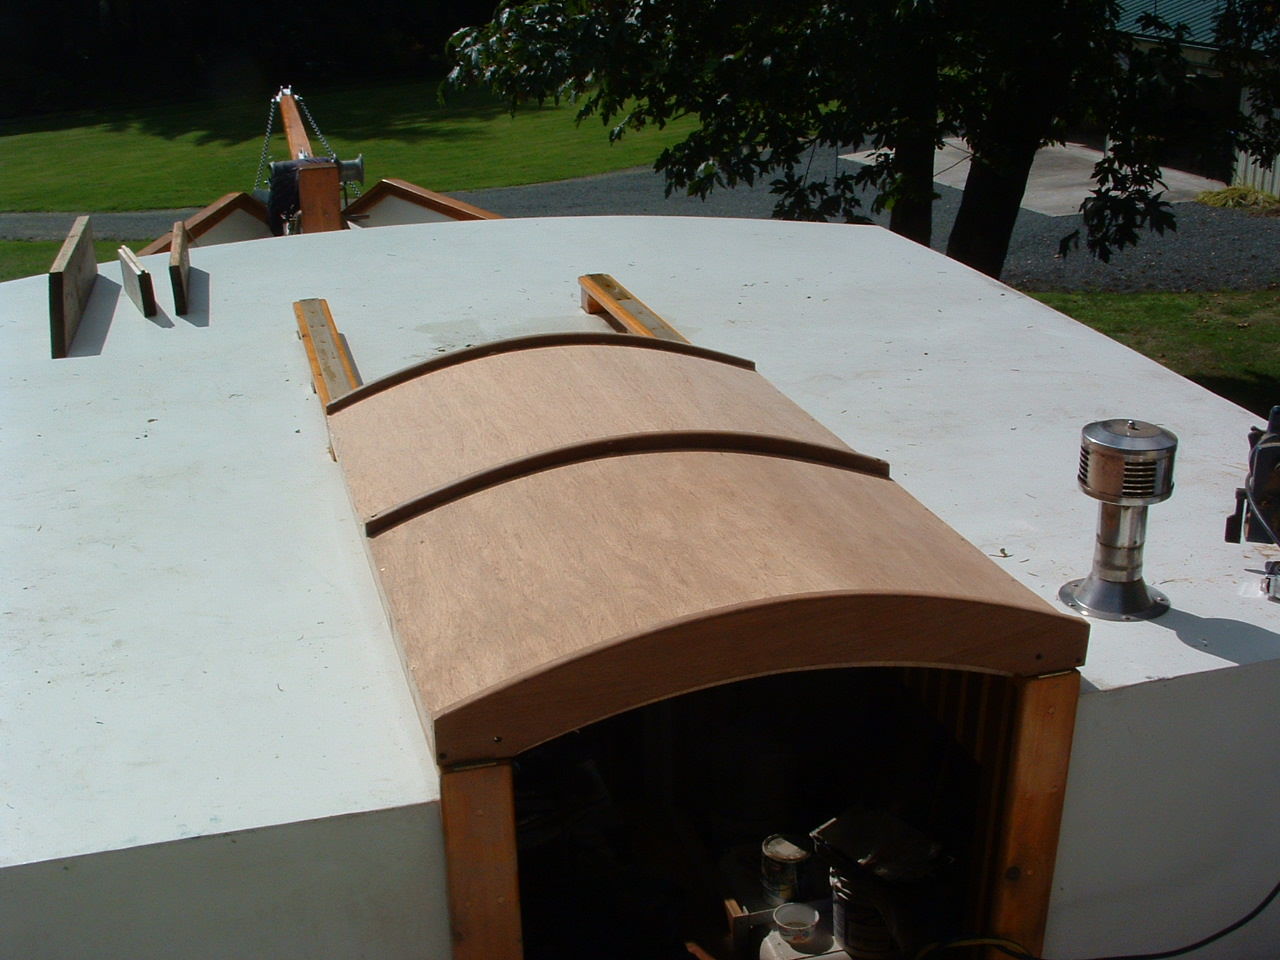
| Back up on the ship so I can see if it fits!! |
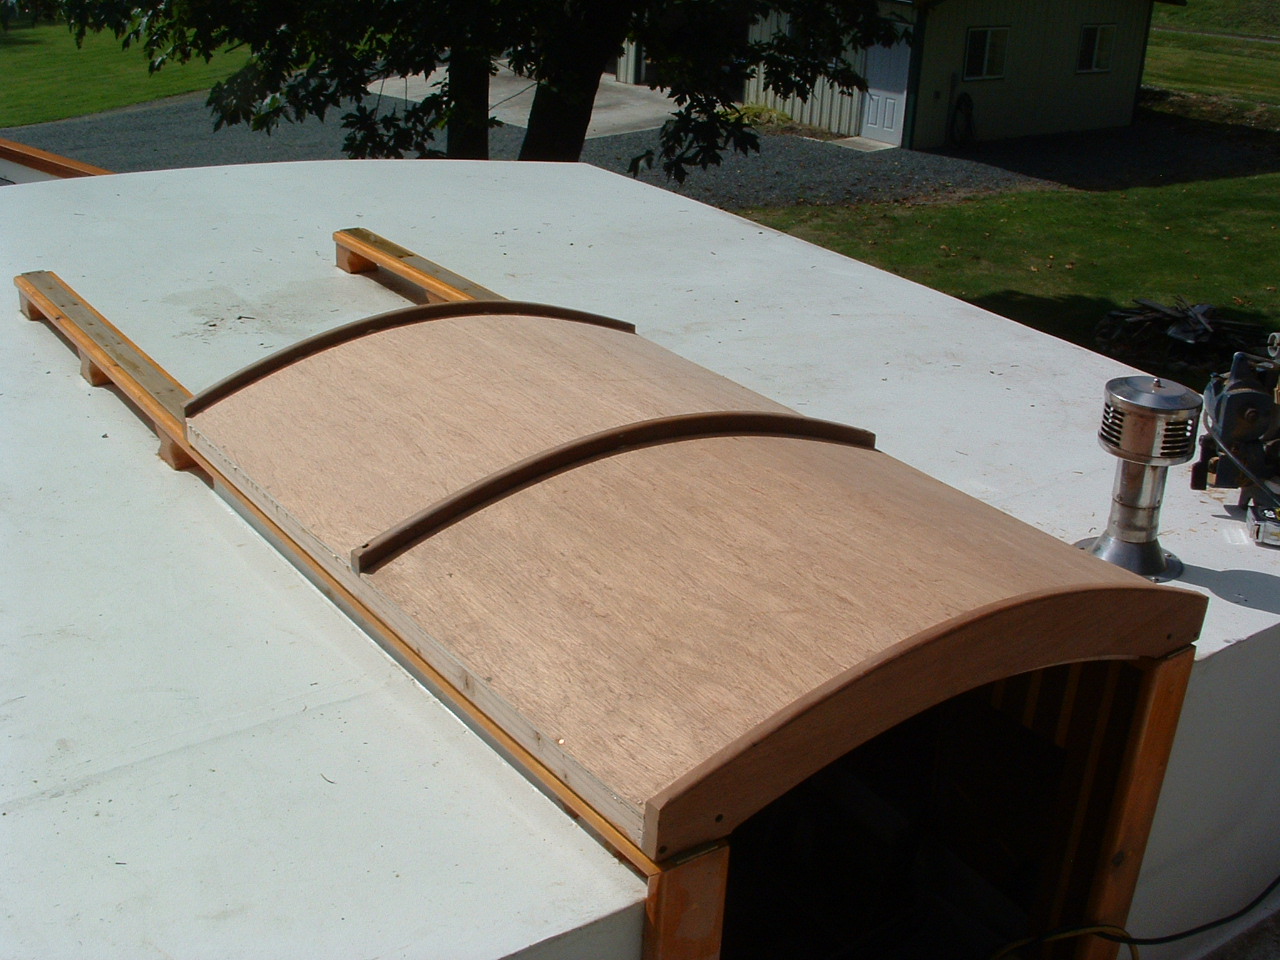
Here is another view. |
| |
|
 |
 |
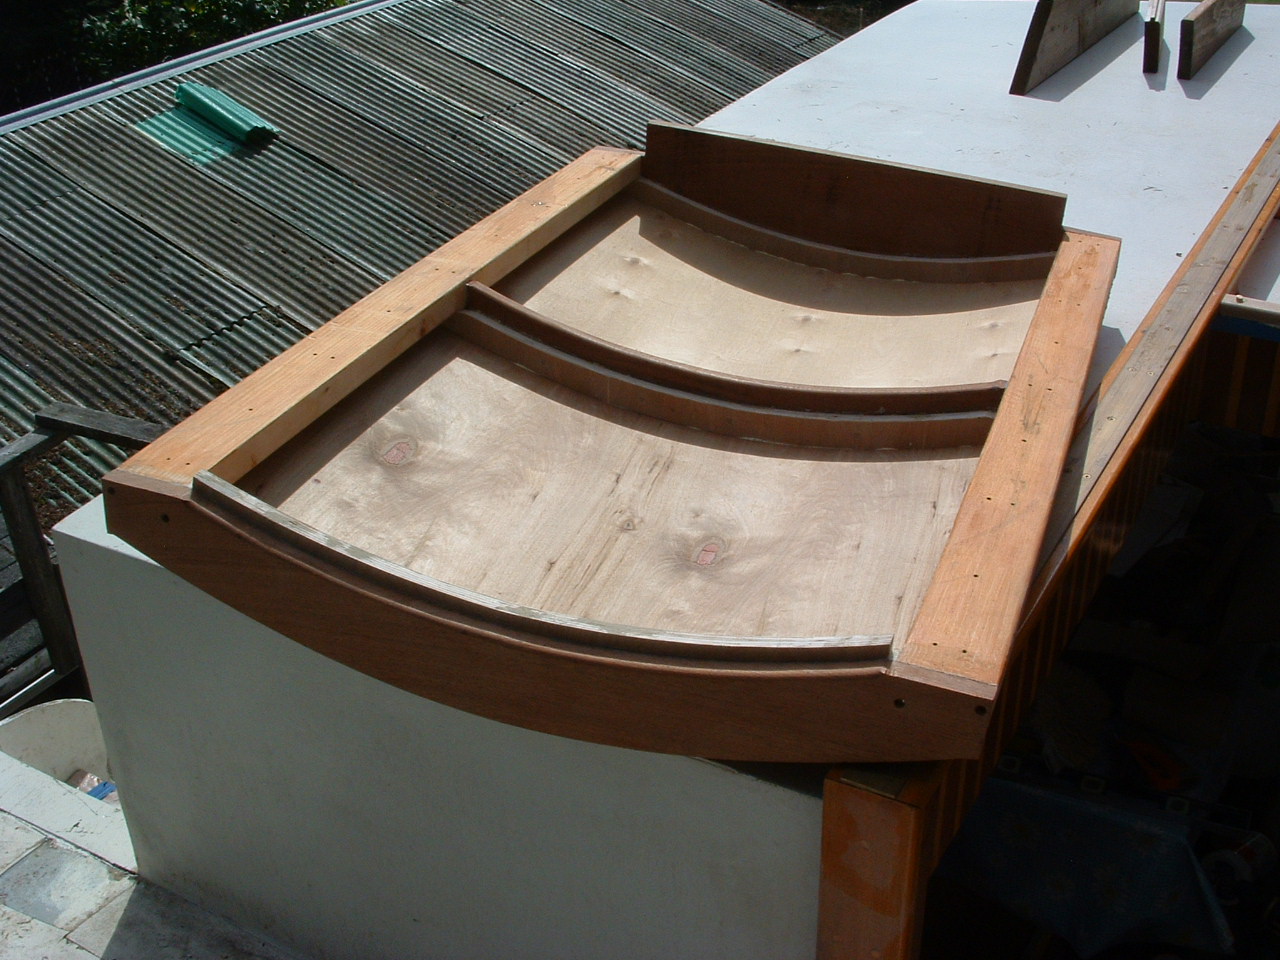
| I turned it over so you could see the underside in the sun light... A rare thing. |
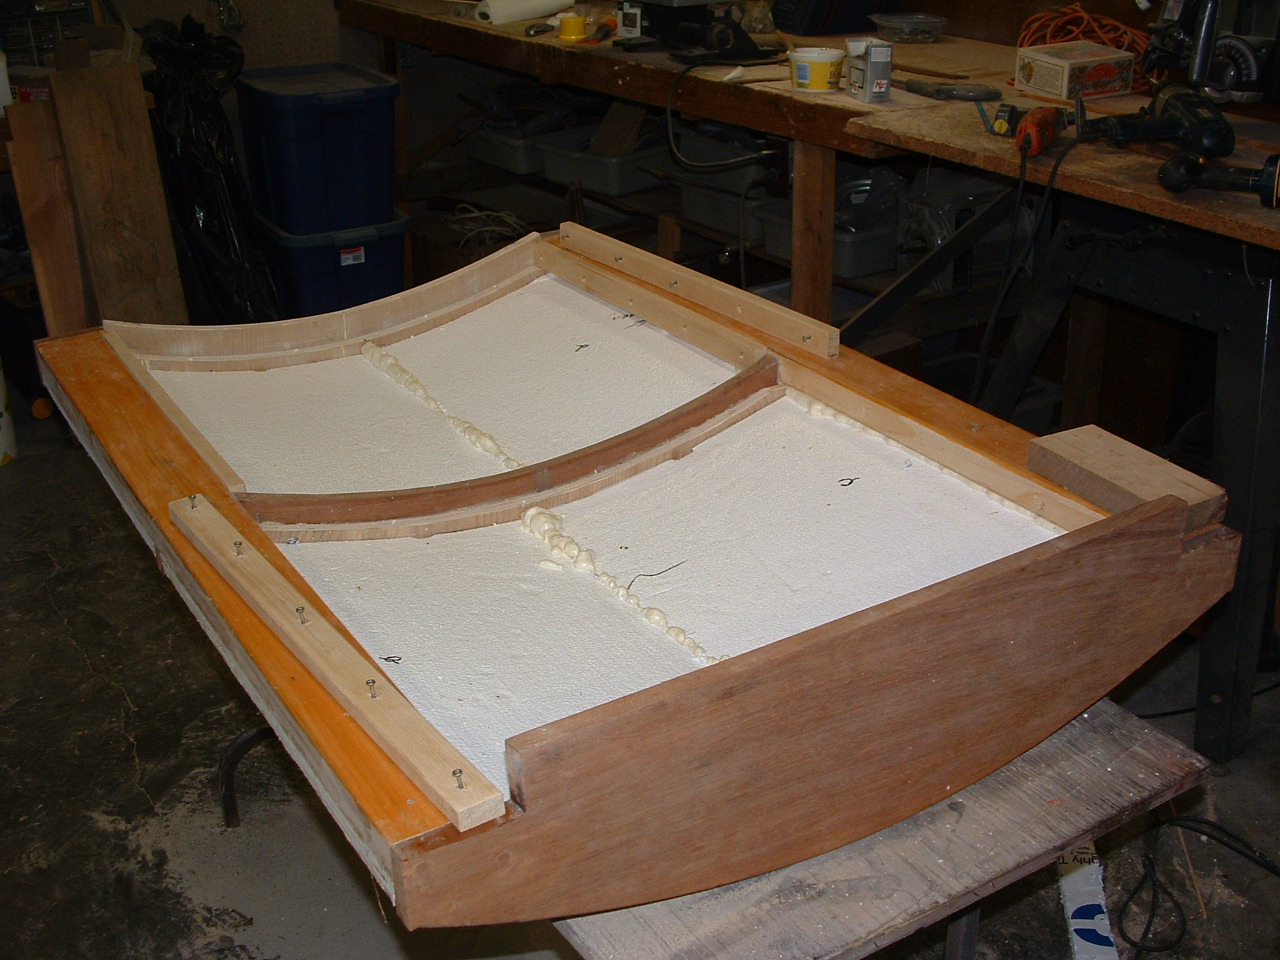
Setting 3/4 inch styrofoam in place to keep us warm. |
| |
|
 |
 |
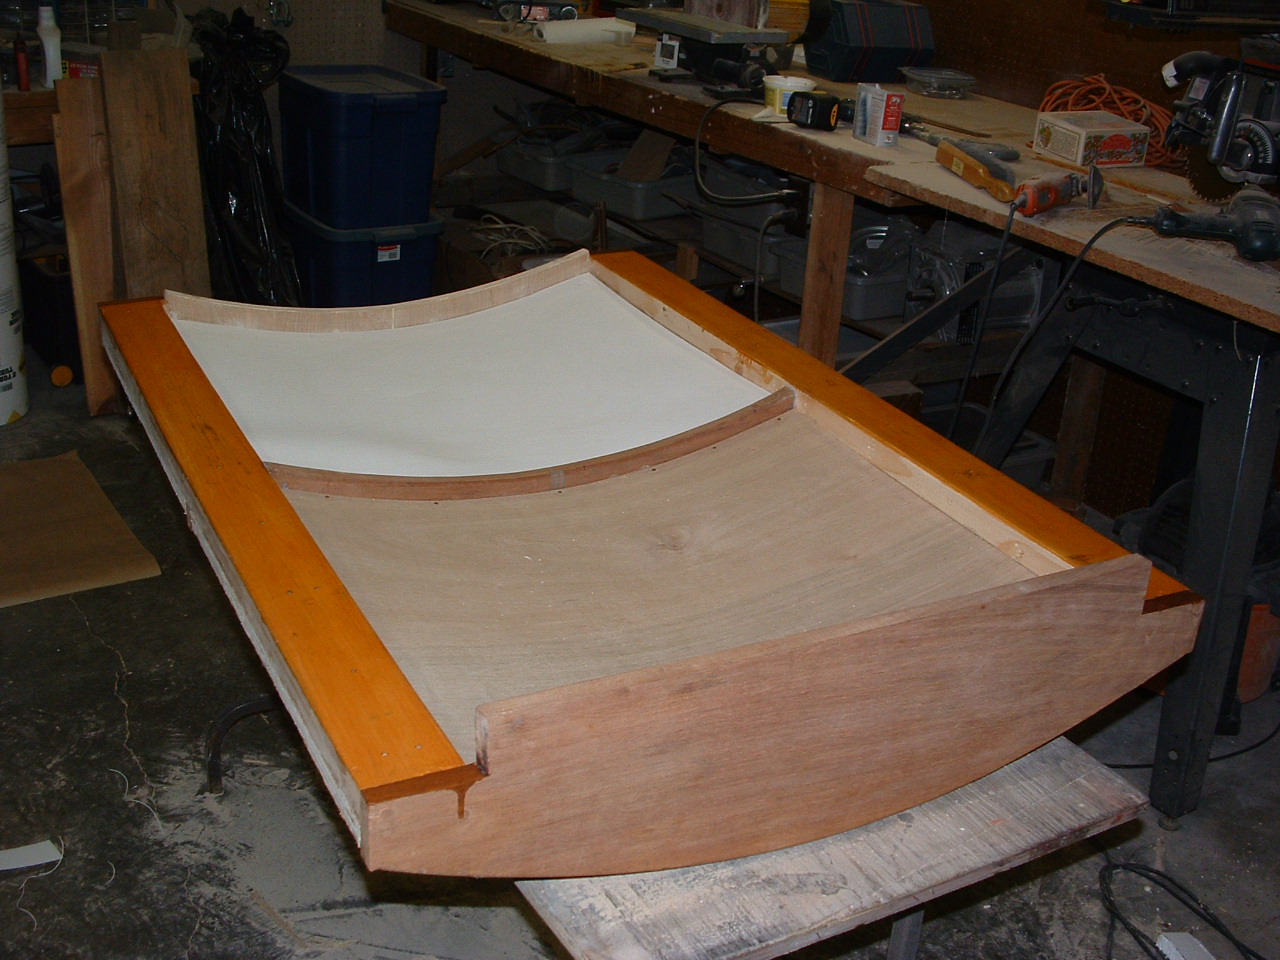
| First inside cover in place. 1/4" luan and then a FRP plastic cover over it. |
Front view. |
| |
|
 |
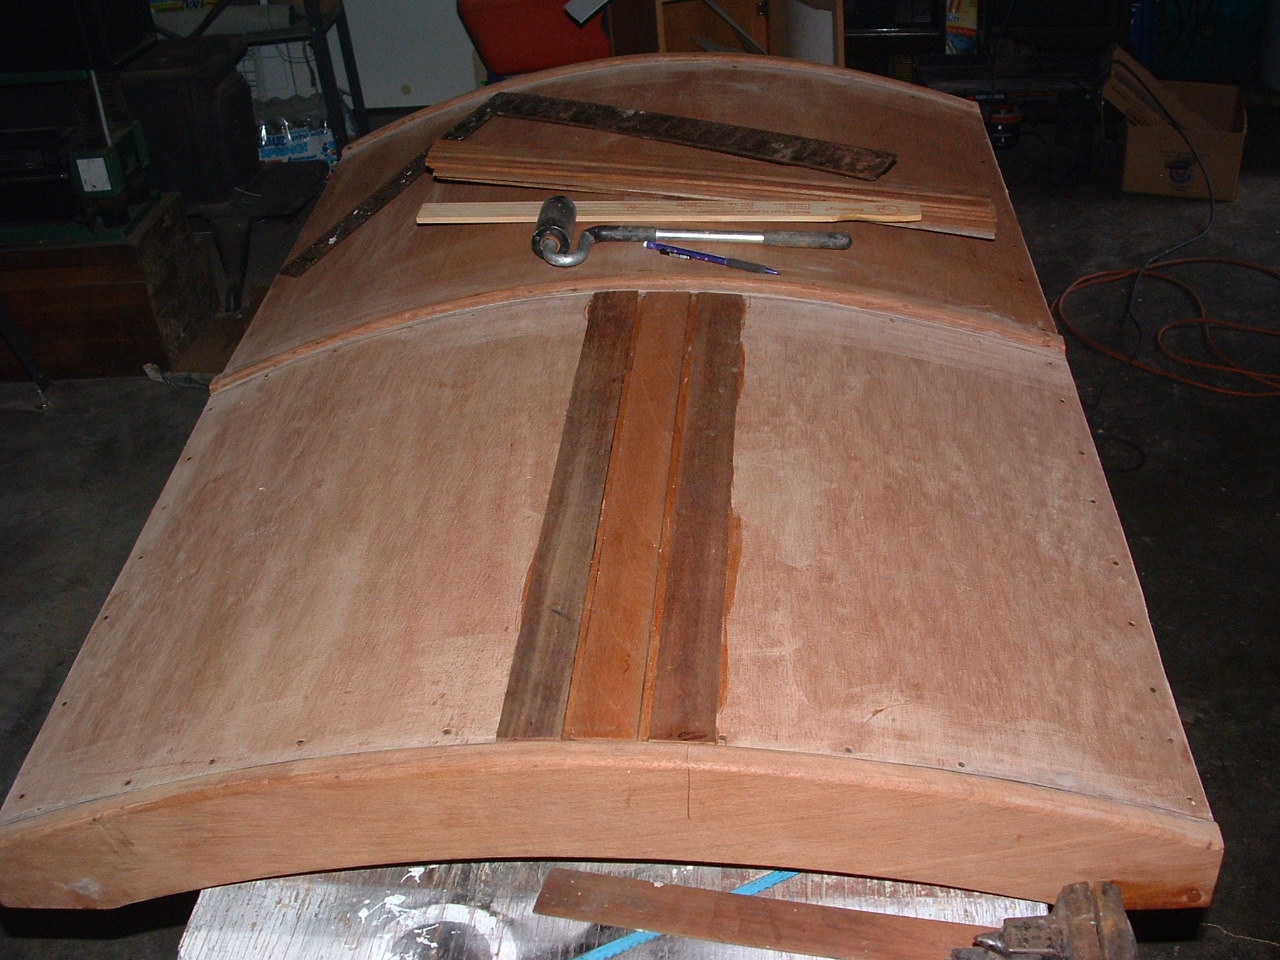 |
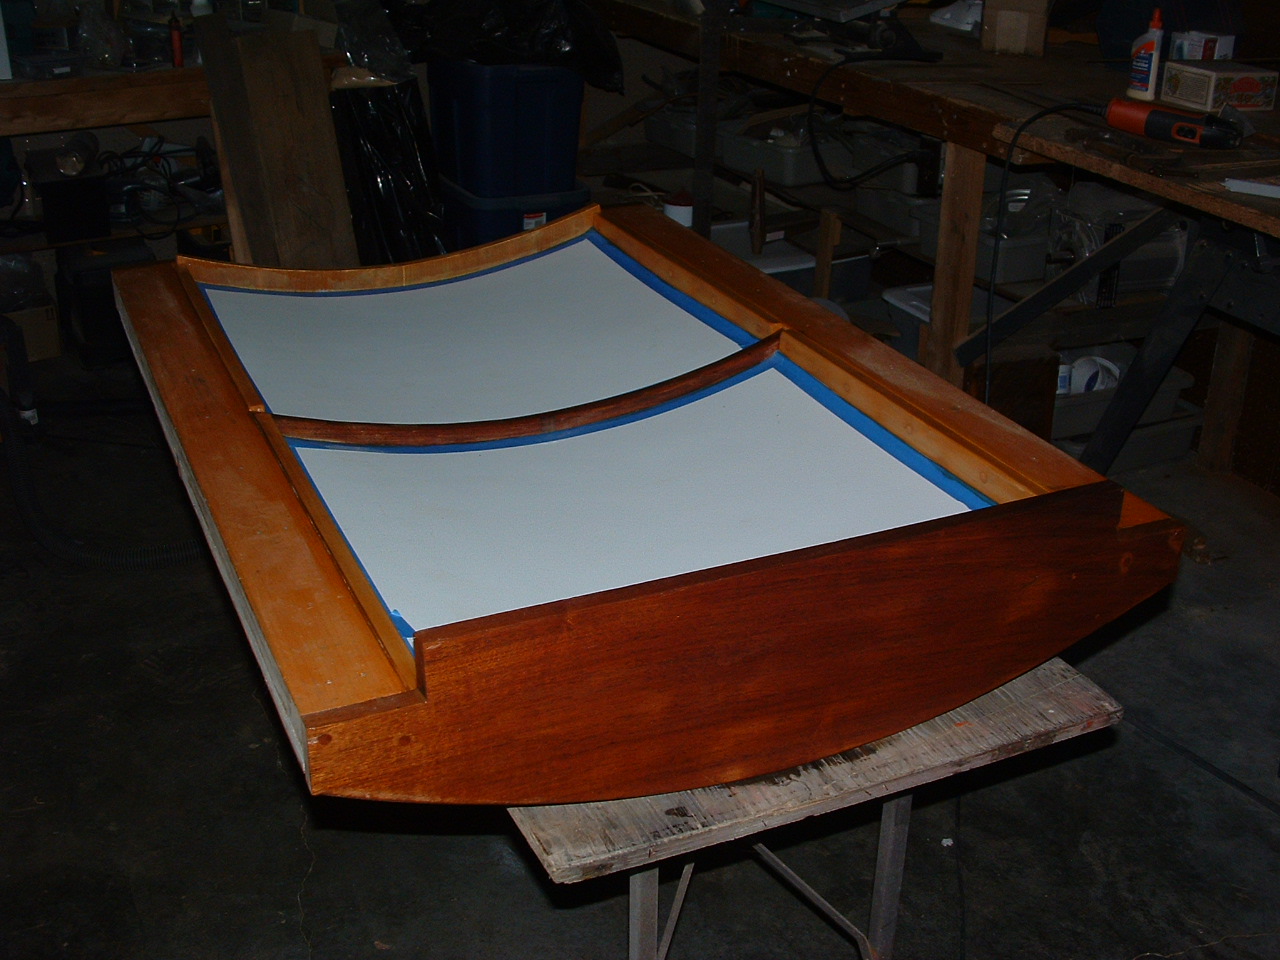
| First coat of cetol. |
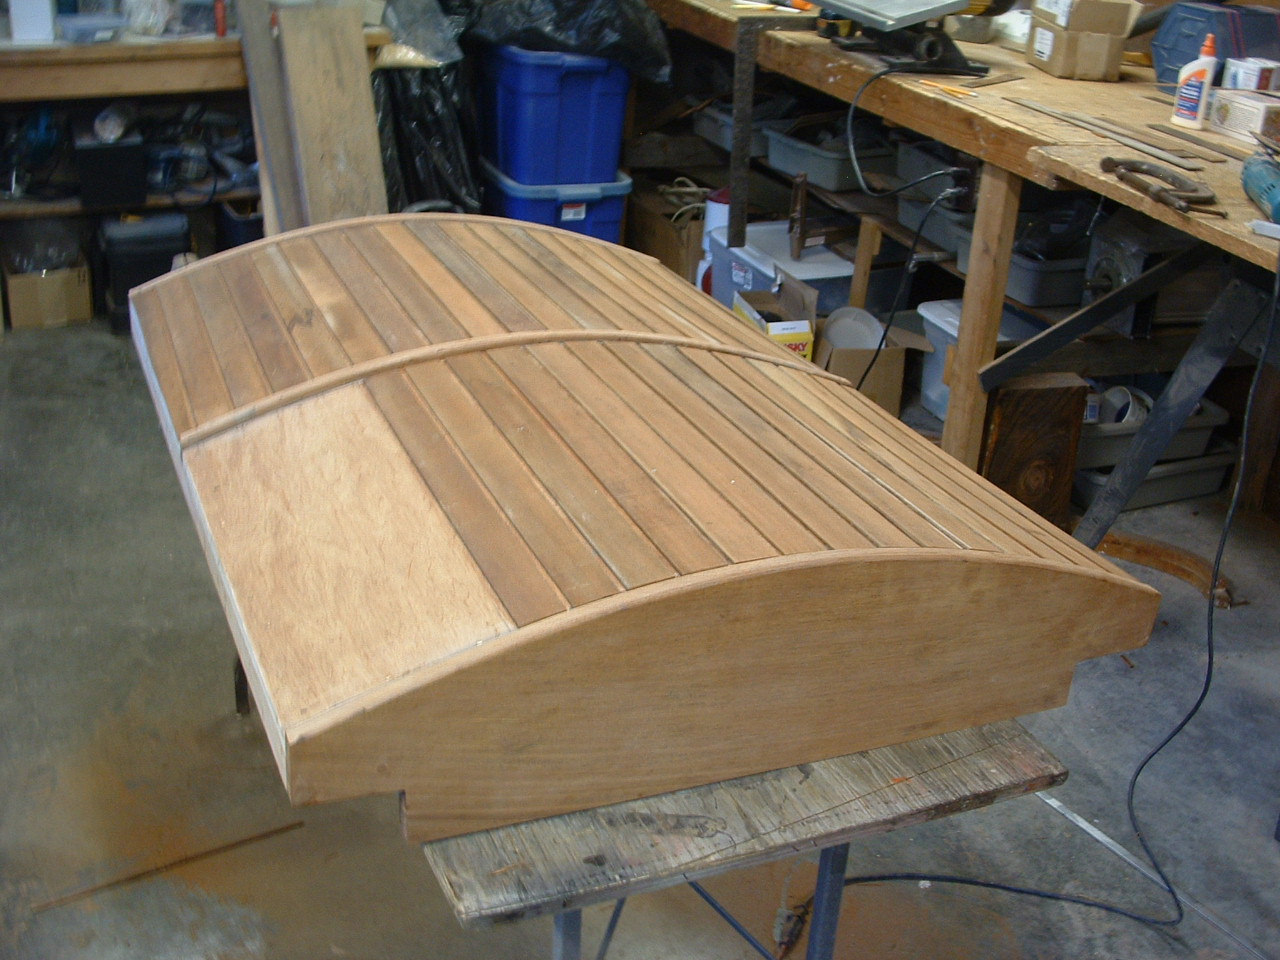
Now for the fancy mahogany strips on the top. |
| |
|
 |
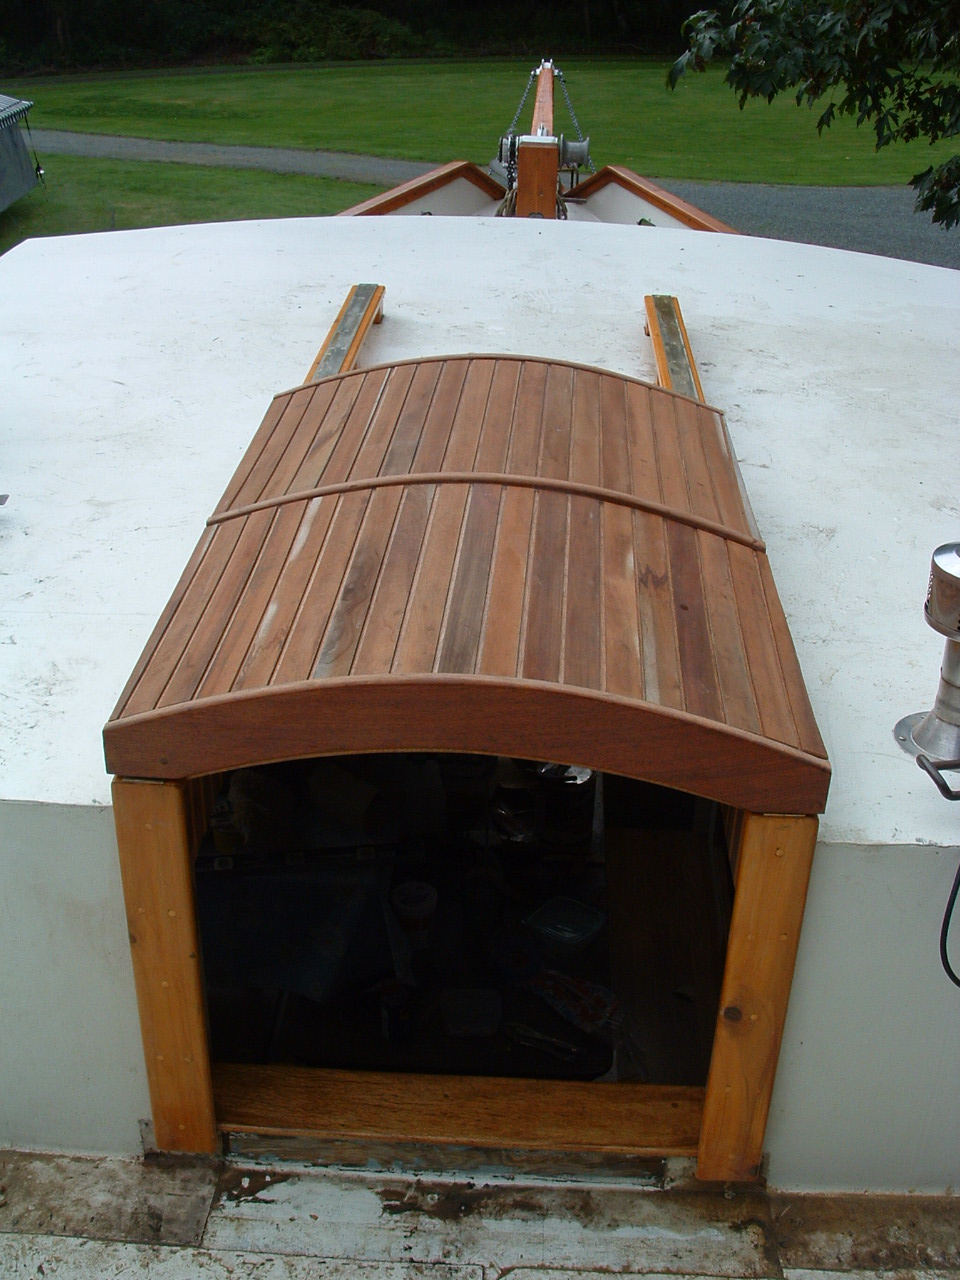 |
| Almost done. Used contact cement to hold them in place, then I will put black poly sulfide filler in between them |
First coat of Cetol and in place. Now for the side pieces that hold the hatch from lifting off. |
| |
|
 |
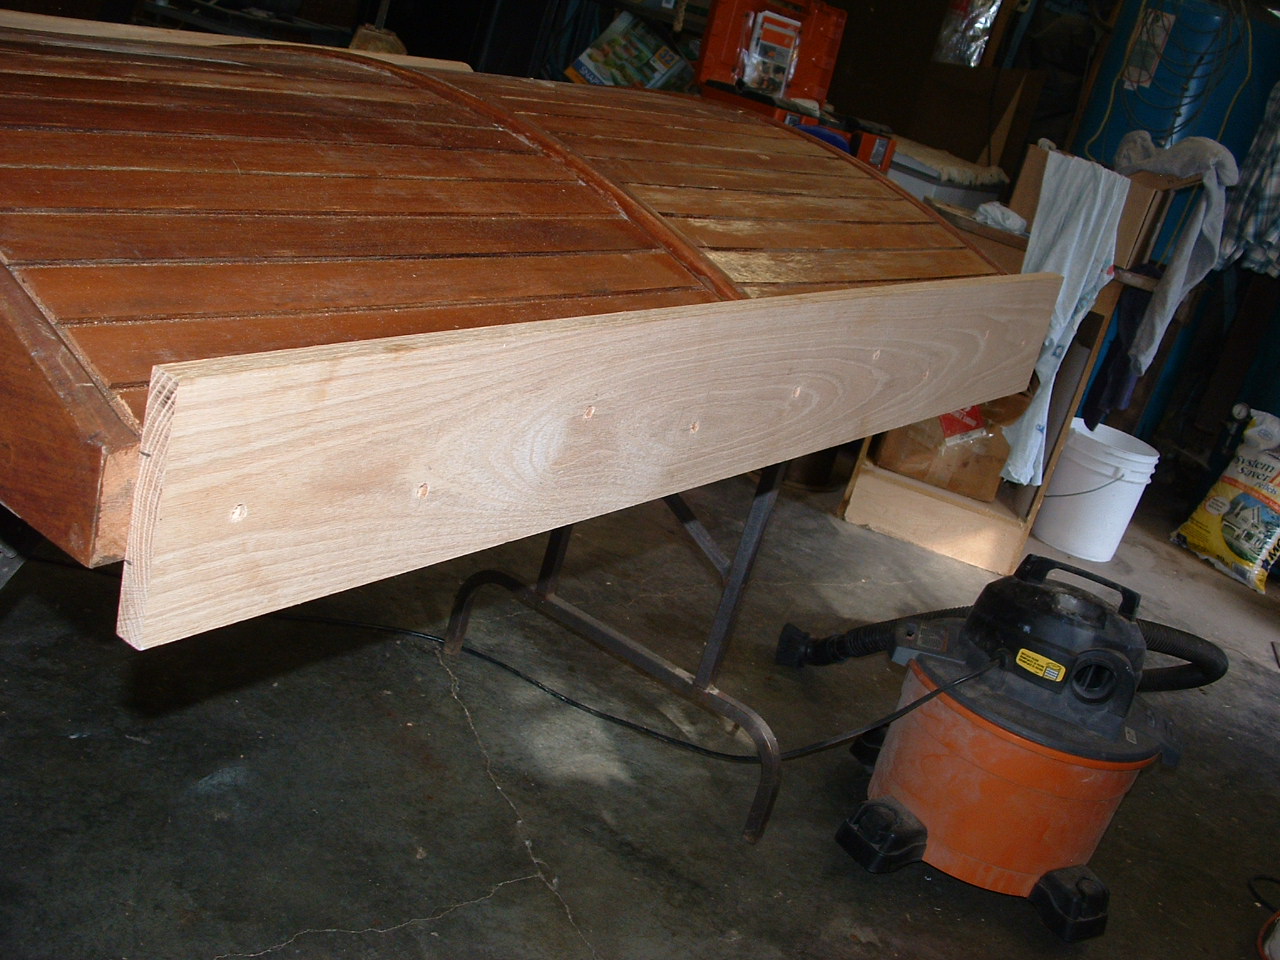 |
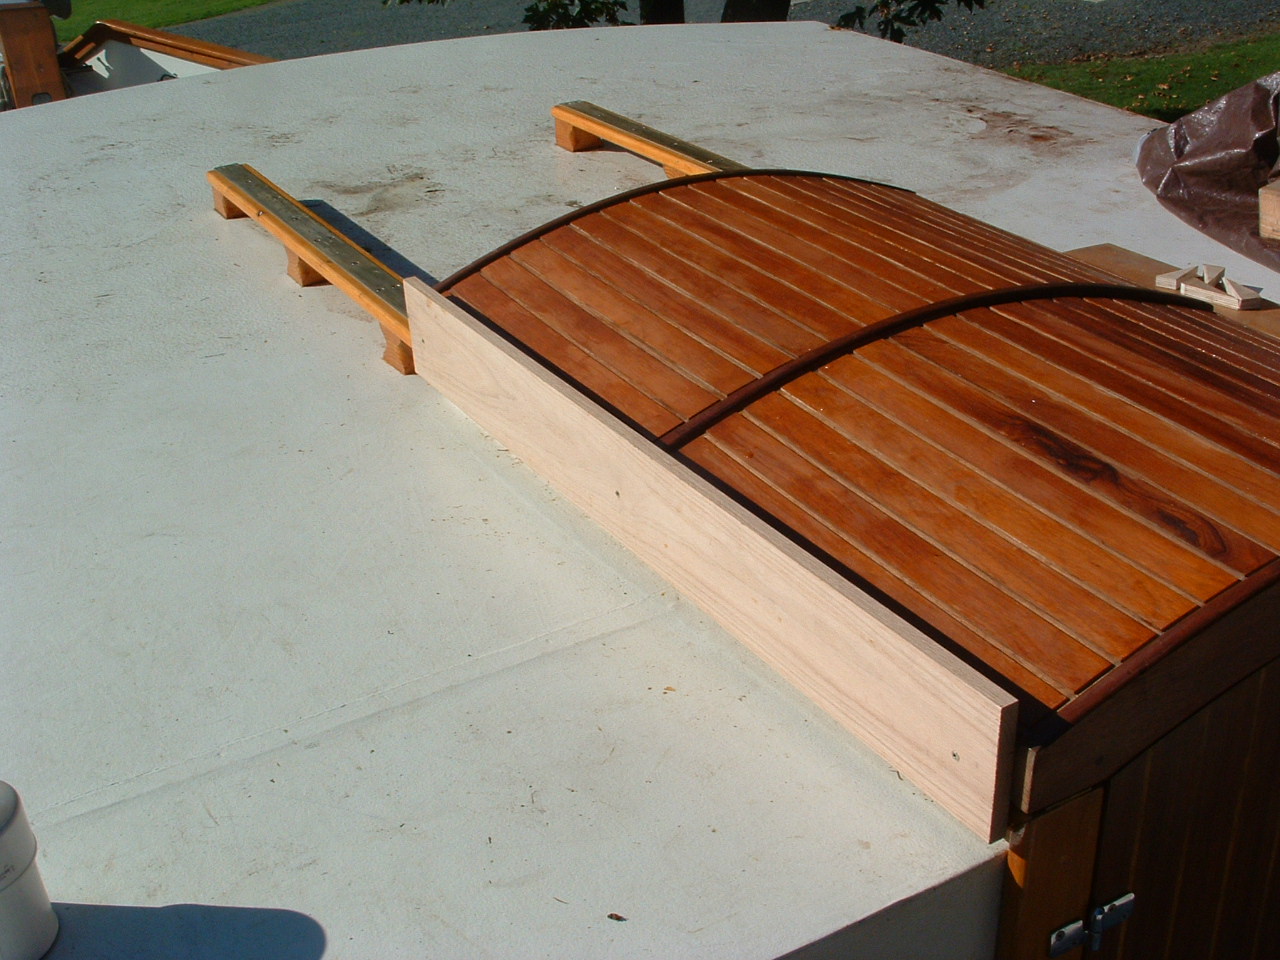
| First one fitted on. It has a yellow brass flat stock screwed on underneath to keep the hatch from lifting. |
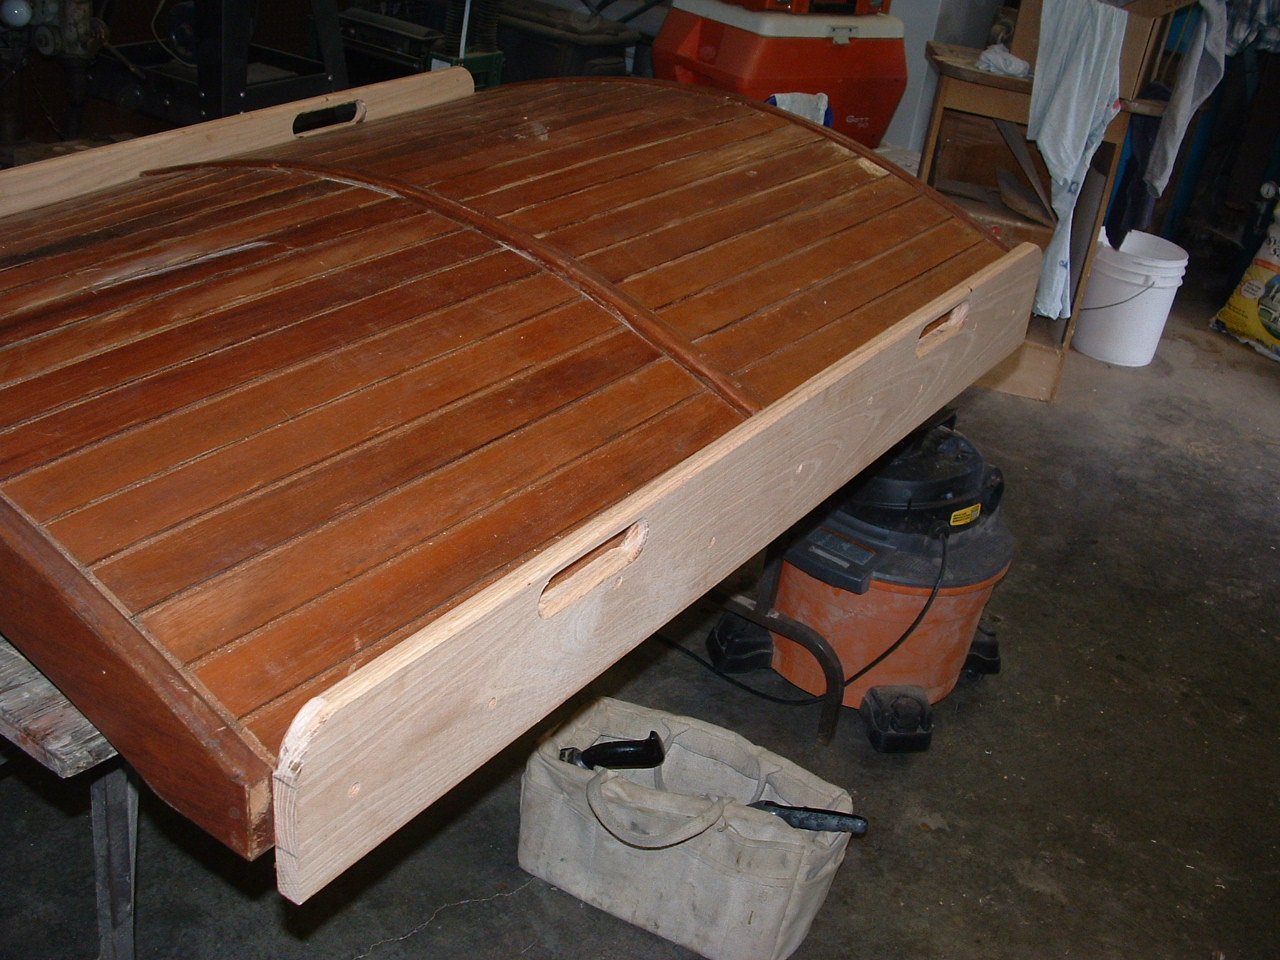
Fitted, now to fancy it up and put some hand holds on it.
The hand holds will provide a place to hold on or tie on when working on the deck and they allow the water to drain of the top. |
| |
|
 |
 |
| Both sides all formed, glued up and ready to sand. |
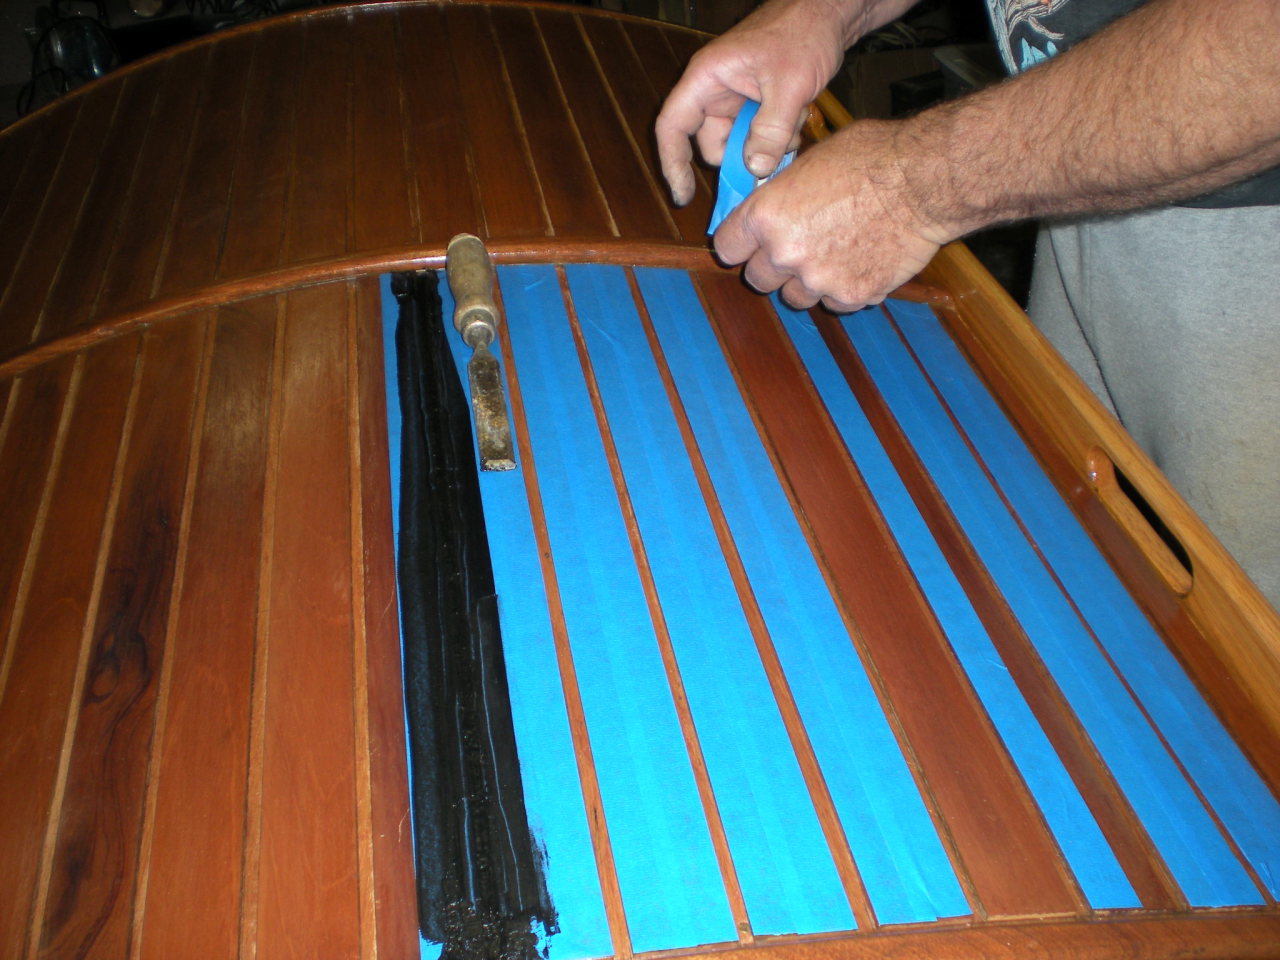
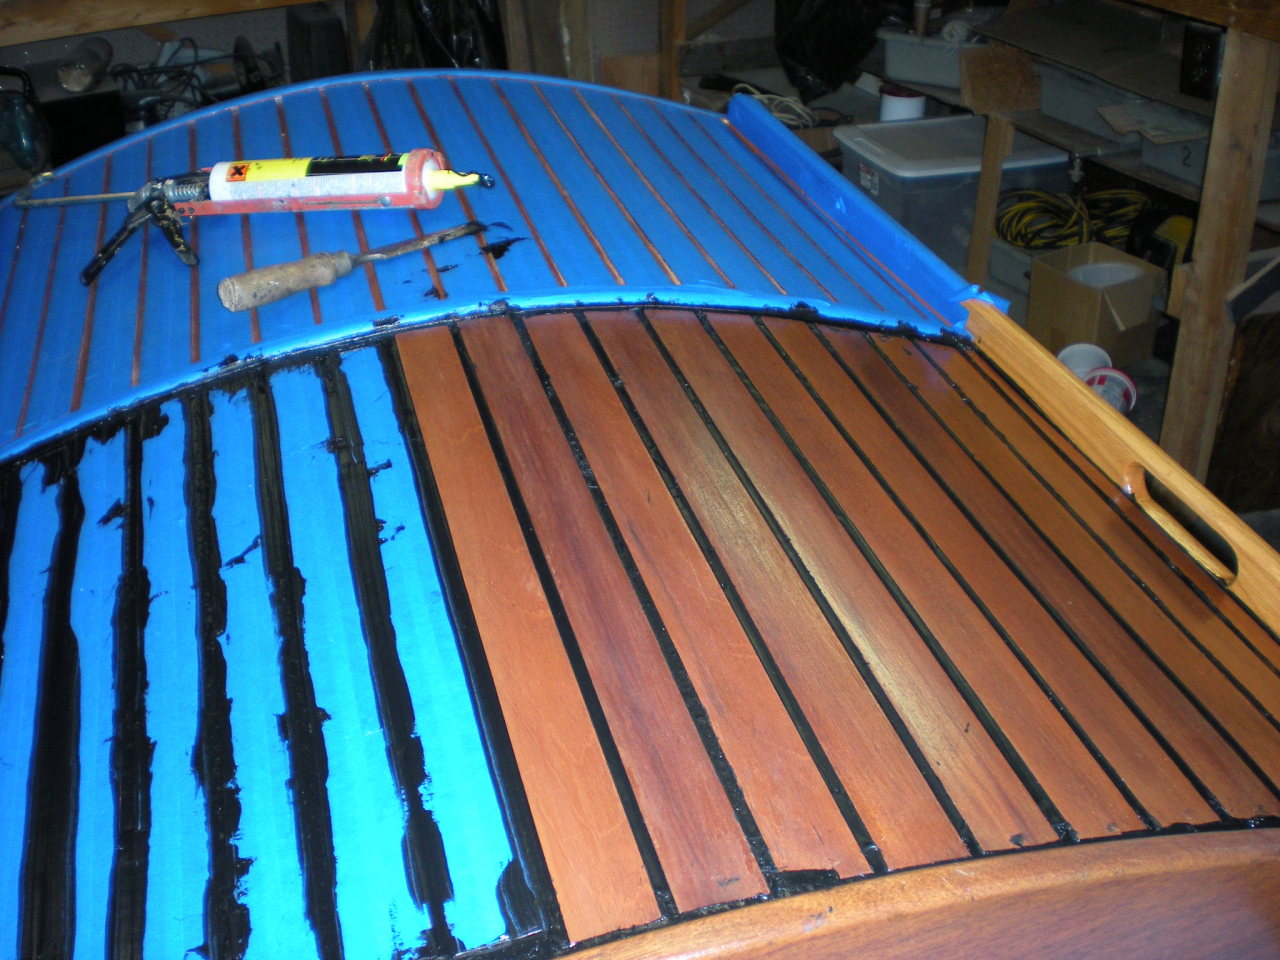
Now that it is all cetol'ed it is time to put on the polysulfide. Actually I did htis backwards but time did not allow us to do it properly. Usually you put on the poly sulfide to fill the cracks before it is cetol'ed. Then you sand it all off for a smooth finish. As you can see this is a real mess, but it turned out ok. |
| |
|
 |
 |
See how messy this is getting. It gets all over everything and it's $22.00 a tube. It took 3 tubes to get 'r done.
Gnettie did most of the picky picky work on the masking. |
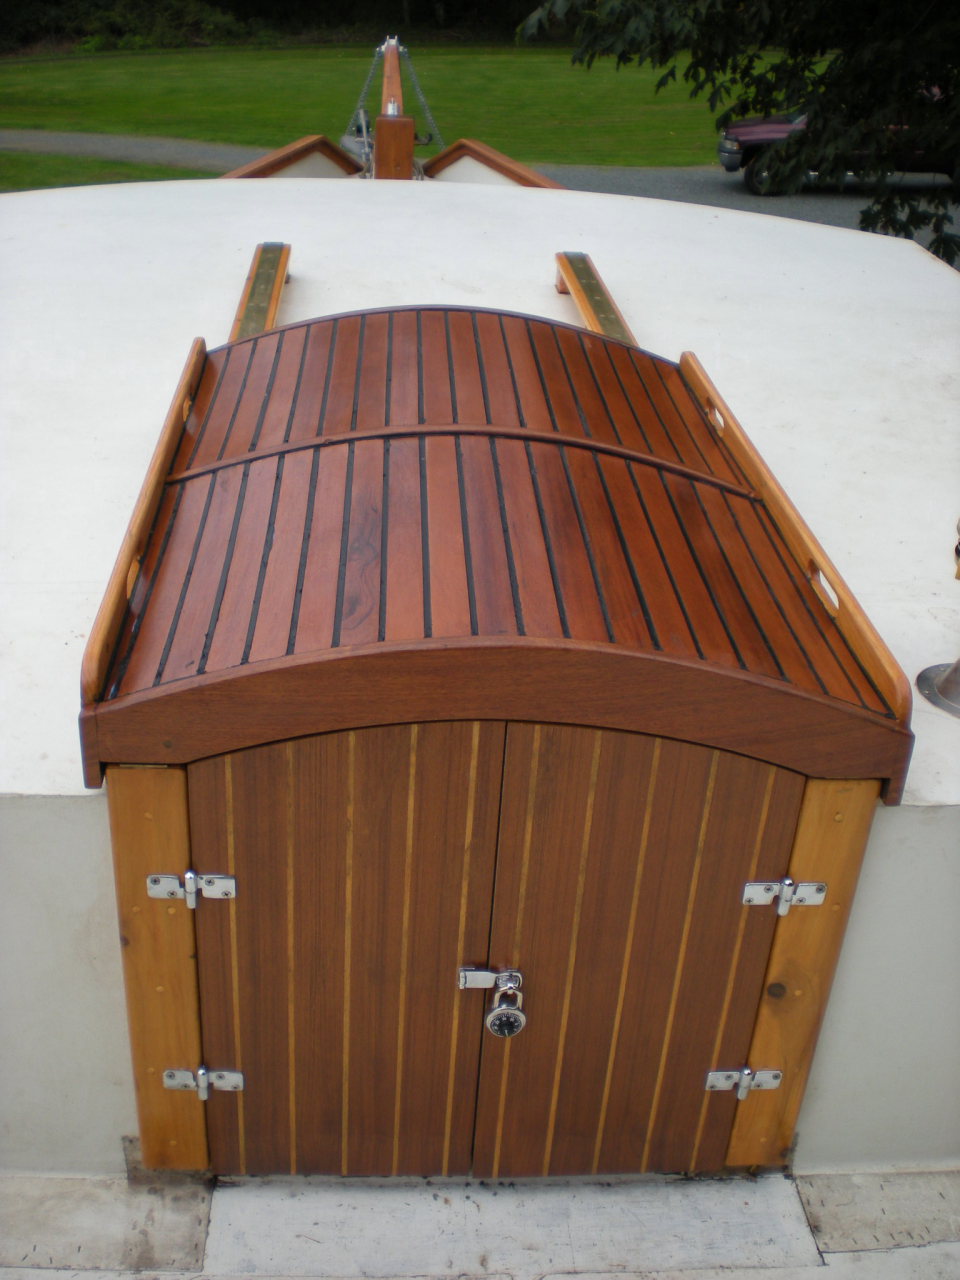
From a penciled drawing and 3 weeks later...
Here it is all done and with the help of Ted it is now on the ship in it's permanent home. |
| |
|