| First I needed to redesign it so I removed a lot of stuff to start anew.
|
 |
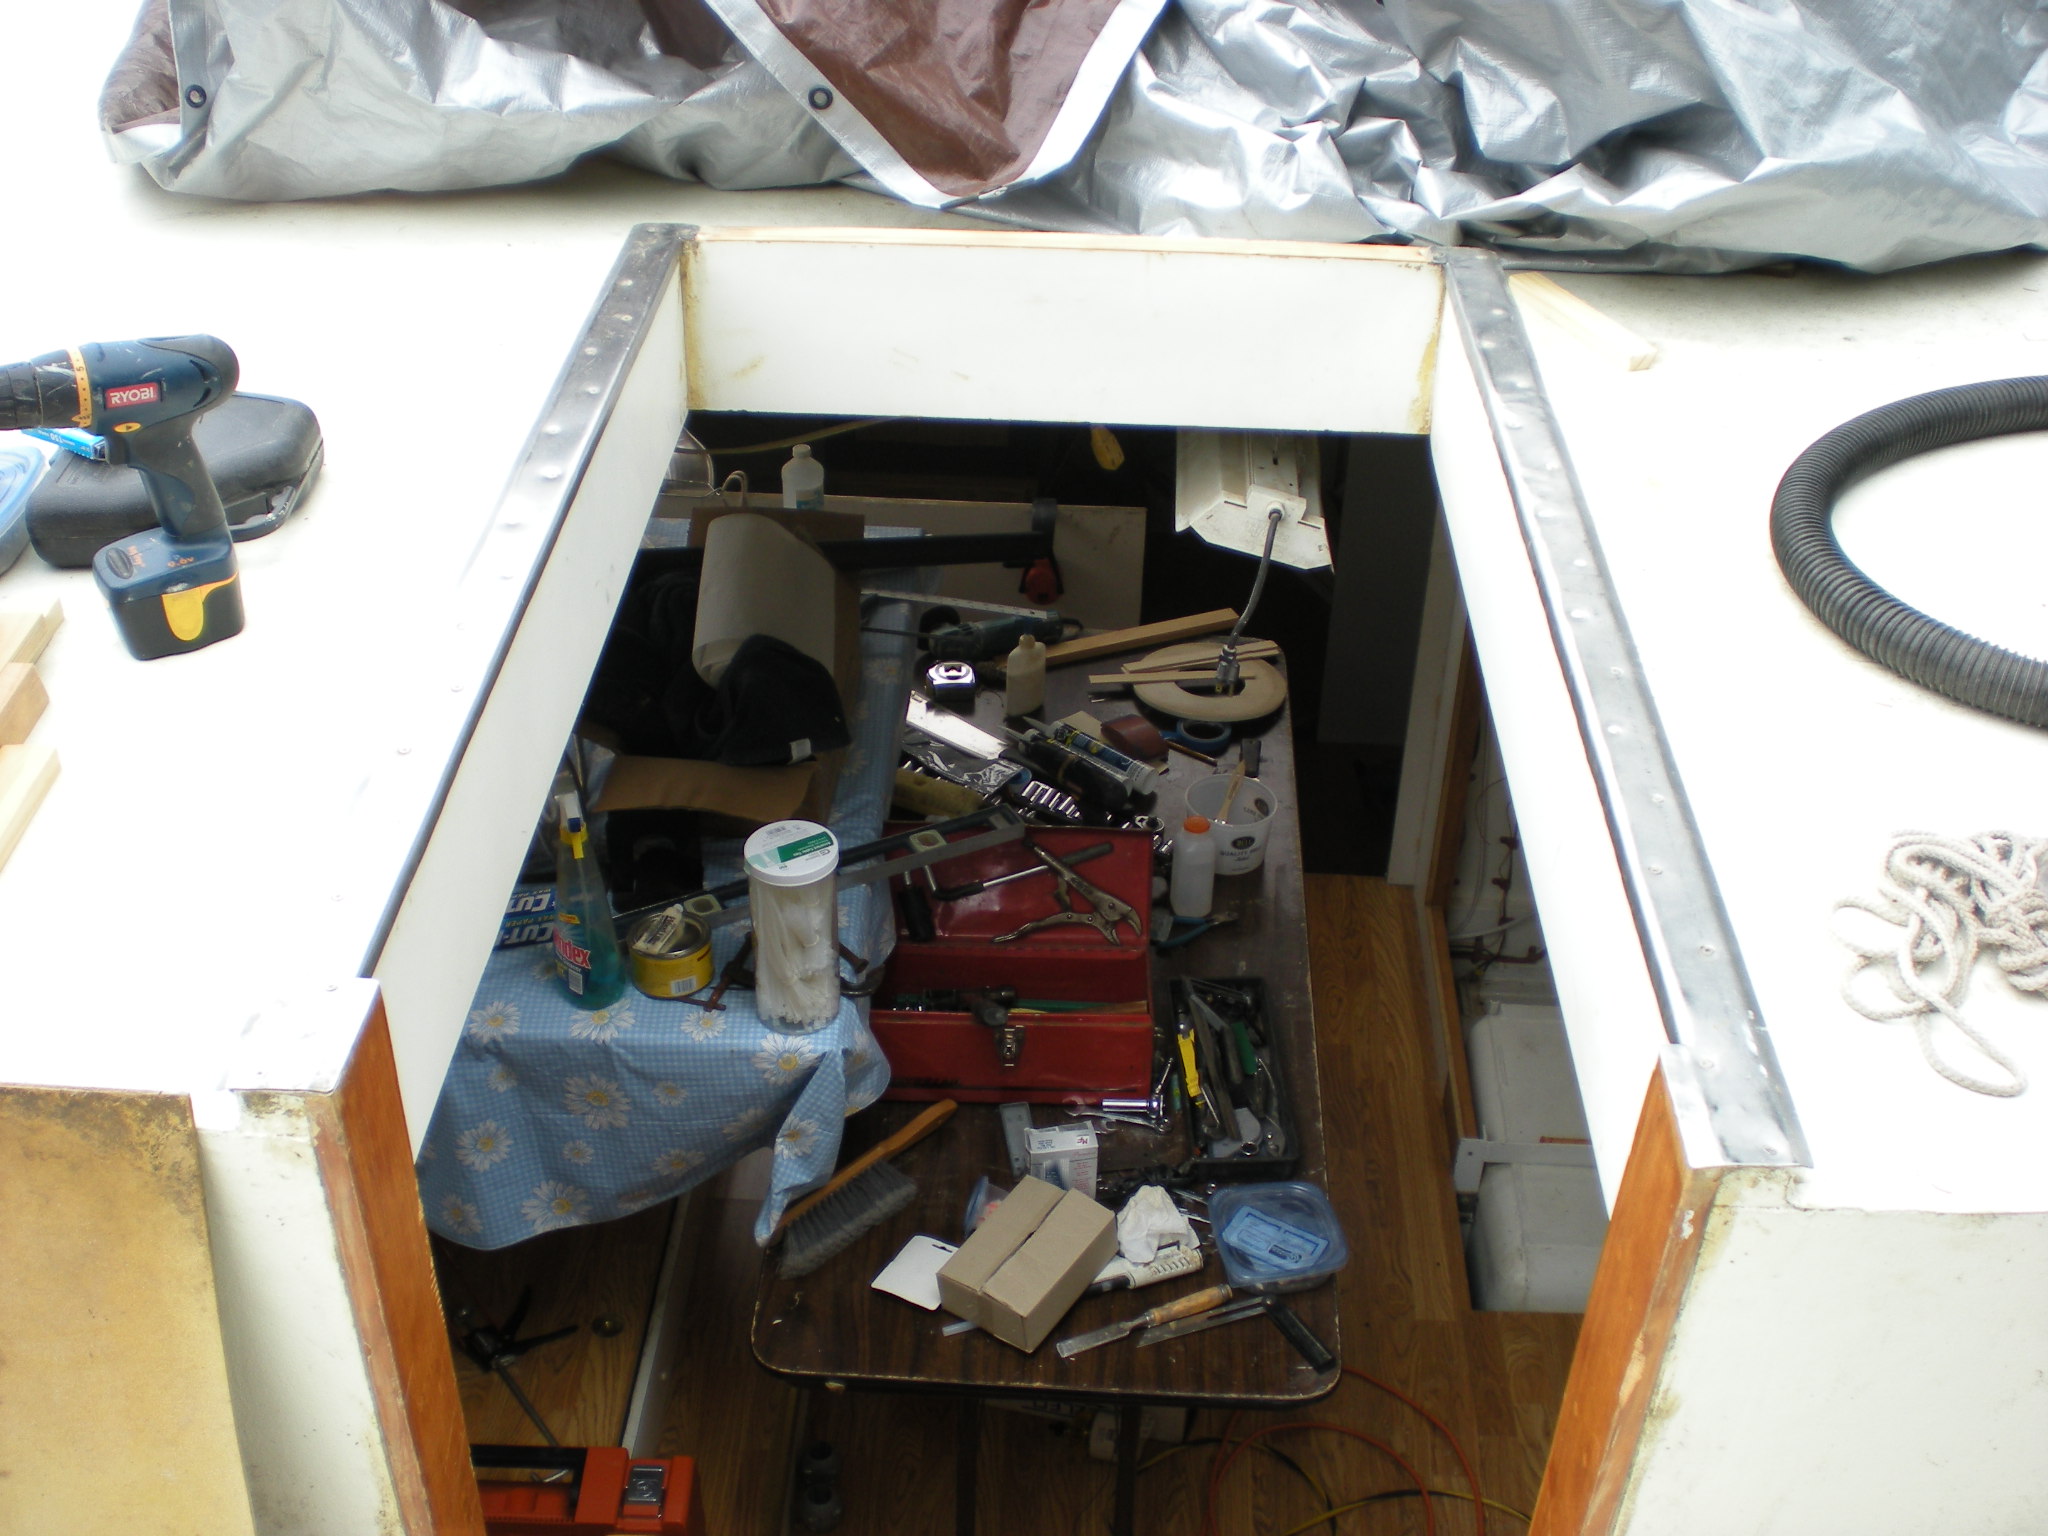 |
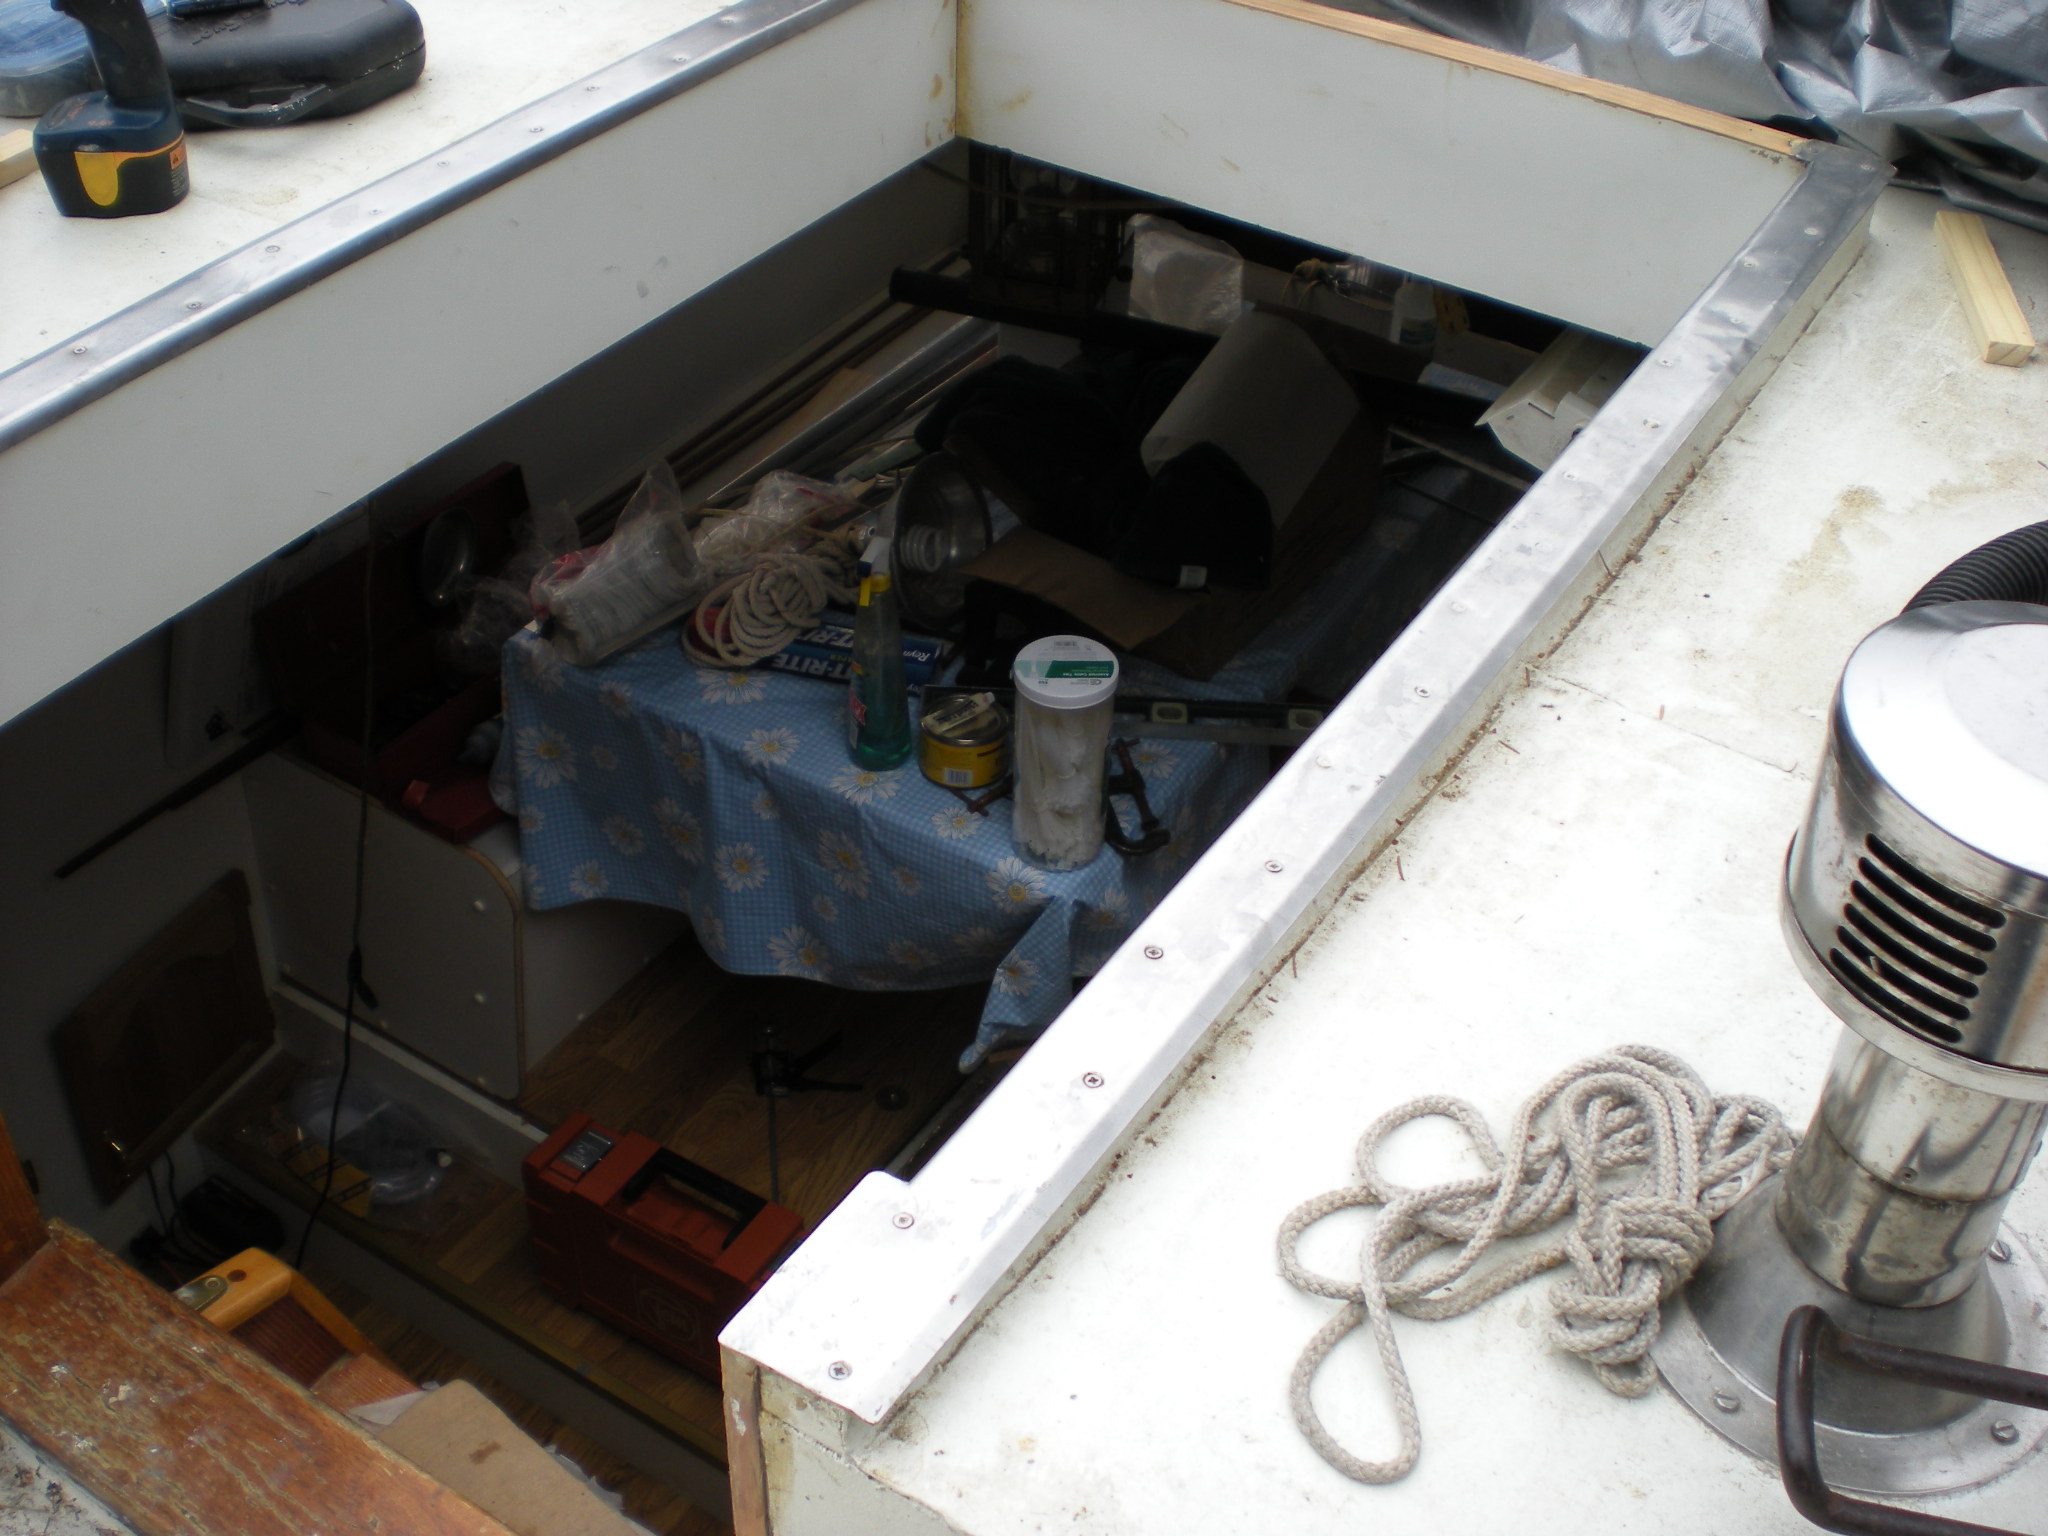
| This is the hatch before removal of the metal and the edging. |
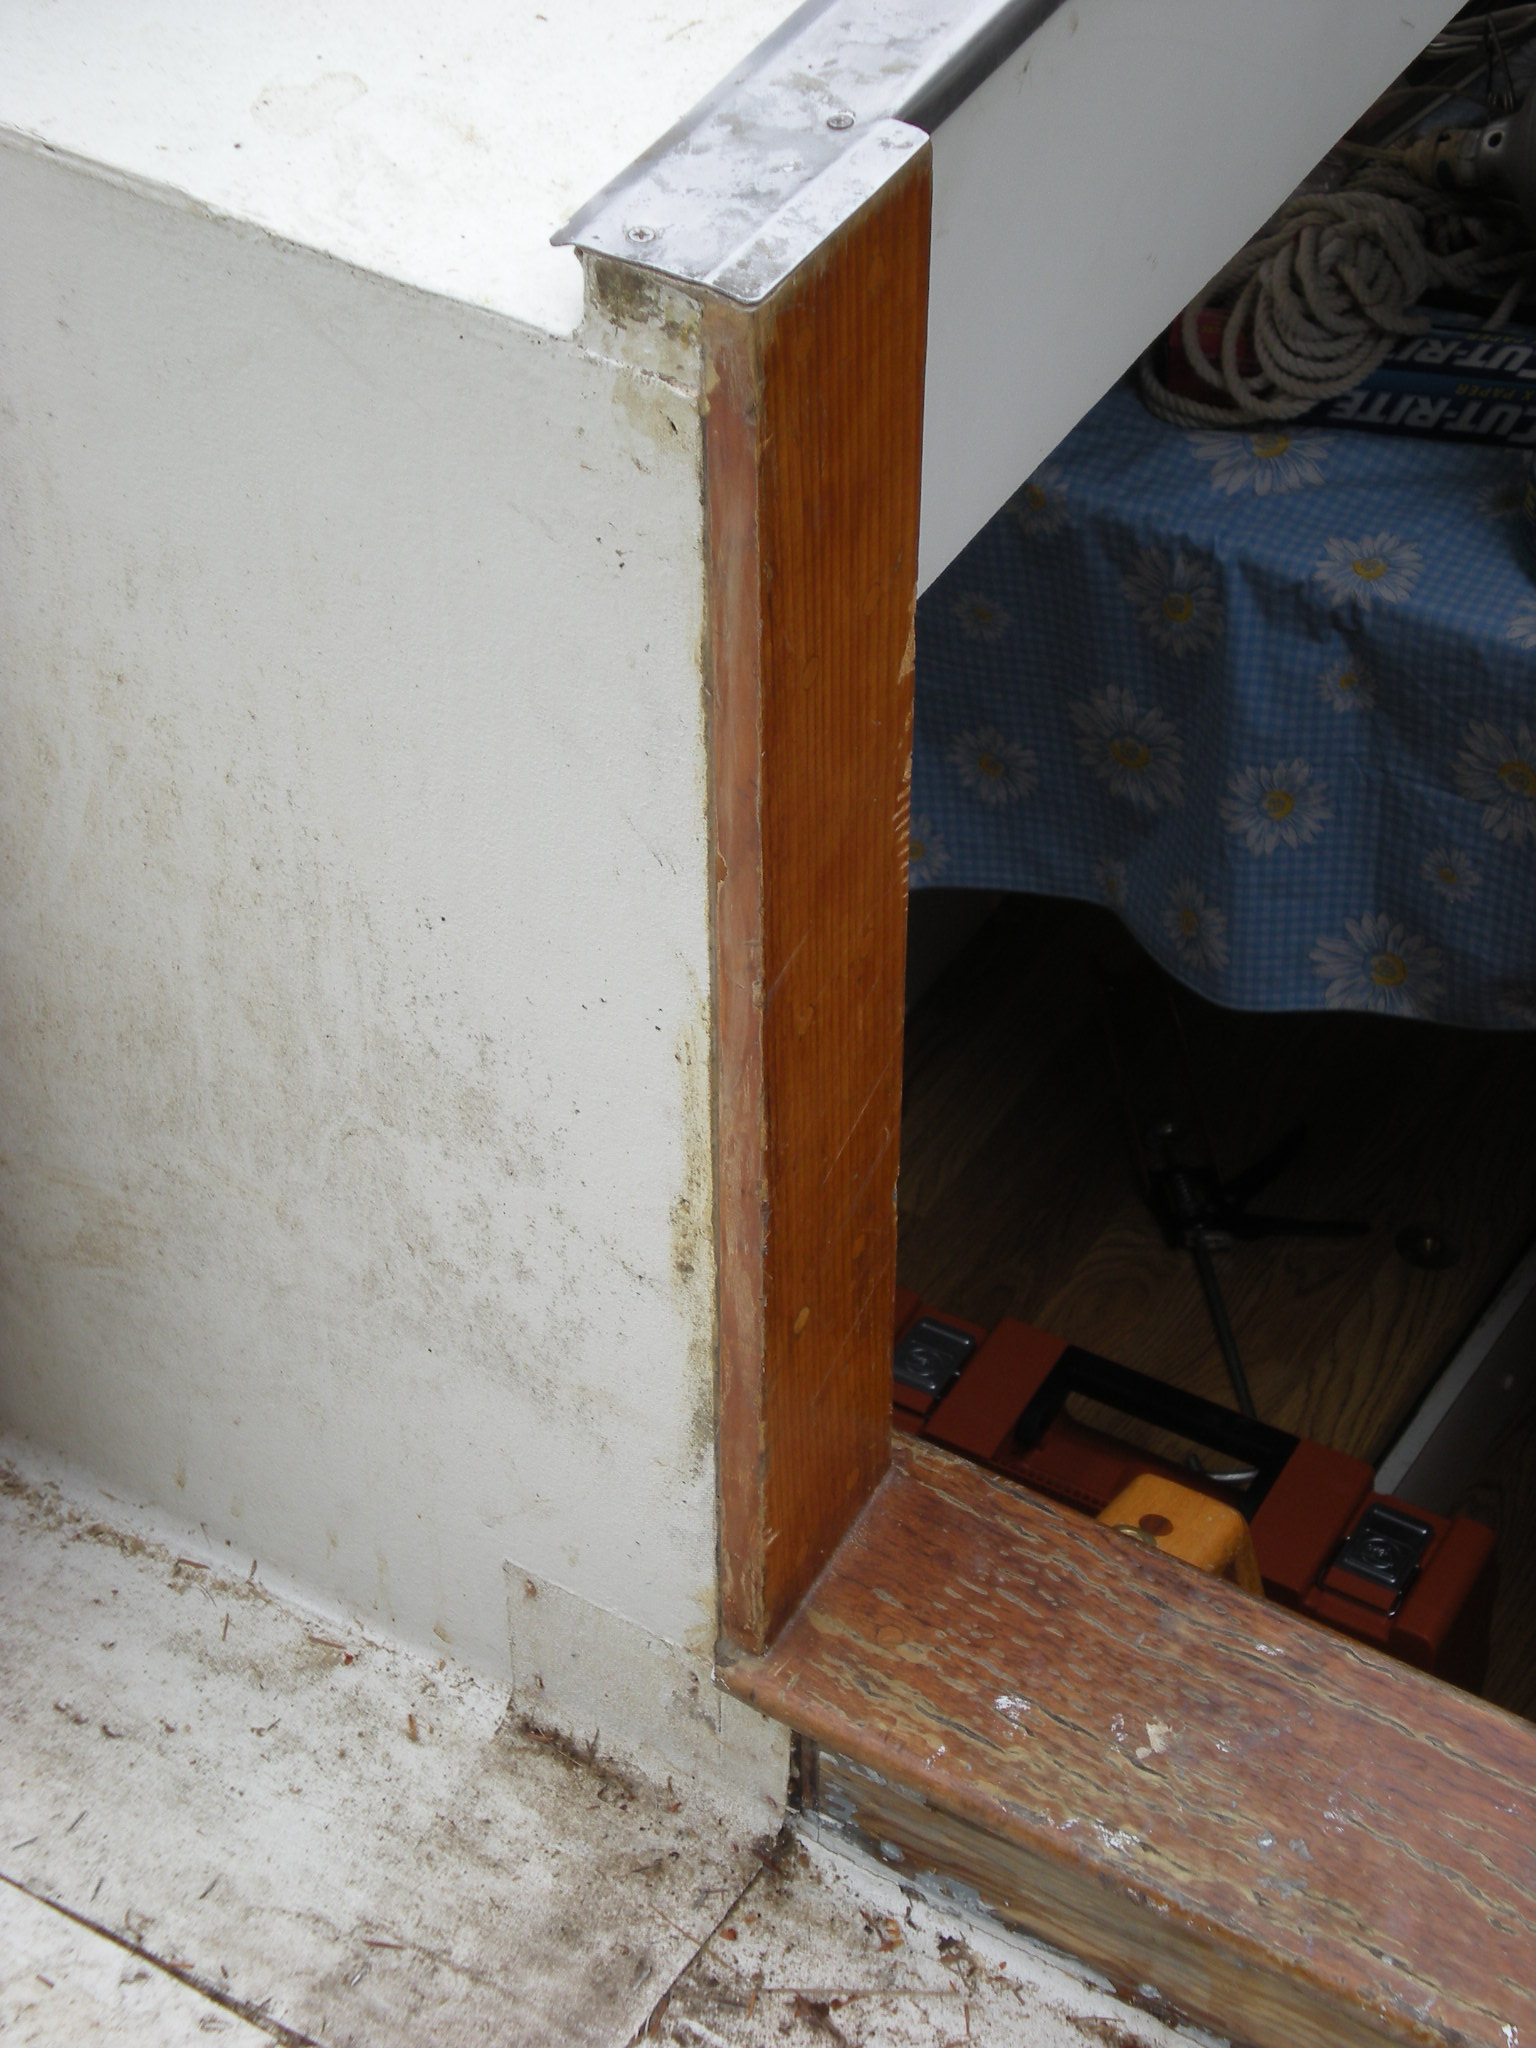
The wood on each side of the entrance is red cedar and is too soft, it damages too easy. |
| |
|
 |
 |
| Here is a close up of the red cedar edging. |
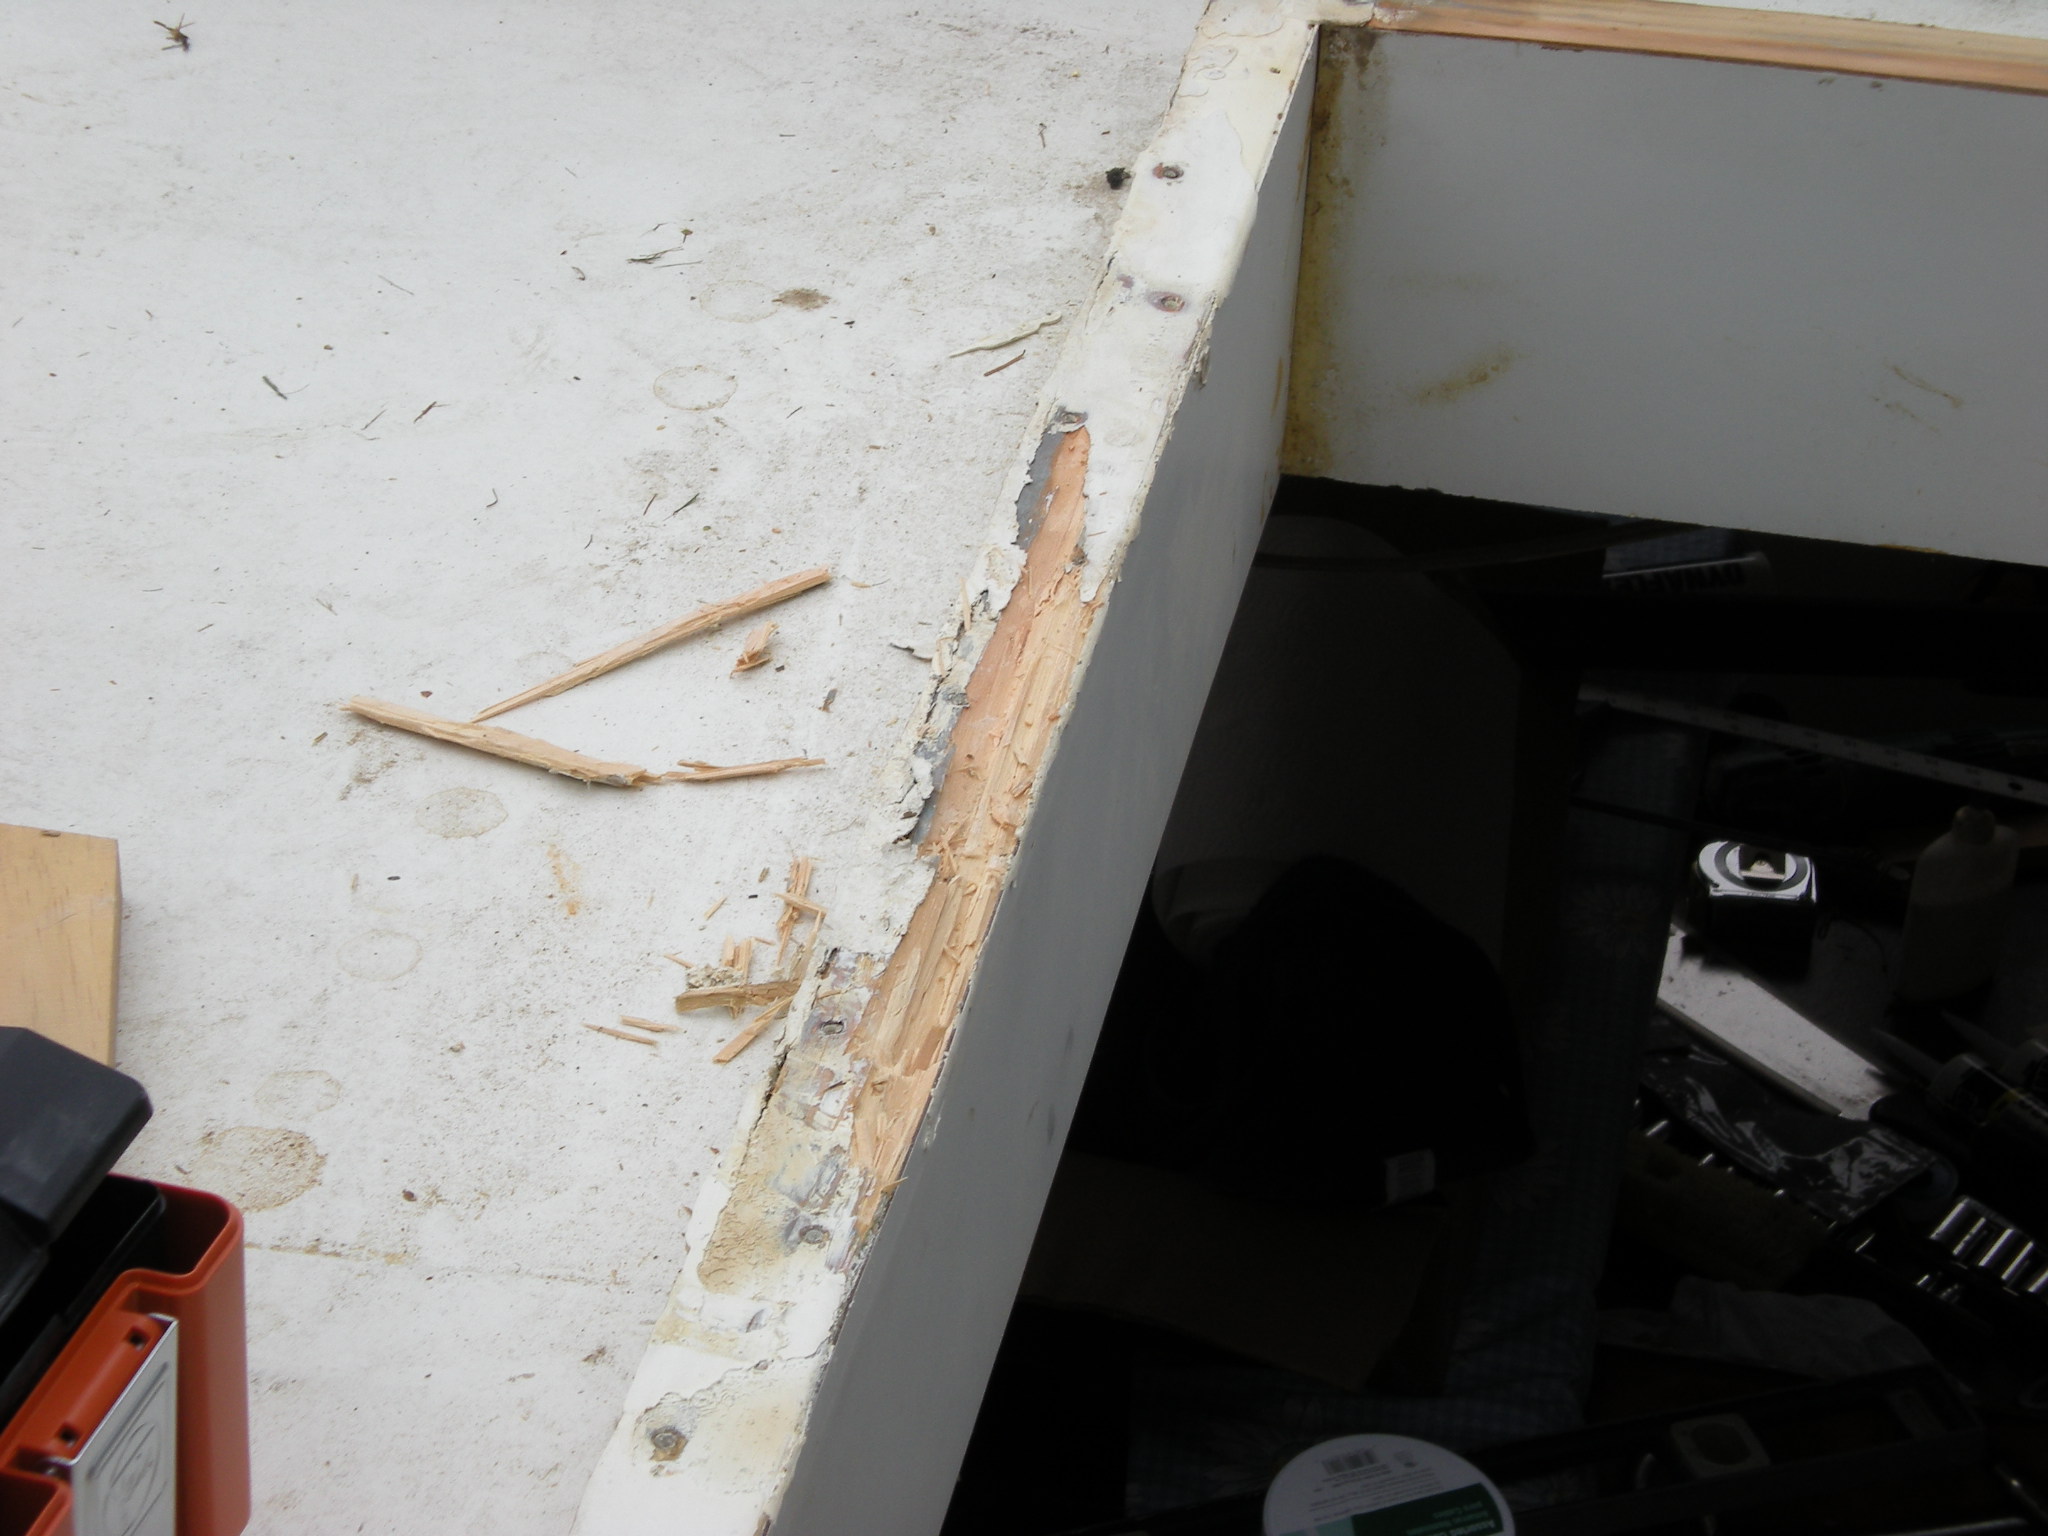
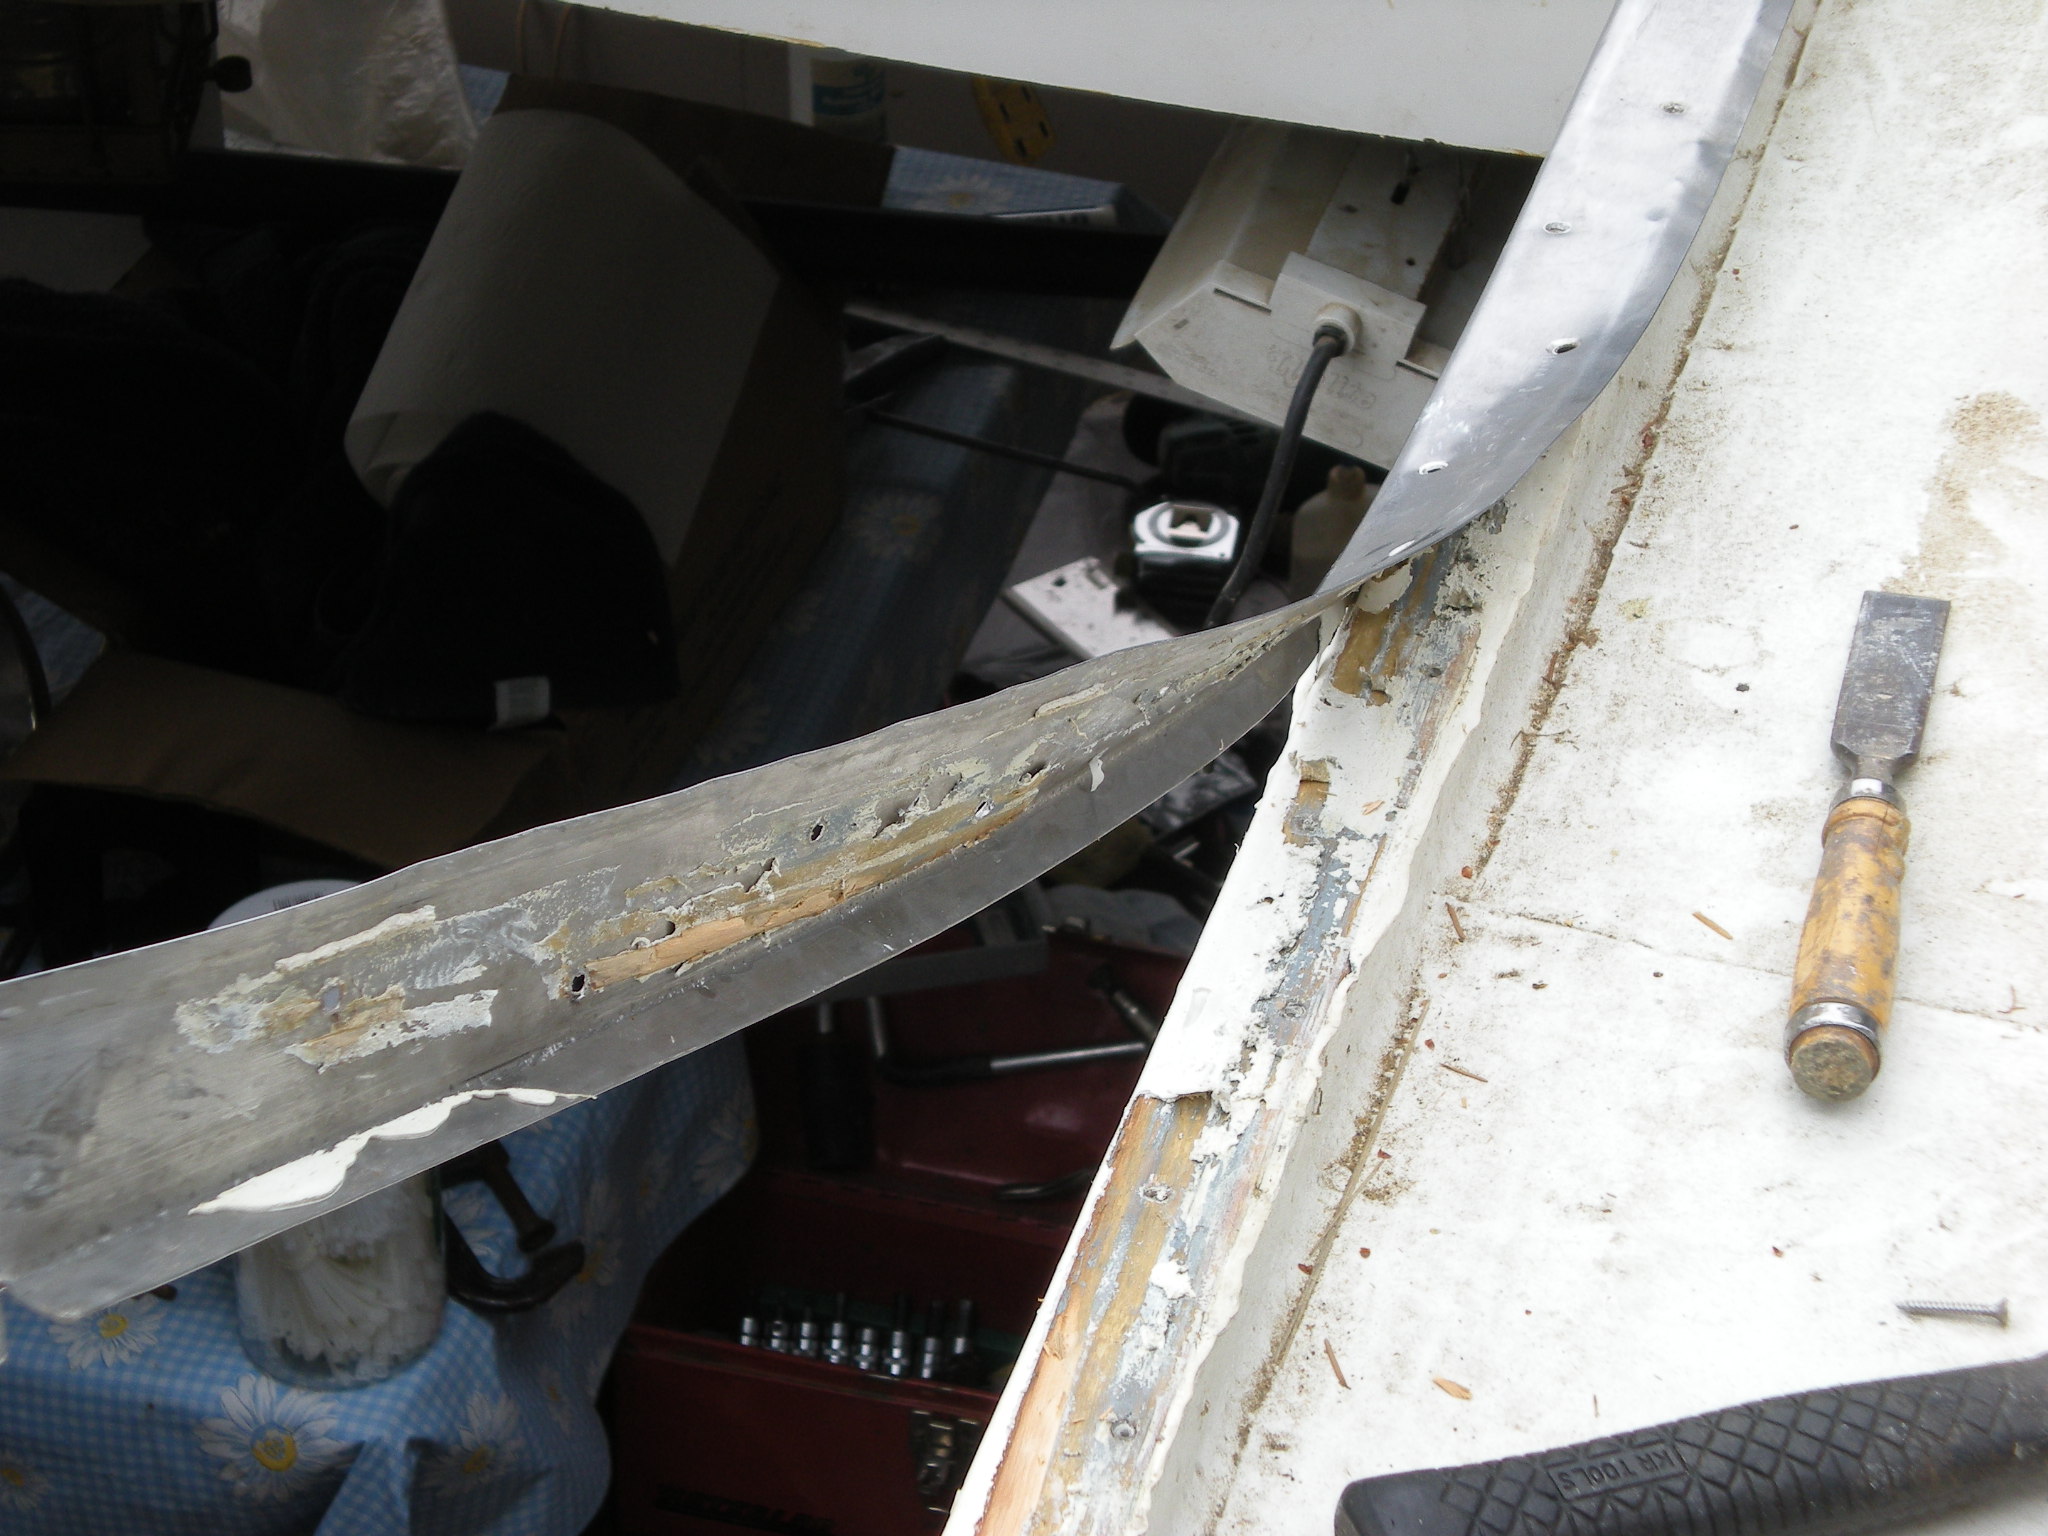
Start to remove the metal on the port side, The 5200 cauling is so tough it pulled up the wood. |
| |
|
 |
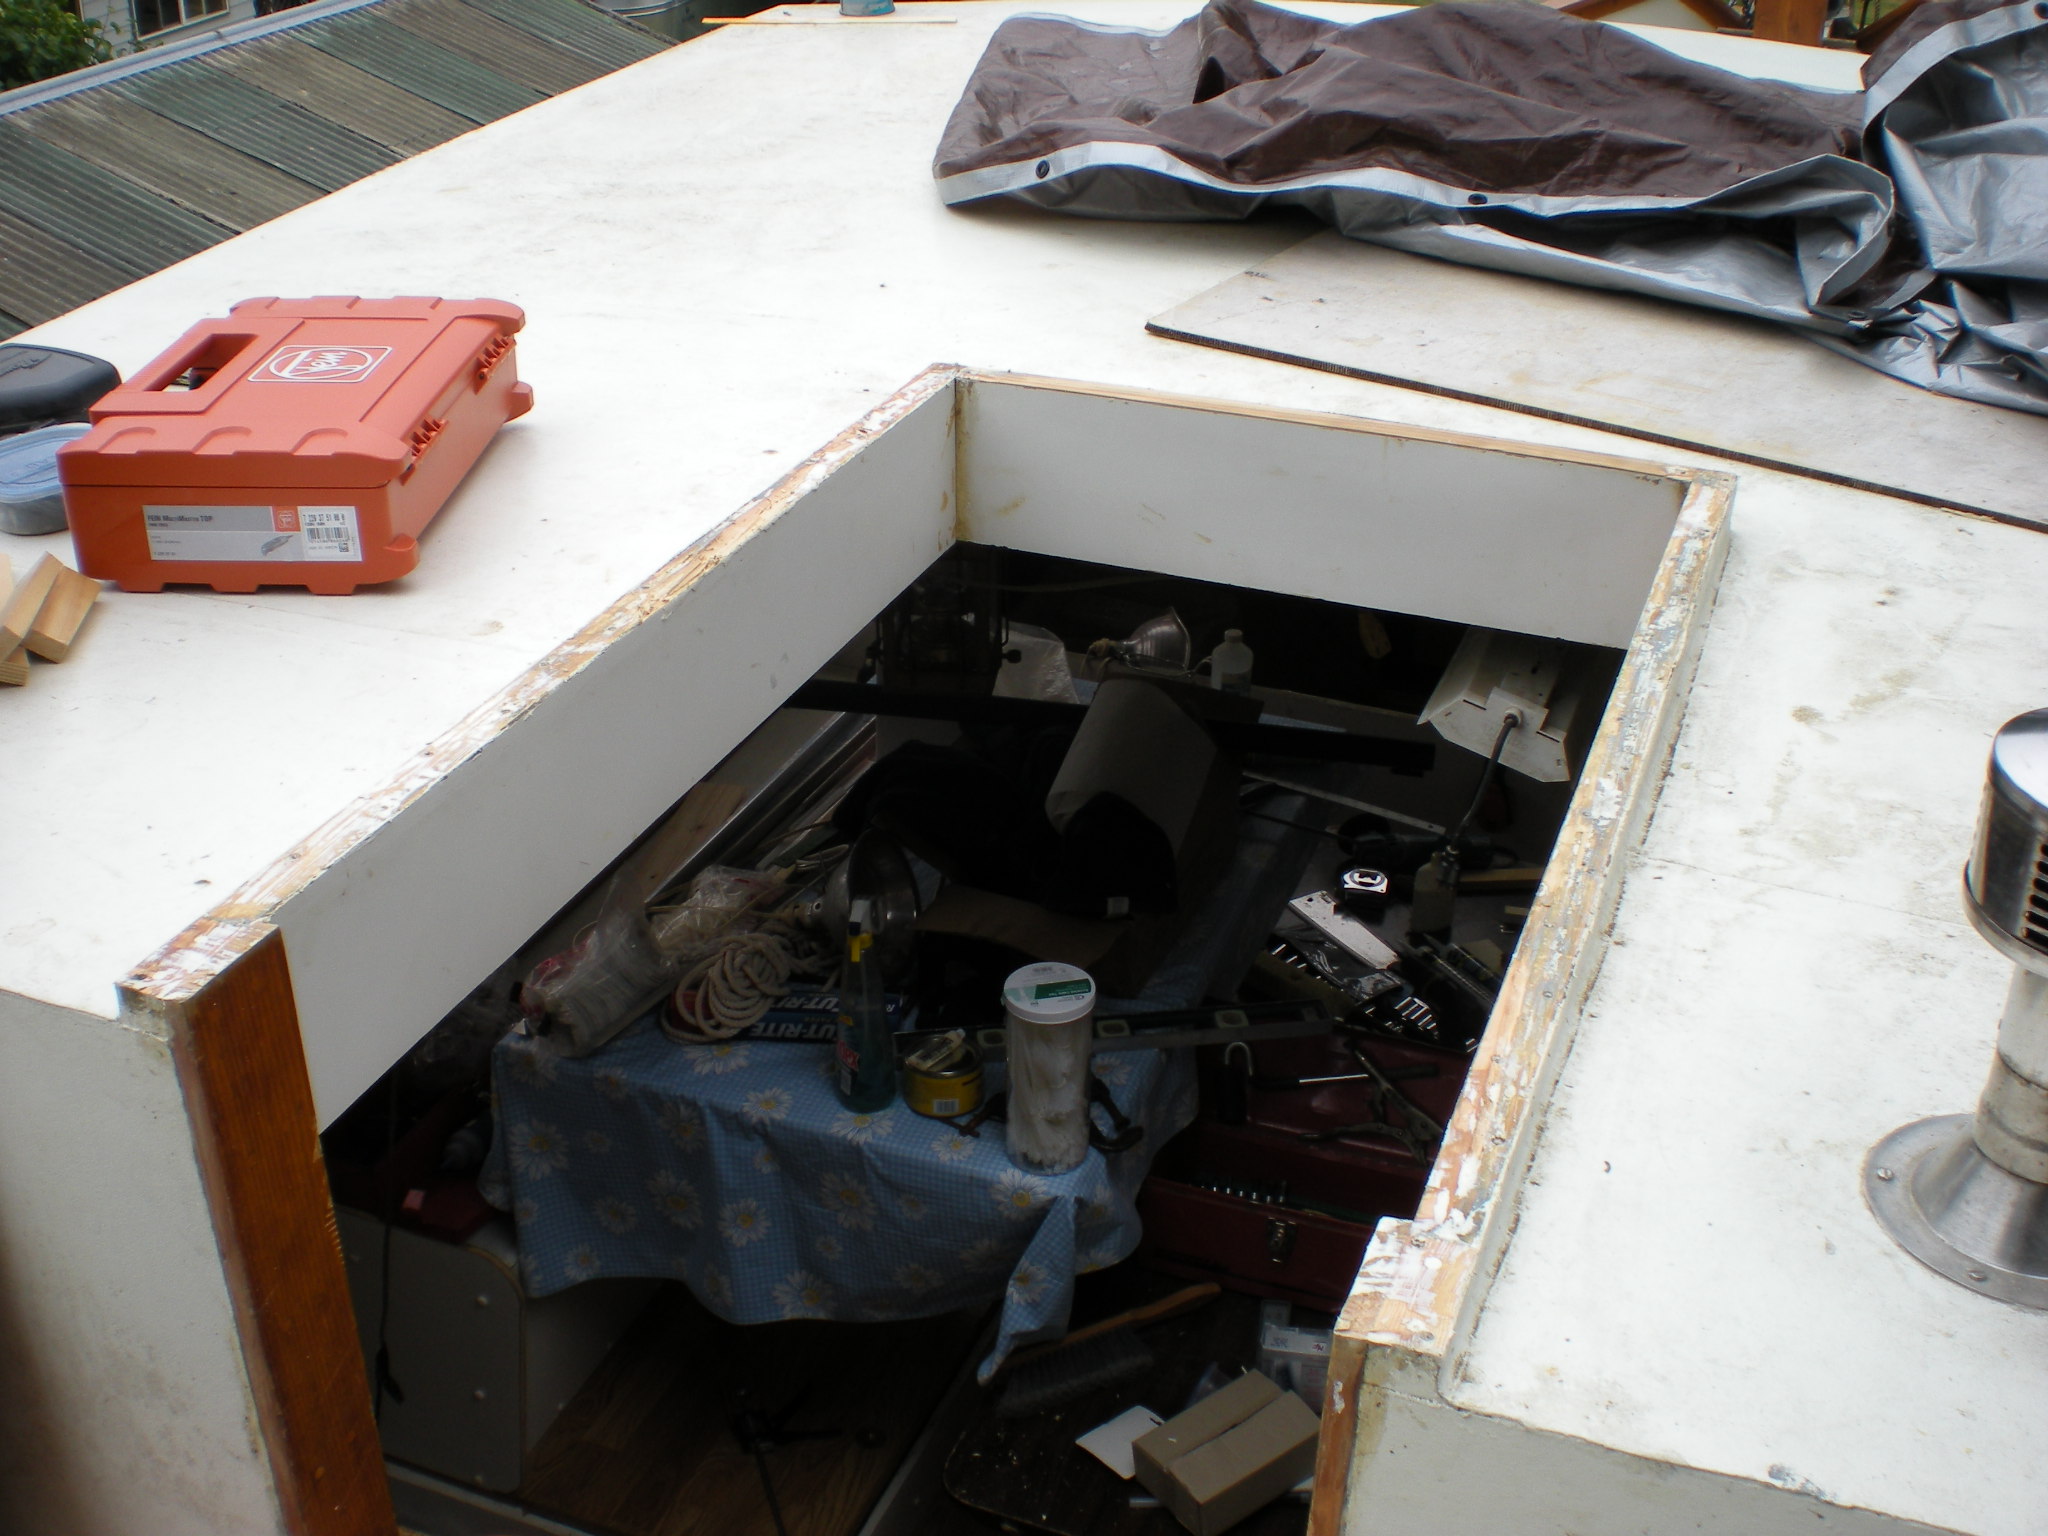 |
| Here is the starboard side. |
All metal removed. |
| |
|
 |
 |
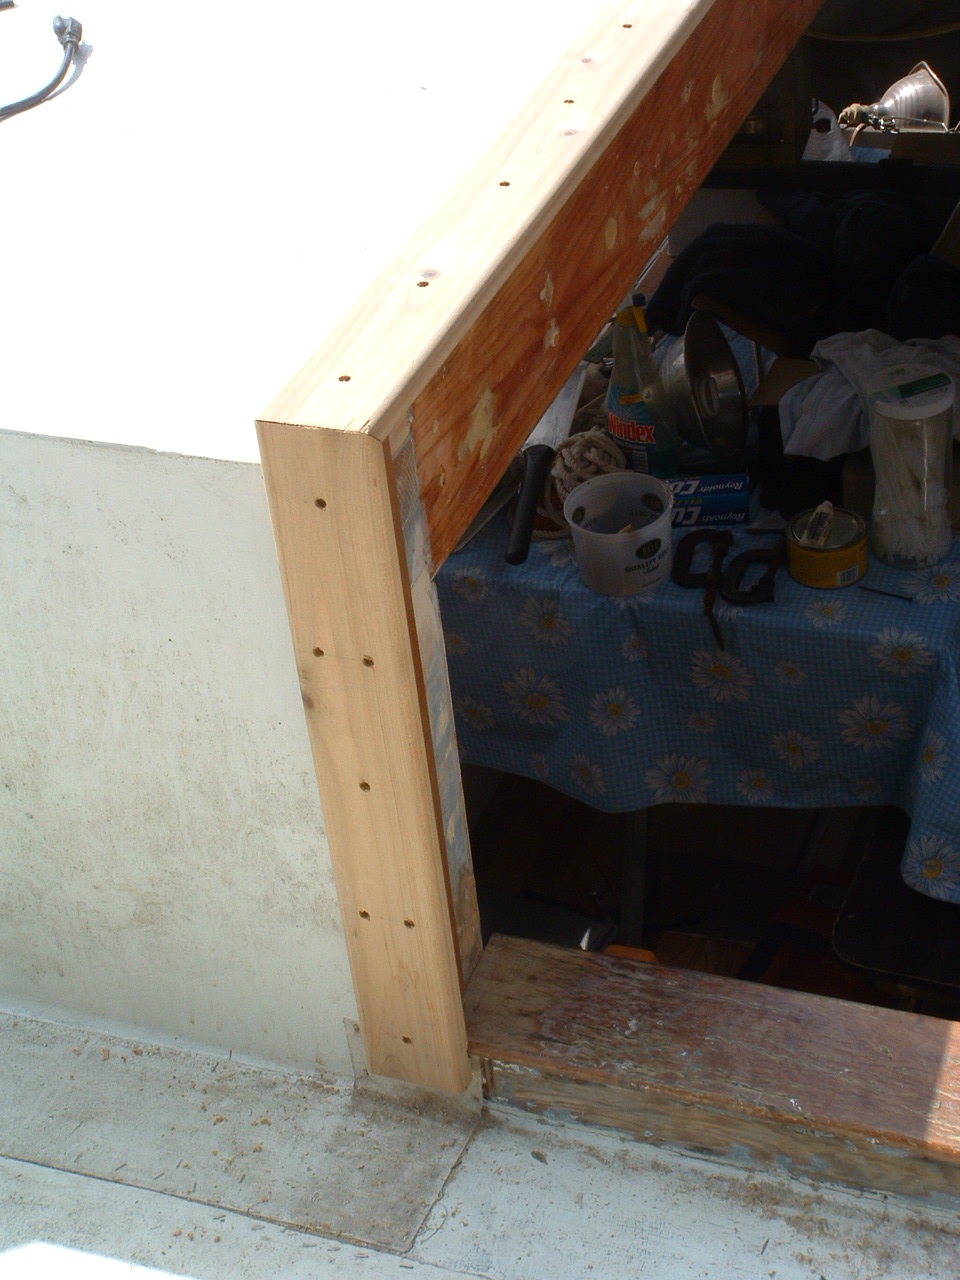
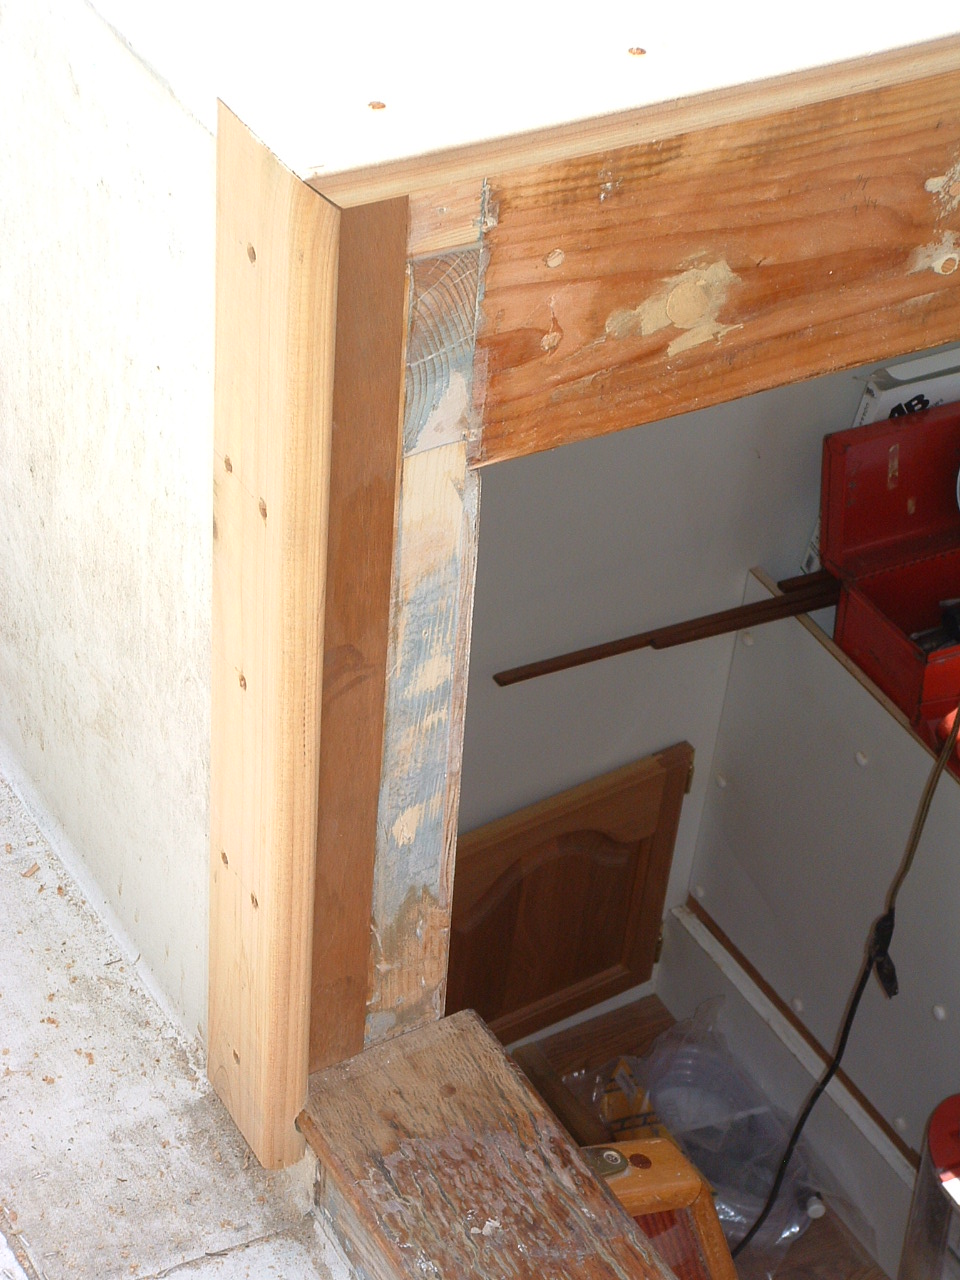
| New entrance trim roughed in. Notice that the white formica is also gone. |
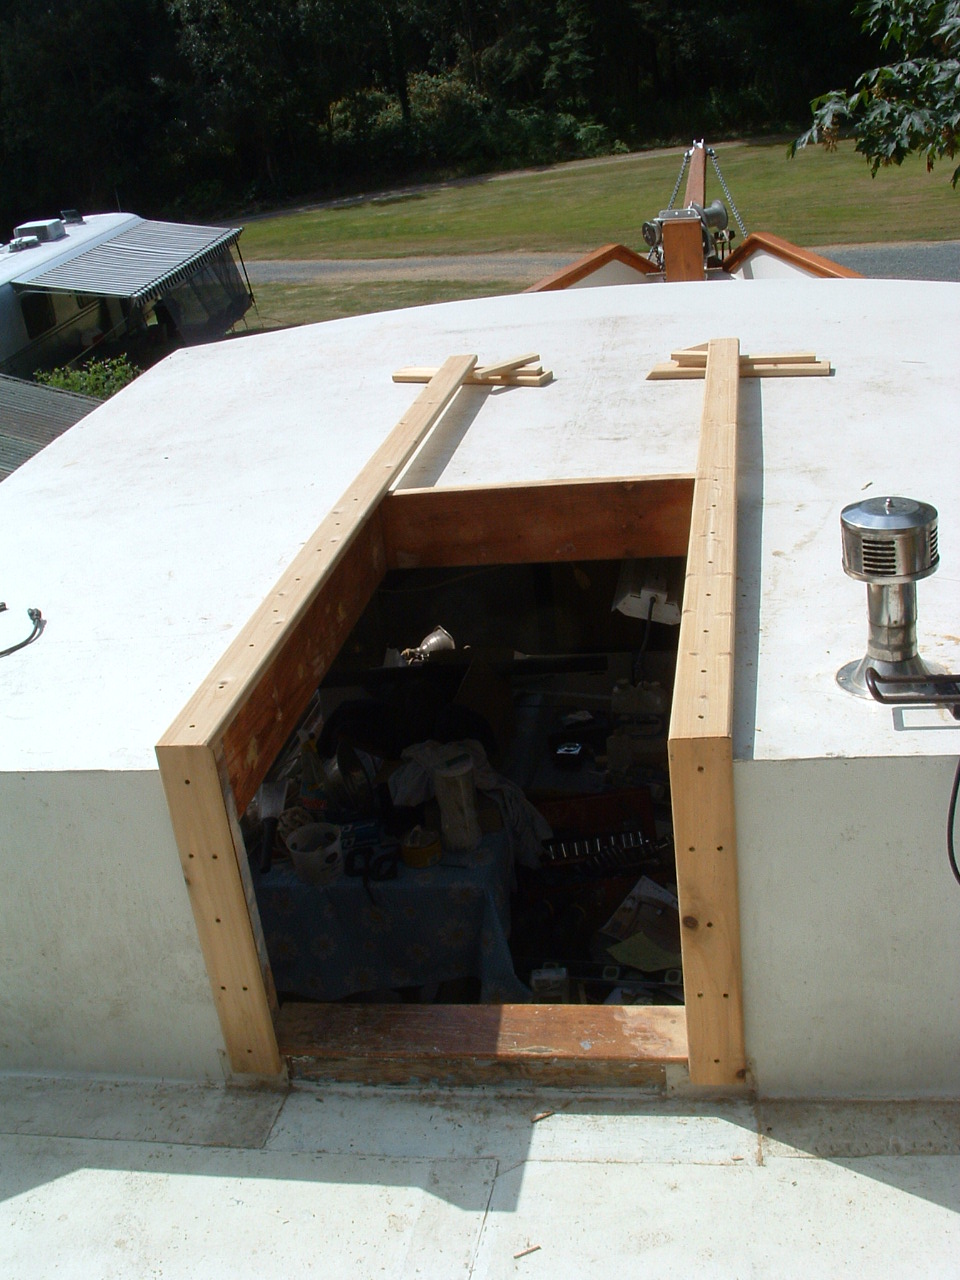
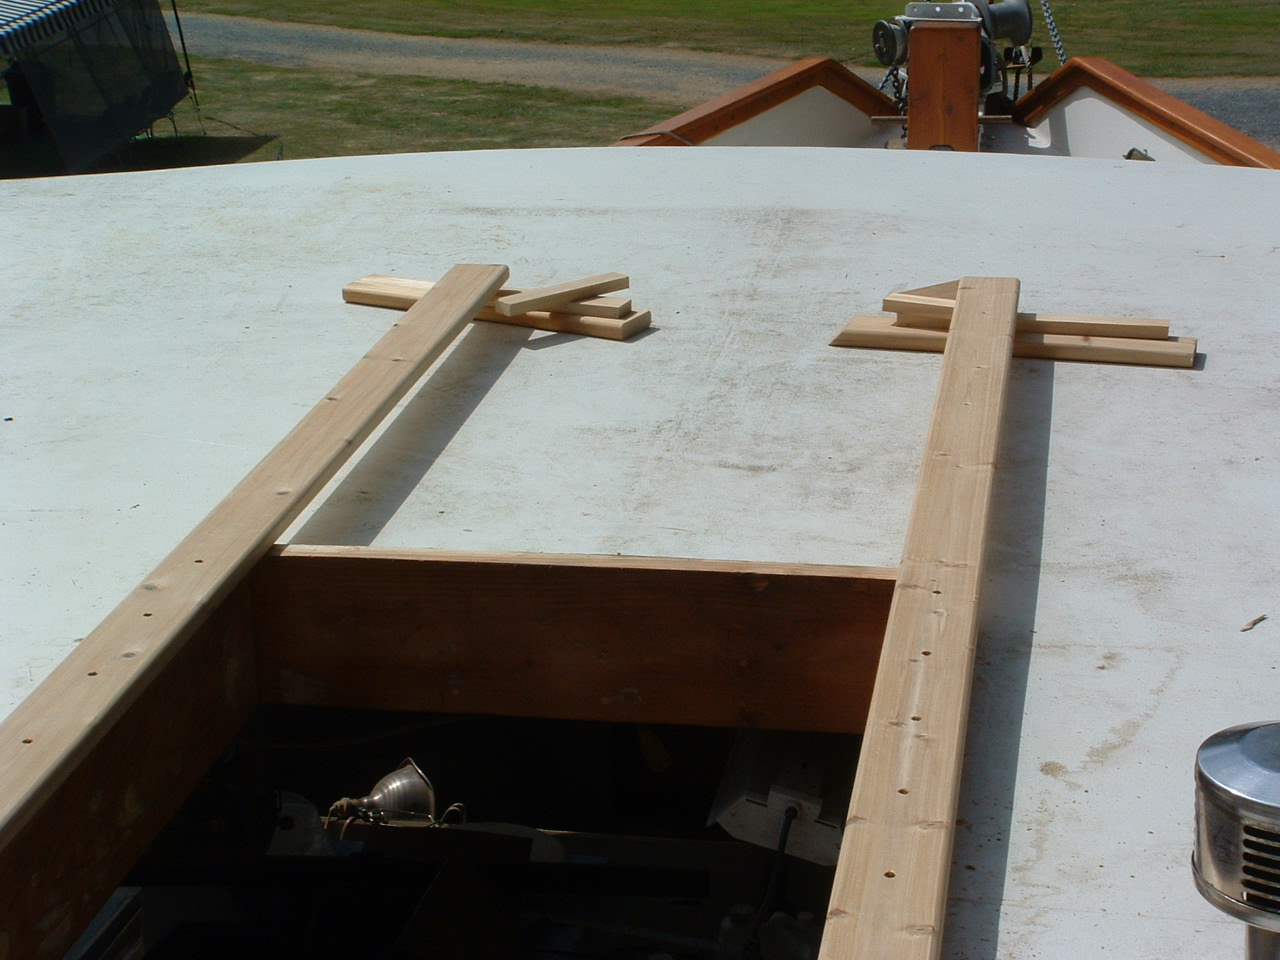
The two rails roughed in. It will be a sliding hatch, so I need it to slide it forward over the top of the house. |
| |
|
 |
 |
| A better shot of the rails going forward. |
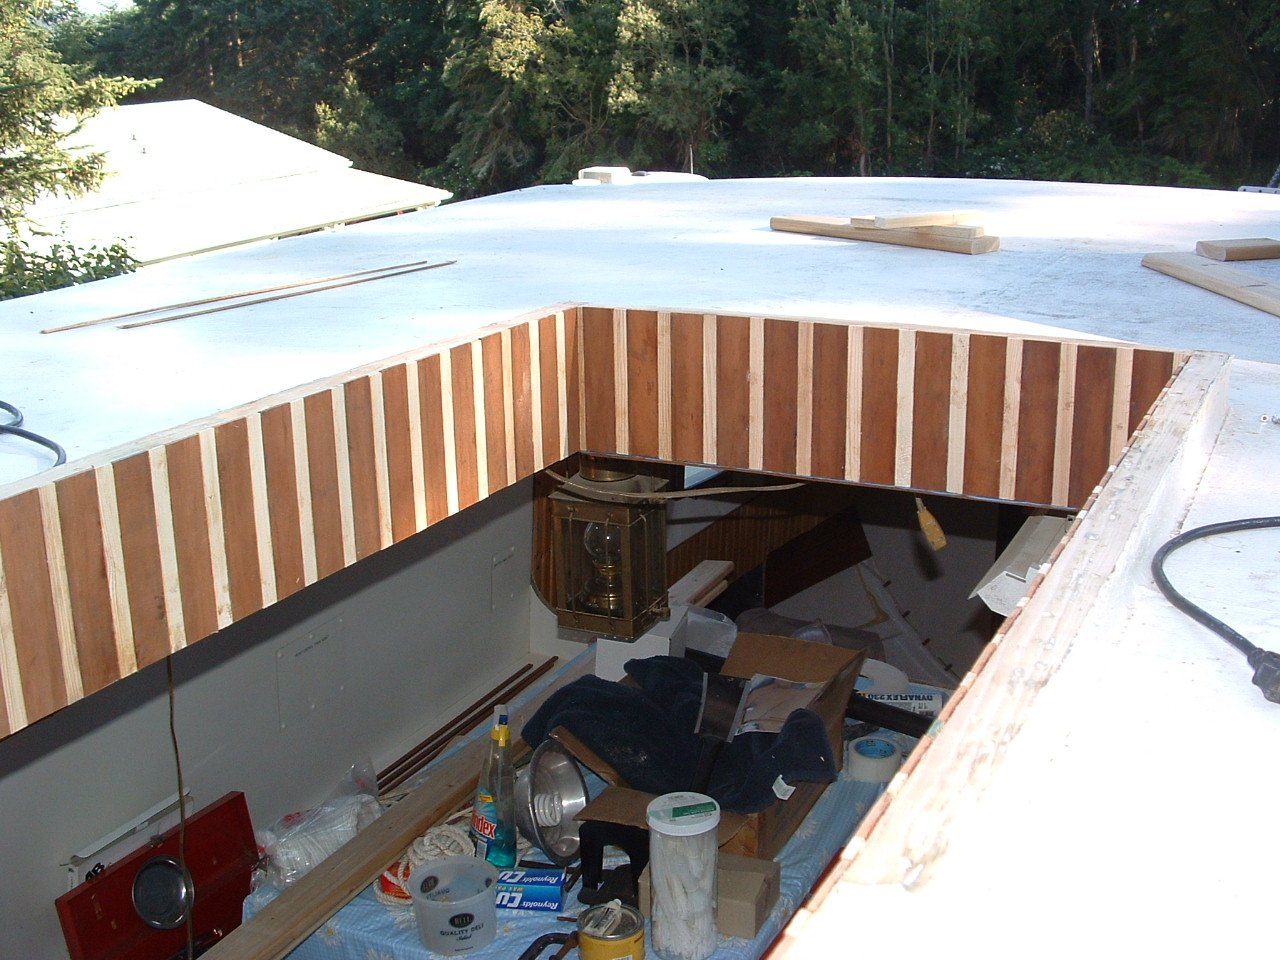
I have to put the fancy trim around the edge of the companionway before I can attach the front trim and rails in permanently. Here is the first one in place. |
| |
|
 |
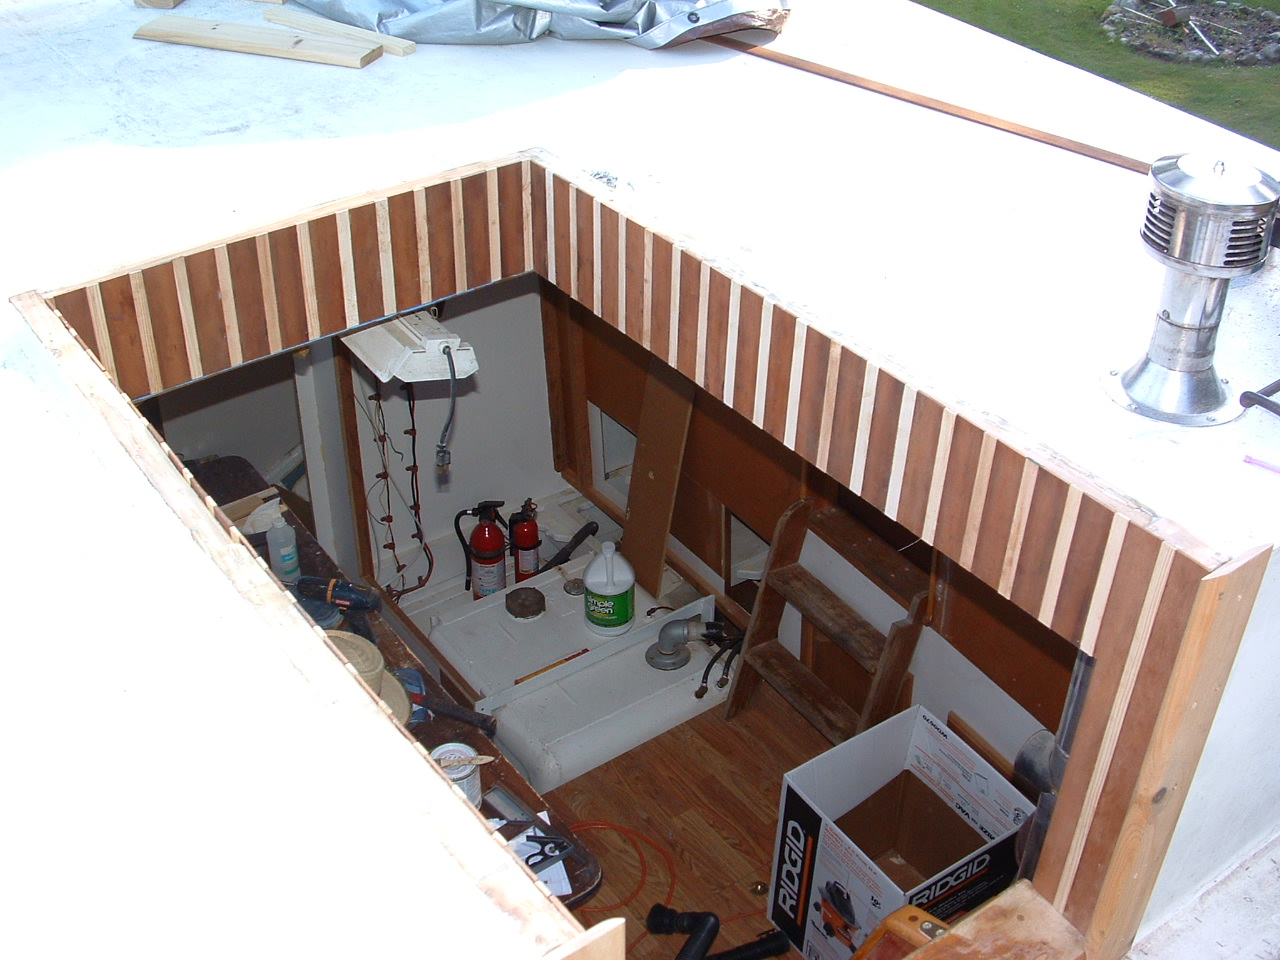 |
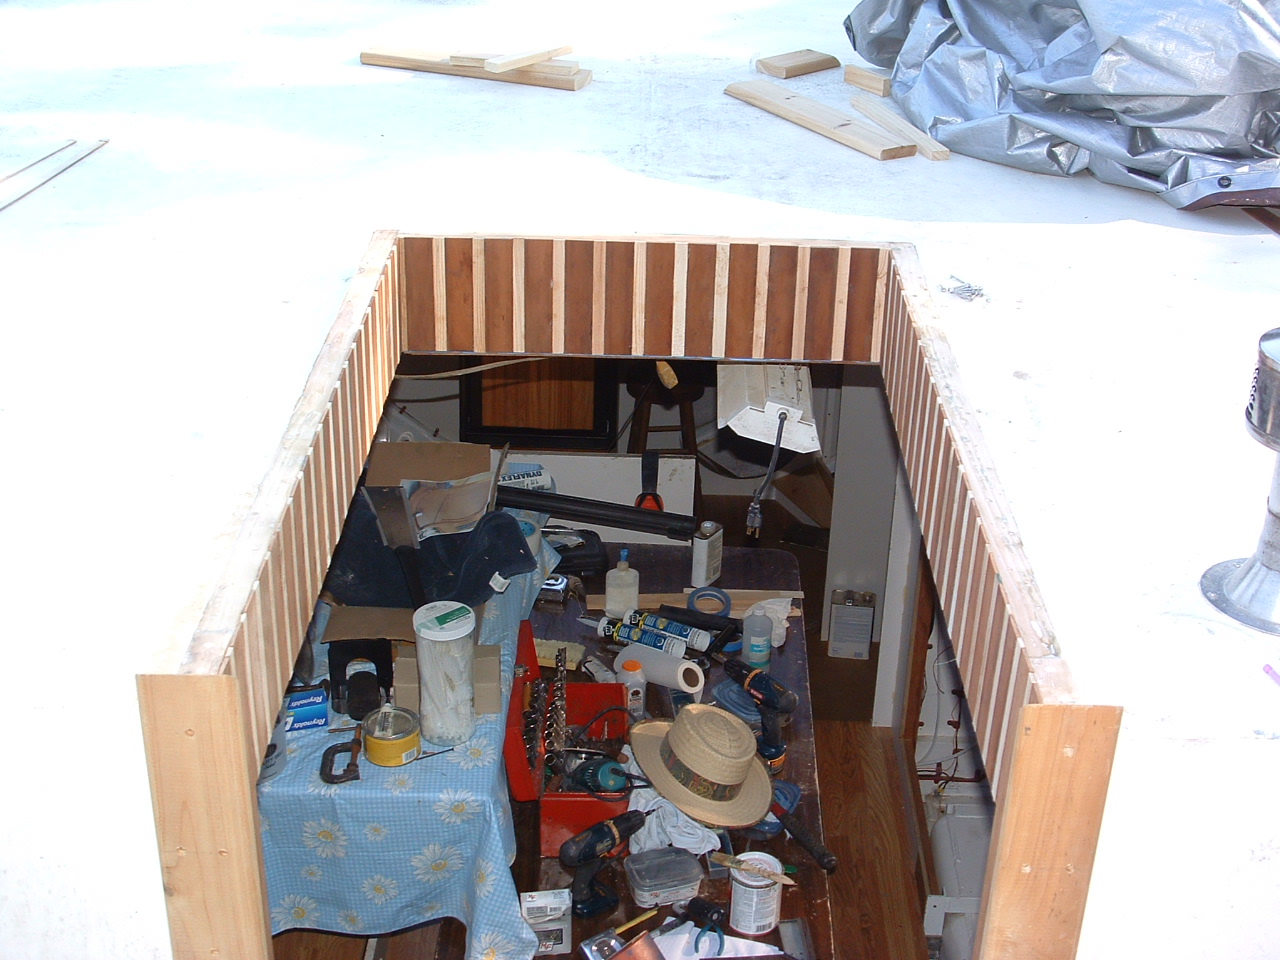
| I had to mill all the mahogany and the fir pieces. |
Here is another view. |
| |
|
 |
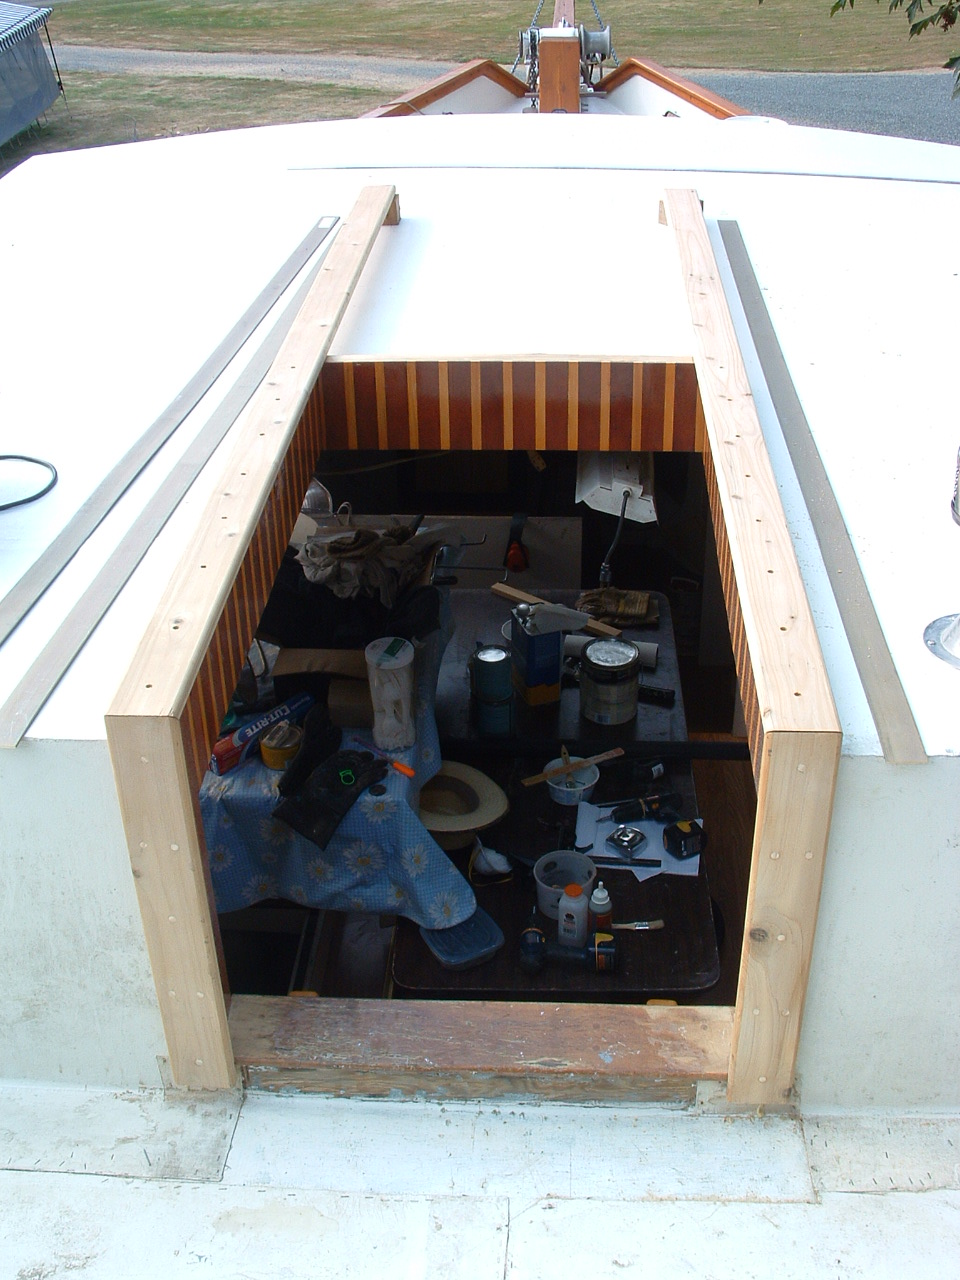 |
And another..... Now to sand it all and Cetol it.
(Notice all the junk/tools down below, I need to Get 'R Done !) |
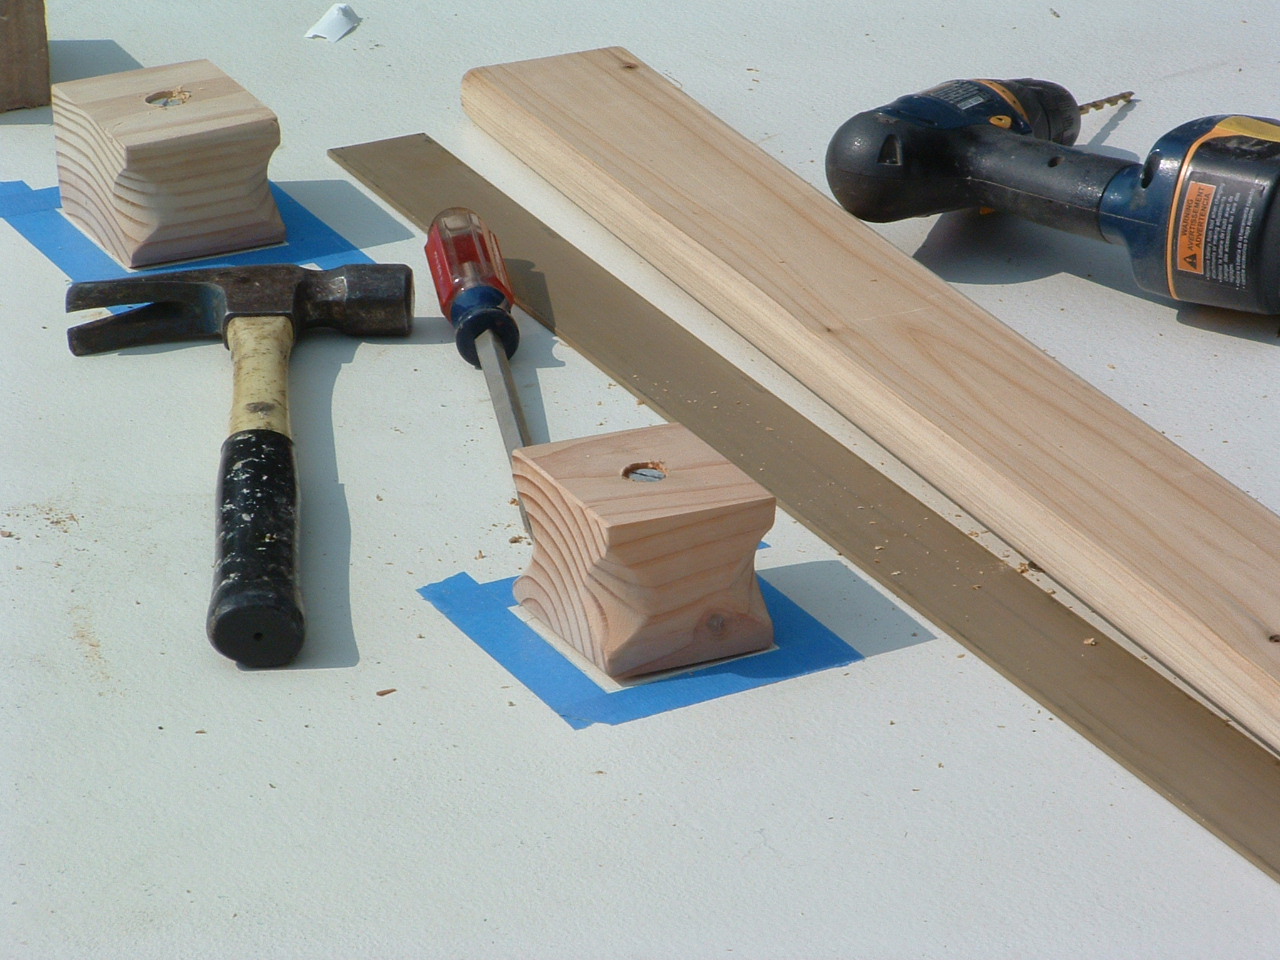
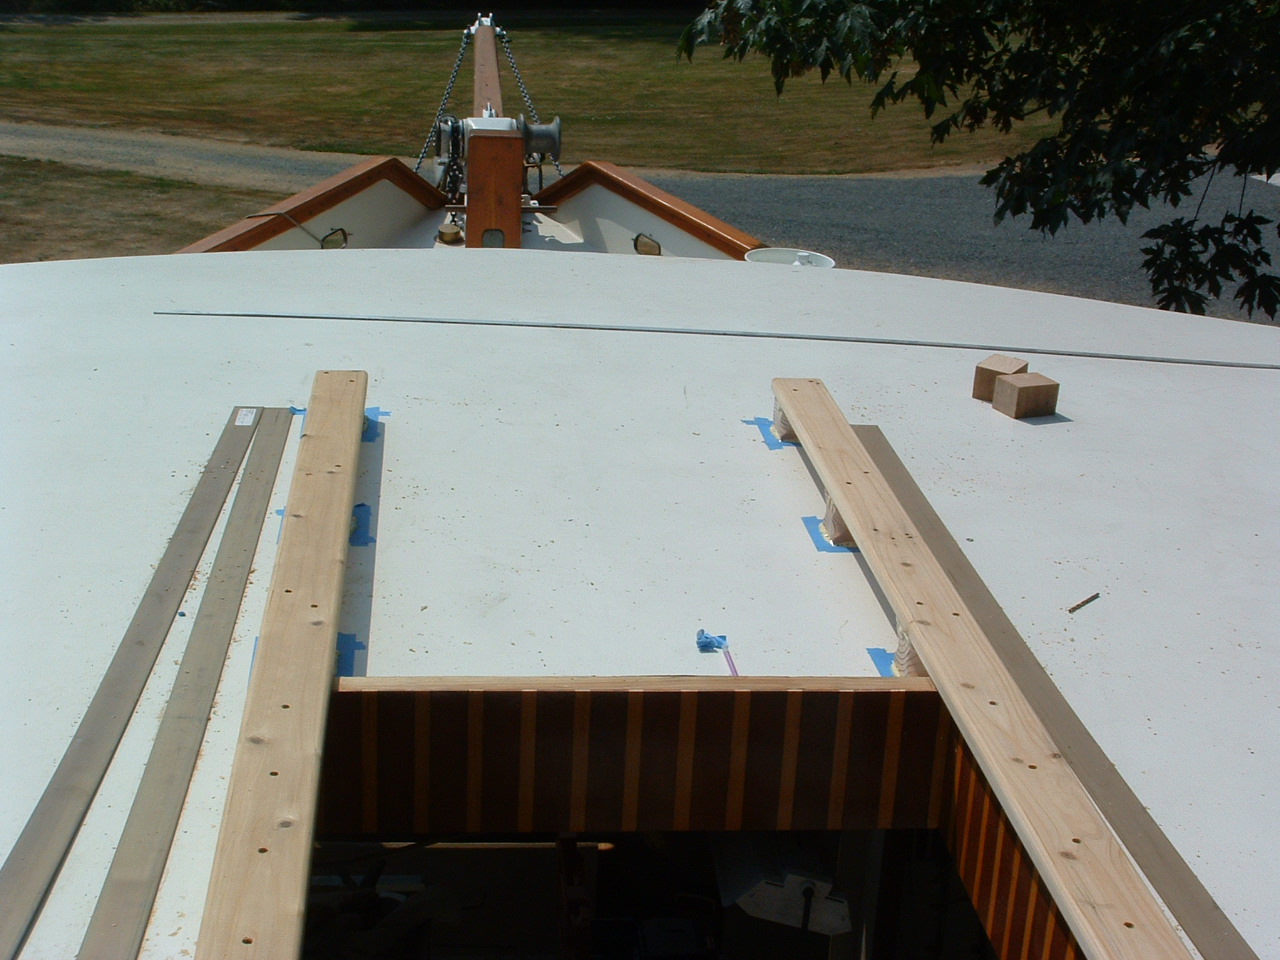
Rails roughed in. Notice new red brass flat stock which will be installed on the rails and a set on the hatch itself.
This will make the heavy hatch slide a lot better. |
| |
|
 |
 |
| Here are the stand offs for mounting the rail. Looks easy huh ? But remember the deck is curved in both directions so these little puppies are very precise in the their height in order to make the rail level. |
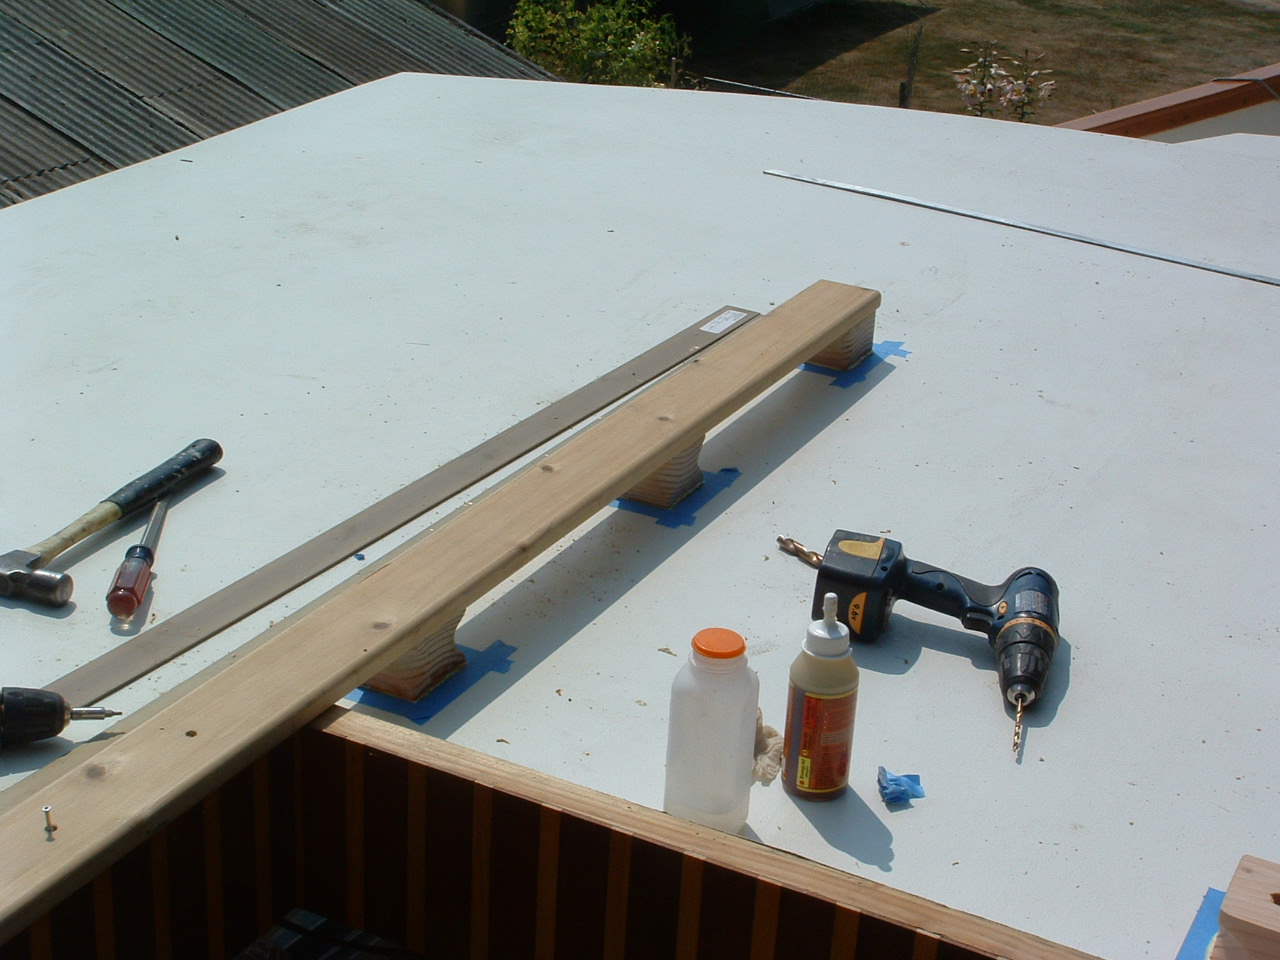
Here we are with the first rail mounted. Tape is there so the Gorilla Glue (awesome stuff) won't stick to the deck around the edge. |
| |
|
 |
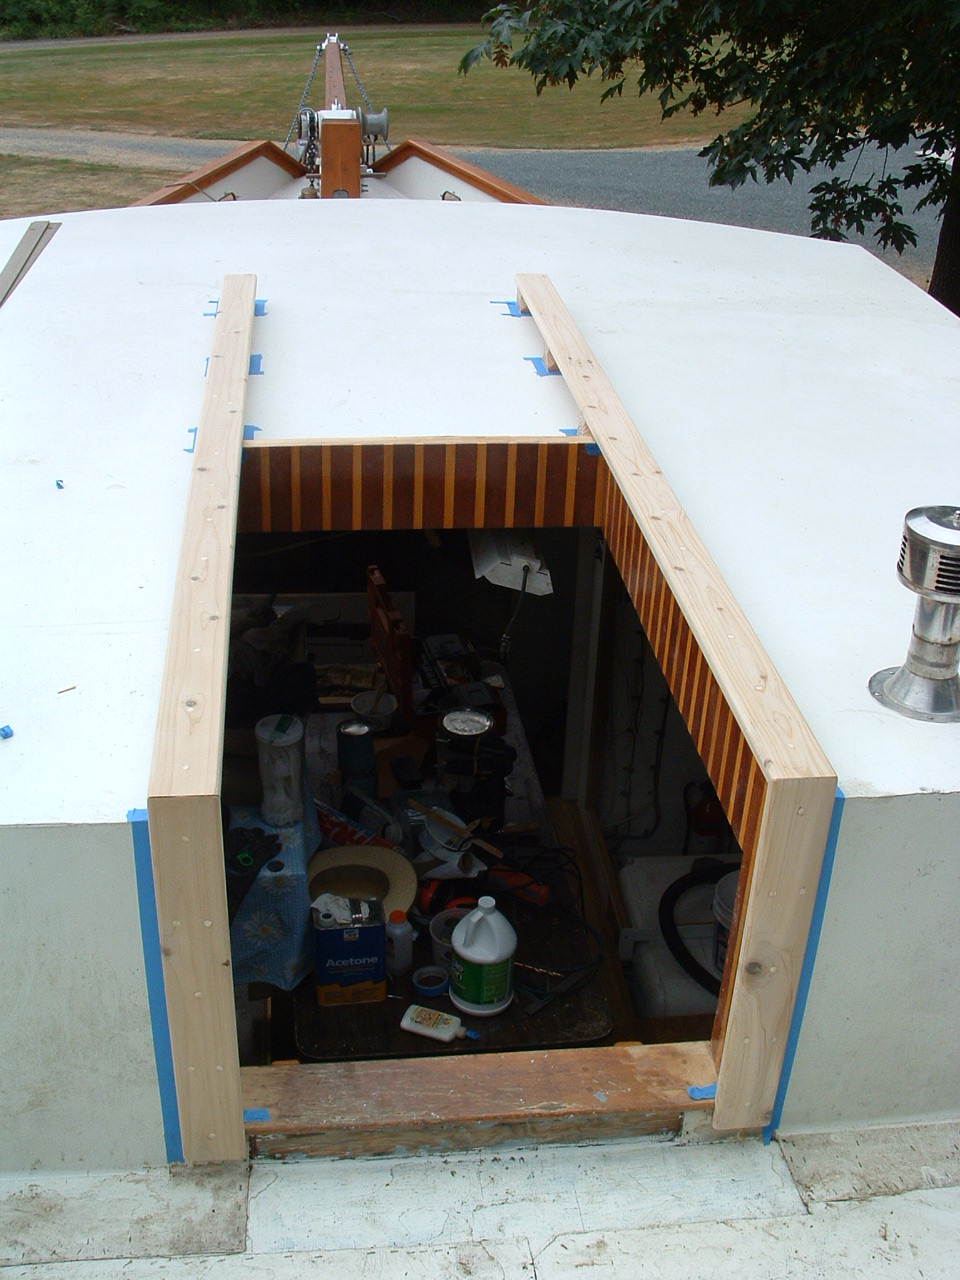 |
| Both rails fitted, now we're ready to take it all apart and glue it. |
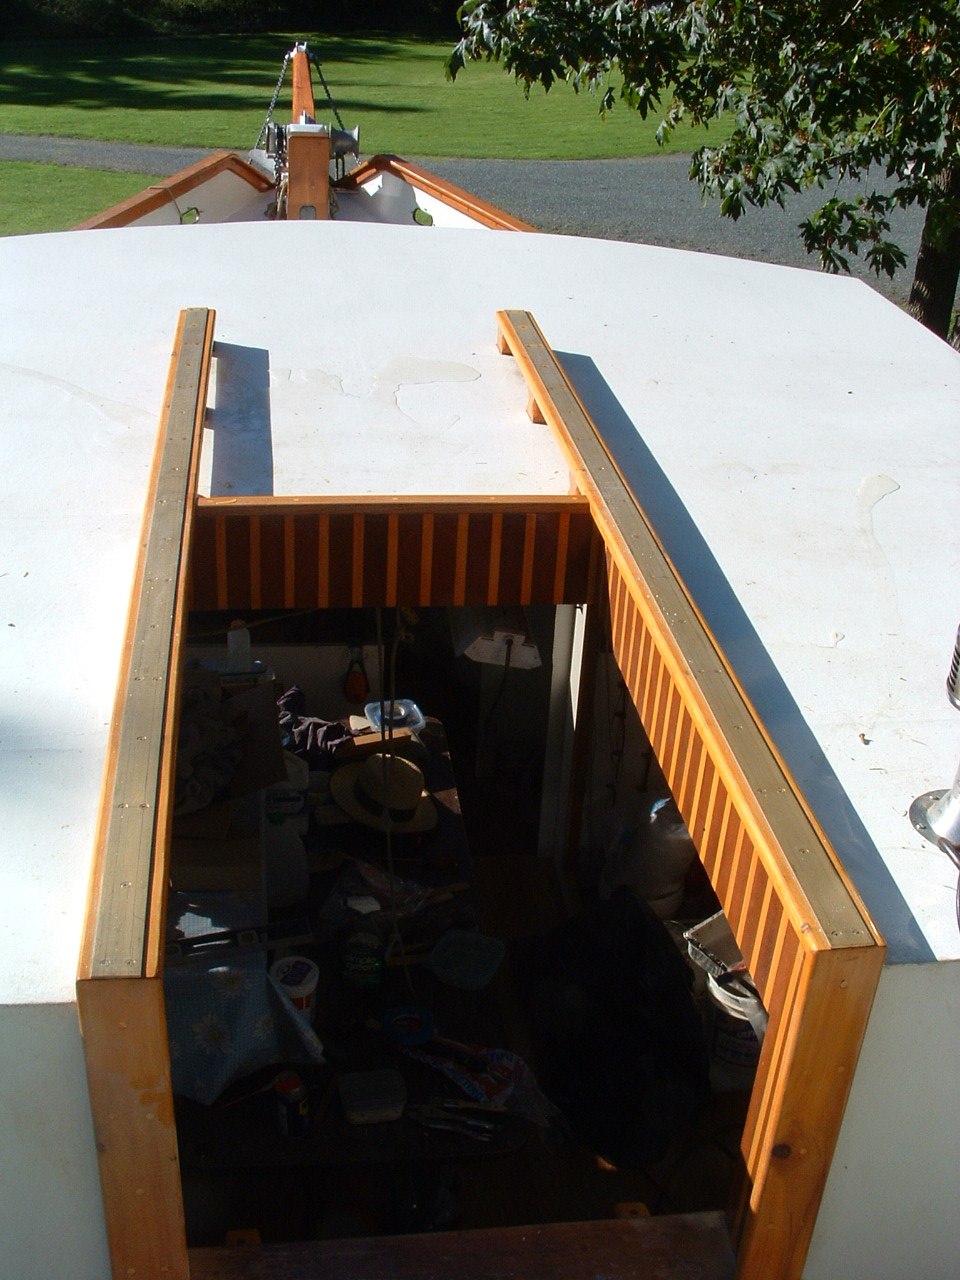
Screwed, glued and plugged. Ready for Gnetties magic with the cetol. Major accomplishment. |
| |
|
 |
|
| Hatch opening and slider rails complete !!! |
|
| |
|