Wiring and Under Deck Covering - 2008
 |
 |
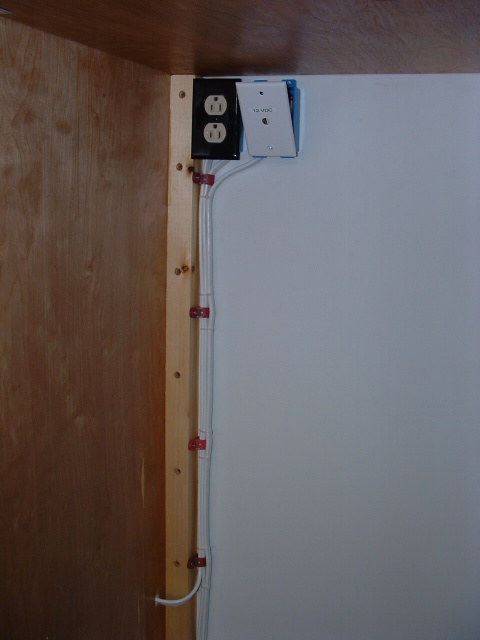
| As great advice from friends I ordered Marine Grade 14/3 wire for the AC and 12/2 for the DC wiring. Marine wire is like aircraft wiring in that it is tinned throughout its length to prevent corrosion. Then before I attach a wire to an outlet the wire gets soldered (tinned), then bend around the outlet screw and tightened down. After the wiring is complete all the attach points and the inside of the outlet is sprayed with White Grease, lithium. First I needed to wire in the fridge so the next time I put it back in its proper place it can be there for good. I also wired it for the 12 volts as you can see. I used a trailer plug as a disconnect for the DC connection. |
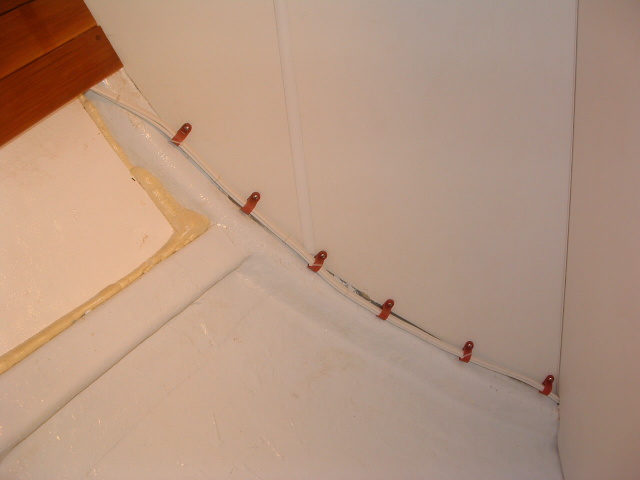
Here is the wiring leading up to the fridge cabinet. |
 |
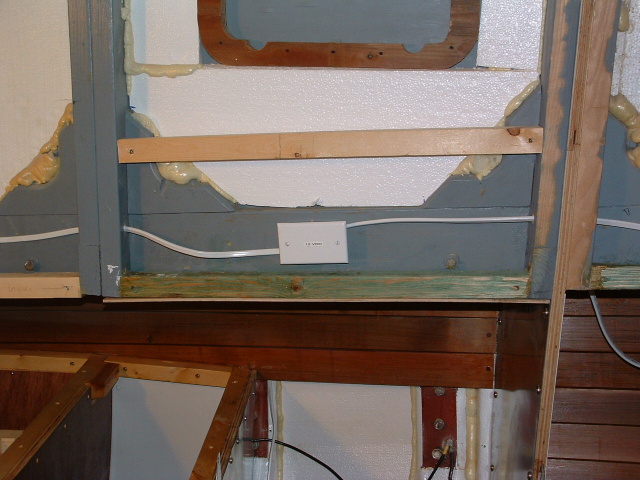 |
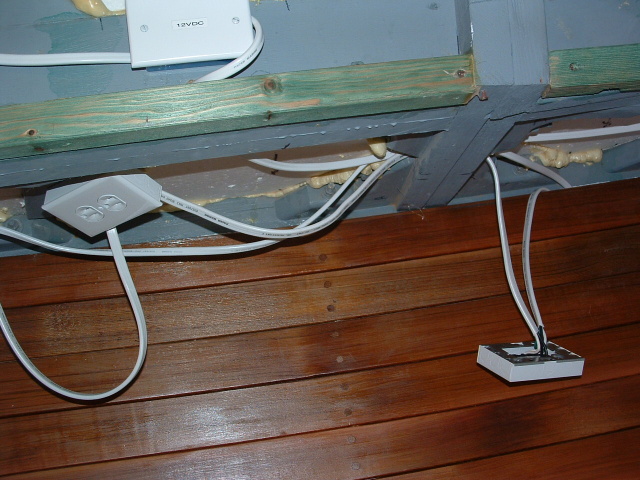
| To accommodate the wiring, I had to drill holes through the deck supports from the aft to the V-Berth. The deck supports are 3 by 6 beams so a 3/4" hole will not take any of its strength away. I put the AC under the deck and installed the 12 VDC boxes in each opening along the wall. this will let us install any light fixtures we may need. | Here is a picture of the wiring along the wall. |
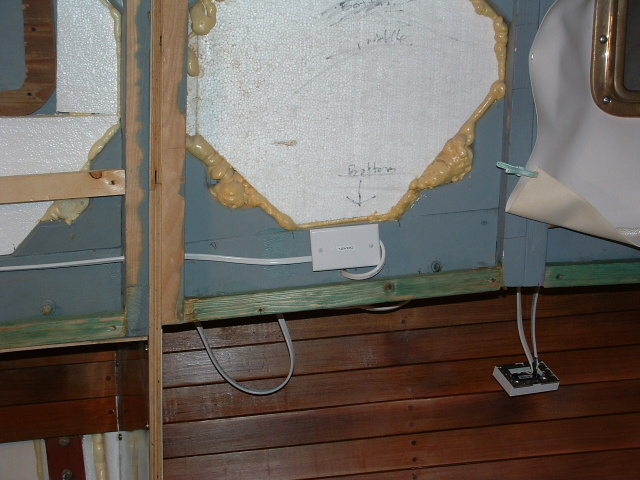 |
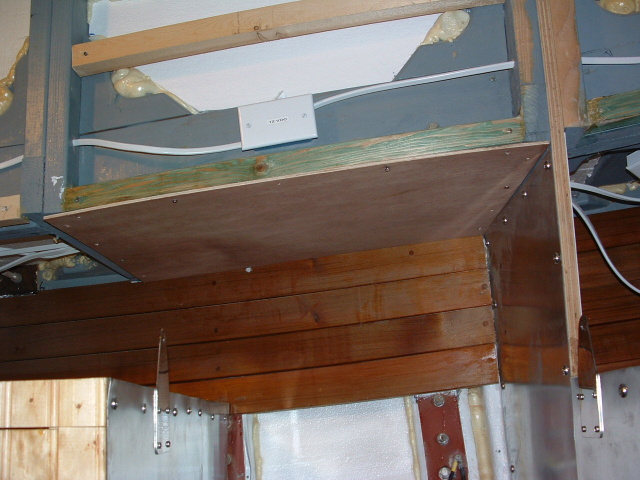 |
| Here is a picture of the wiring along the wall. | Now to pretty it all up. First I make a template, then fit the 3/16 Luanne into its place. I did this for all 4 deck openings. |
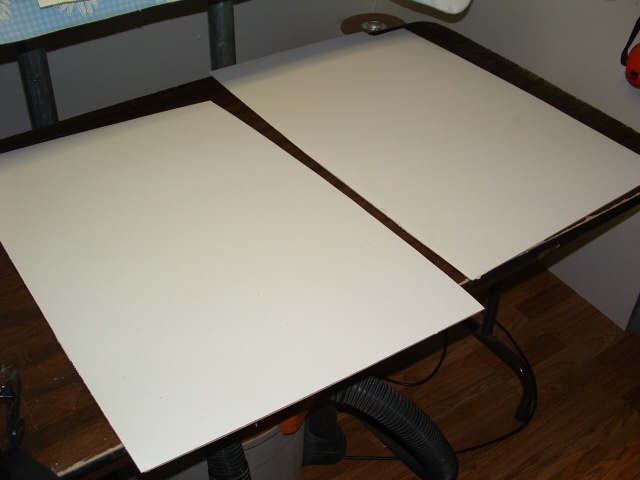 |
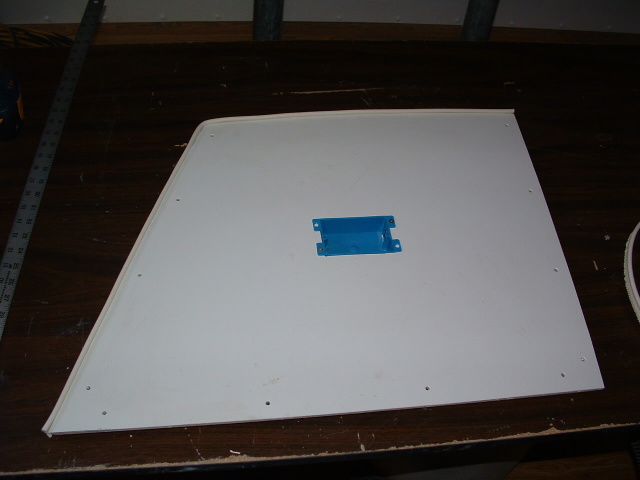
|
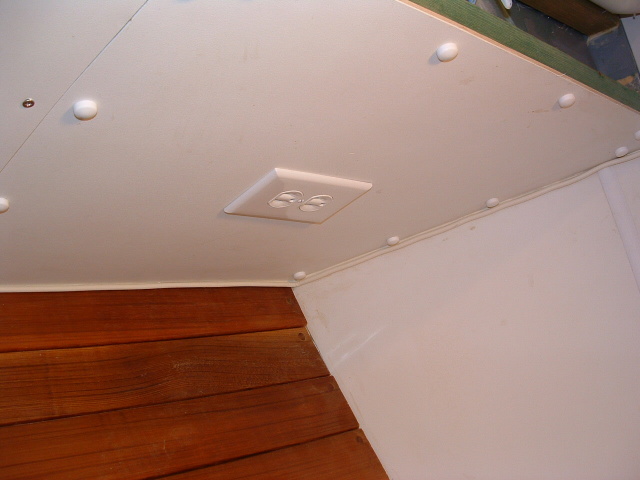
| Then I cover it over with the same plastic wall covering we used throughout. | Now I cut the holes for the outlets. Then I wrap 2 sides with white marine welting. (That's the white trim around the edge.) |
 |
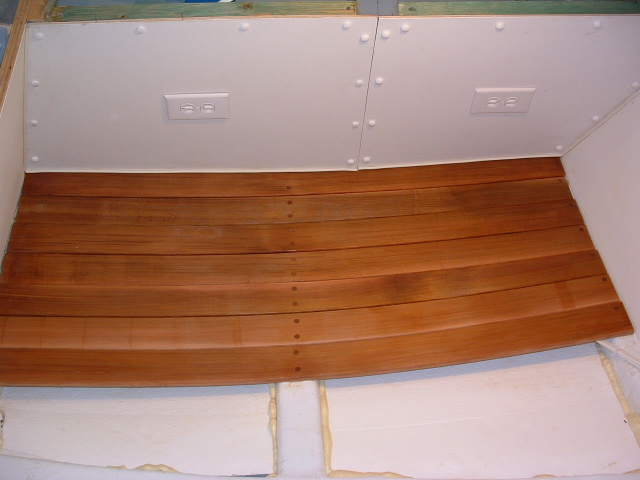 |
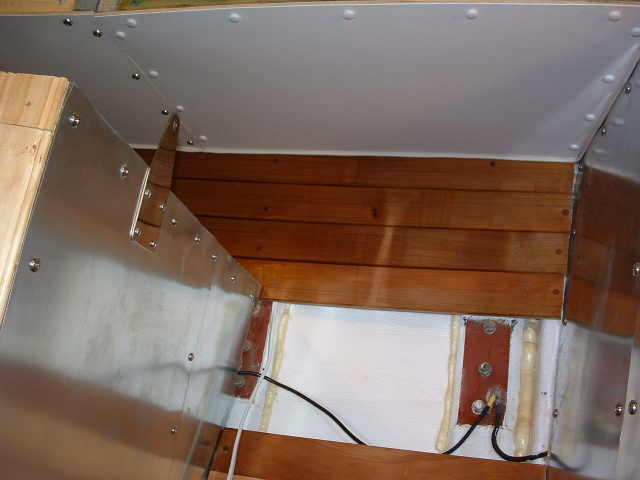
| Then install the outlet and mount it with white screw covers. | A shot of both forward sections. This is section where the cold locker will go. |
 |
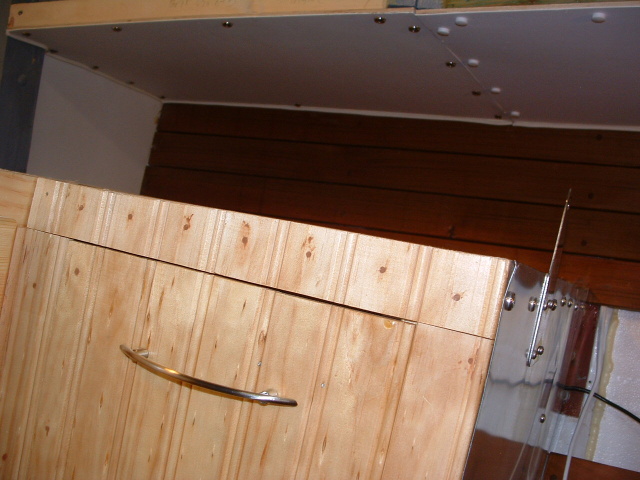 |
| Up under the stove opening. I took the stove and range out to wire it to 12 volts and we have to move it forward so a pot can fit on a back burner. | And the area above the galley counter. I used finishing washers instead of screw covers. I now have about 400 proper white screw covers on order, so these will get changed out when the order arrives. |