Pilot House - 2002
|
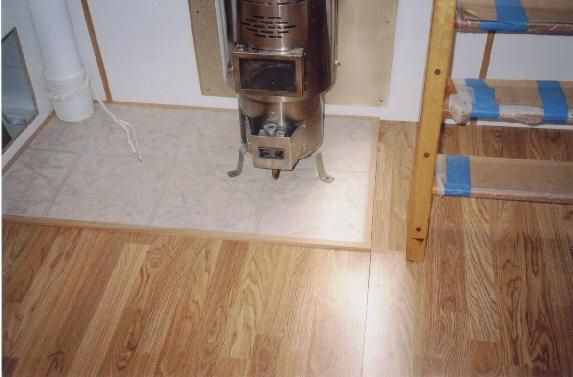
Would you believe it took 5 weeks to complete the work you see here. I installed all the pergo on the floors, built the settee, installed our teak table and did the ceramic tile under the stove with an oak trim. In order to get the stove working I had to plumb in the auxiliary fuel pump, etc. I found a lot of water in the tanks so I have a lot to learn when it comes to diesel fuel. I have to replumb it all so I can clean the tanks if need be. |
|
 |
 |
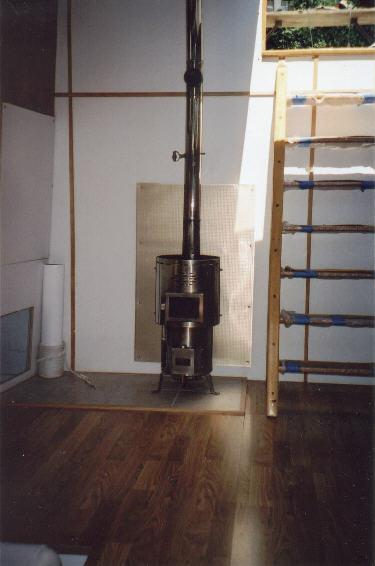
| Here is a close up of the fully installed diesel heater.. The nurse tank has been leak checked and the heater is now fully functional. It should keep us warm for many, many years. It only burns about 1 gallon a day | Here is a wider view showing the stove pipe installed and the trim on the back wall. The companion way ladder is fastened at the top with bronze hinges so it can raise up and hang on the ceiling when I need to get under the floor. The pipe on the left with partial rope work will be a full size air vent for the evacuation of air below the floor. I needed to create this in order to cut the circle in the tile so it could go through the floor. |
 |
 |
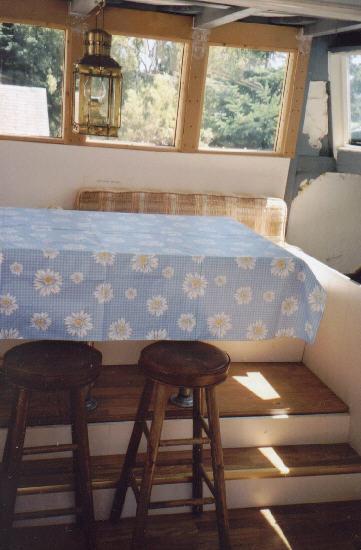
| The table cloth is covering a lot here, but you can see that the settee is complete with storage below. I was able to get my affect of looking out all the windows while sitting on it. All we need now is foam and upholstering
and it will look ship shape. I even hung our lantern for a full ships affect! I am keeping the stools there so we can seat as many friends a possible around the table. The table also folds out at both ends. |
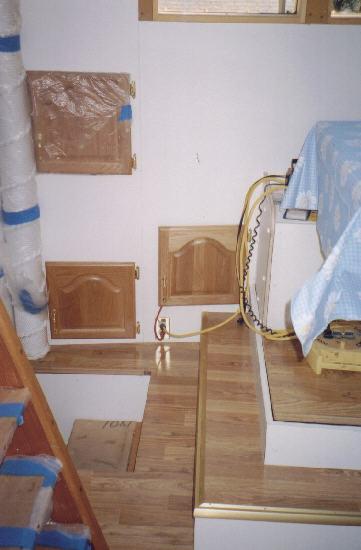
This shows the aft side of the settee You can see the box I built for storage and seating. The hard part was getting it to slant back at the bottom where your feet go so you have plenty of foot room. The cabinet doors allow access to the storage areas around the pilot house. The pergo floor looks nice but the material is hard to cut and fair. I tried to make the hatches fit as close a possible but it was a huge time consuming task. But as you can see the results are worth it. |