|
The rub rail follows the deck shelf along the outside of the hull and
is designed to protect the hull when the captain decides to dock, or tie
up to a dolphin etc. In plain words if we are going to hit anything the
rub rail will hit it first. Therefore it must be strong.
A few years ago our friends Paul and Trich Pelton showed up in Washington
and presented us with a whole load of Sitka Spruce 1" by 2"
(actual Size) by 10 foot. (Paul died in 2002. He will be missed
by all his friends.) They had been hauling it around in their
pickup truck since they became full time R'V'ers. So we helped them unload
the prize and I got to work.
|
 |
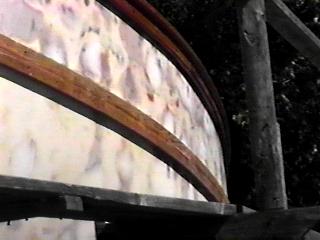 |
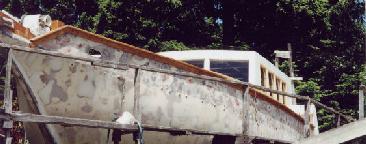
| This is what the hull looks like before the rub rail is added.
See the black dots about 18 in. below the cap rail. These bolts hold
the deck shelf and gussets in place. The rub rail is going over these,
so if the ship hits anything the force will be absorbed by the rail itself
and all the framing in behind. |
I laid up the strips one on top each other, and then a second layer on
both sides of the ship the full 38 feet. After this I had a 4 inch high
by 2 inch deep spruce strip running up both sides.
This is done by cutting and fitting the wood the full length of the ship,
then taking it all off, then putting it all back on with epoxy glue.
It takes a full 4 hours, non stop, to glue in one strip, When the second
strip is added on the bottom at least we can clamp the 2 together which
makes the job a little easier. |
| |
|
 |
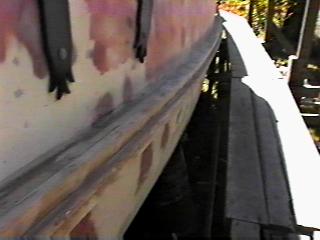 |
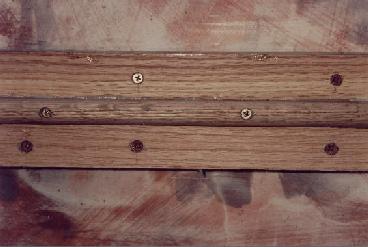
| After the spruce was glued and screwed on I overlaid it with a 1 3/4"
by 1" oak strip at the top, then the same sized oak strip turned
sideways and rounded out with the router. Then under this a another oak
strip.
As you can see the screws are getting longer and longer. I also have
to make sure that the screw holes I drill on the outside will not hit
any screws in behind. So all fasteners for all these layers must be staggered. |
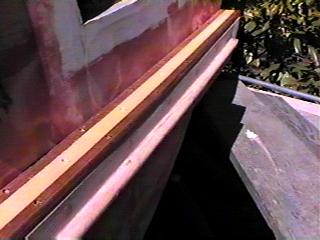
Here's a top view.
|
| |
|
 |
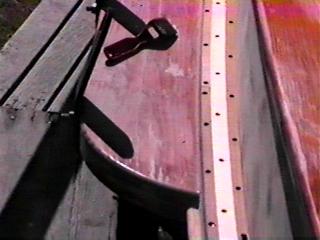 |
| Now what to do about the top of the rub rail.
The edge should be tough so I decided to put a teak strip against the
hull, then a yellow cedar strip next, then last but not least a teak strip
for the edge.
This view shows the strips glued in, but not plugged. |
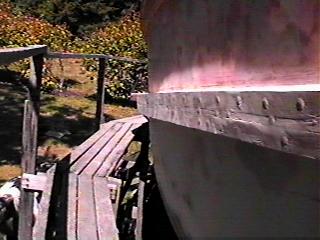
Here is another view of it going over the stanchion support. |
| |
|
 |
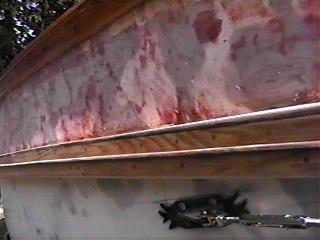 |
| Because the rub rail curves under the cap rail in the forward section
there is no need for a striker strip.
Here is a view of it all plugged and rough sanded. |
Here is the forward section with a teak, just for looks, striker
strip. All oiled and ready for launch. |
| |
|
 |
|
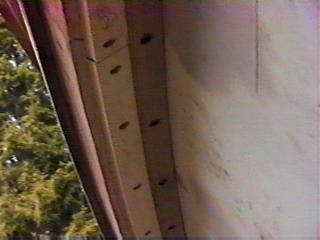
| Now what to do about the under side. This side is the wettest. I decided
to use a strip of red cedar against the hull, then a yellow cedar strip
as before, then finish off with a teak strip.
This is all we could get done in 2001. Our first job will be to measure
and cut the teak strip, then glue and screw it all together.
It's not fun trying to do all this on your back. |
|
| |
|

