 |
 |
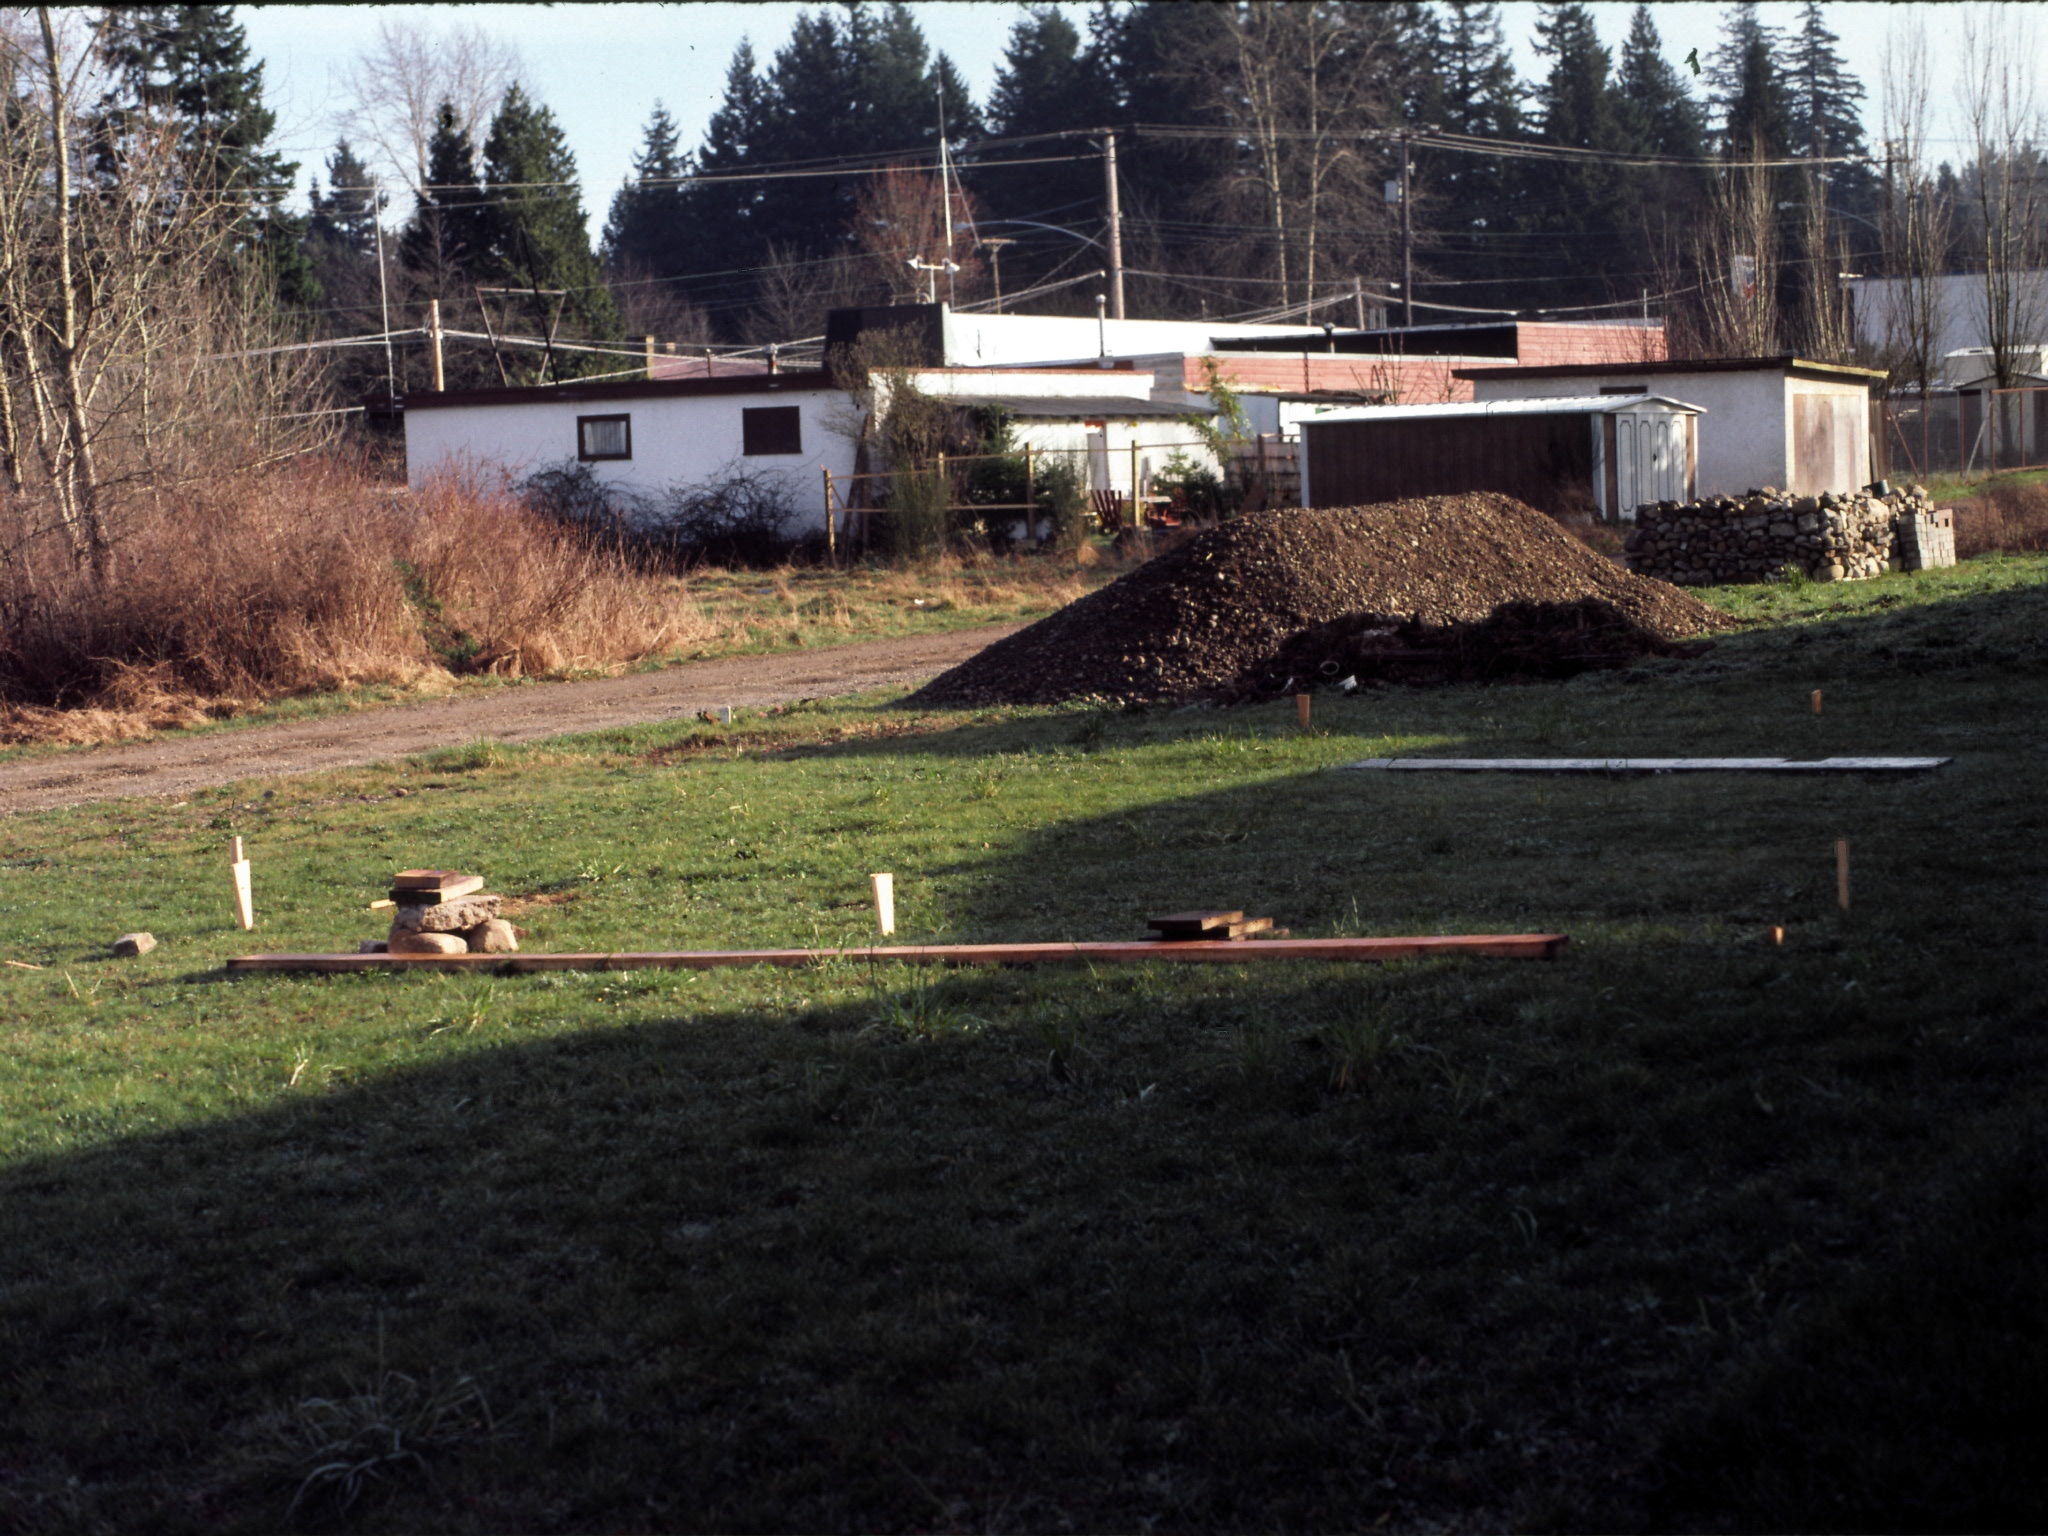
Here is the beginning ! Measuring the strong-back structure for the hull mold, on the back lawn in White Rock B.C.
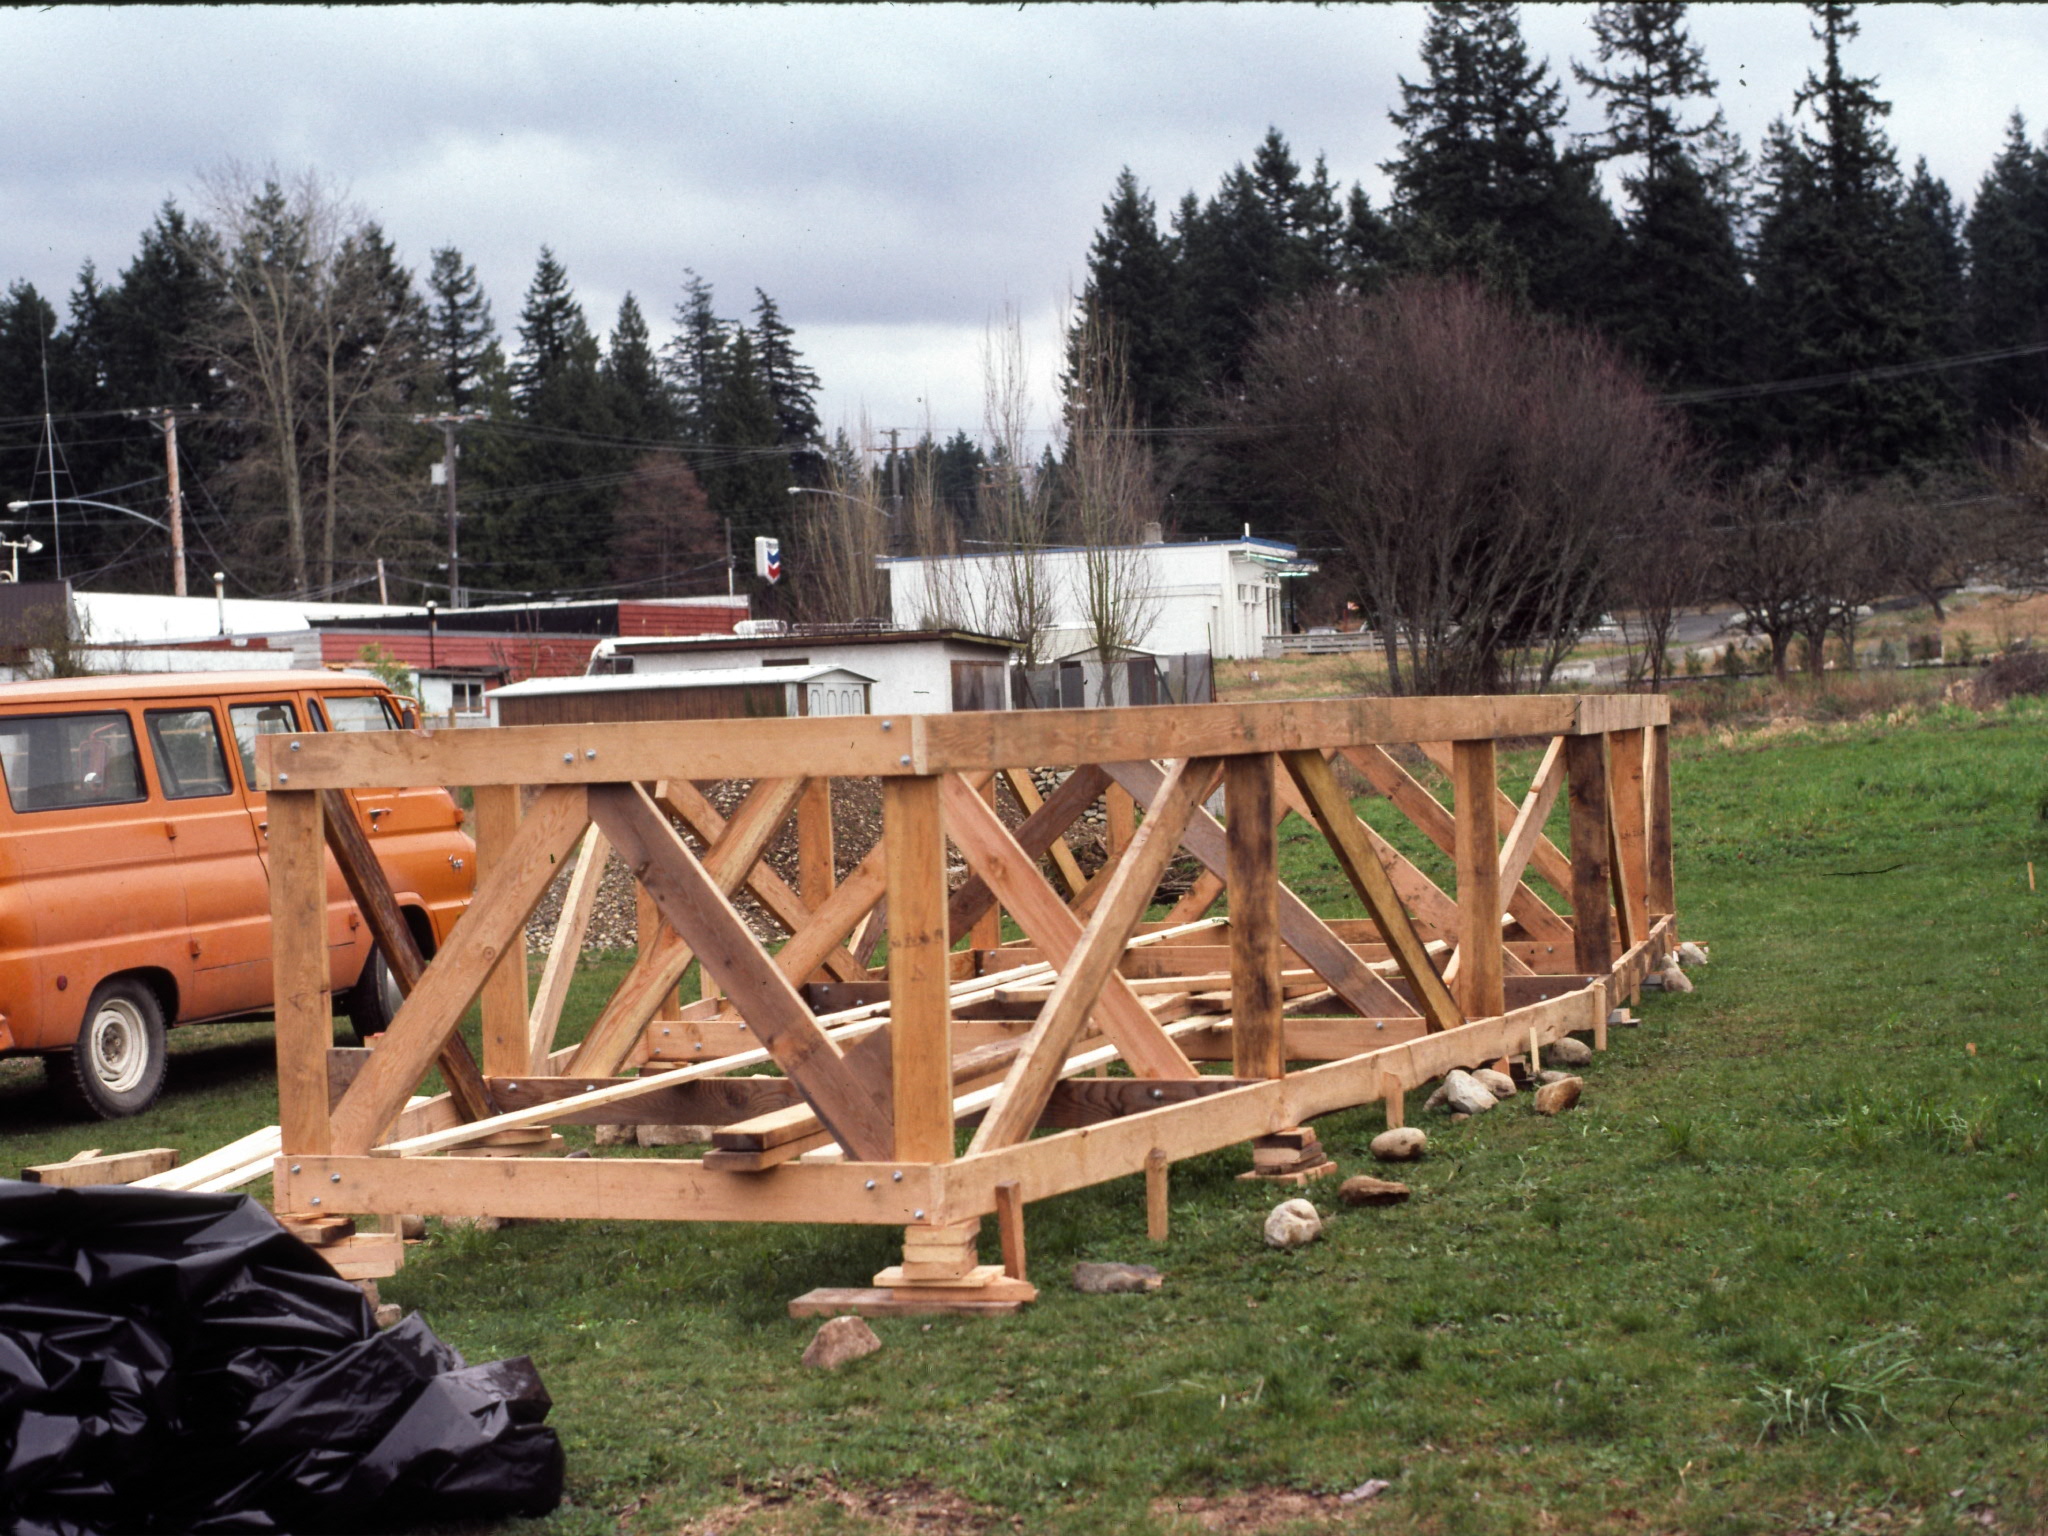
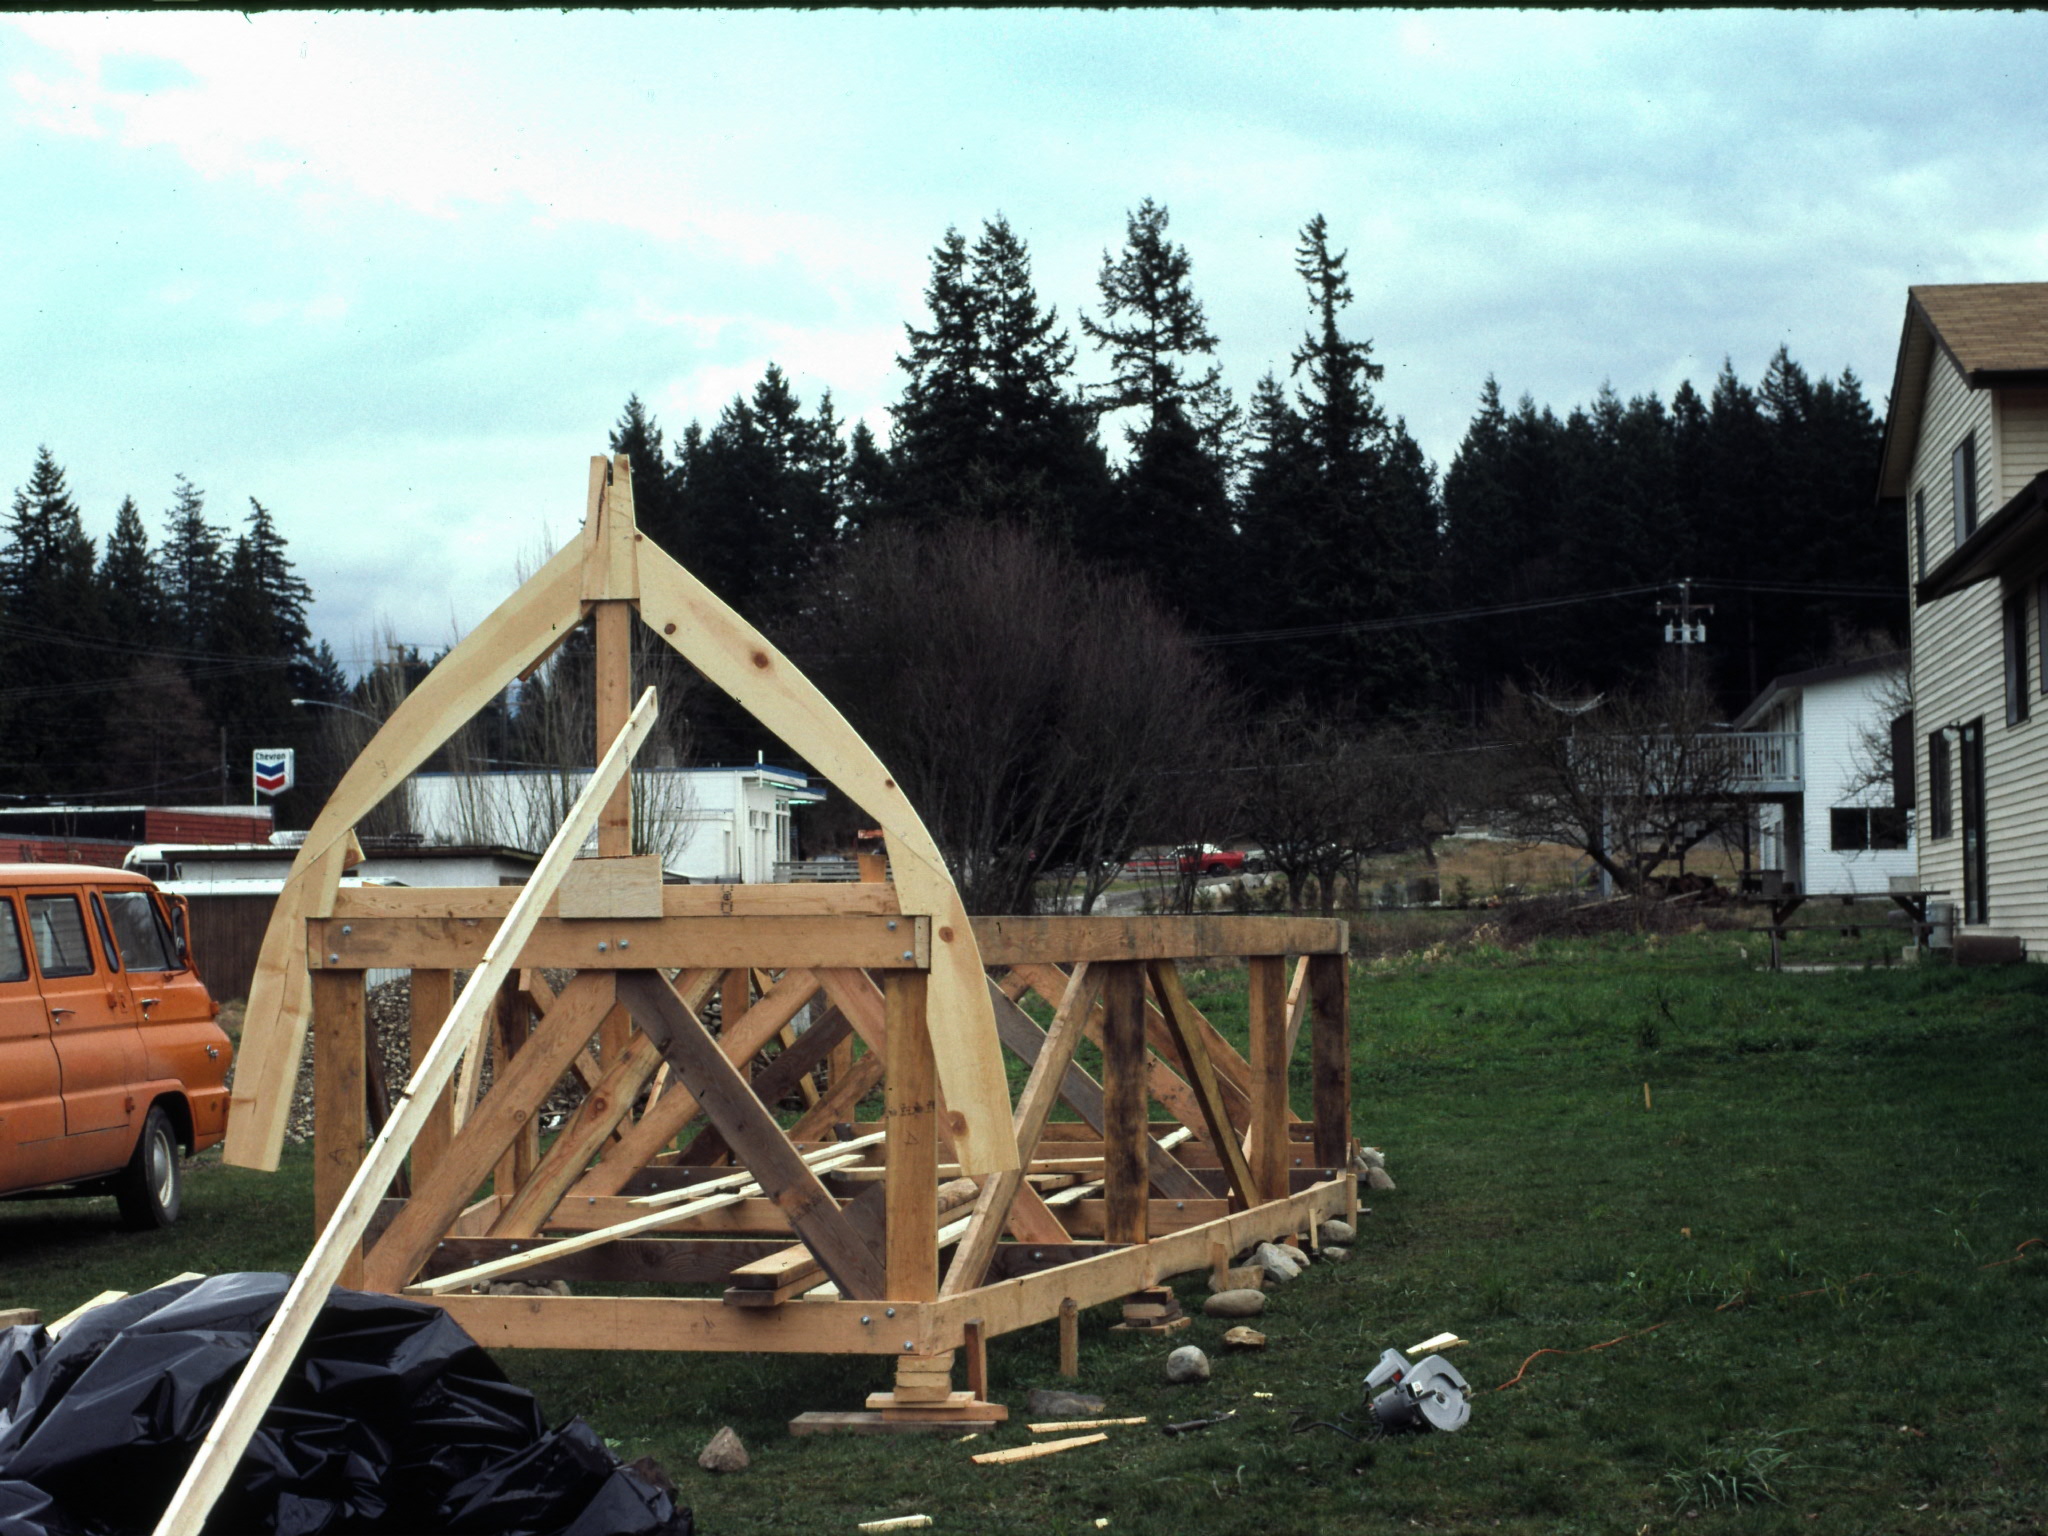
The strong-back holds the frames in place that define the shape of the hull.
|
Strong-back completed.
|
| |
|
 |
 |
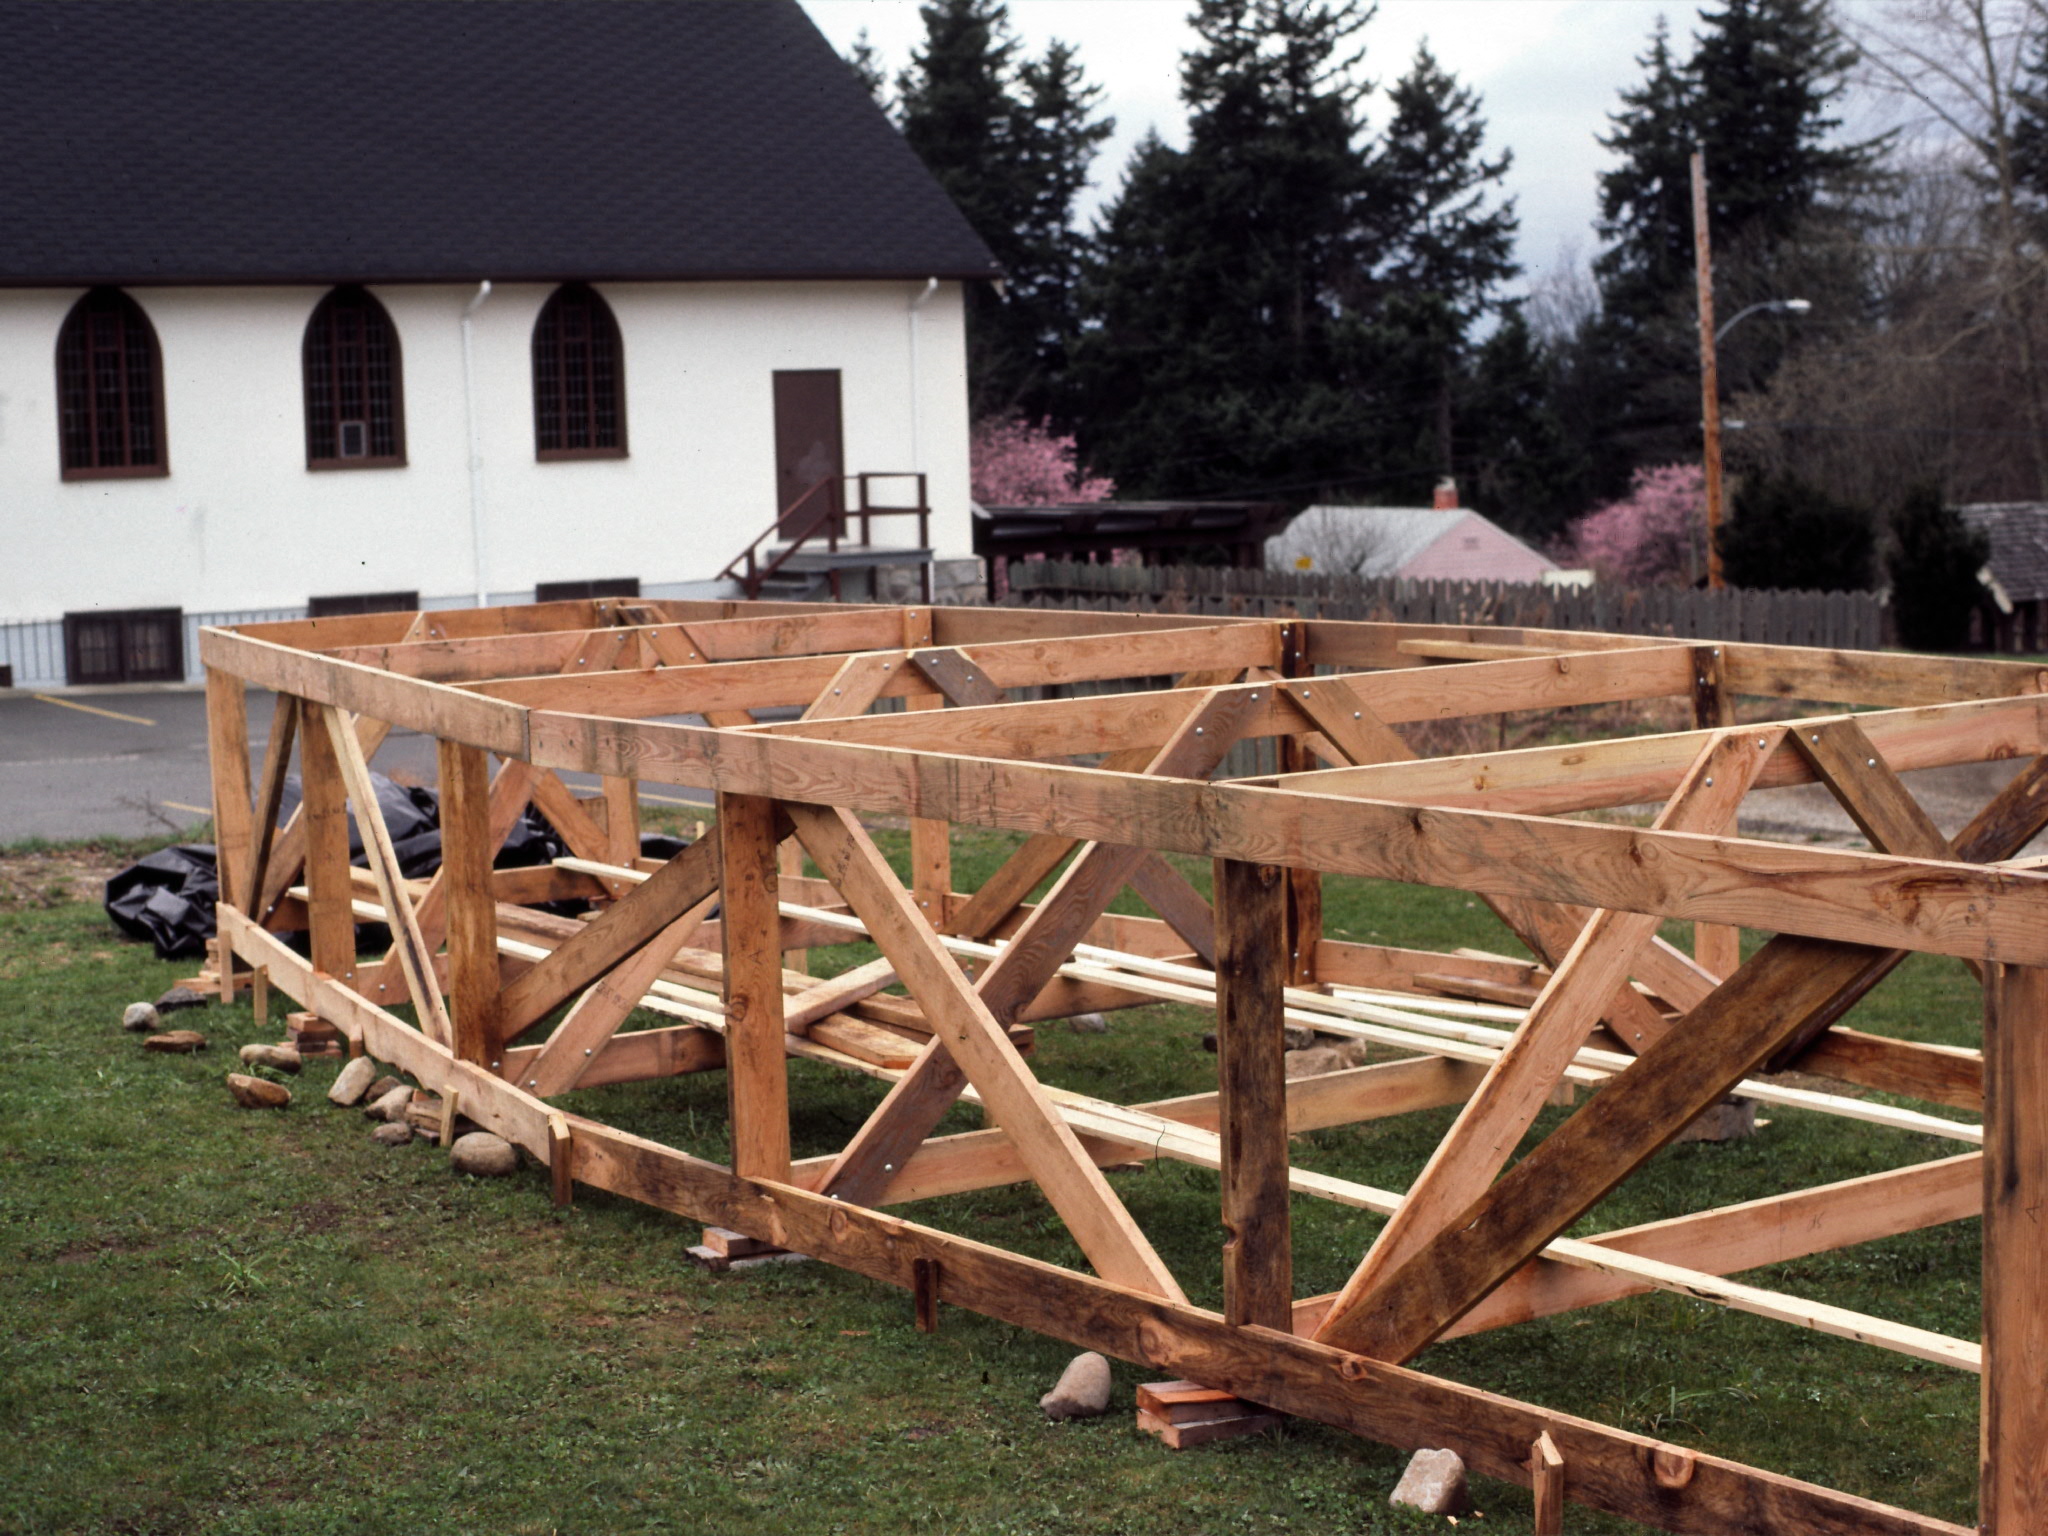
| Another view of the strong-back. |
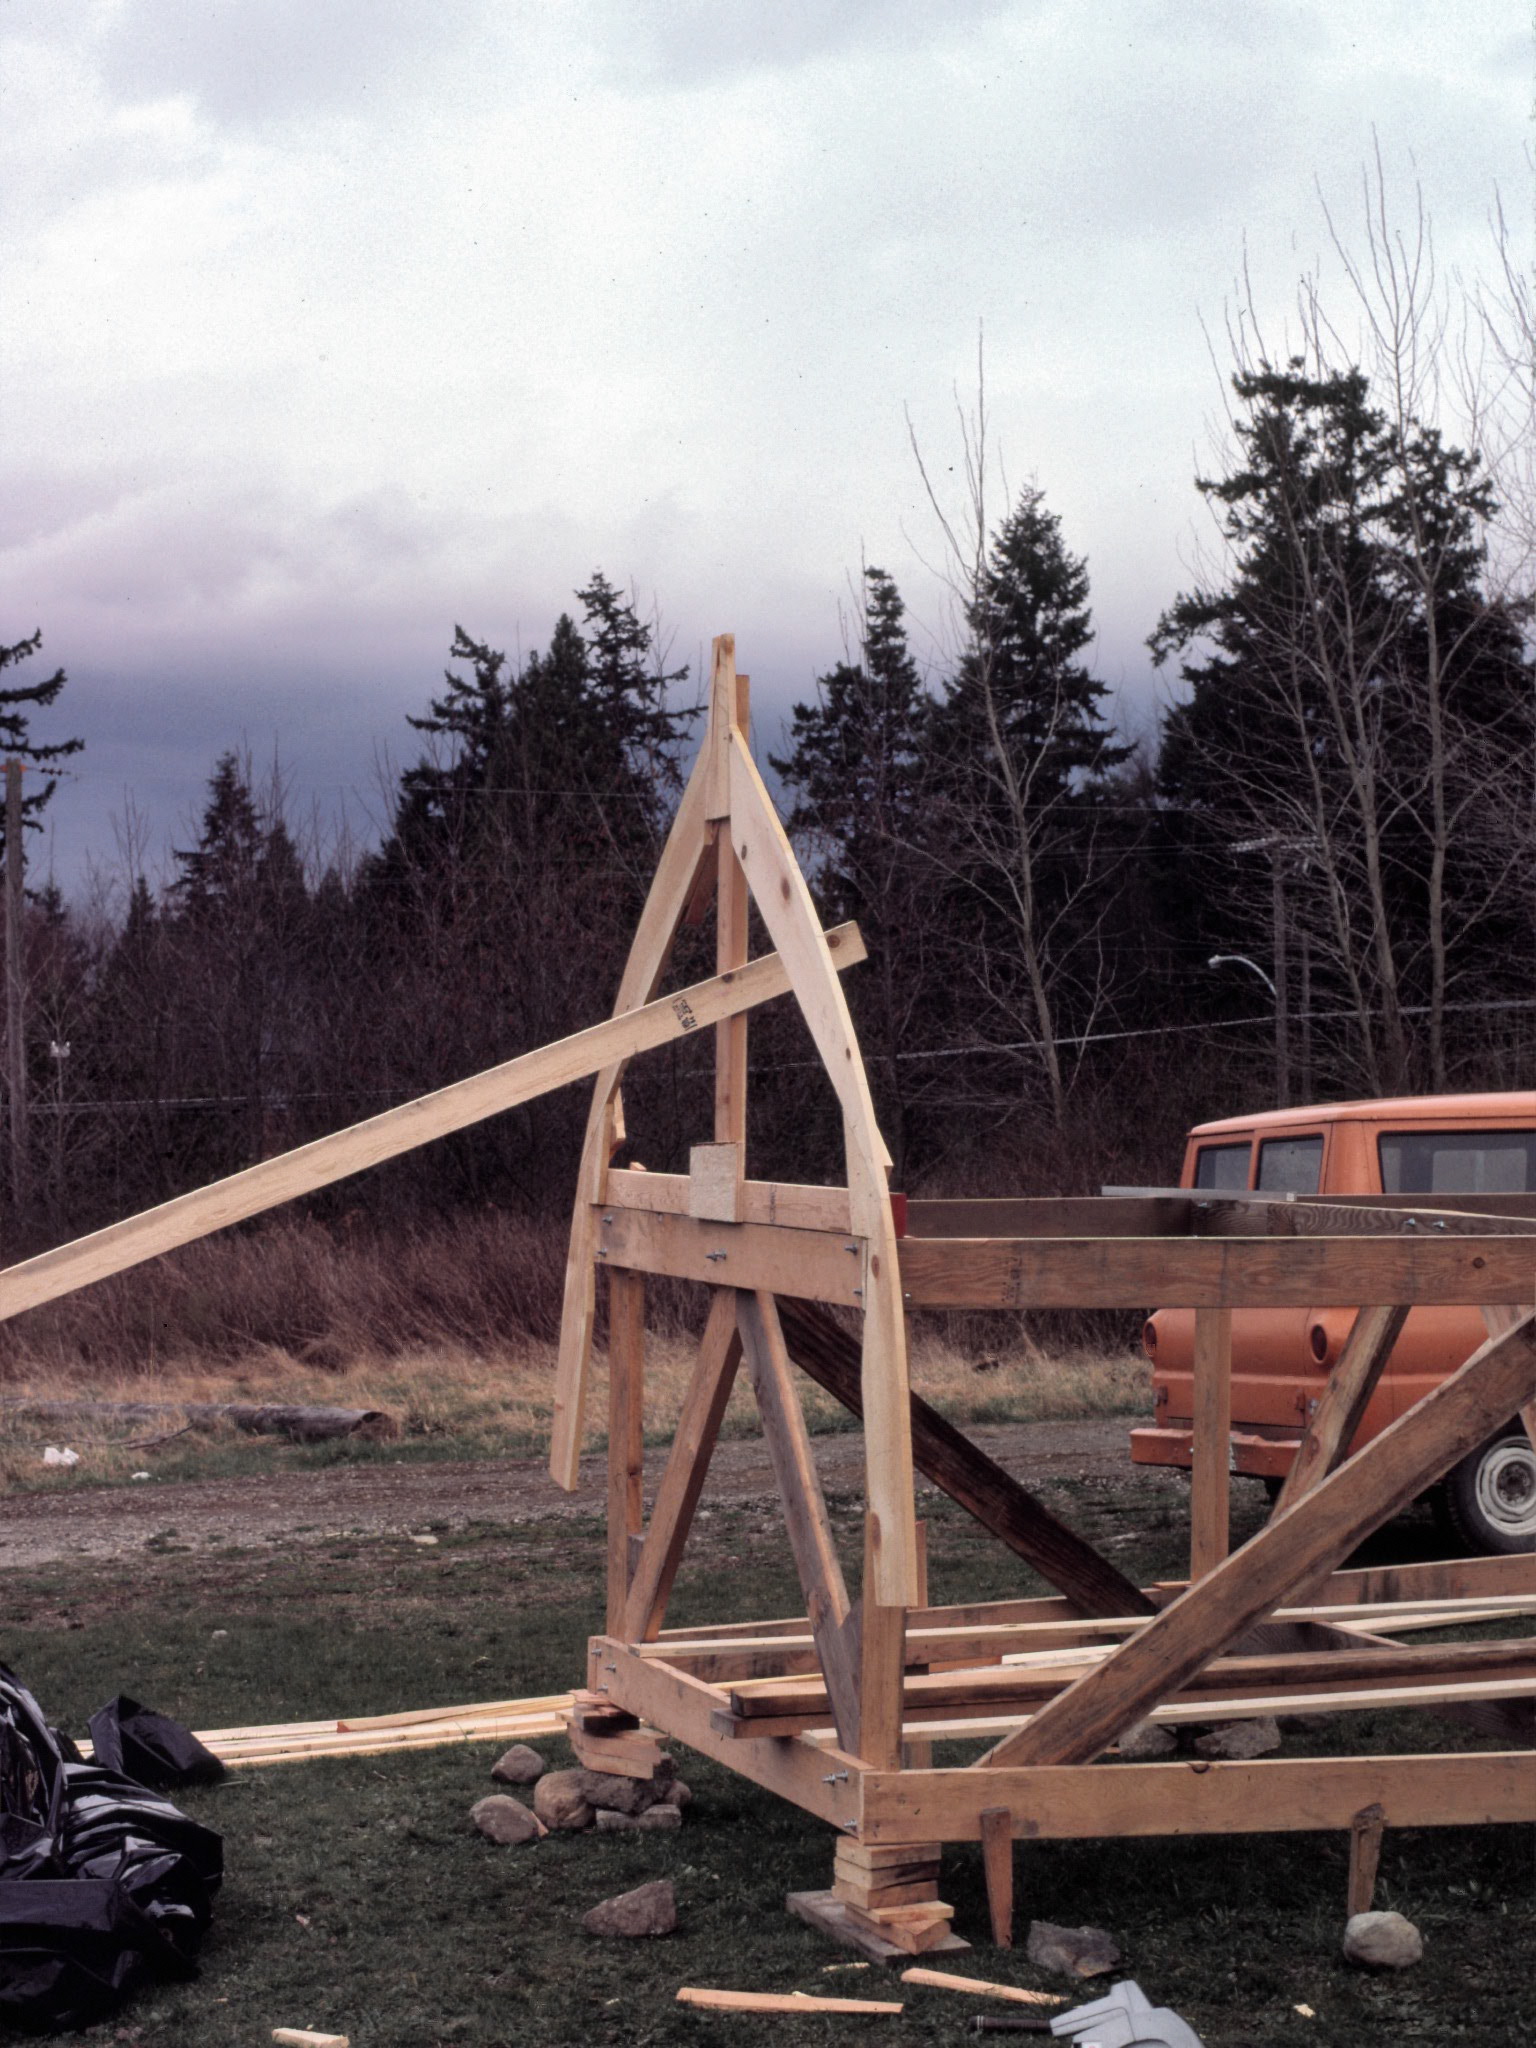
First hull frame section in place. I built a lofting floor in the basement to make these, using a tracing wheel and the new invention, the hot glue gun.
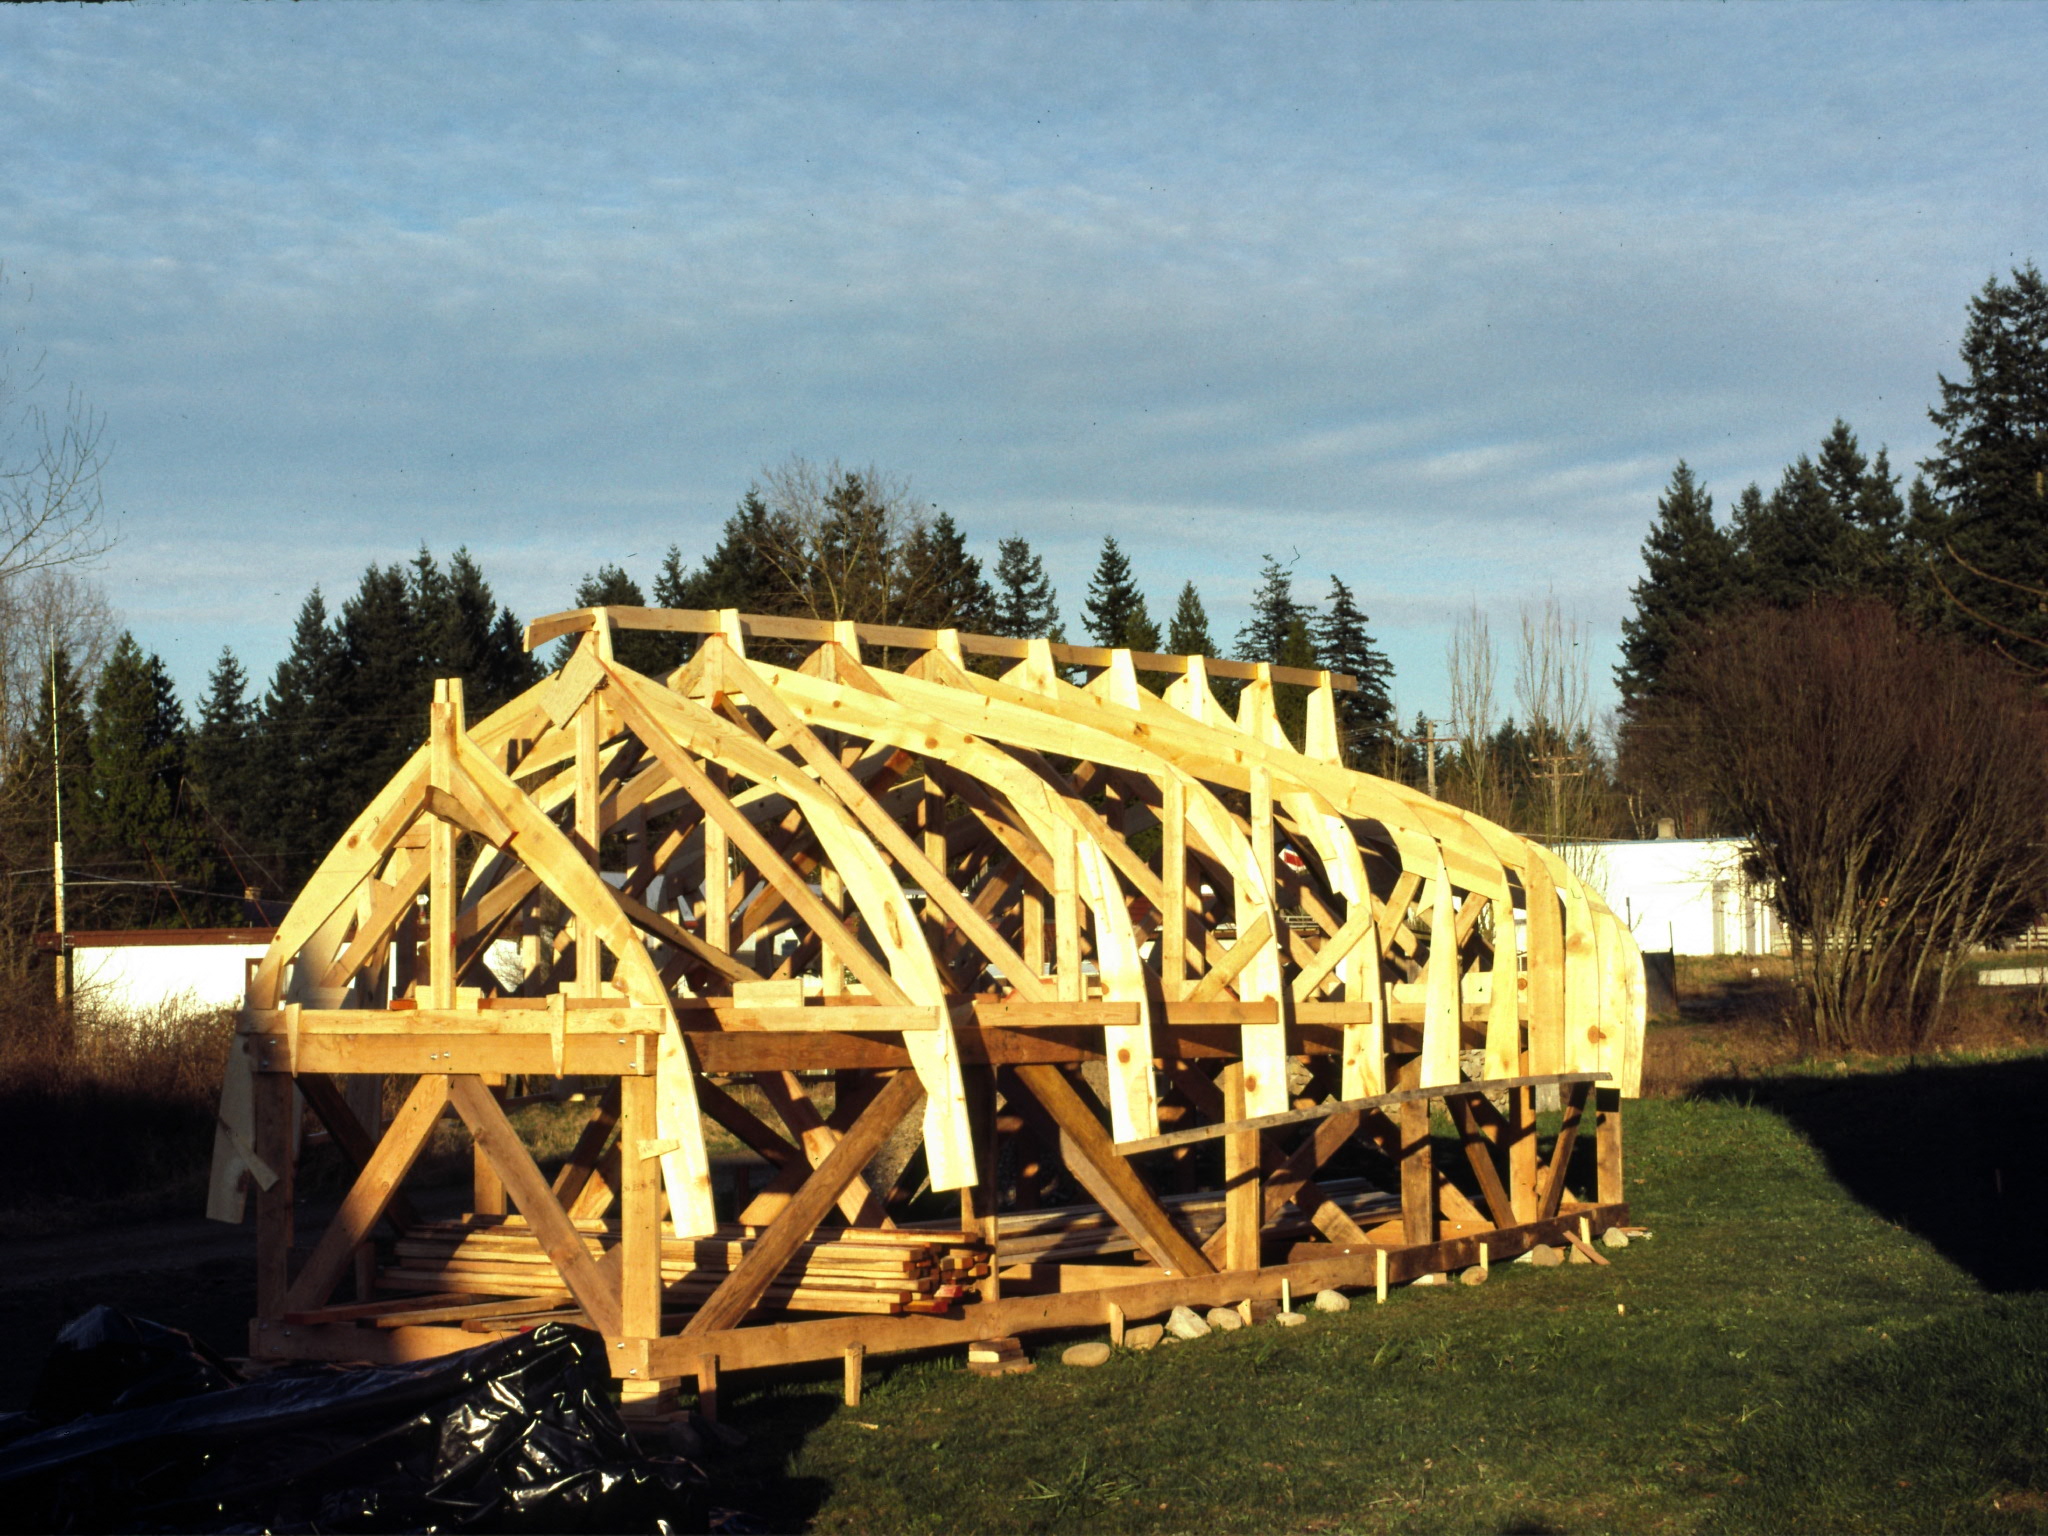
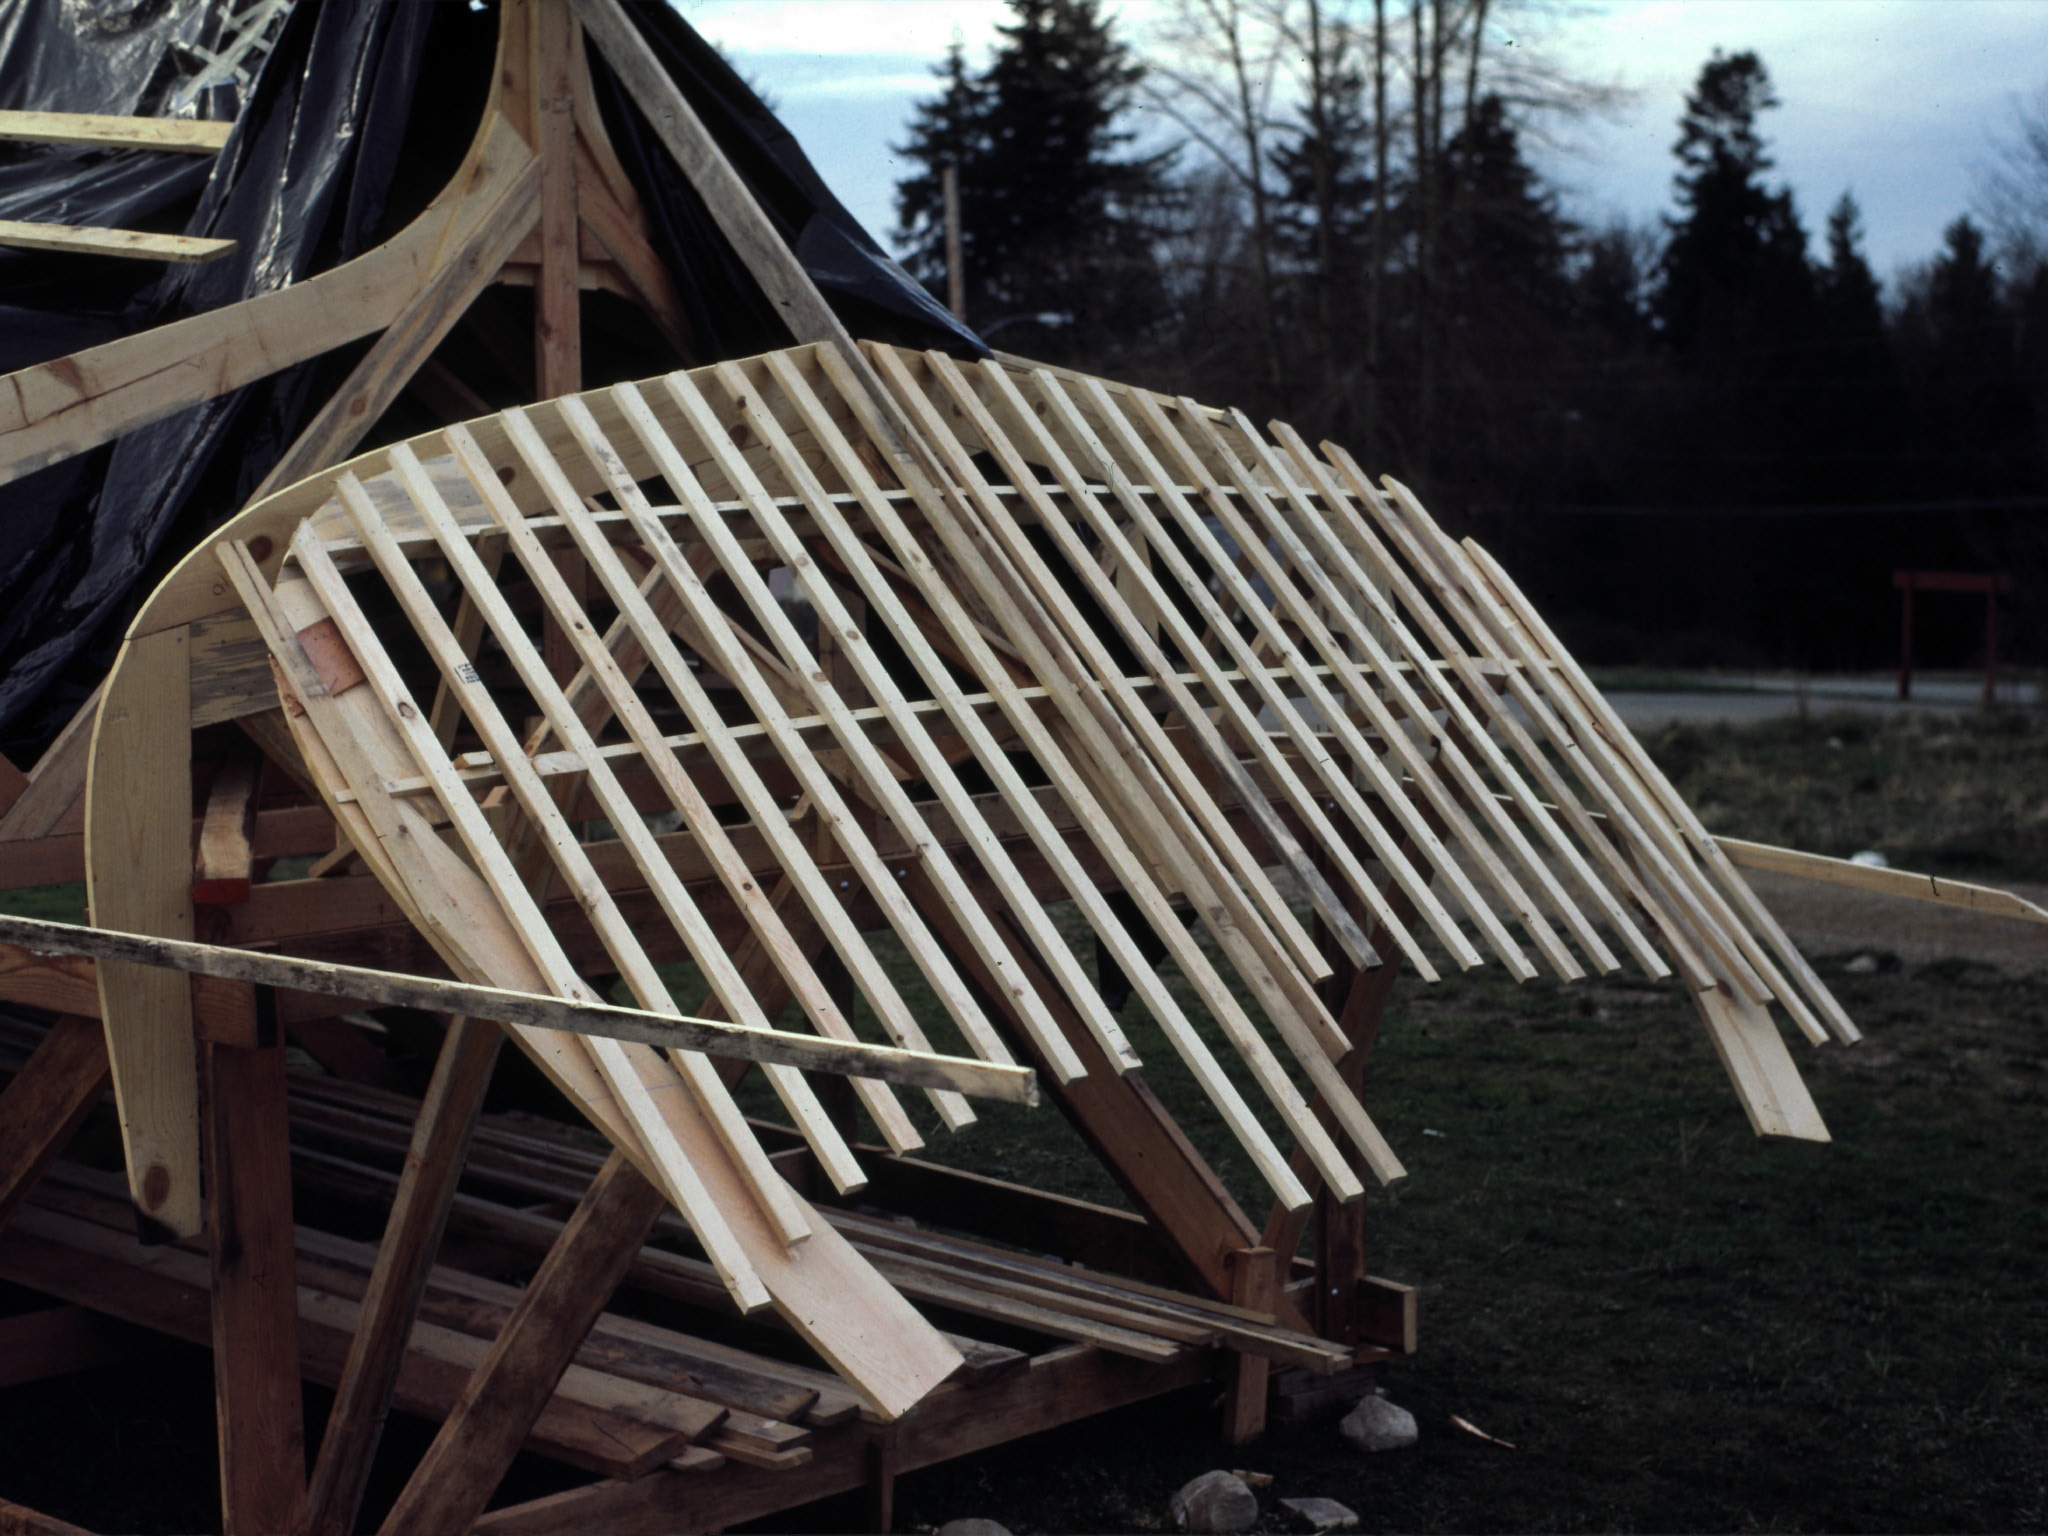
Male mold is gradually taking shape. Once frames installed I connect them all together with fairing strips. |
| |
|
 |
 |
| Another view of the first frame in place. You may have noticed that the hull is built upside down and will later be turned over. |
All frames mounted on the strong back. You can see the hull taking shape.
|
| |
|
 |
 |
| Stern section.
|
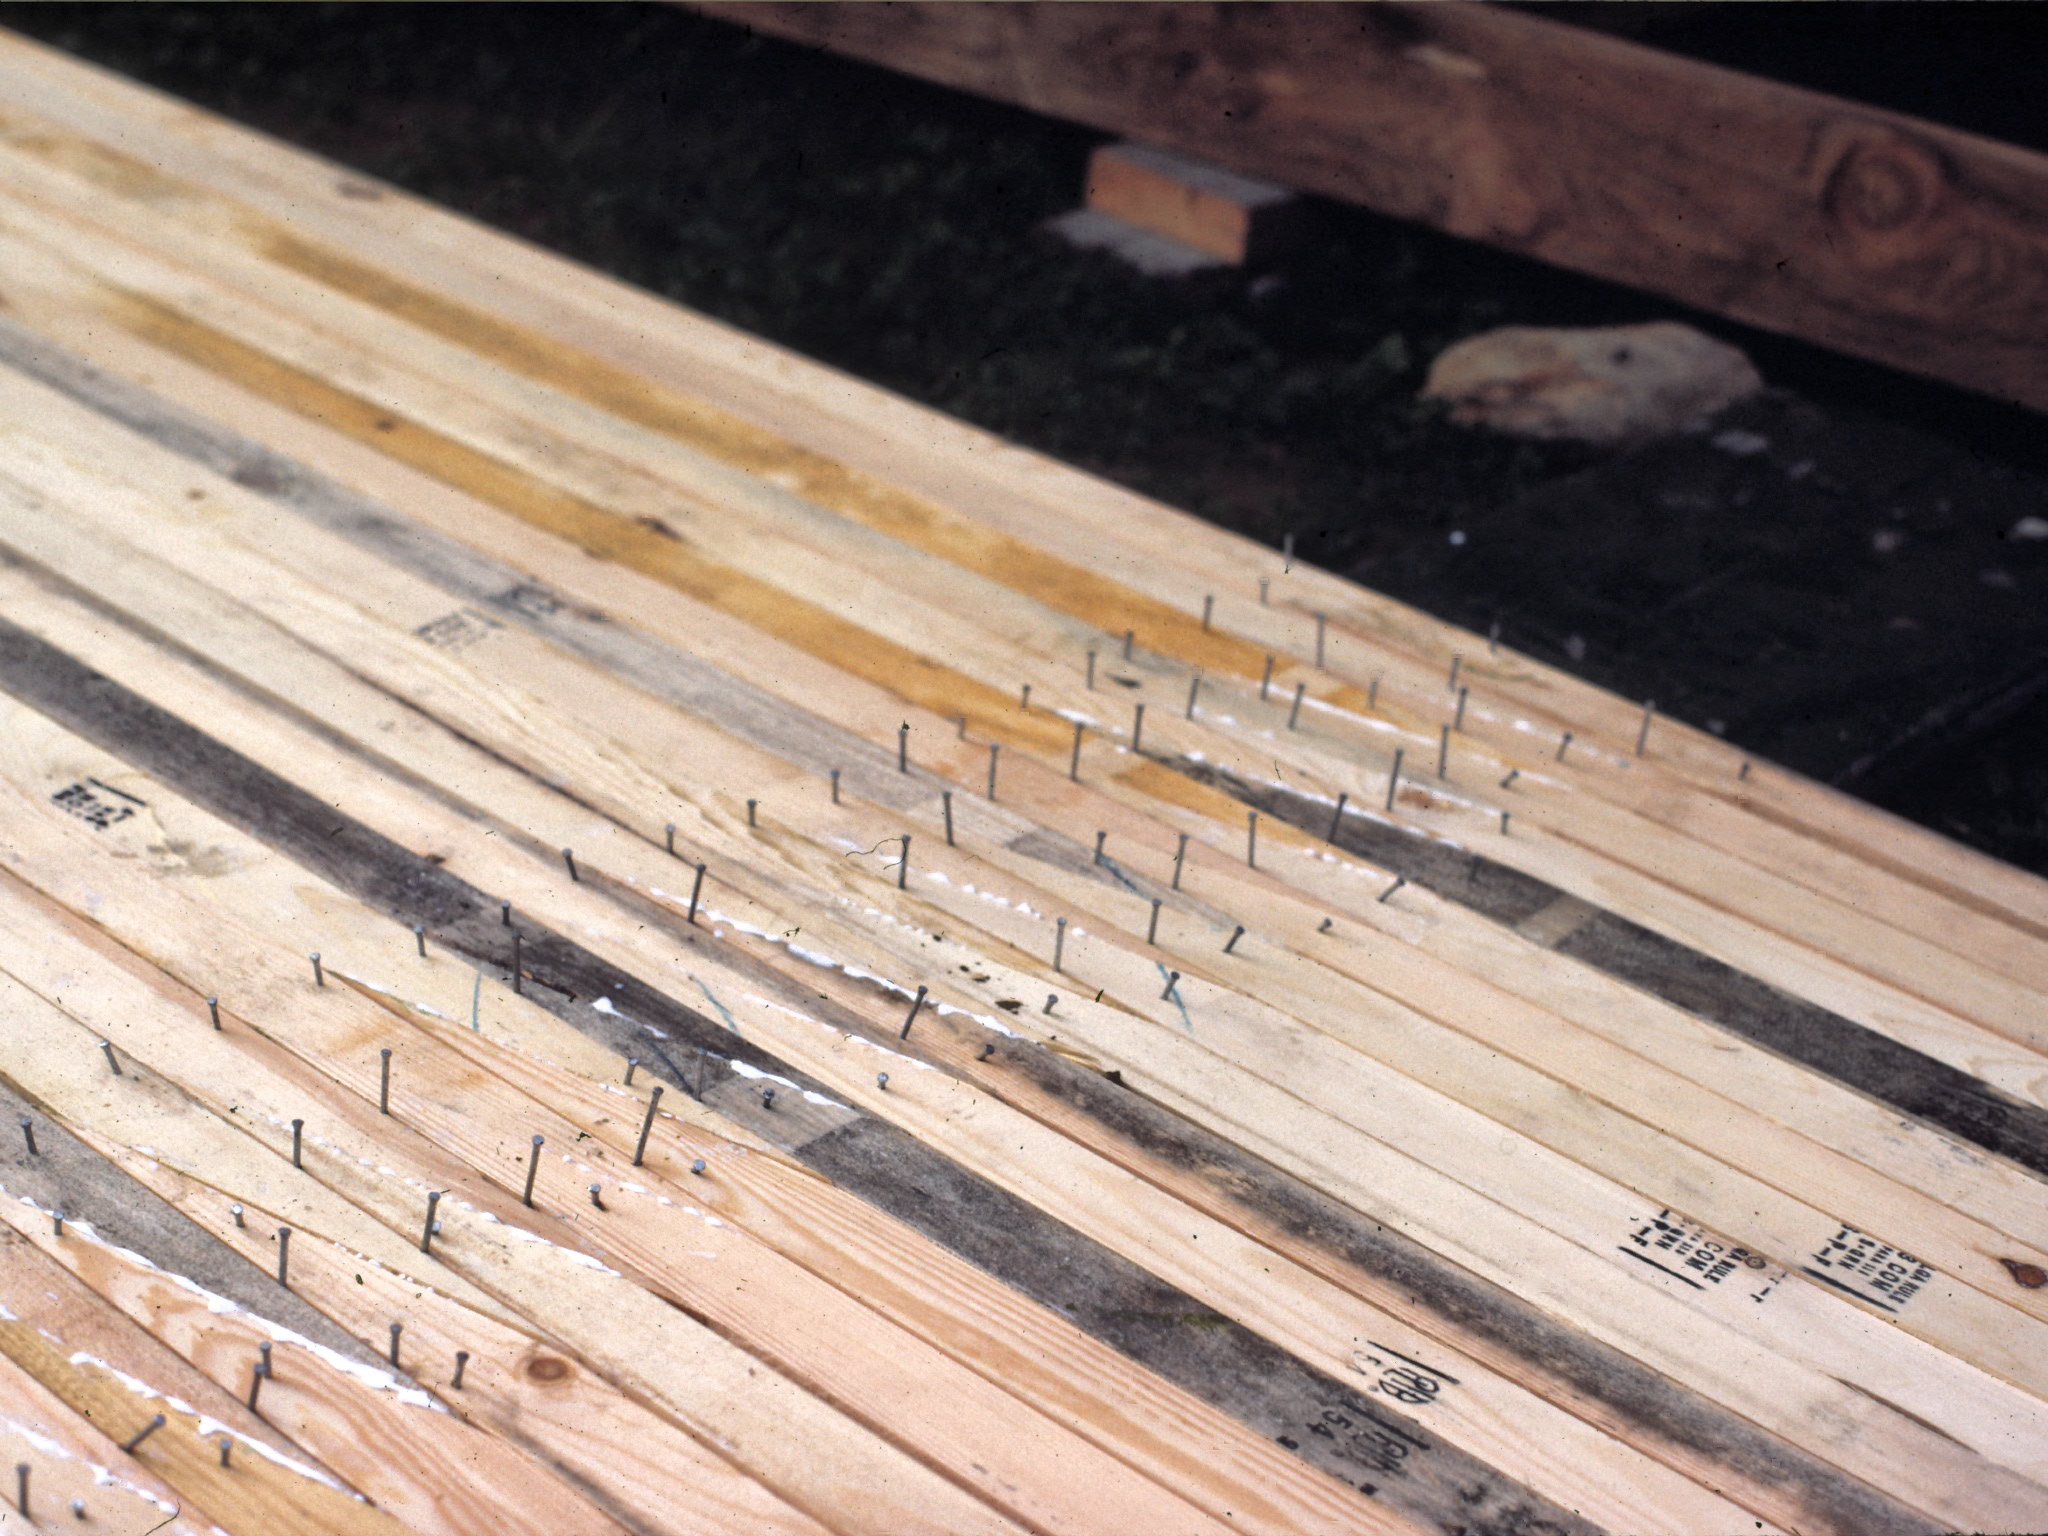
Gluing up the fairing strips. These are used to attach to the frames and define the hull shape.
Once the fairing strips are all done I will be covering them all with strips of cheap paneling.
|
| |
|
 |
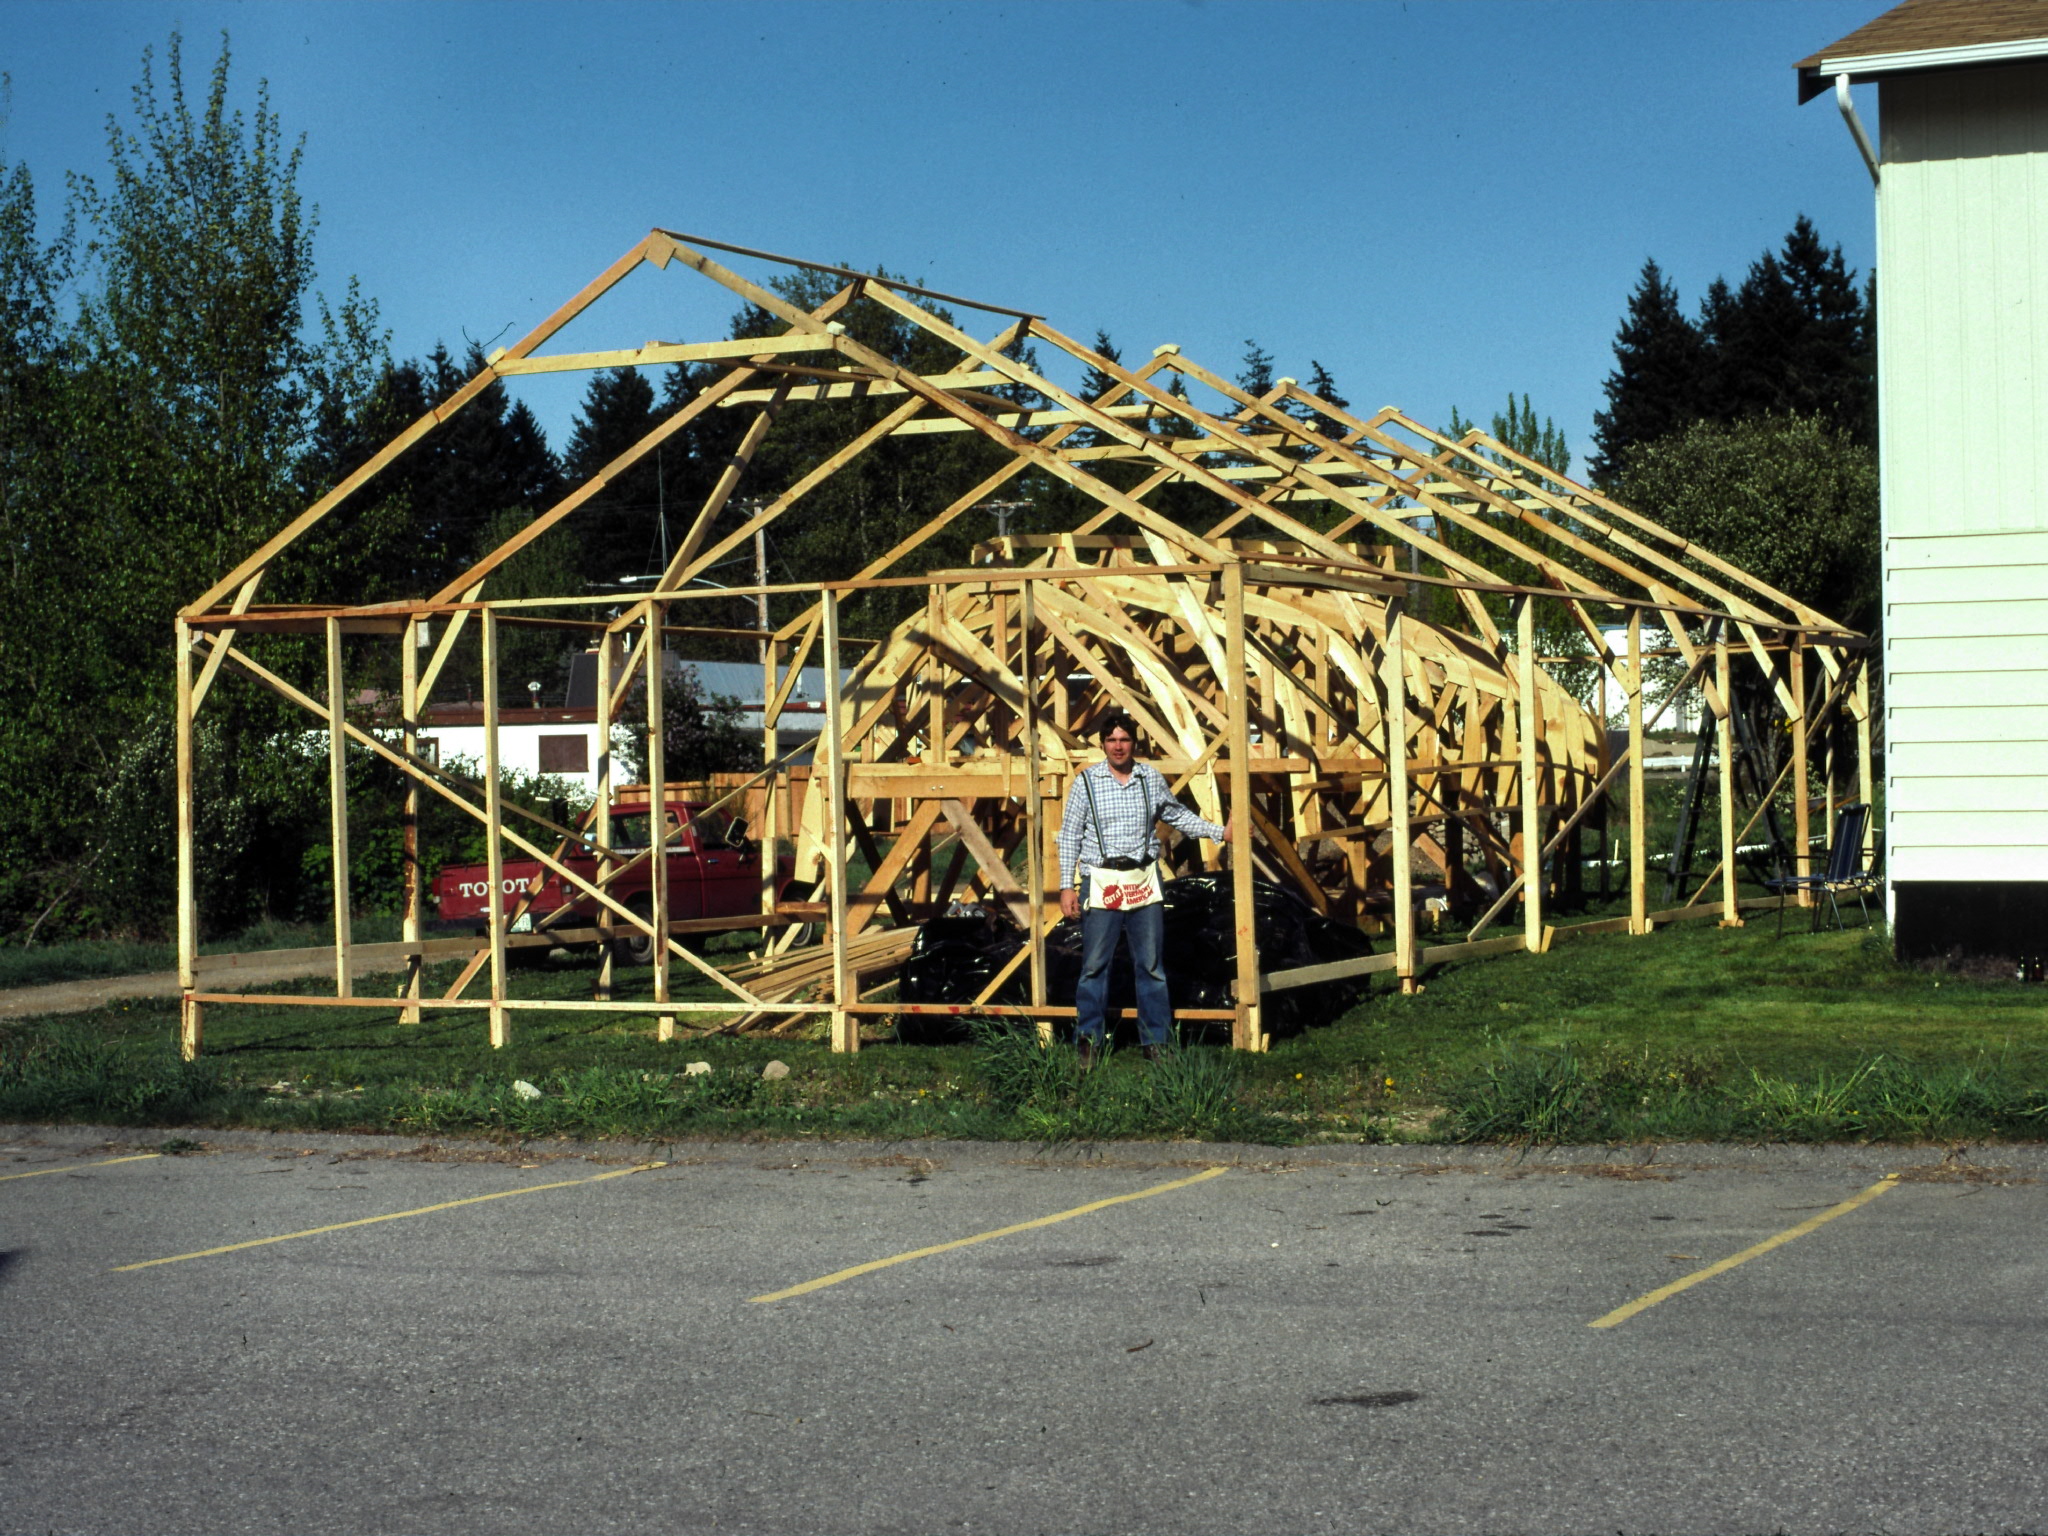 |
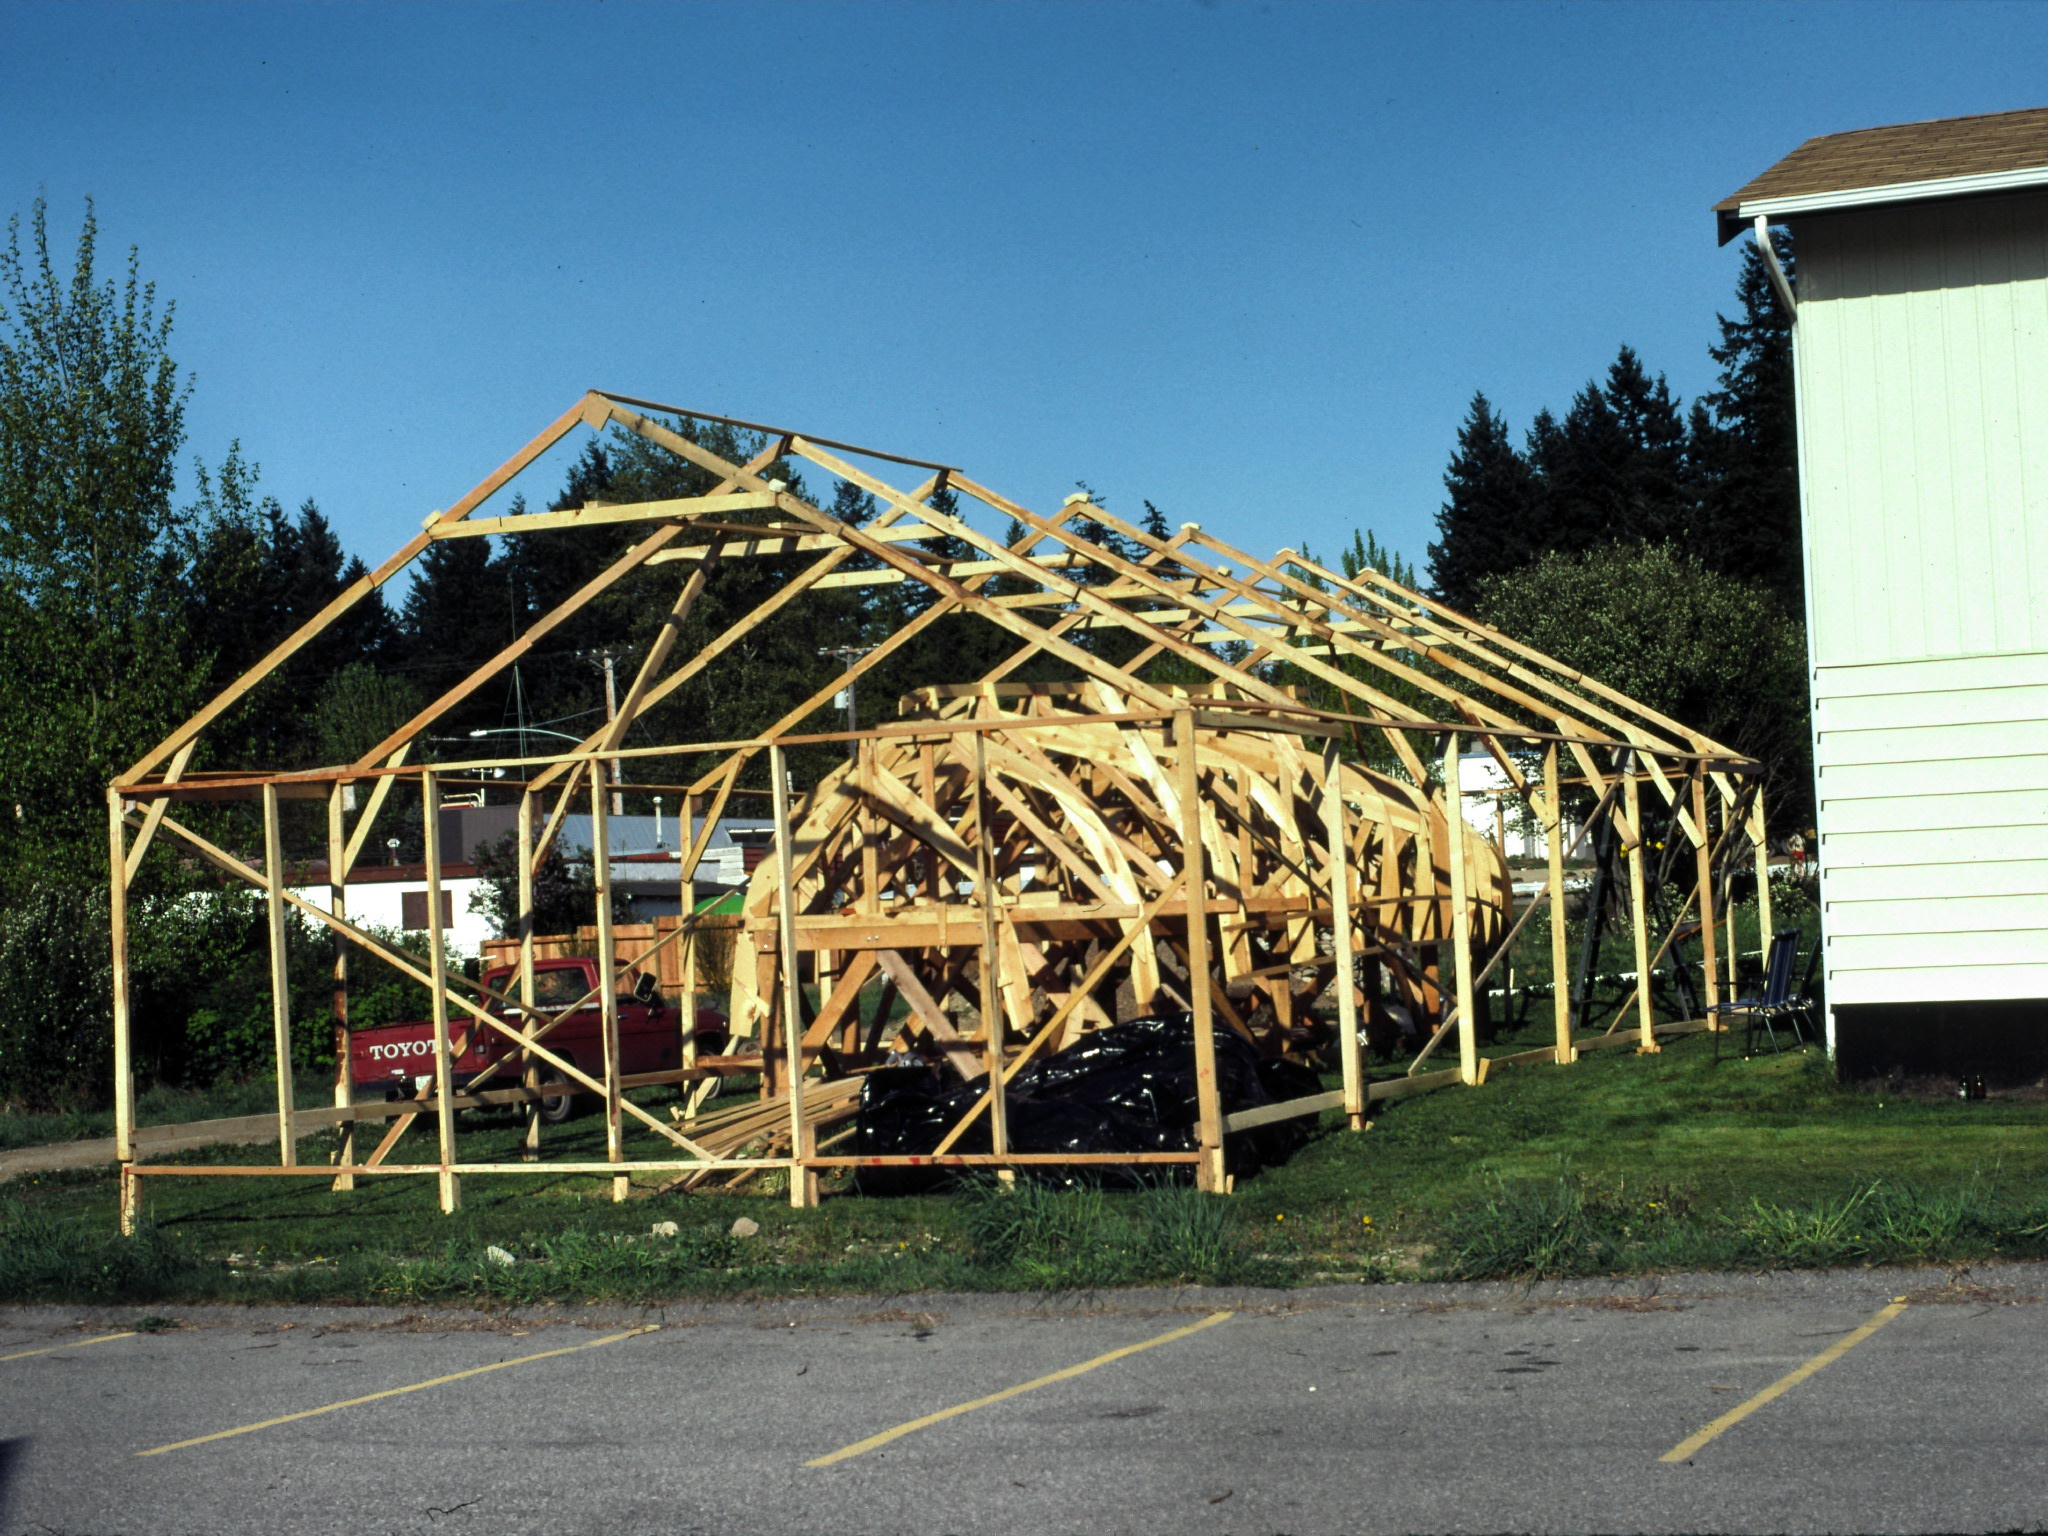
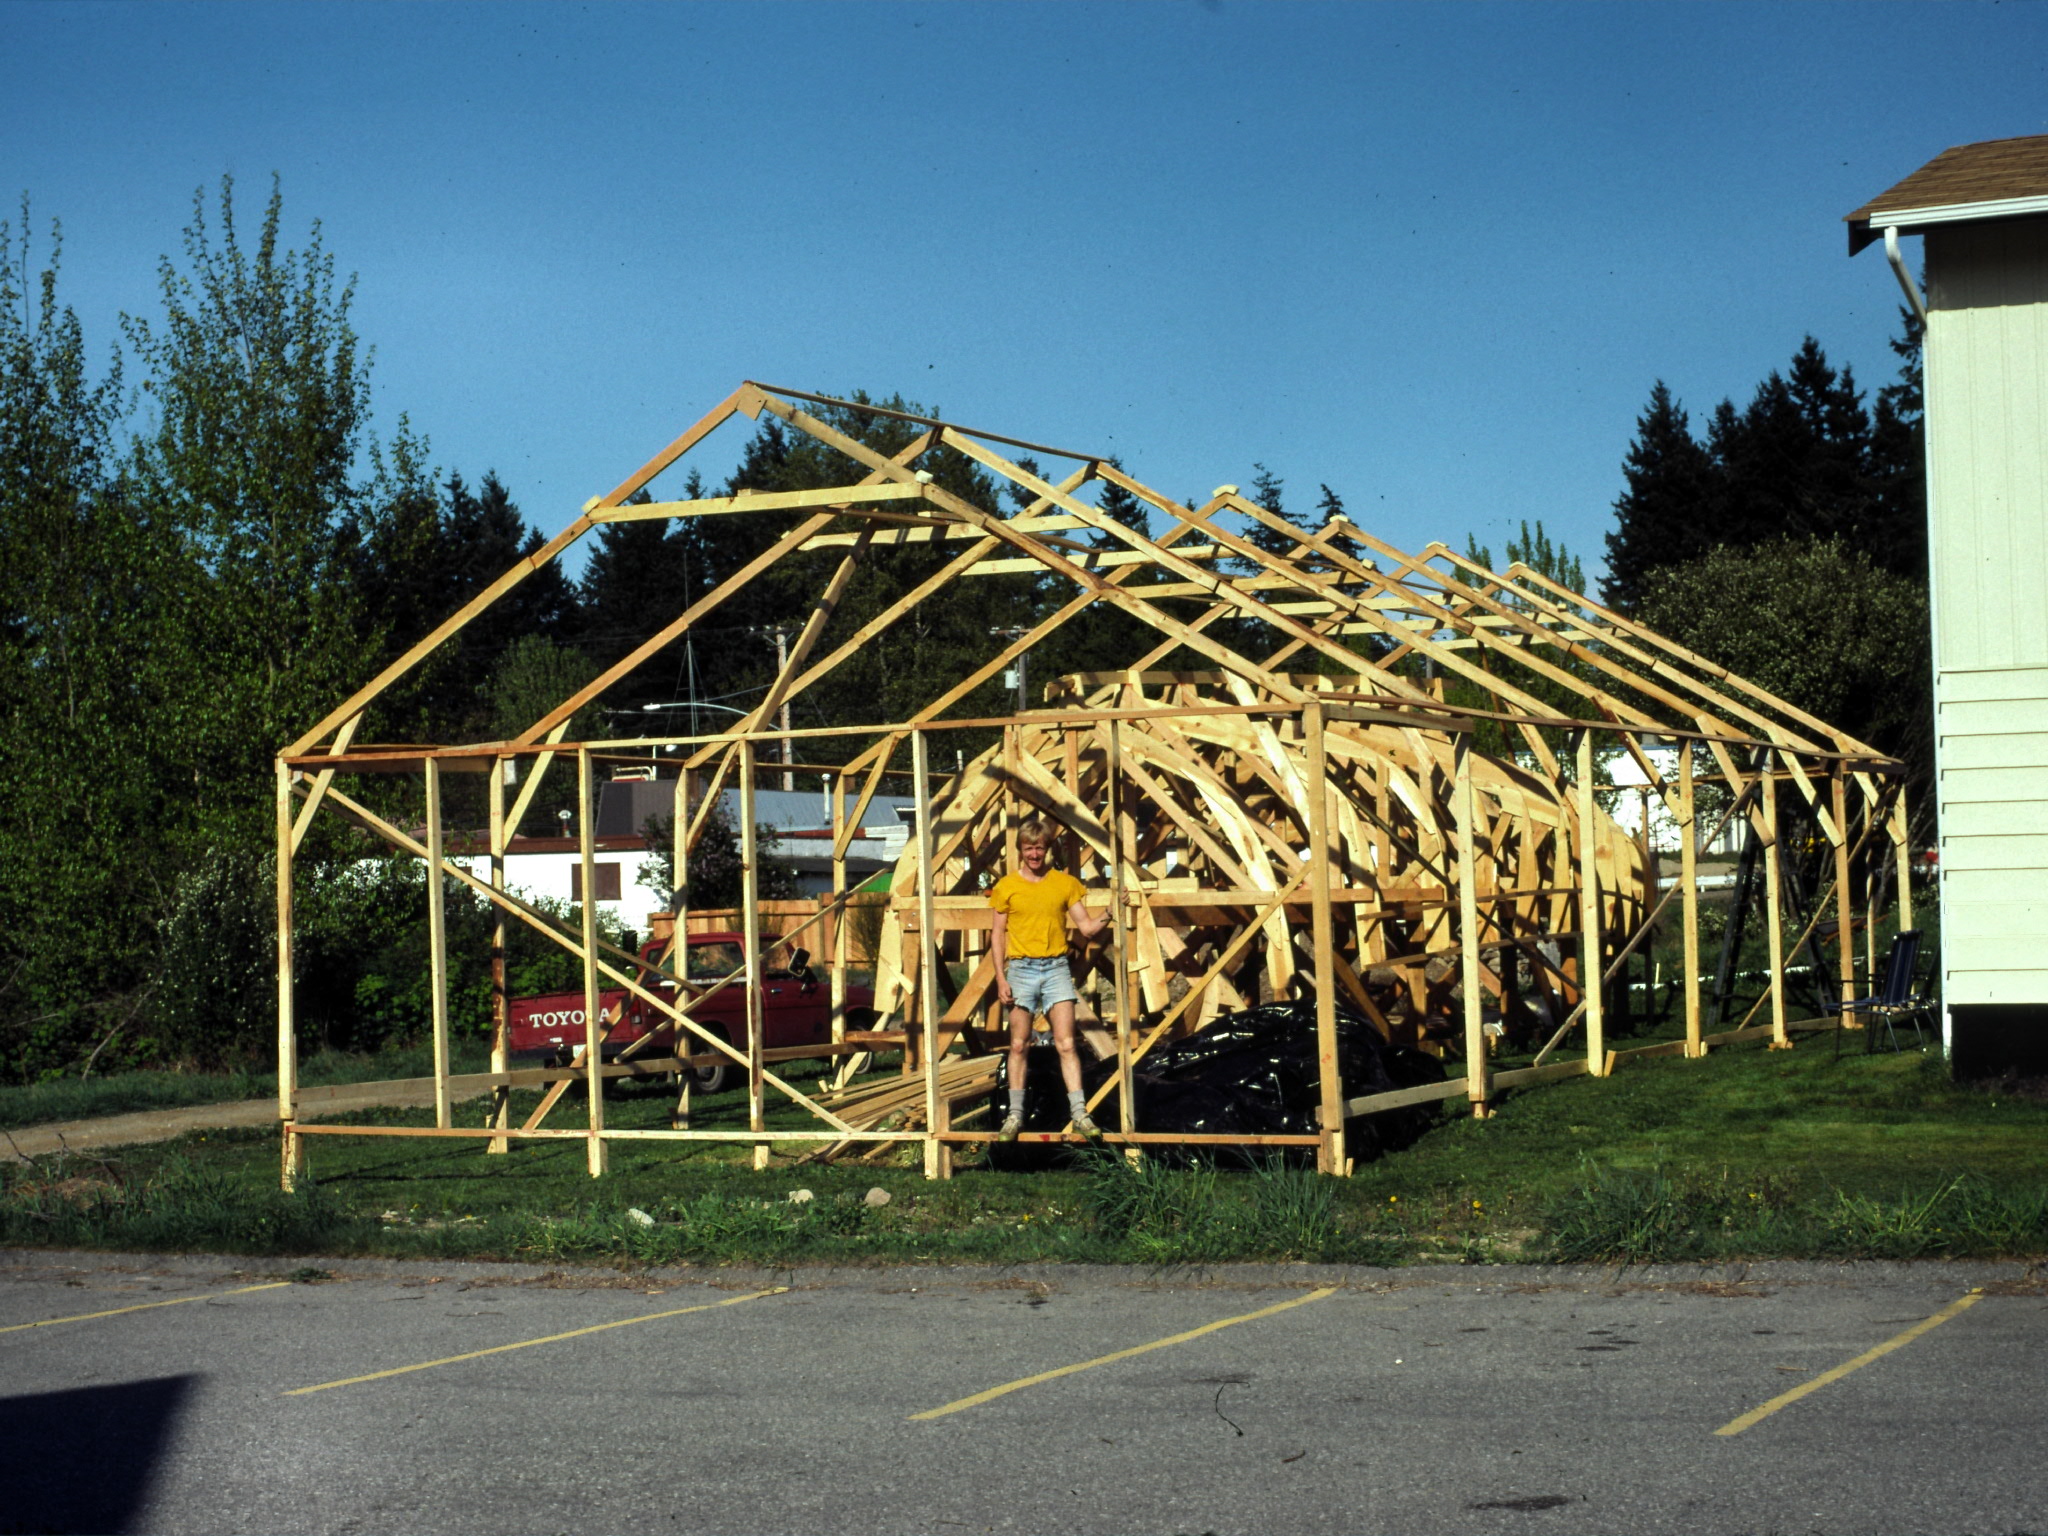
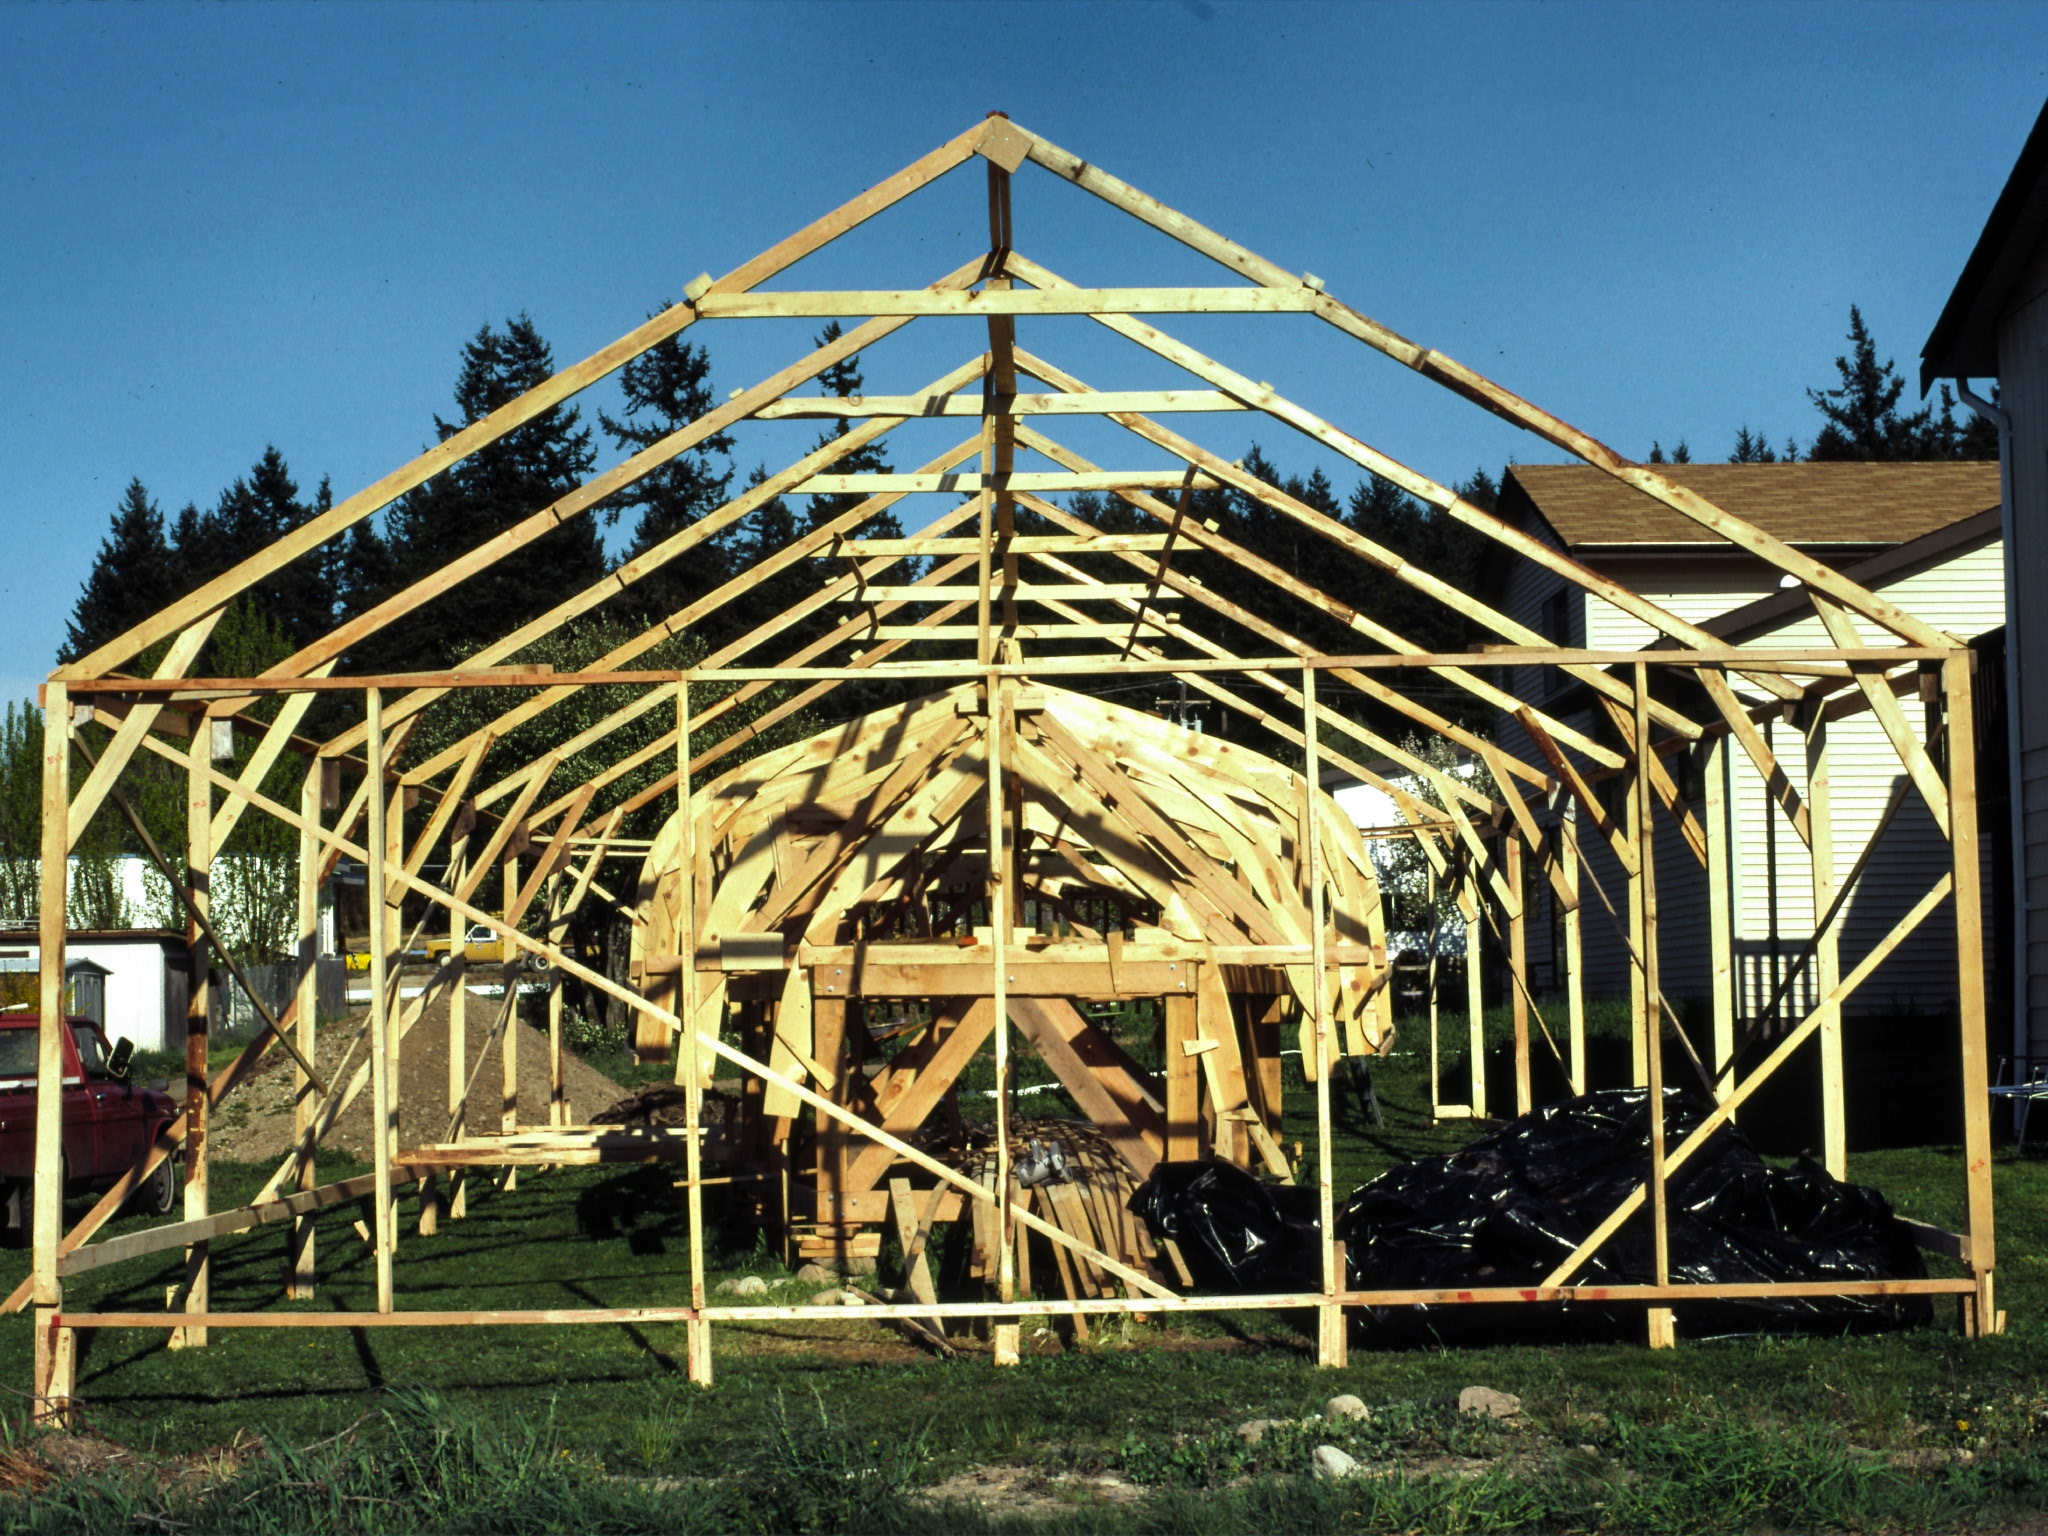
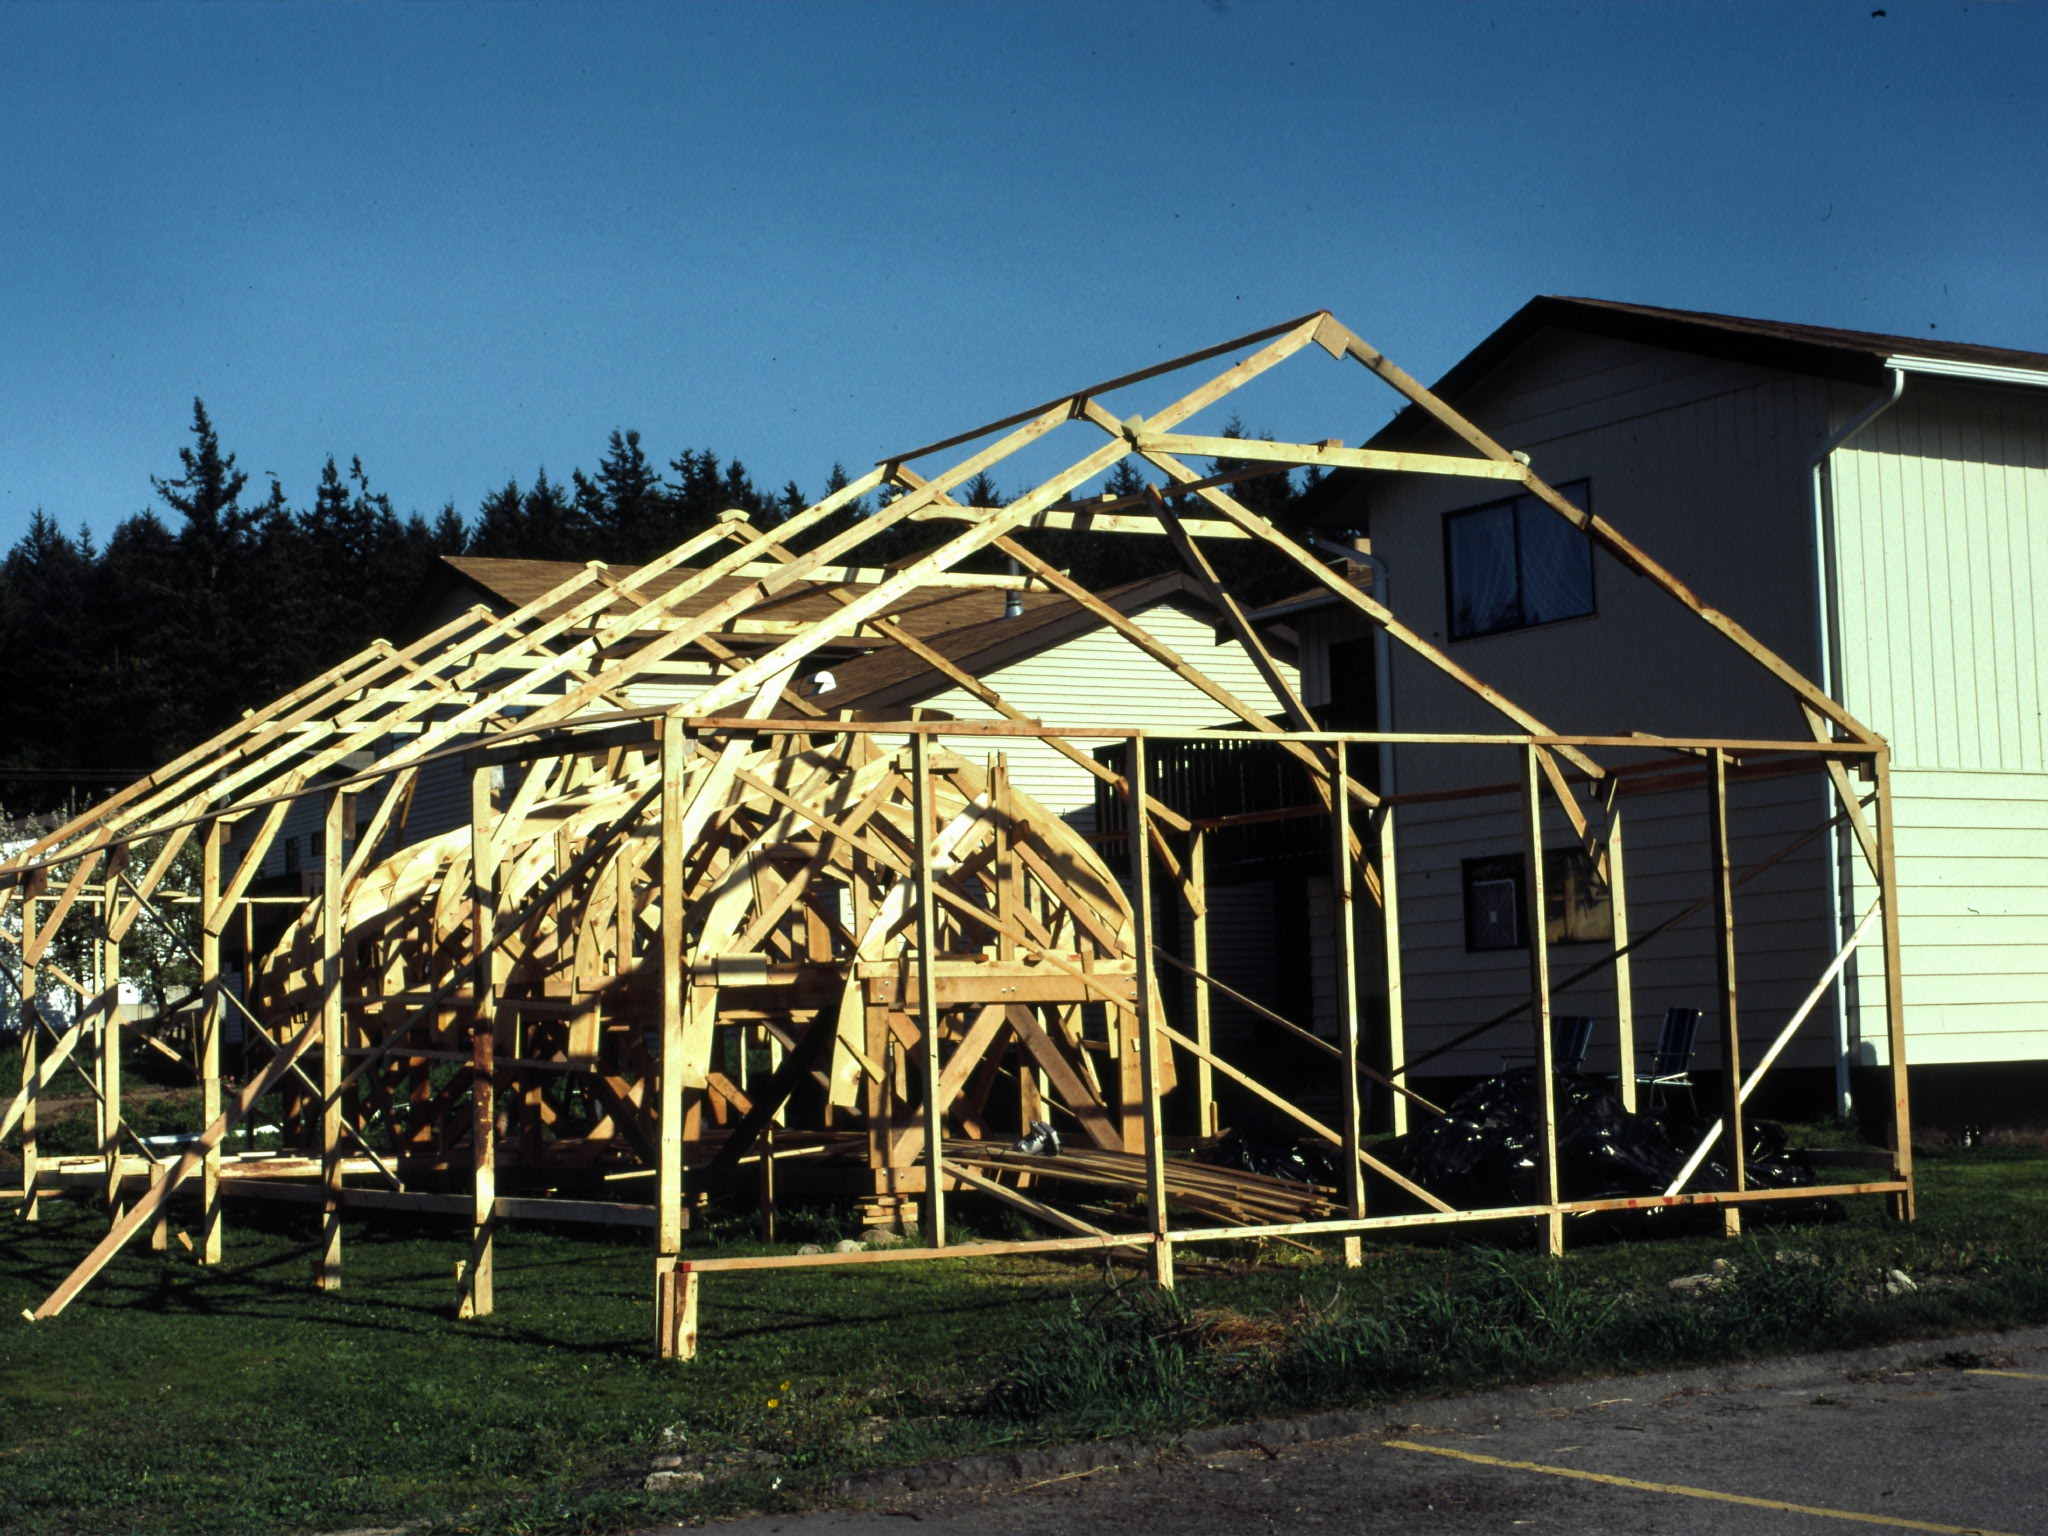
| Building a shelter.
|
Lot's of work huh?.
|
| |
|
 |
 |
| Helper Henry!
|
Another view.
|
| |
|
 |
 |
| Couldn't resist another view.. The sun is actually shining.
|
Another view of the stern section.
|
| |
|
 |
 |
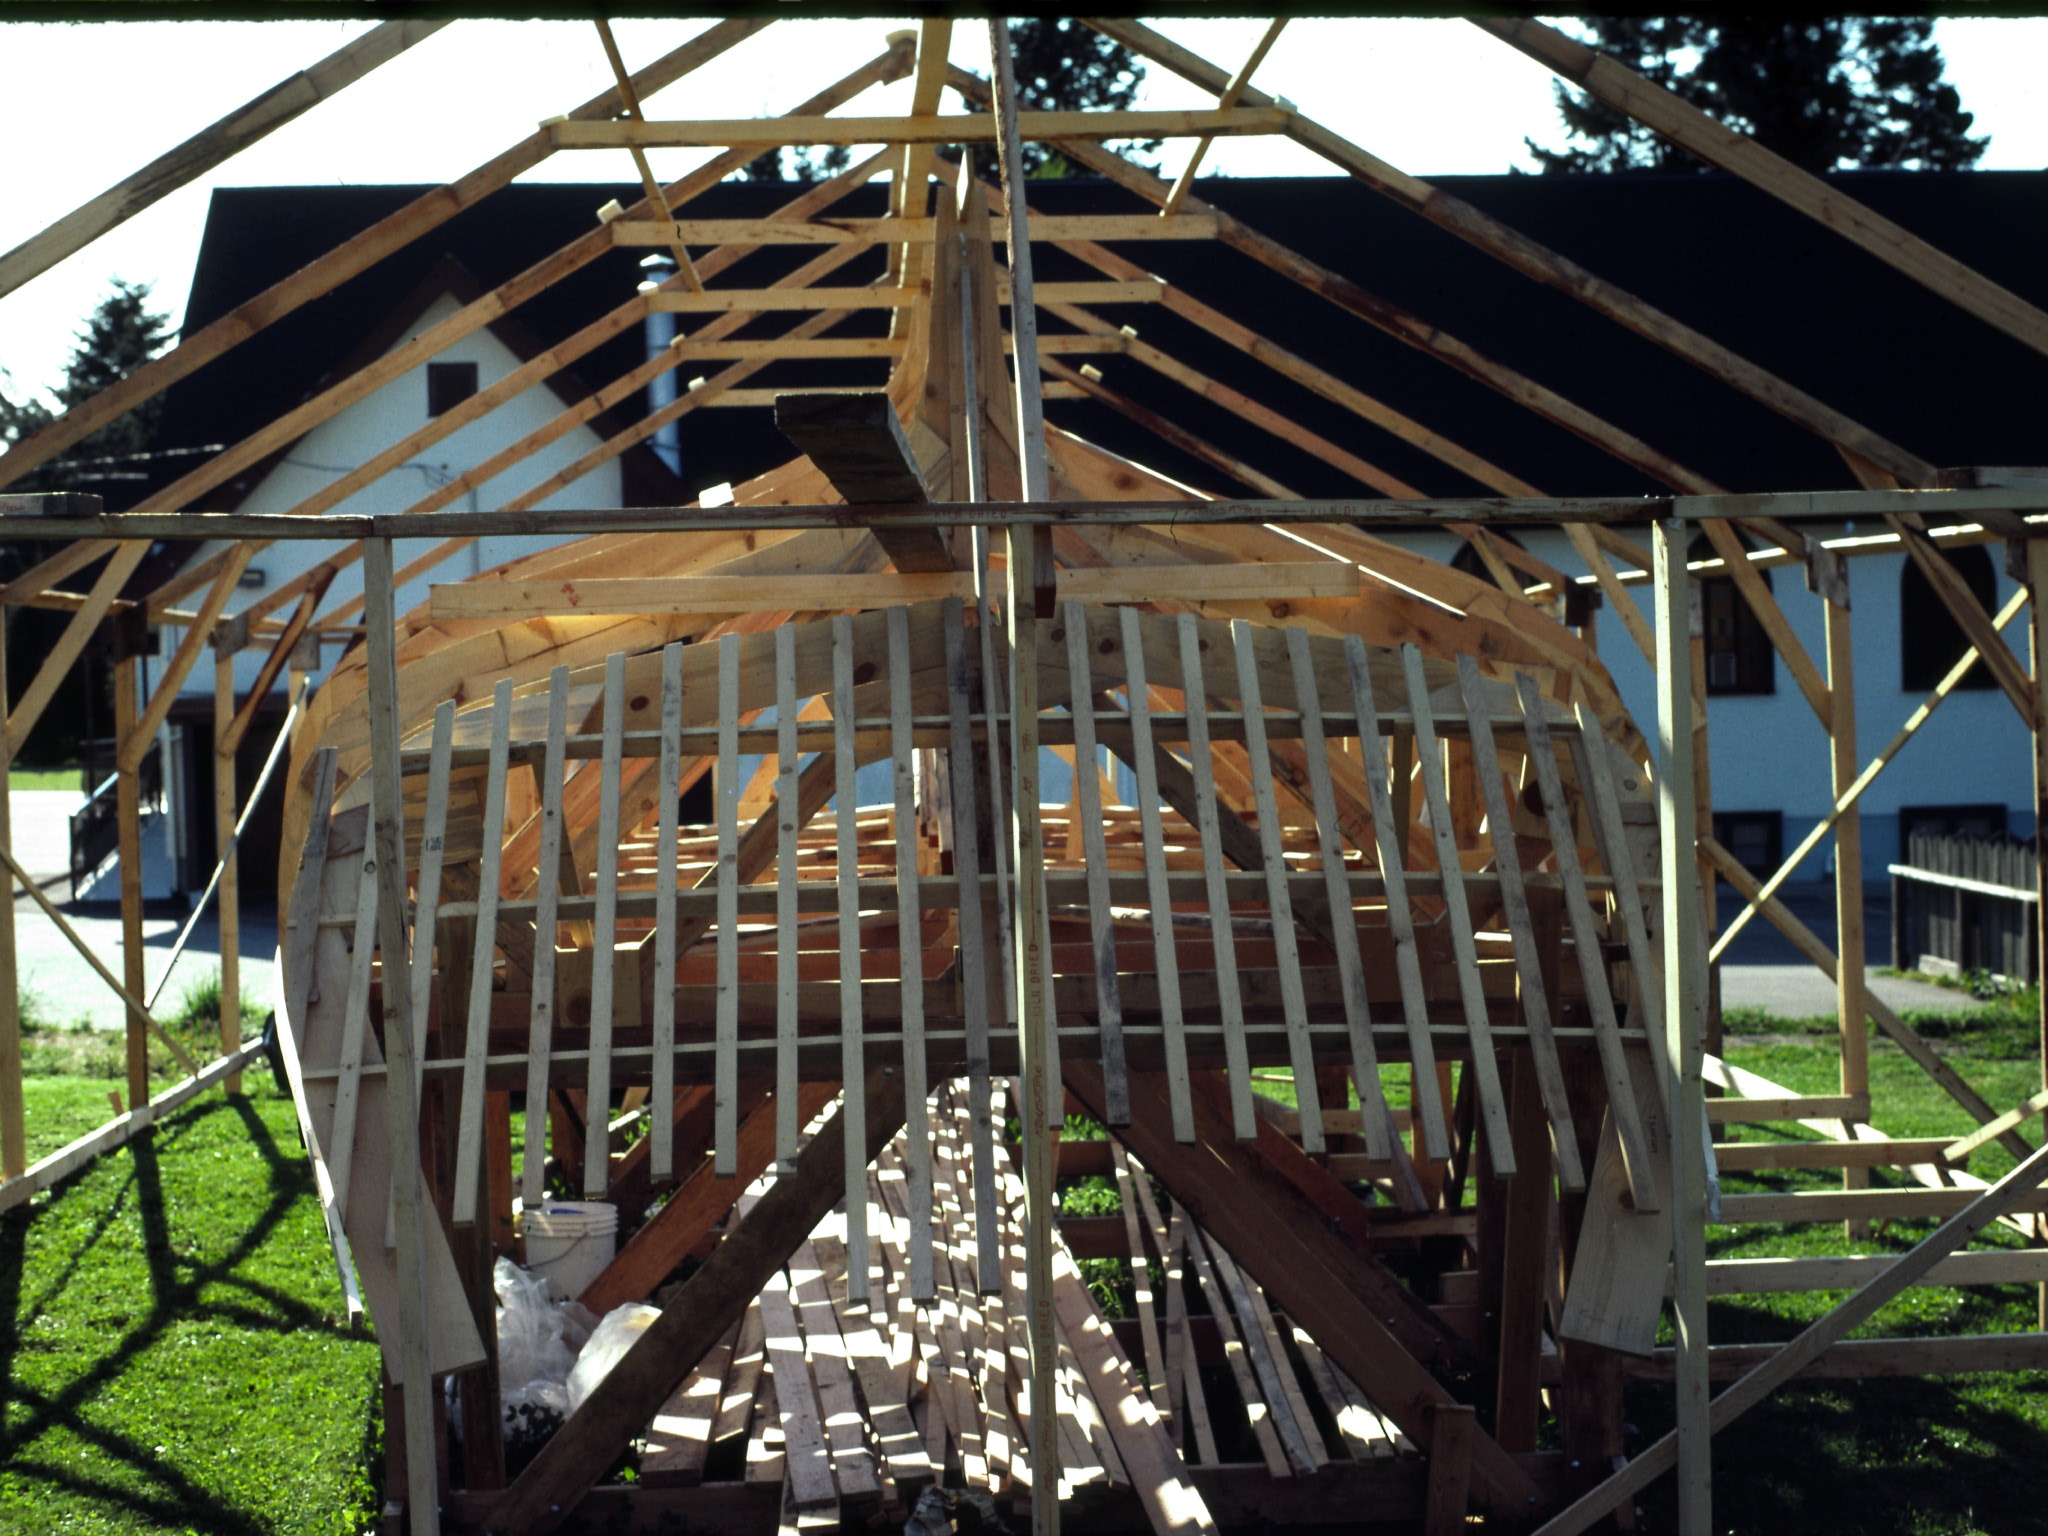
| Now I am applying the fairing strips to get the hull shape ready for covering.
|
This is looking toward the bow from the very back. The strips are applied at about 9 inch spacing.
|
| |
|
 |
 |
| This is the keel as it sweeps back to the skeg. Notice the strips coming together as the curve changes. |
Here is the skeg. This is where the prop will eventually come out. |
| |
|
 |
 |
| Here the strips are all coming together into the bow area. With Gnettie in the picture you can get an overall sense of the size. |
Now that all the strips are on we have to wedge them so all the strips define the exact shape, so the hull will be true.
This operation took about two weeks to get the hull curves the same on each side.
|
| |
|
 |
 |
| Now after all that we cover the hull with cheap old wood paneling.
Something that cannot even be purchased in the year 2002. Who would have known!
The next step is to tape over all the cracks so the fiber glass resin will not seep through.
|
Here she is ready to glass. I am holding a sample of my first ever successful fiber glass swatch after spending $6,000 for materials.
I mixed the first one with so much catalyst that it burned up!!
Notice the early 80's hair do left over from the 70's. Didn't we look cute back then ? Gag !!
|
| |
|